Bracket
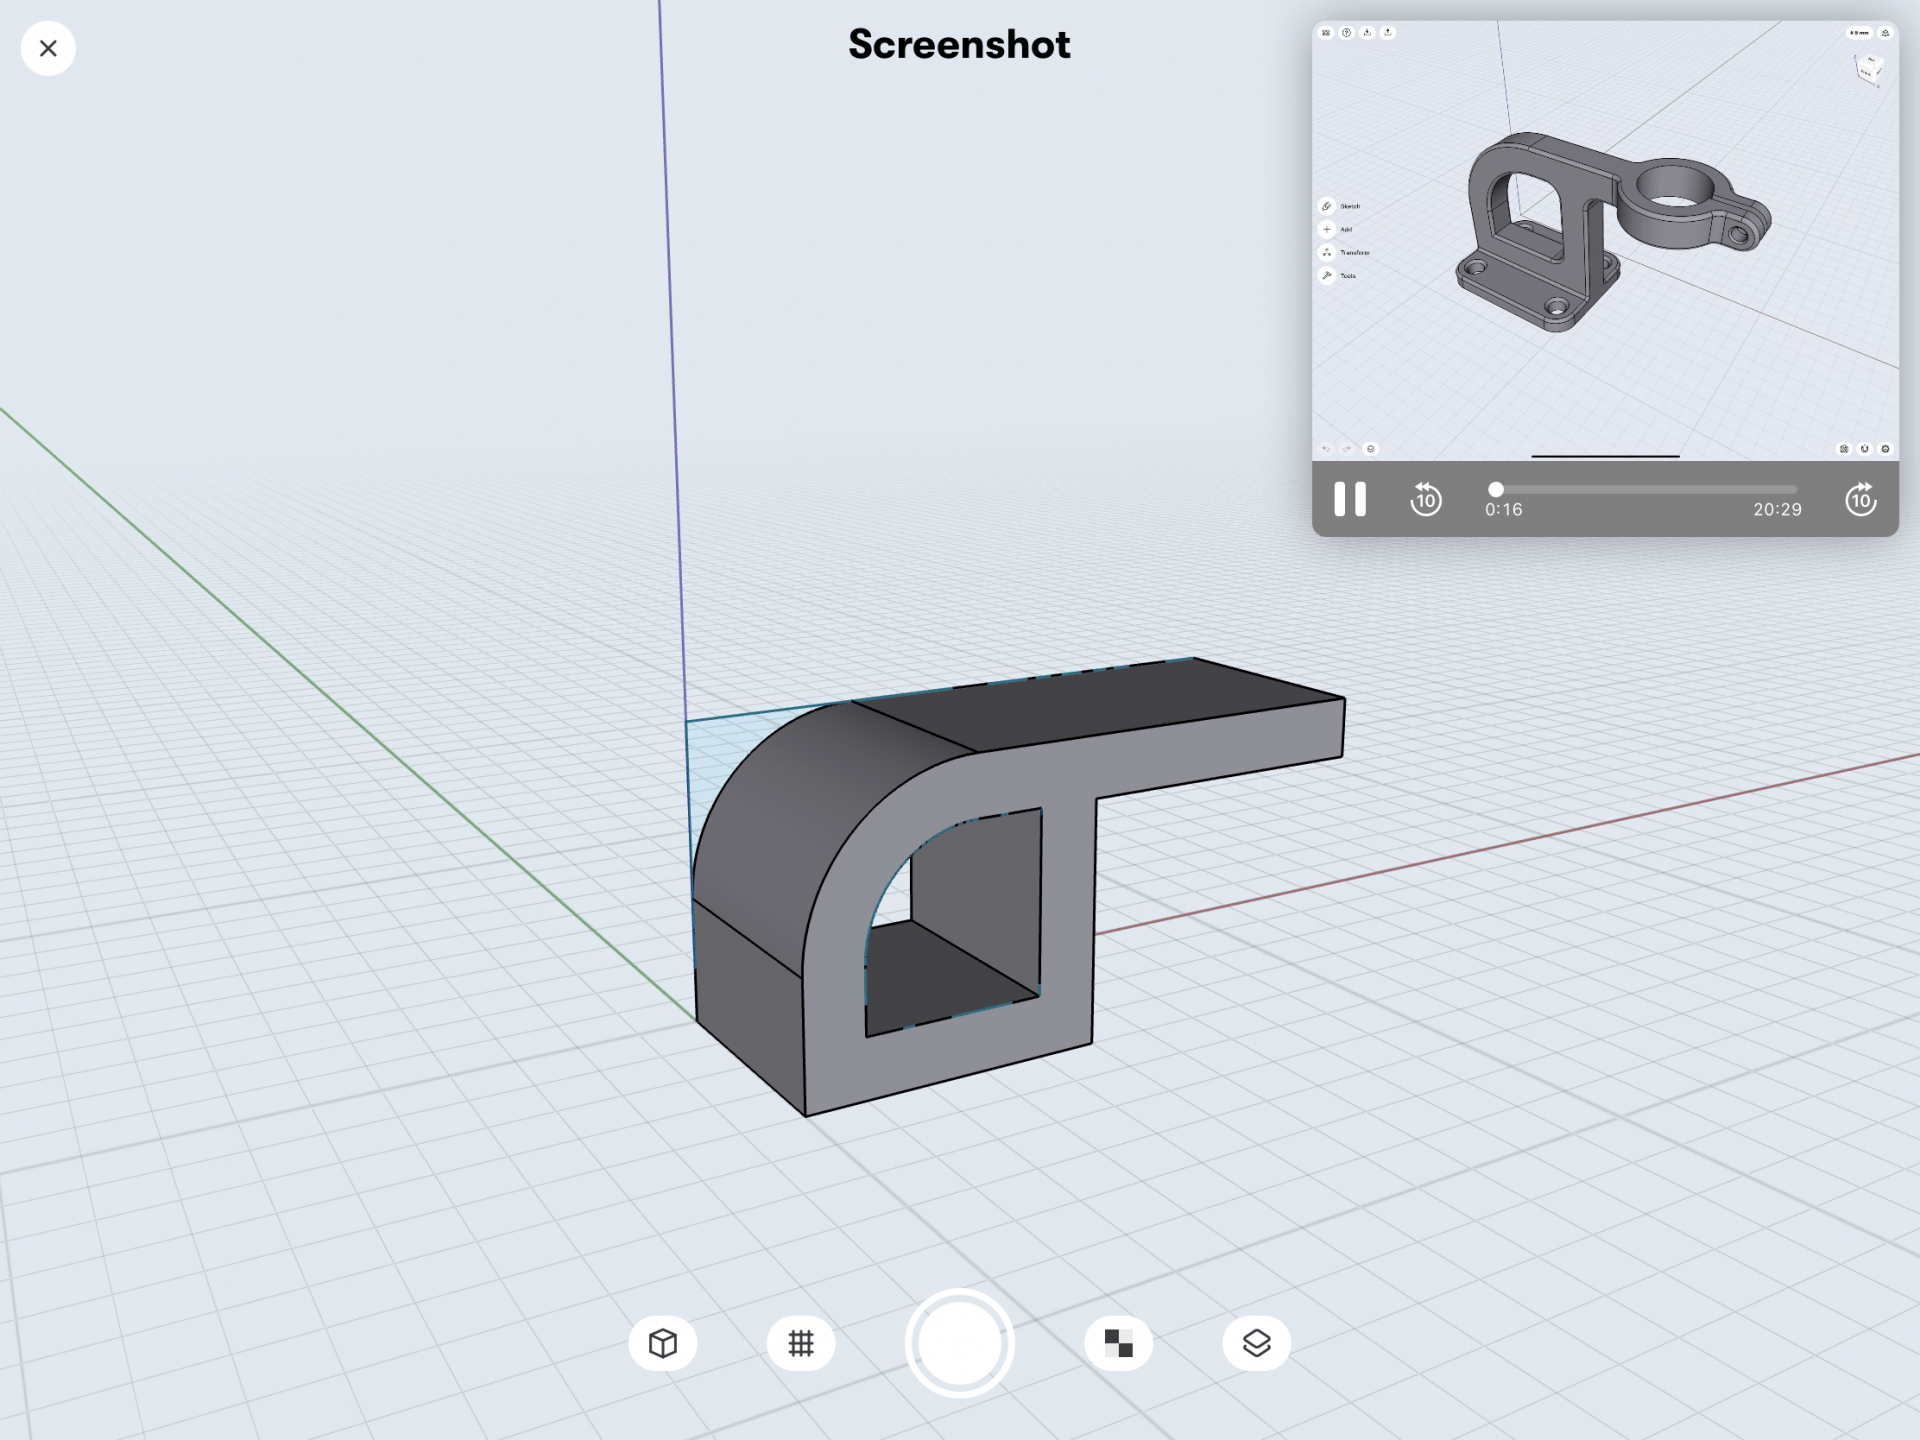

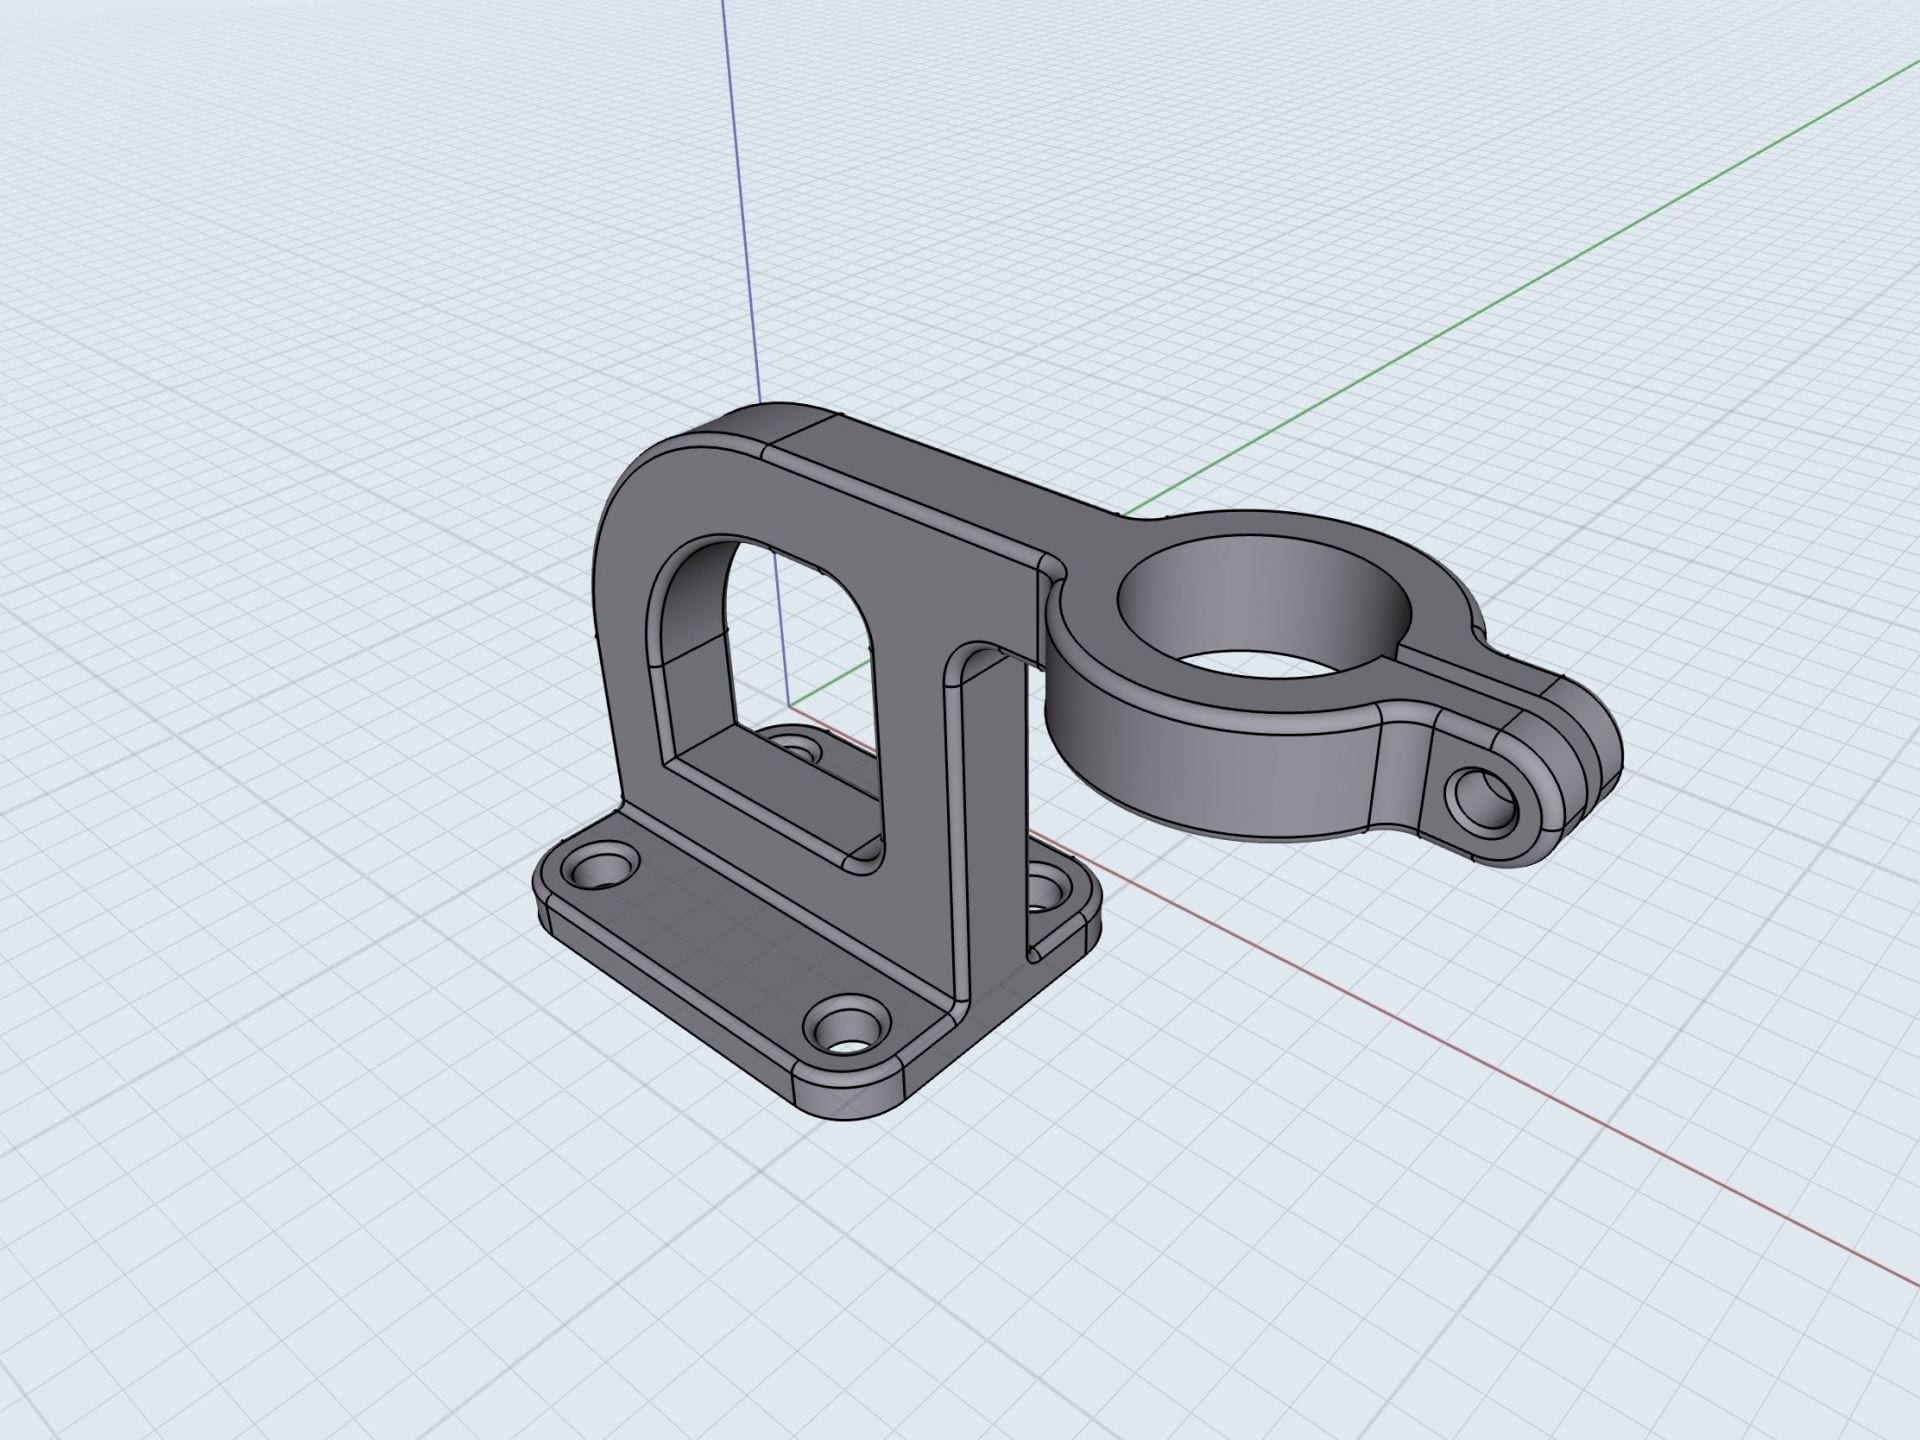
My first step for the model was to draw with lines in a 2D workspace which I would then make a closed shape to stretch out the model with. This was repeated for a lot of the pieces on this model. The whole process was a lot of making shapes that I would extrude out, then fillet all the rough edges to make them rounded and smooth. This was the first model I had ever done and it looked extremely complicated at first. The guide made it really easy to follow along because he split everything into manageable parts. I learned a lot about the fillet tool which came in handy for the second model.
Bench


I followed the bench tutorial from Shapr3D for this one. I drew out a couple 2D lines, which I would link together and manually type in the angle of separation. I learned how to use the tangent tool to link the corners with rounded edges. After that, I used the offset tool to expand the line I originally drew, and connected that original with the offset line at the bottom, making a closed shape which I could stretch into a 3D model. I made some handles and filleted all of the sharp edges. At the end I decided to use the same colors as in the video.