Michael Mensah’s Story

Research and Concept

Letterform is the most basic but most important part of written communication. There are countless different types of letterform that can be created. Although this is the case the human eye is still able to detect what ‘letter’ is tryin got be displayed. This is the beauty of letterform because it allows for creativity to take place.

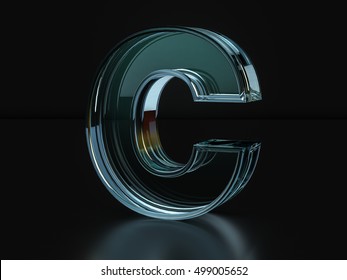
The first letterform I chose is ‘C’. I chose this letterform because I thought this would be a letter from I could get really creative with.

Below are some of my inspirations for my first letterform.

3d Letter C High Res Stock Images | Shutterstock
Printable DIY template PDF. Letter C low poly paper model | Etsy
3D Layered SVG / 3D letter C SVG / Letter C Cut File. (1203341) | Cut Files  | Design Bundles

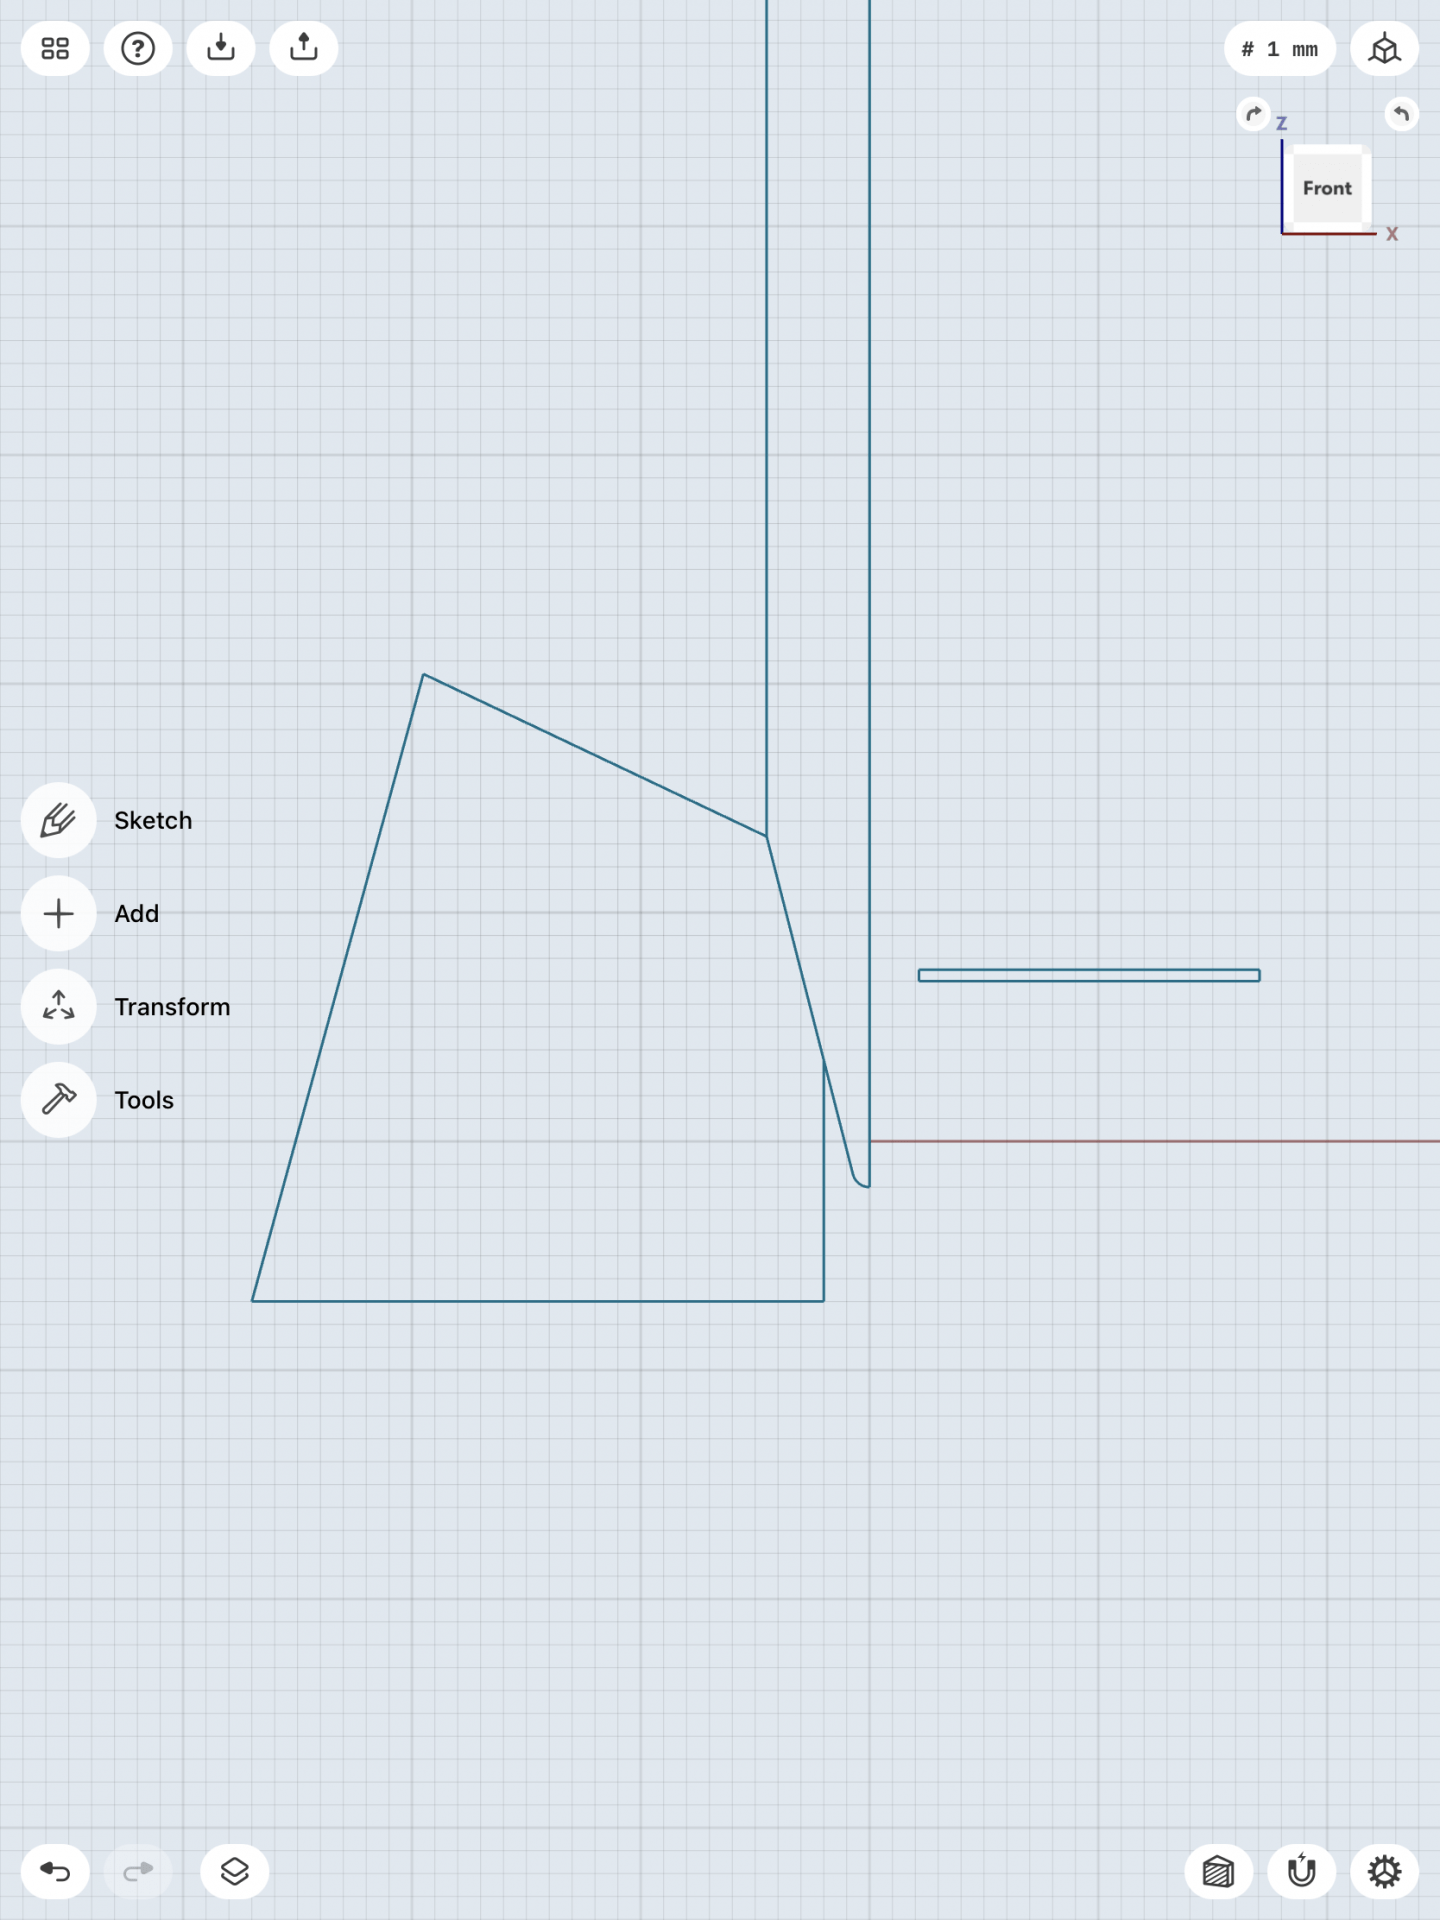
Below are some of my sketches for my first letterform

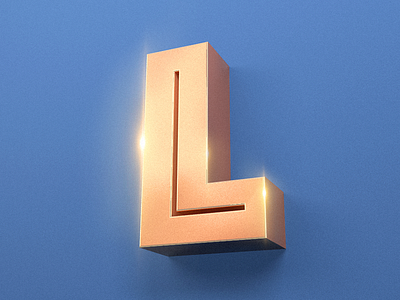
The second letterform I chose is the letter ‘L’. I chose this letter form because similar to ‘C’ I felt as if this is a letter that I could do a lot of different things with and truly exemplify how letterform can be used.

Below are some of my inspirations for my second letterform.

Capital letter L. From the white interwoven strips on a black background.  Template for emblem, logos and monogra… | Lettering, Initials logo, Logo  branding identity
L is for Lite Brite by Noah Camp on Dribbble

Letter L by Balo on Dribbble

Below are some of my sketches for my second letterform.

I am not extremely artistic when it comes to my hands so these sketches may not show truly what my vision is for these letterforms but I plan to make them into something very unique.

Iterations

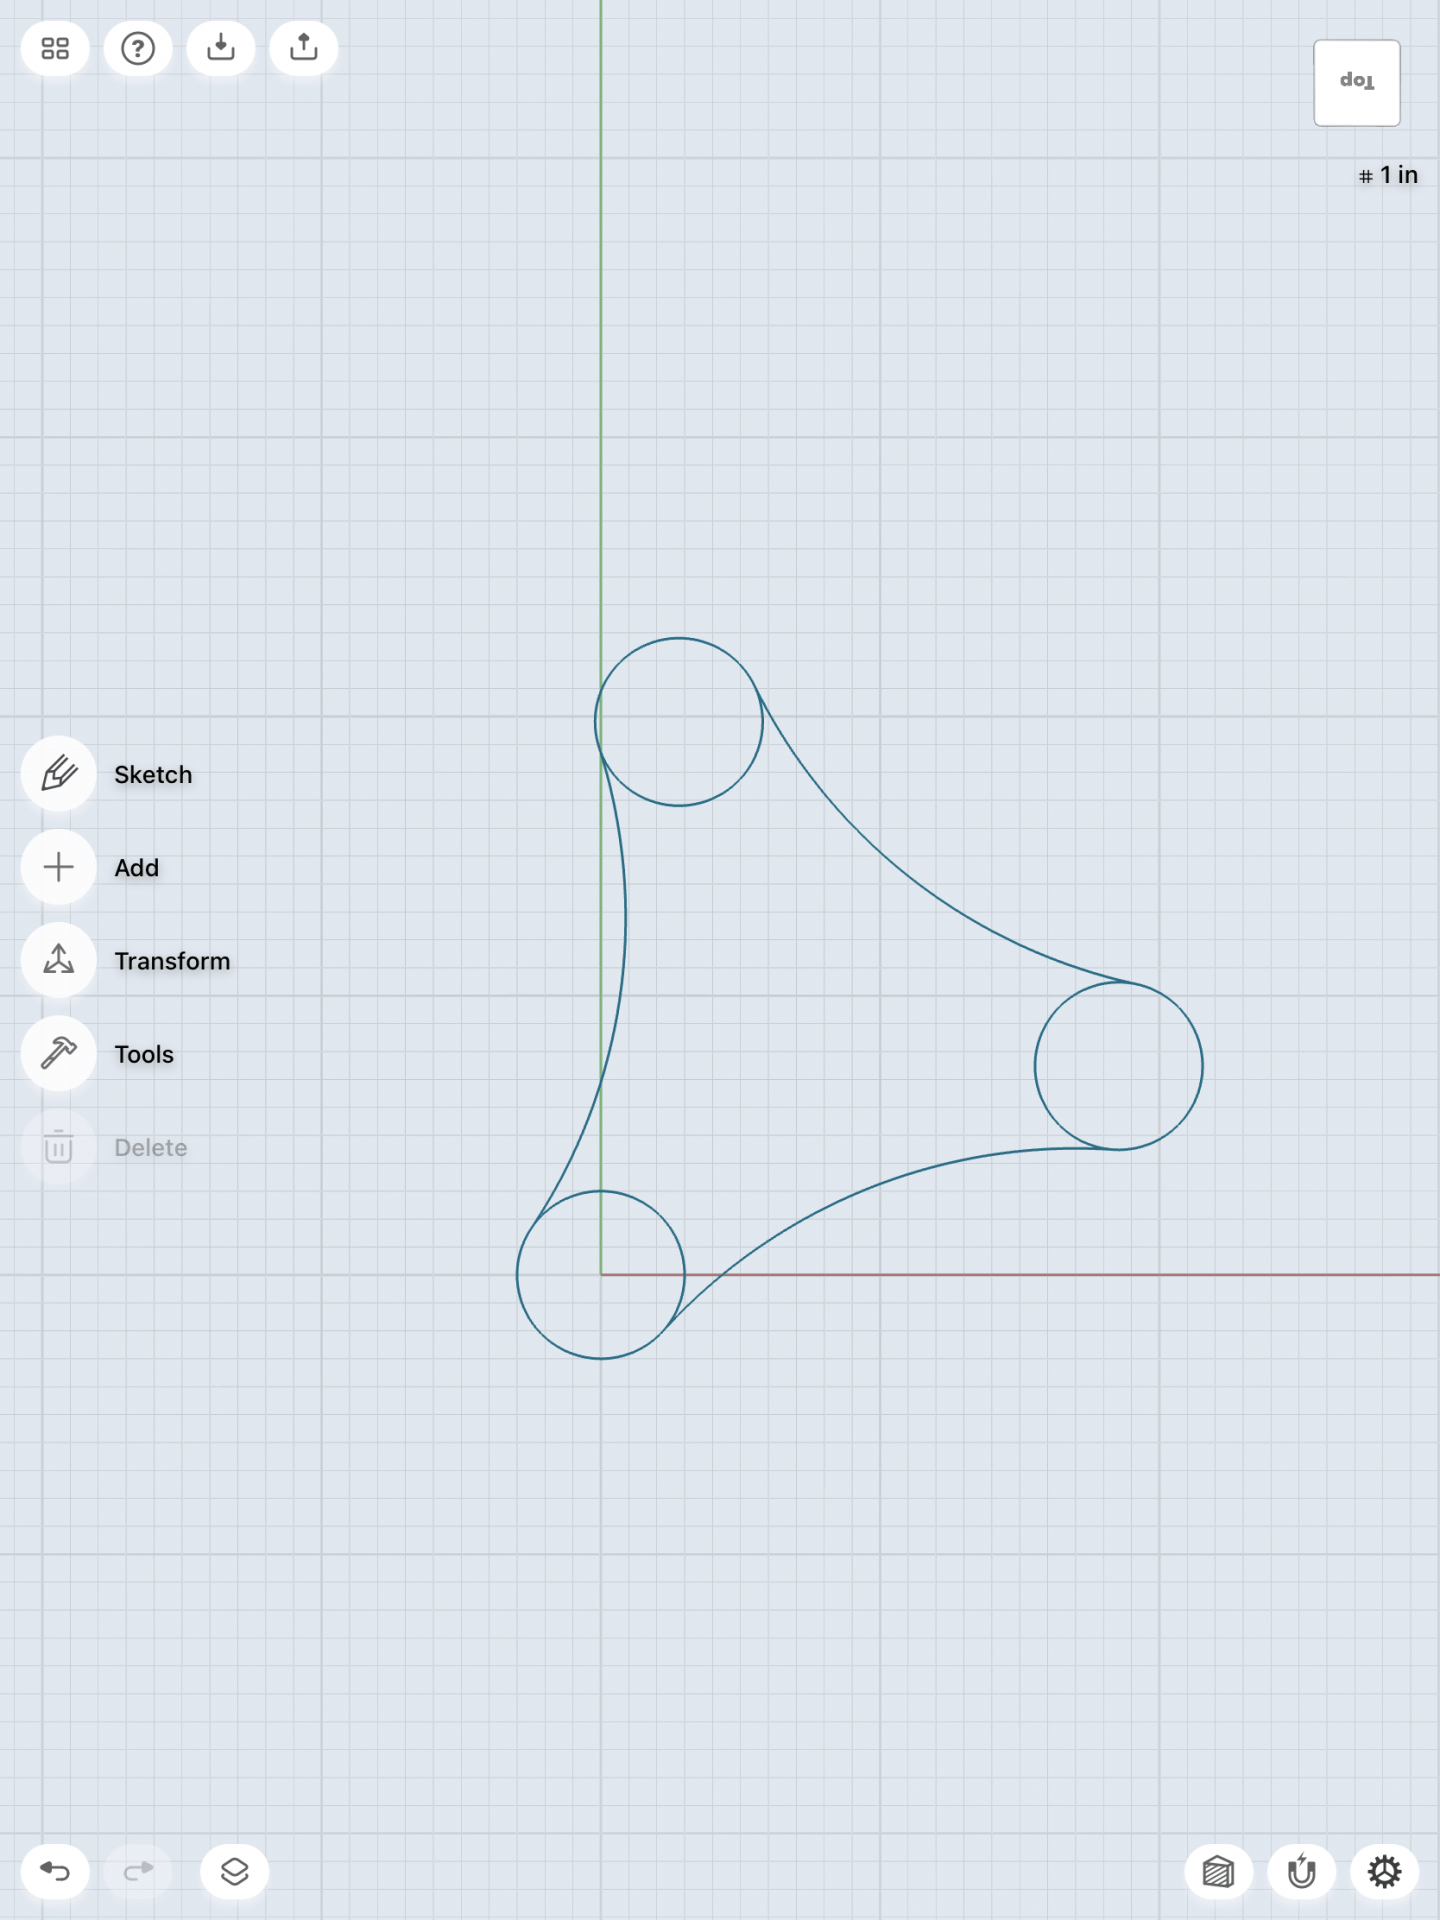
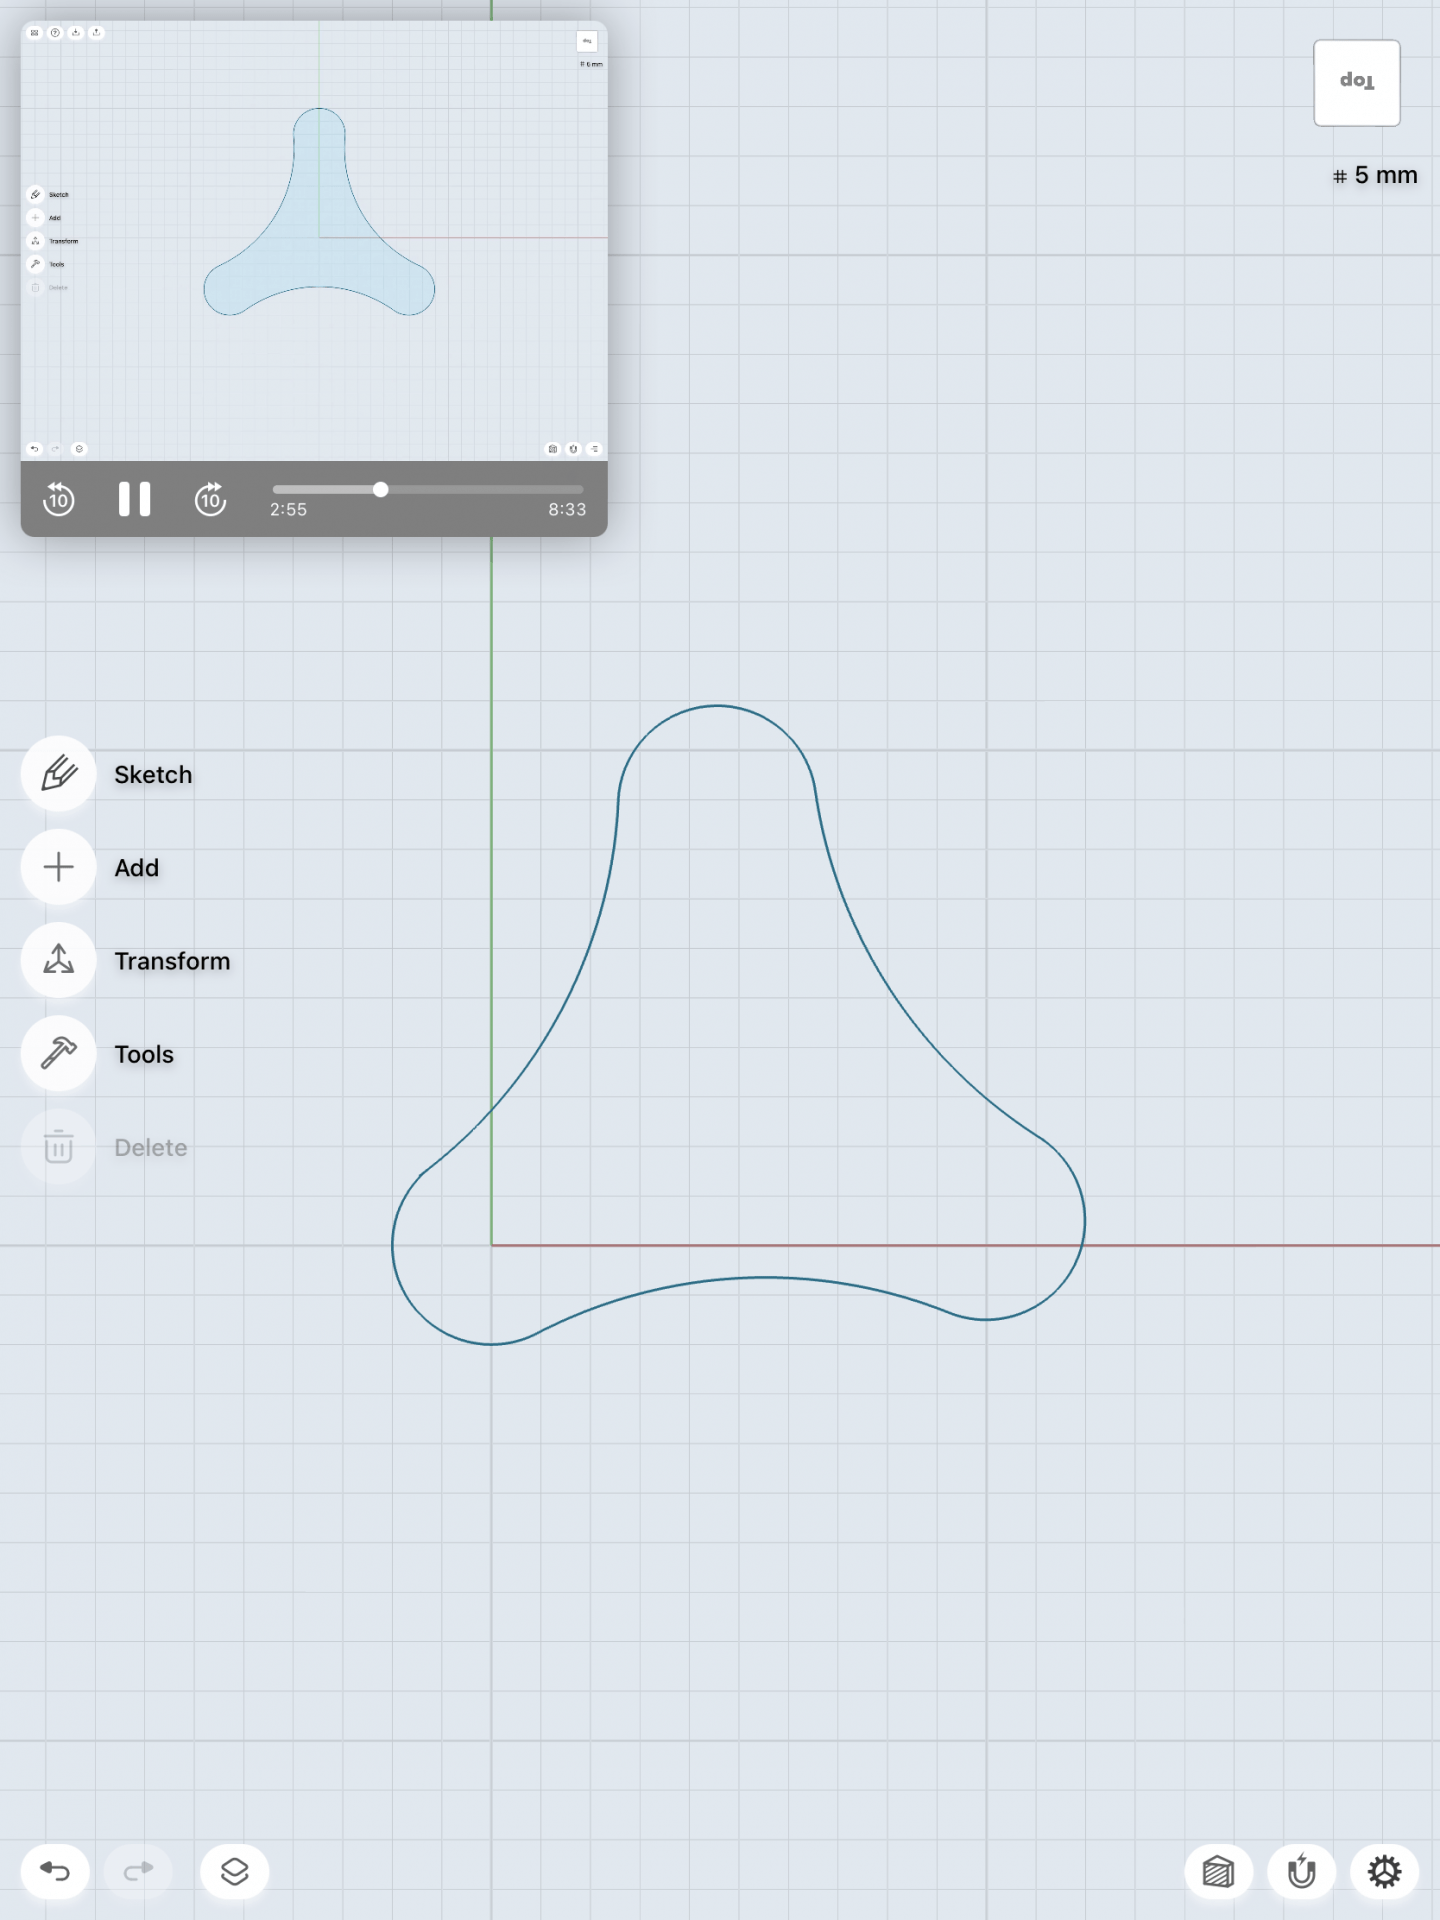
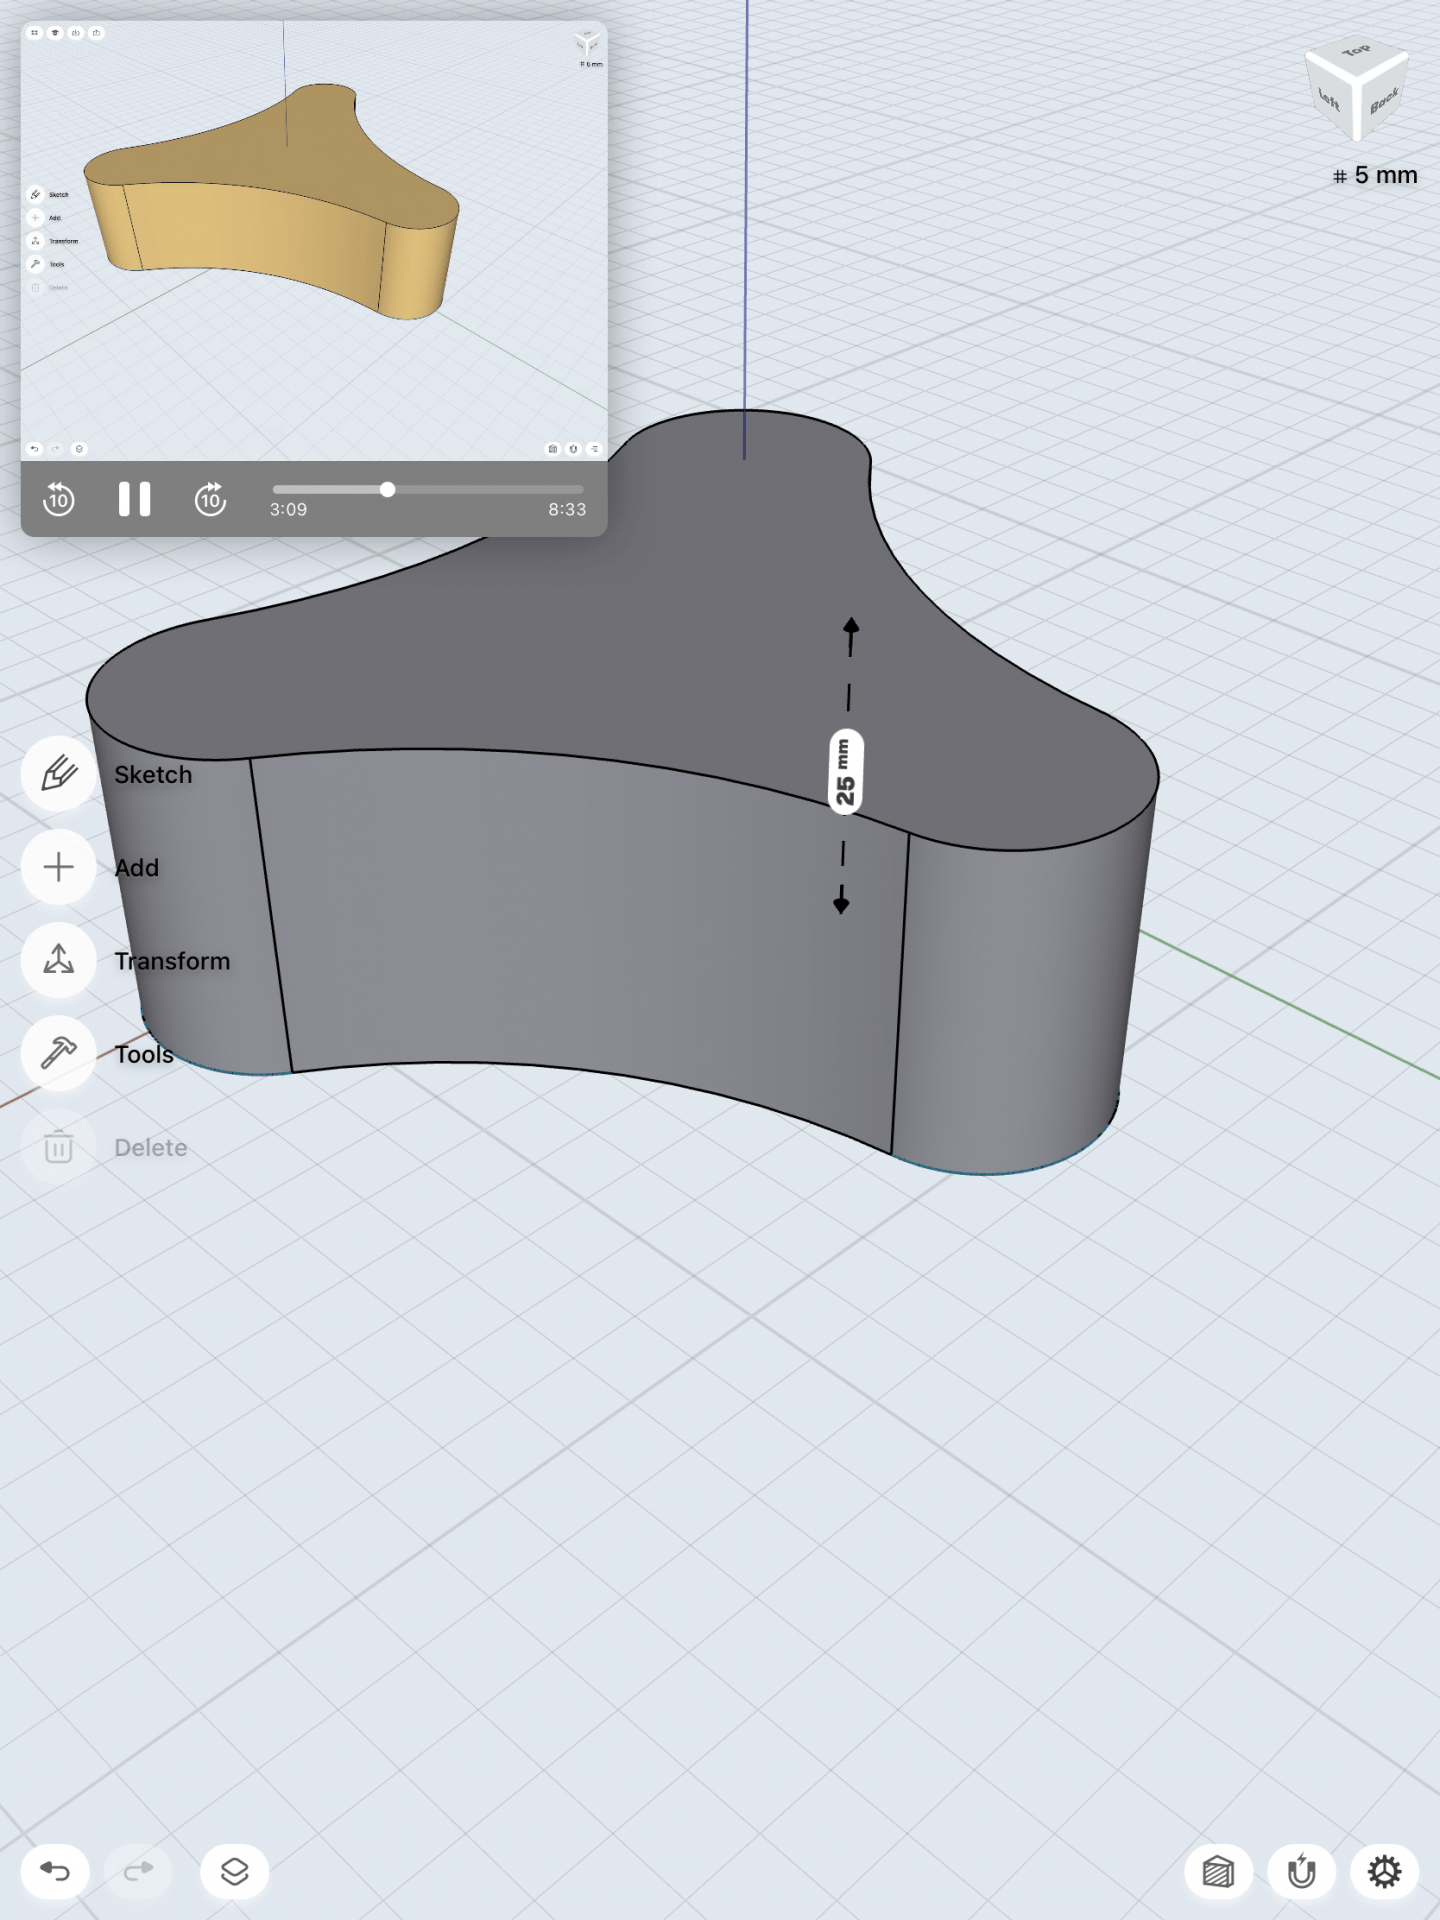
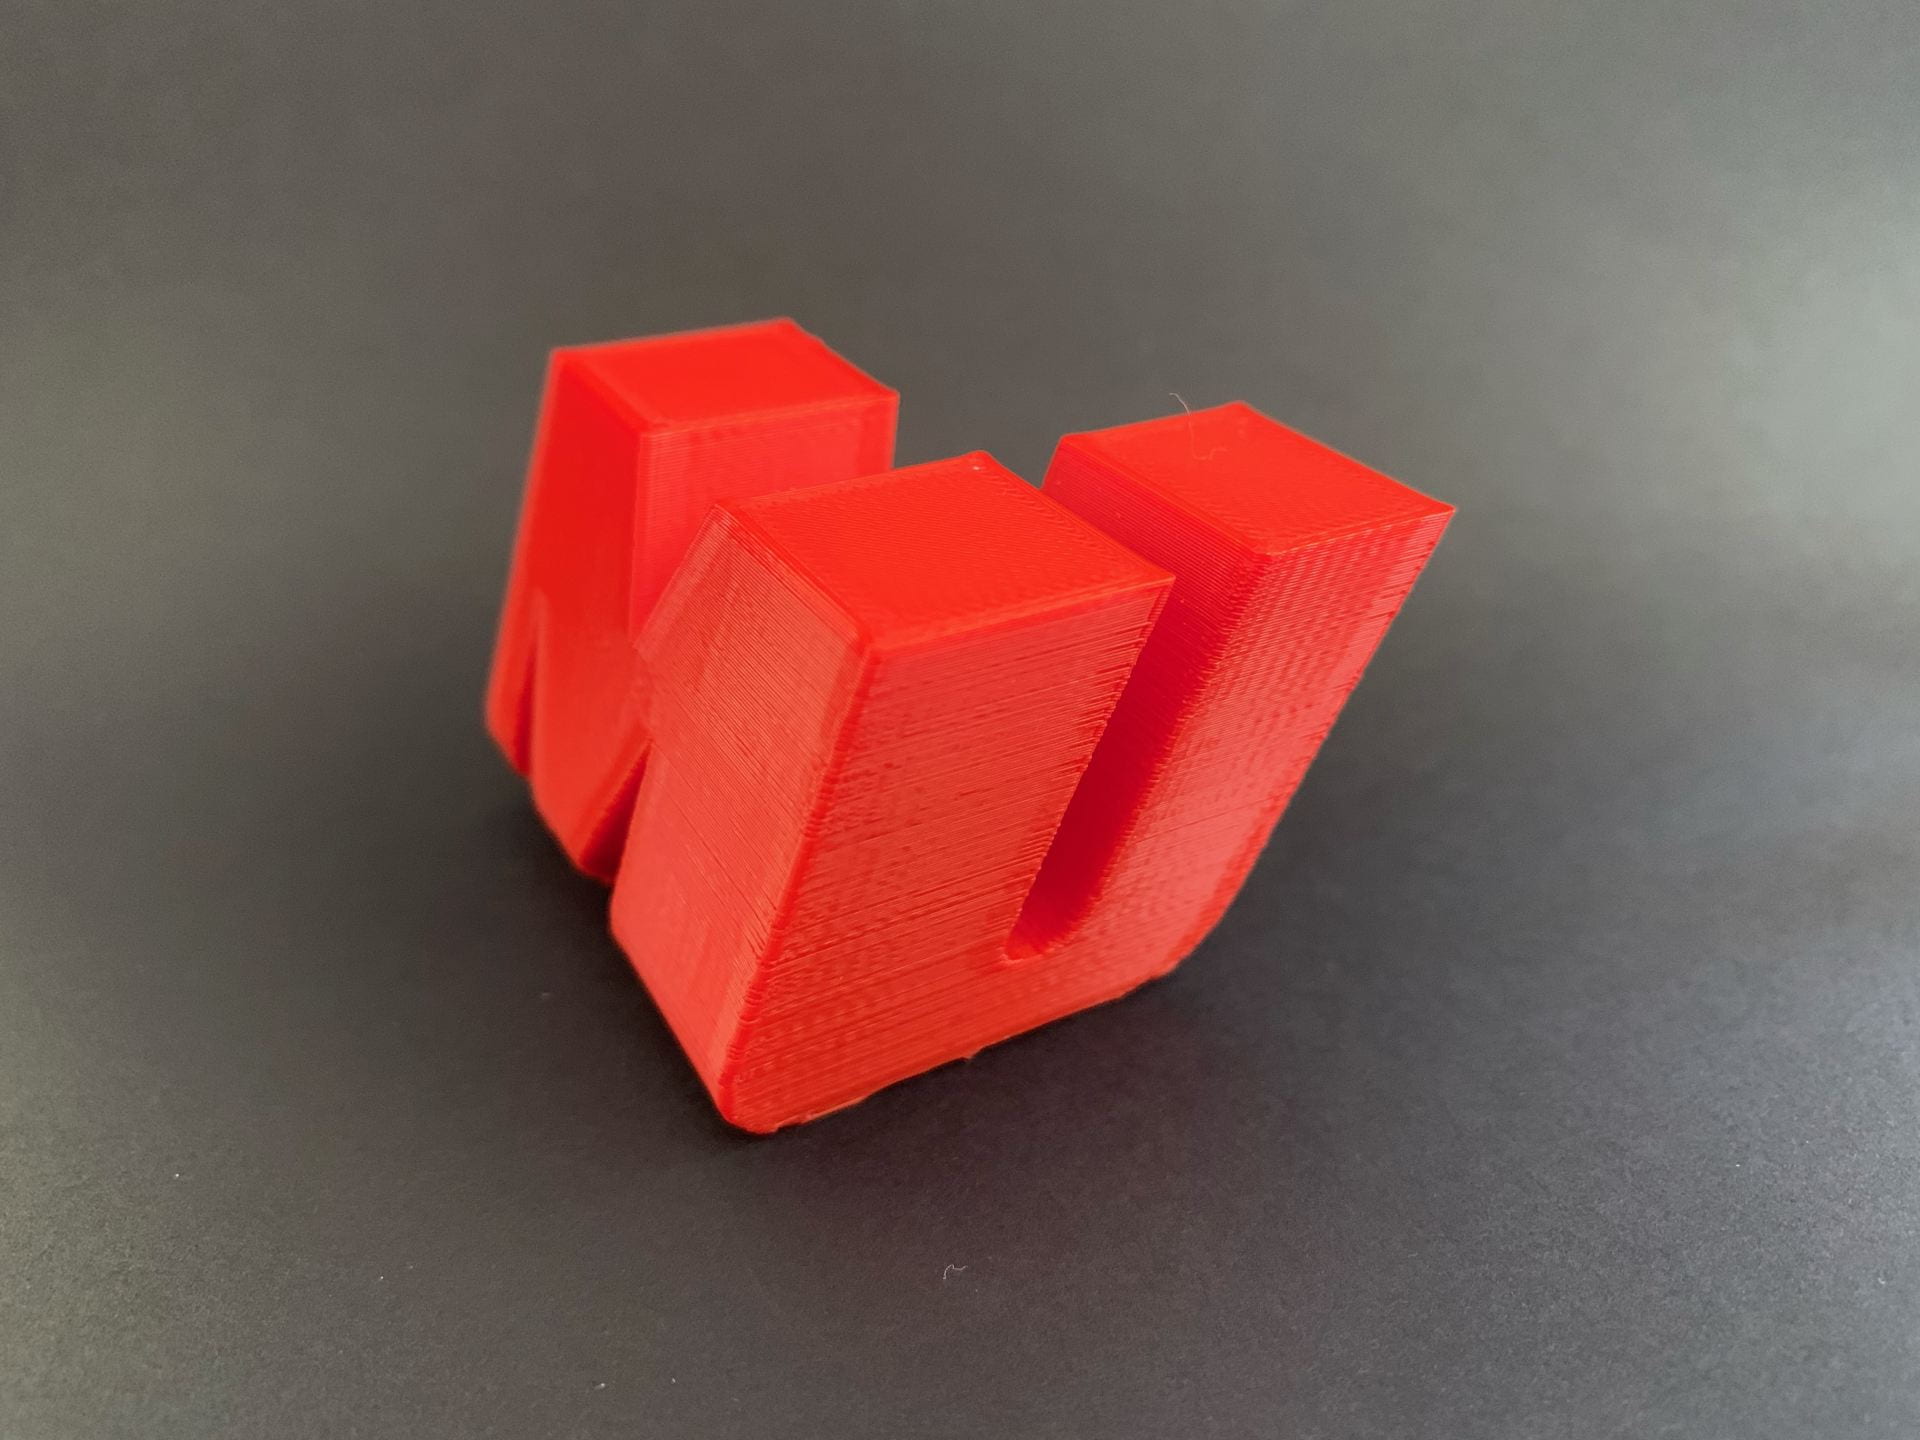
For the letter C I decided to break it up into three sections that come together to create the whole letter. I used the extrude tool in shapr3d to bring the base letterform to life and make it a 3d model.

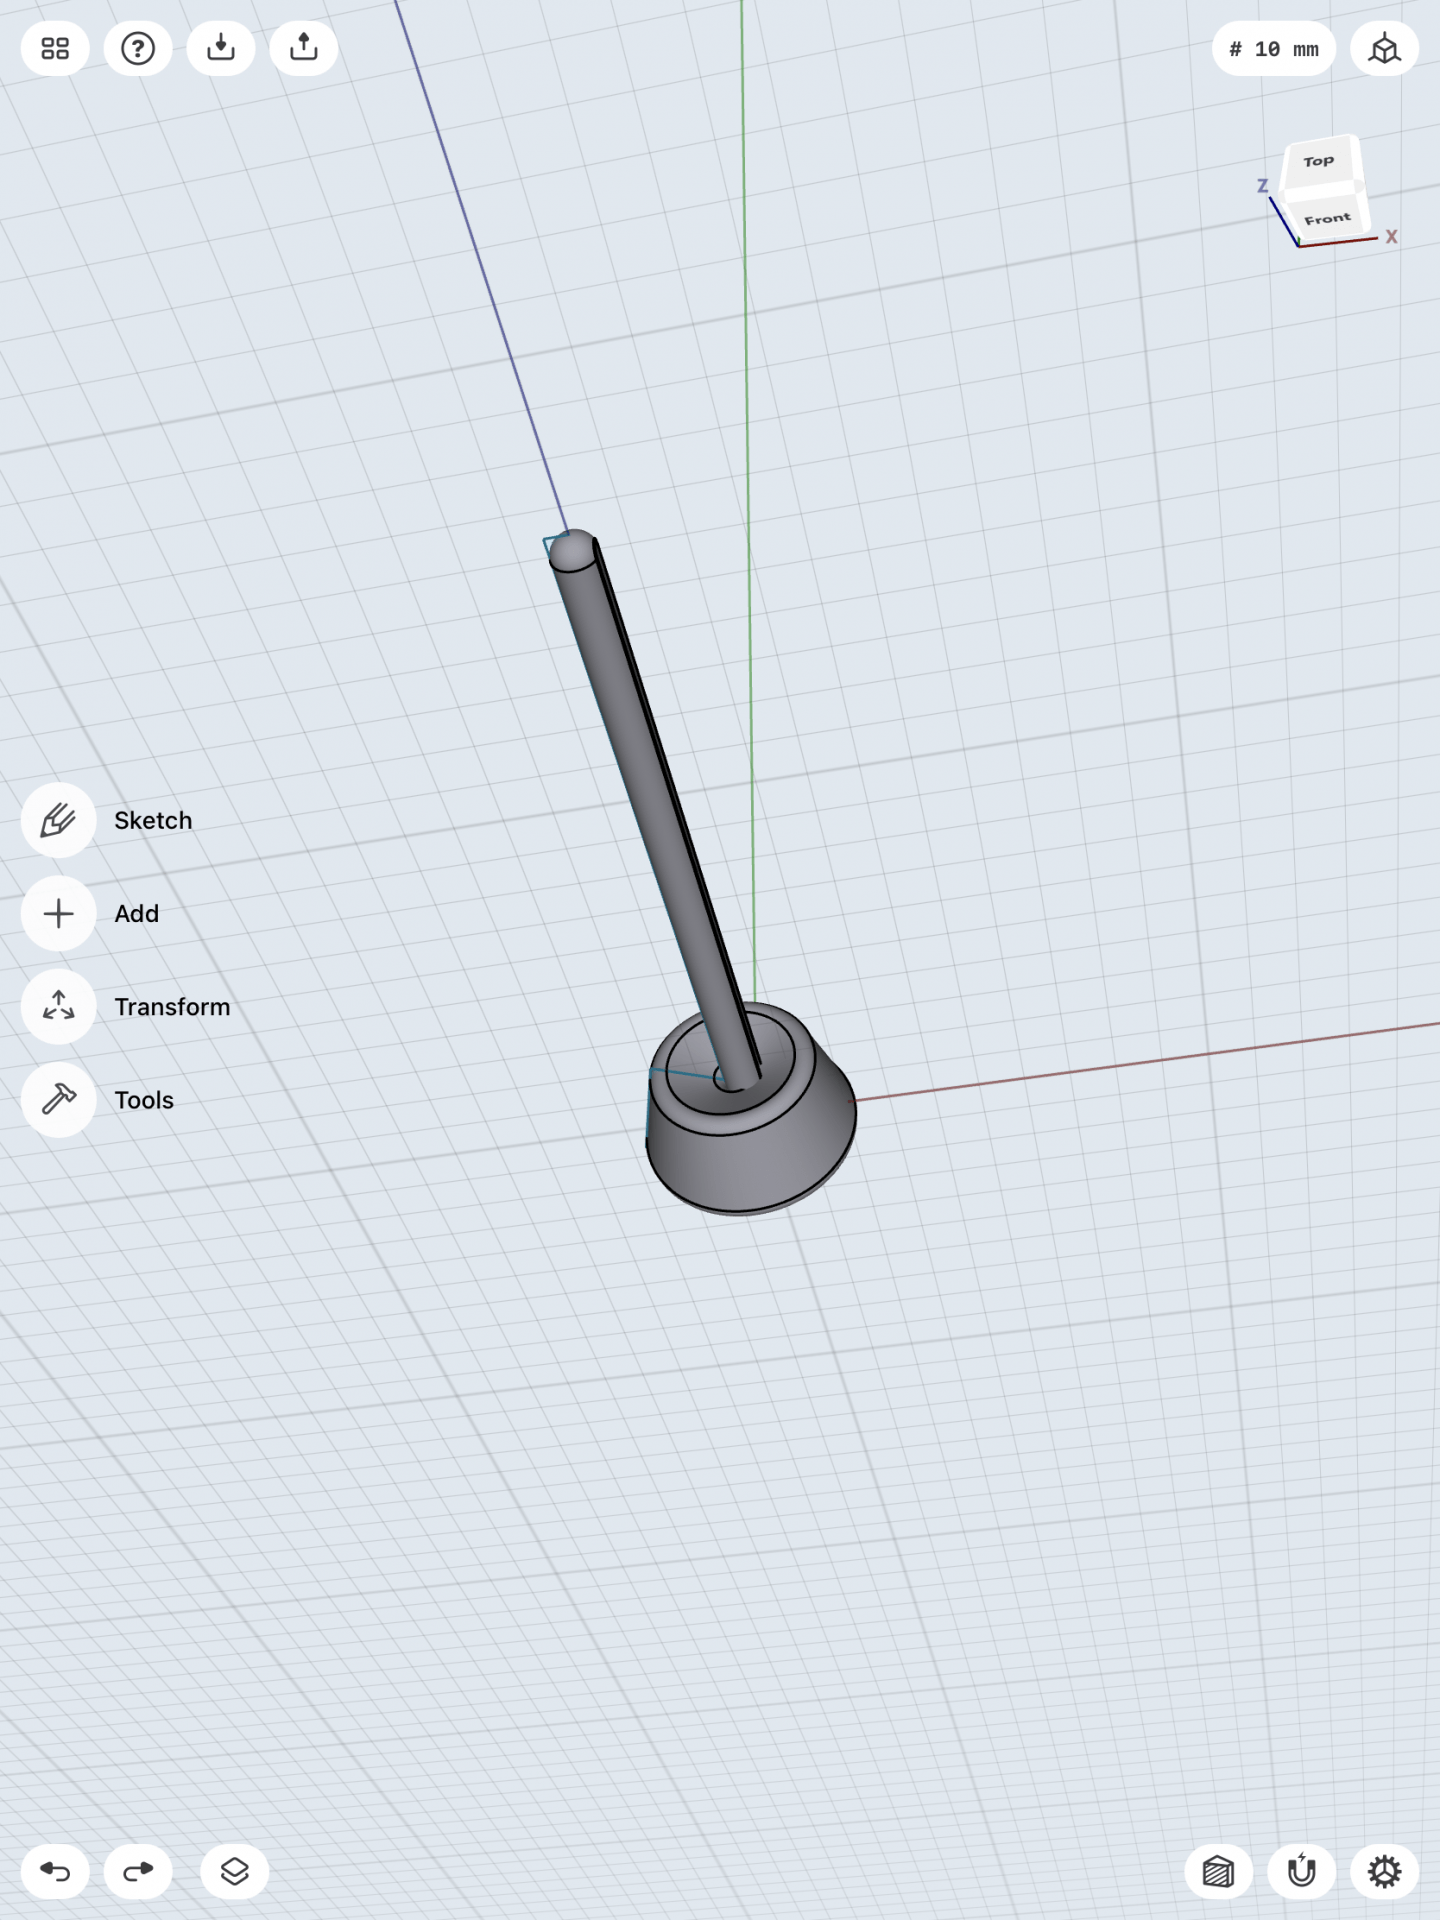
For the letter L I wanted to go with a block design at first but I decided that I could create something better.

I decided to turn the letter L into a mini ladder. I used Shapr3d to create the base of the the letter and then used the extrude tool to create the 3d model.

Final Prints

These final prints were also my first prints but I felt that they came out so perfect that there was no need for me to reprint my iterations of these letterforms.

‘C

I am extremely happy with how the final model of the letter C came out. The three sections work perfectly together to make a letter C. Even though they are not connected, they can still be decoded by anyone who is viewing it and can be seen as the letterform ‘C’.

L

The final print for the letter L came out just like I wanted it to. You can see the letter L clearly. The ladder part looks like smaller Ls combined together to create another shape. This print is probably my favorite out of the two letters that I made.

Conclusion

All in all, this was my favorite project to work on. Shapr3d gives you a lot more creative freedom to work with I feel like so I was able to create a more polished model than in previous projects. I am extremely happy with the way my prints came out. This goes to show how letterform can come in all different shapes, sizes, colors, etc. and a human will still be able to decode it and recognize what letter it is.

Shapr3d First Models

Bracket

I had a lot of fun learning how to create this three hole bracket. First, I created three circles and made them all equal to each other so that the holes in in the bracket would be even. Next I had to create 3 arcs and create tangent relationships between the arcs and the circles so that they would come together as one whole unit. After removing the unnecessary lines I had the base sketch for my 3 hole bracket. I then took that base and extruded it upwards so that the 3d model would then be created. After doing that I created 3 more circles in each corner of the bracket and negatively extruded ( downwards) each one so that that I could create the holes that go within each corner of the bracket. After that I was done and all that remained was to round the edges of the 3d model to make it look nice and neat and my completed bracket was done! The images below are in chronological order. Model a Triangle-Cap

Stylus and Base

Creating the stylus and base was challenging but I still enjoyed the process and learning how to create intricate details that add to the overall look of the object. Starting out with my sketch I had to draw a pencil like shape on a 2d plane. I had to remove a section of the sharp end and add a curve to it so that when I turned the sketch into a 3d model it would have a rounded tip. Using the revolve tool I turned the 2d sketch into a 3d shape. To create the divot between the tip of the stylus and the rest of the body I created a circle that indented into the stylus and then deleted it so that only the indented space was left. The next step was to remove one edge of the stylus. I did this by creating a flat surface on the 2d plane and then extruding it upwards through the stylus. After deleting it the side that I needed to be gone was gone. To create the base was a similar process as the stylus. I drew a 2d sketch and then used the revolve tool to make it 3d. I used section view to cut the 3d model in half so that I could properly adjust the stylus in the hole of the base. I had to adjust the placement of the stylus and round the edges of the base to make it look neat and proper but after these adjustments I was done. I rounded the edges of the base on the top and bottom and my final product was complete. The images below are in chronological order. 3D Modeling a Stylus & Base on iPad | Shapr3d Step-by-Step

3D Scan

To create this scan I had Professor Hooker take a 3D scan of my head. I then sent the file of my head scan to my phone then transferred that to Tinkercad.

I did not like the original size of the scan so I enlarged the overall size of the scan in Tinkercad so that the features of the print are more noticeable. I then downloaded the scan into Ultimaker Cura, sliced it, and then downloaded into the 3D printer. The results of the print are pictured below.

Michaels Self Expression

Research and Concept

The functional form I want to add playfulness to is this white coffee mug. All the coffee mugs that I have in my house are plain white mugs just like the one in the picture and they are all boring to look at. I feel as if I had unique mugs that were in my cabinet that I looked at first thing in the morning it would automatically brighten my mood.

Above is the original picture of the mug and below is the alterations that I would make to it to inject playfulness into it. I decided to turn the cup into a dinosaur. I out dinosaur spikes on the handle of the mug so that it replicates the tail of a dinosaur. I put the face of a dinosaur on the opposite side of the handle to give the mug the full body dinosaur experience. For the colors I want the handle to be green and the spikes to be orange. I want the body of the mug to be camouflage with light green and dark green.

Iterations

For my first iteration is used Tinkercad to create my print. I originally thought using Tinkercad would be a lot easier than using Sharpr3D but I feel as if I was wrong. For this iteration of my dinosaur cup it was very hard to adjust the angle of the dinosaur bumps that are supposed to replicate the tail of a dinosaur as the handle of the cup due to the fact that I was using Tinkercad on my laptop. I feel as if using the stylus on the iPad in Sharper3D will allow for more fluidity so I may have to look into using that application as I continue to make improvements on my iterations of this item.

One of the main differences between my research section and my iteration section is that the size of the cup is much smaller. I underestimated the size of creations in Tinkercad vs. how they would come out as a 3D print.

This iteration came out well my only problem is that the dinosaur bumps on the tail did not come out like I thought they would. For future iterations I will adjust those so that they will appear more prominently. Other than that, the shape of the cup came out well all though it was a lot smaller than originally intended.

I fear that the overall aesthetic o f the cup is not truly showing the playfulness that I intended it to have. Some of the ideas that I have for this problem is to add a tail like figure that extends off of the cup . I also would like to add a dinosaur face on the front side of the cup to increase the playfulness of the item.

Final Print

For my final print my original plan was to add a tail on the cup to make it look more like a dinosaur. I then decided to add a face on it to add on to the ‘playfulness’ element. After printing my second iteration I realized that the face was not coming out as I expected and would not be a good idea to add to the final print.

After my second iteration I decided to add text to the side of the cup. I put the phrase ‘rawr’ on the side of the cup which I think was a great touch to the playfulness element.

Unfortunately the print did not turn out as i wanted it to

The printer did not print the tail out correctly and the text came out very sloppy.

After this I stuck to my original plan which was to fix the ridges on the handle of the cup so that it would look more like a dinosaur tail. To do this I made the ridges on the tail bigger and I also staggered them and made them uneven so that it would add a more realistic touch to it.

Michael Mensah Form|Function Concept

Credit to Erikjuh on Thingiverse

The object that I would like to recreate to show the principle of form and function is a hook . This hook can be used as hat hook or any clothing item can be hung on this item or even something like keys. I want this design to be a versatile tool that can be used at the convivence of any user.

https://www.thingiverse.com/thing:1081862

Some improvements I would like to make to this hook is to add more a curve to the hook so that the user will be able to hold more items on the hook. I feel like the length of the hook is minimizing the potential of the object. I may also look into the possibility of making the base of the hook a rectangle shape instead of a oval type shape in order to provide more stability and to look more aesthetically pleasing when in use.

The original design came out entirely too small. The overall size of the hook would not allow for optimal use. The length of the hook and the curvature contribute to the fact that optimal use could not be made out of the hook. Below are images of the original design and above is a video explaining why this design is not optimal.

The modifications I made to the original design include extending the base of the hook and making the actual hook longer so that it is able to hold more items. Modifications to the hook curvature will allow for optimal use. Below is an example of the moderations I made to the original design in Tinkercad followed by the final product of the new design.

For this second iteration I decided to elongate the curvature of the hook to allow for more items to be placed on the object but I soon realized that this iteration still did was not at its full potential as far as versatility and usage

Below are examples of the second iteration :

Final Iteration

Because my second iteration was not up to par with what I believe the maximum usage of this item was I decided to add some modifications. The lanyard holding side widget is what this item needed to be taken to the next level. The side widget can be used to carry smaller items such as keys, lanyards, or any other miscellaneous items like that.

Below are drafts of my final iteration in Tinkercad:

Below are images of how my final iteration turned out:

Below is an image of my final iteration in use:

Final Conclusion

As you can see, this final iteration was a huge improvement over the first two. I am very satisfied with the model that I ended up with because I was able to figure out what needed to be added in order to make this item as useful as possible. This final iteration of the model incorporates all of the design elements that I envisioned while having many versatile uses. I decided to As you can see it can be used for many items such as clothing, hats, keys, lanyards, masks, etc. This items purpose is to make any users life a lot more easier.

Hi, I’m Michael Mensah

Hello! My name is Michael Mensah. I am a junior SMAD major with a concentration in Interactive Design. I am from Bristow, Virginia.

My hobbies include, weightlifting, listening to music, and hanging out with my friends. I have always been a creative person which is my this class caught my eye. I’ve always wanted to take classes that allows me to express my creativity which is why I love the major that I chose.

How Discomfort Makes Us More Creative | INSEAD Knowledge

I chose this image to describe myself because whenever I get anew idea I like to run with it and see what I can create from scratch.

My creative type is the Dreamer

Thingiverse

Tinkercard