Julianna’s Story

Research & Concept

Letterforms are a very important part of culture. No matter how many different shapes and sizes a letterform can come in, it is still distinguishable by the human eye as to what letter it is. Letterforms can be made in 2d, 3d, or 4d and still have the same meaning to a person.

My first letterform that I chose as “f” I chose this letter because it is the initial of my middle name and I thought it would be a fun letterform to work with. At first it was very hard to find inspiration and I did not know exactly what I should be sketching. Once I finally got started I was on a roll and felt very good about my ideas.

These were some of the photos I drew inspiration from to create my sketches. All of them are very fun and interesting to me and I think I am going to have a hard time choosing a final idea.

I am happy with my sketches although it was hard for me to get across exactly what I meant in these sketches I am hoping that one of them comes to life the way I wanted it.

The second letterform I chose was “b” because it is the first letter of my last name. These ideas did not come as easy to me. It was hard for me to see all that could be done with its shape unlike the “f”. I am not particularly happy yet with any of them but hopefully I can come up with something using what I have planned already. Below is some of the inspiration I used.

Here are my sketches and as I said before I am not very fond of any of them yet but hopefully over the next few days or when I am designing on Shapr3d I will come up with something better than what I have. So far, this has been a little more difficult than I thought I would be but hopefully I will be satisfied with my final products.

Iterations

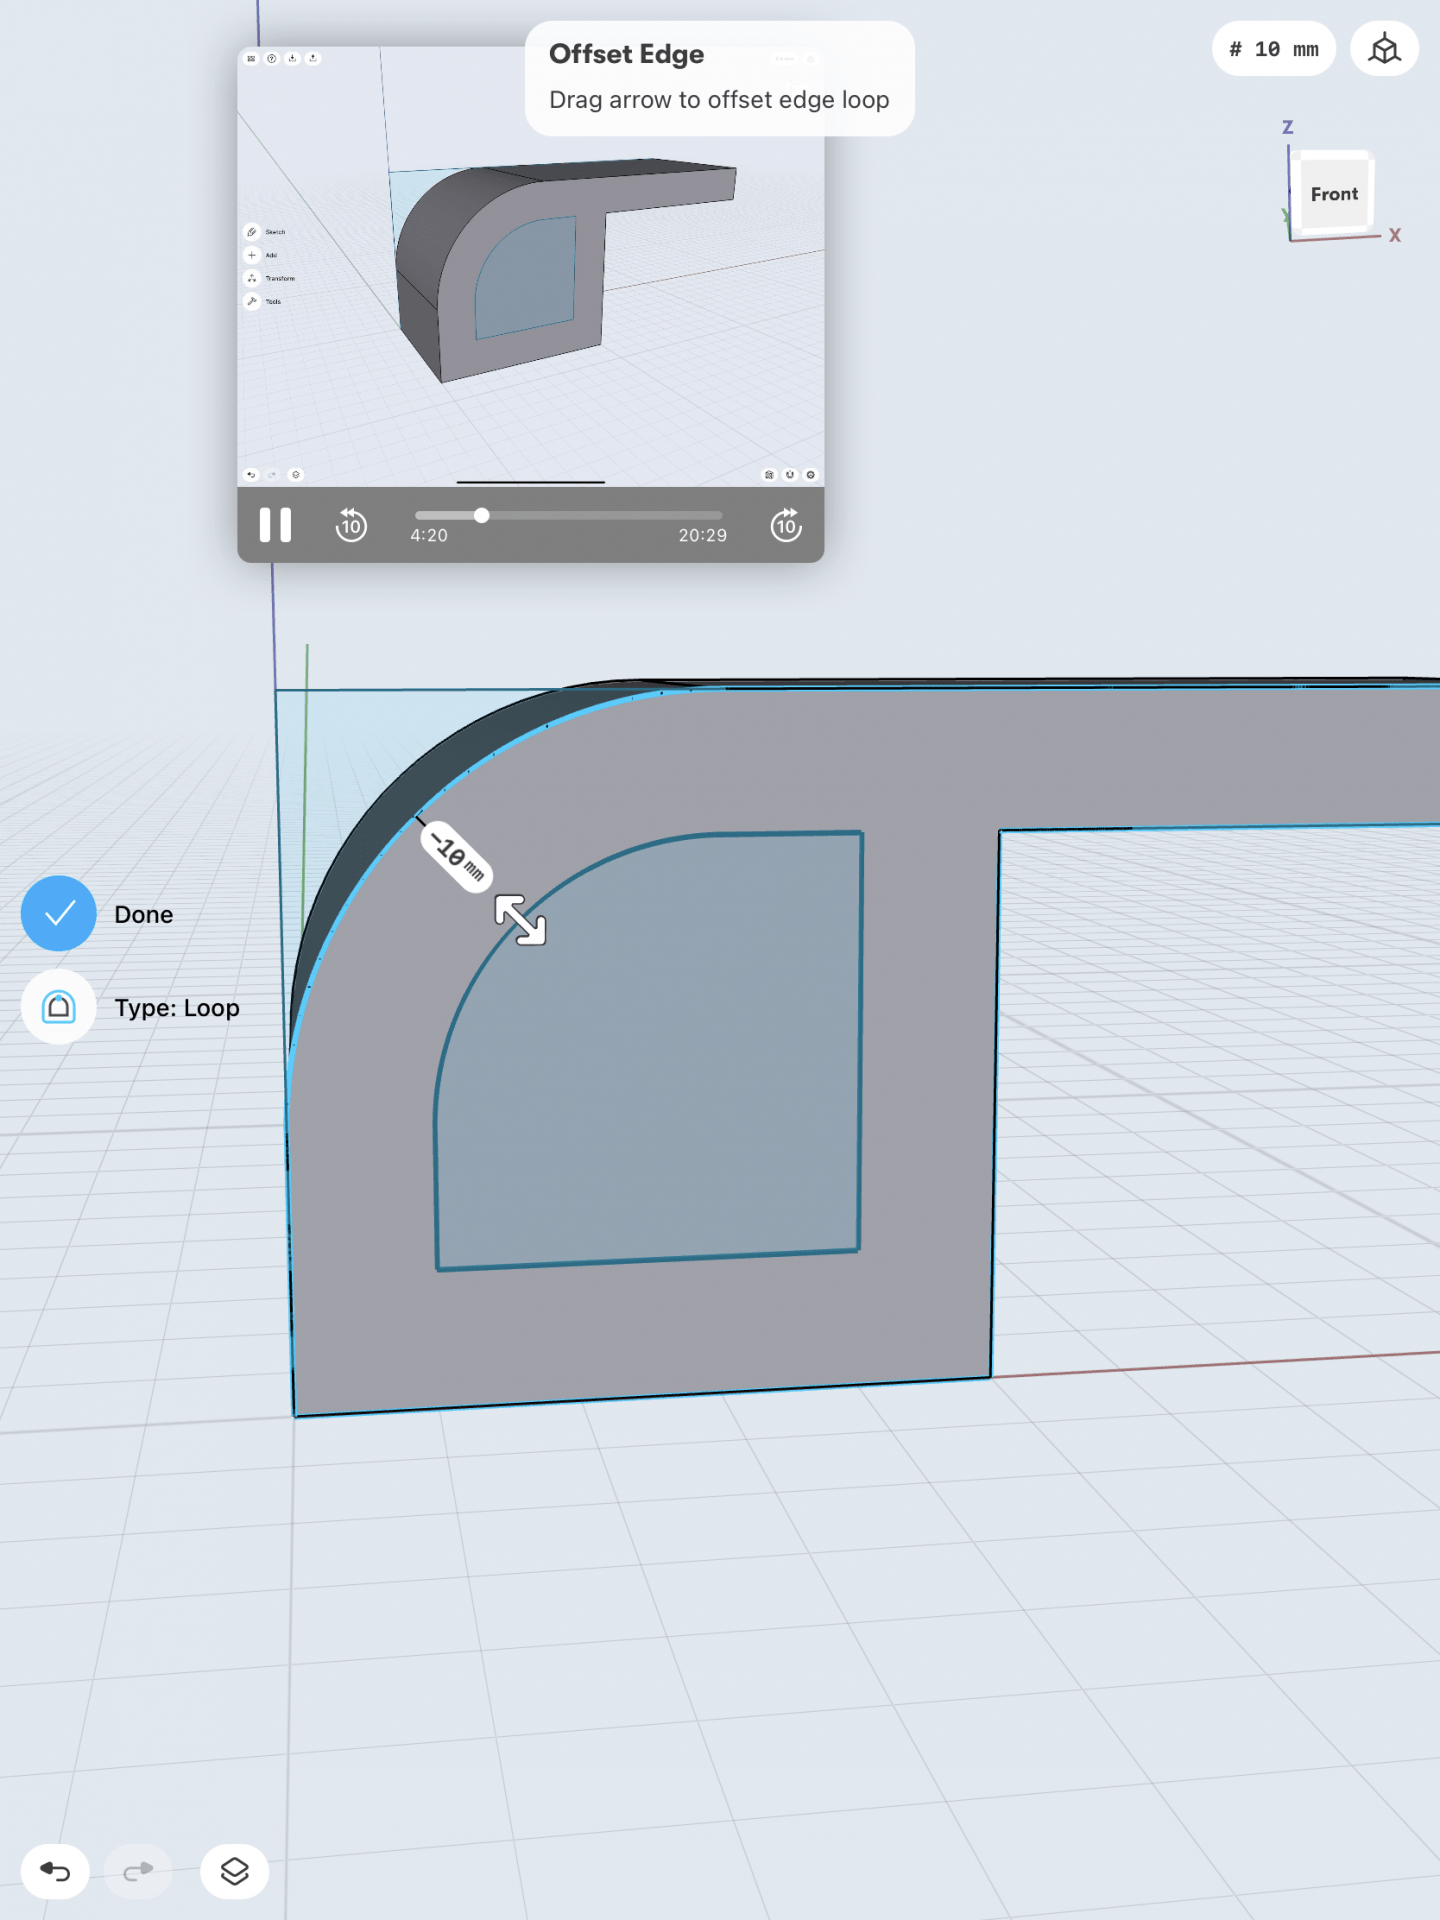
For my first iteration I modeled the letter “B” This one did not turn out exactly how I planned but I think I like it better this way. I did not originally plan to have a hole in the middle of it but in order to shape the curves on the “B” and extrude the faces I could not figure out a better way to do this.

I actually ended up enjoying the contrast of the hole in the center makes to the extrusions in the upper and lower parts of the “B”. I am definitely open to critiques on this one and still want to figure out how to make it the way I originally planned and see if I like it better.

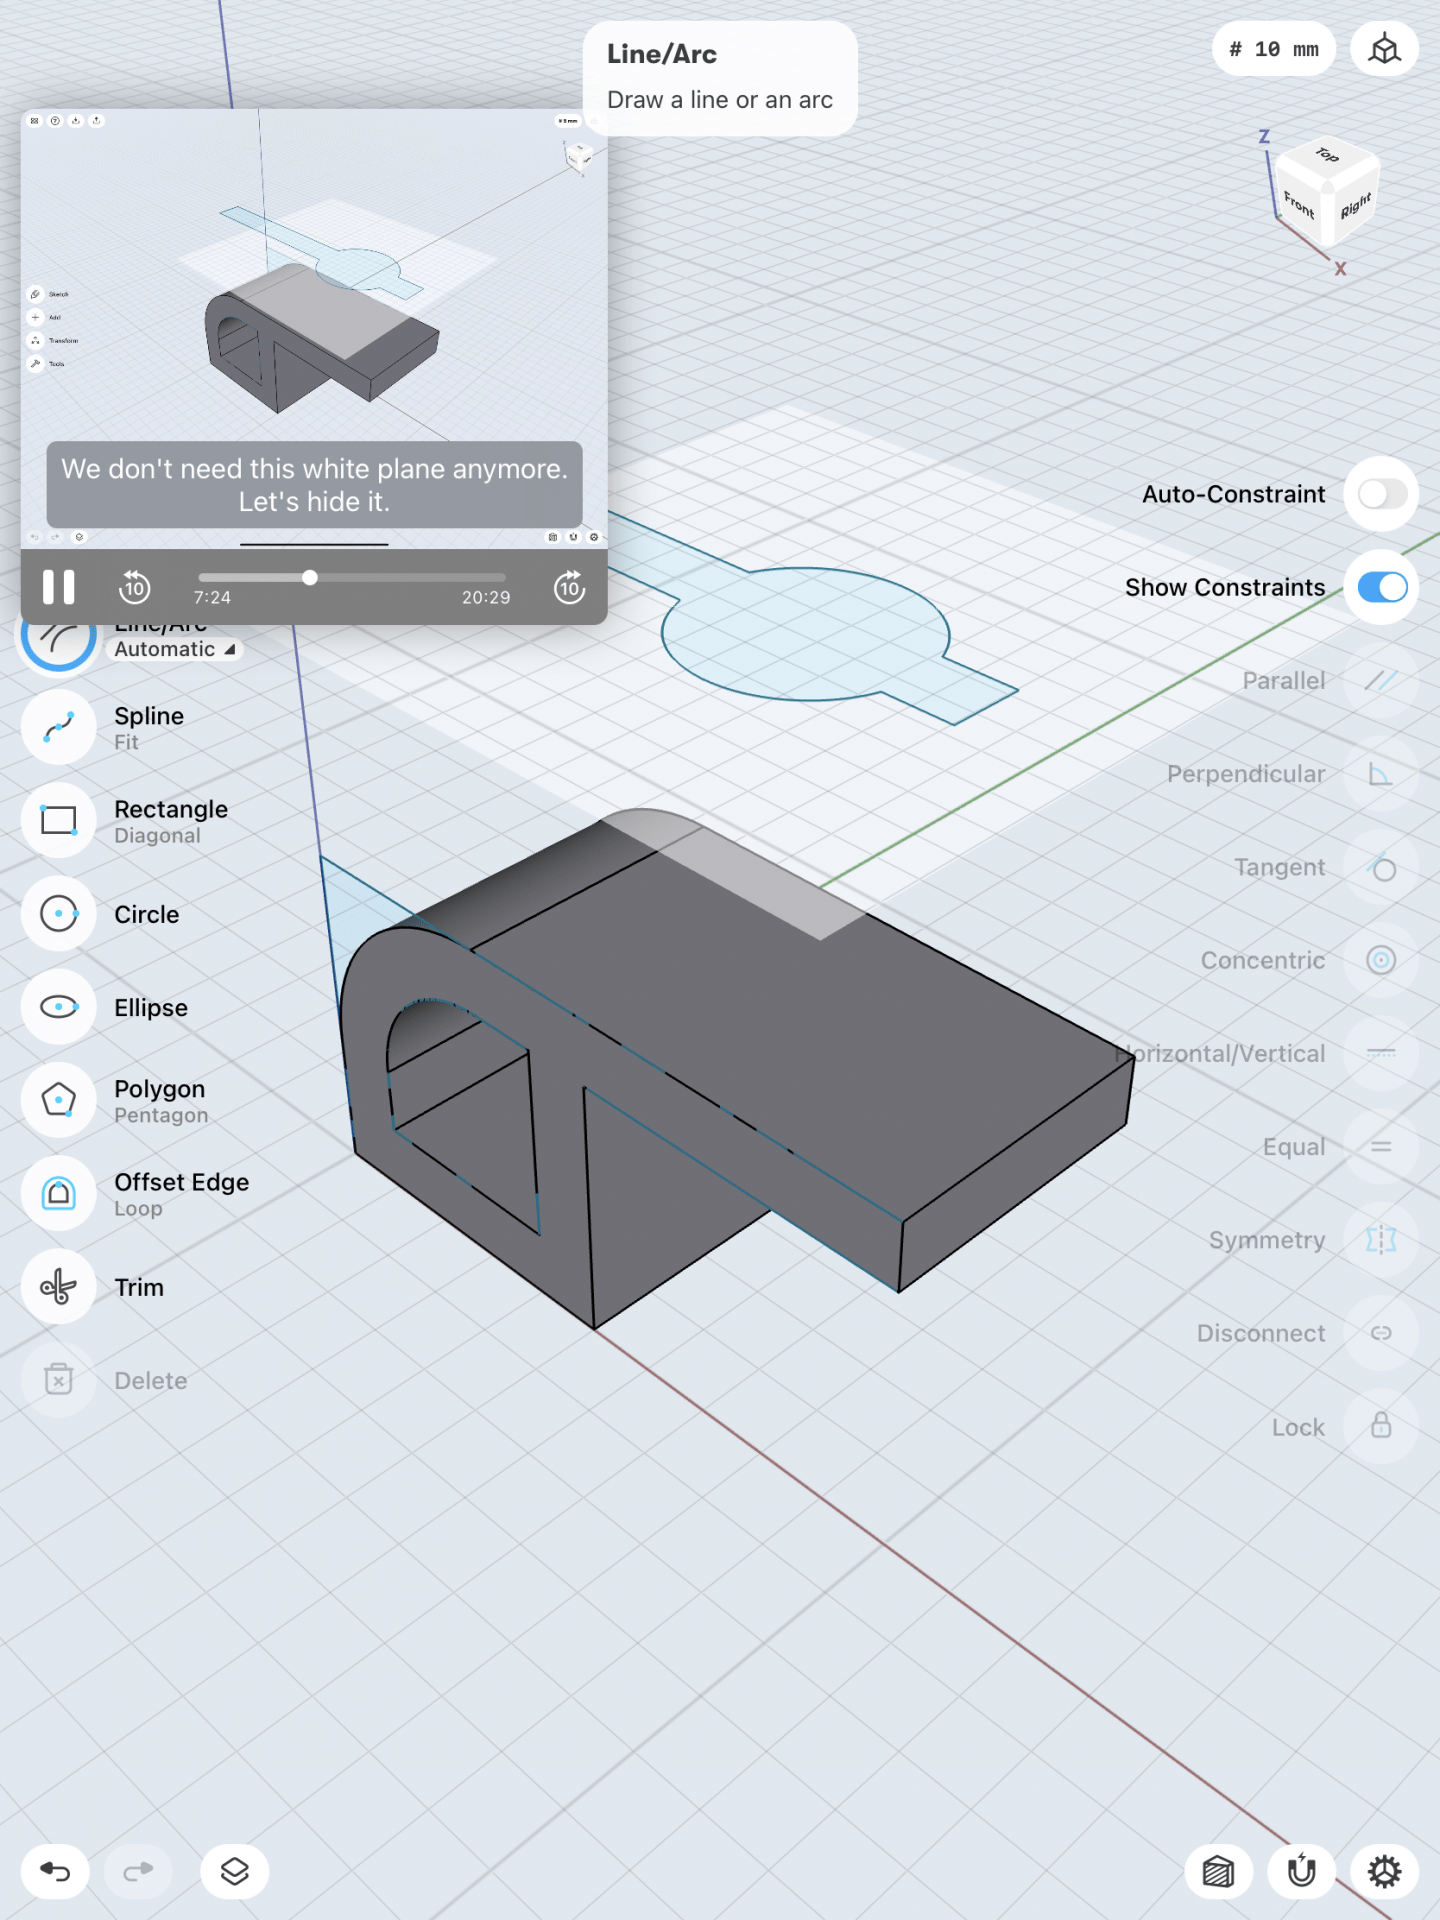
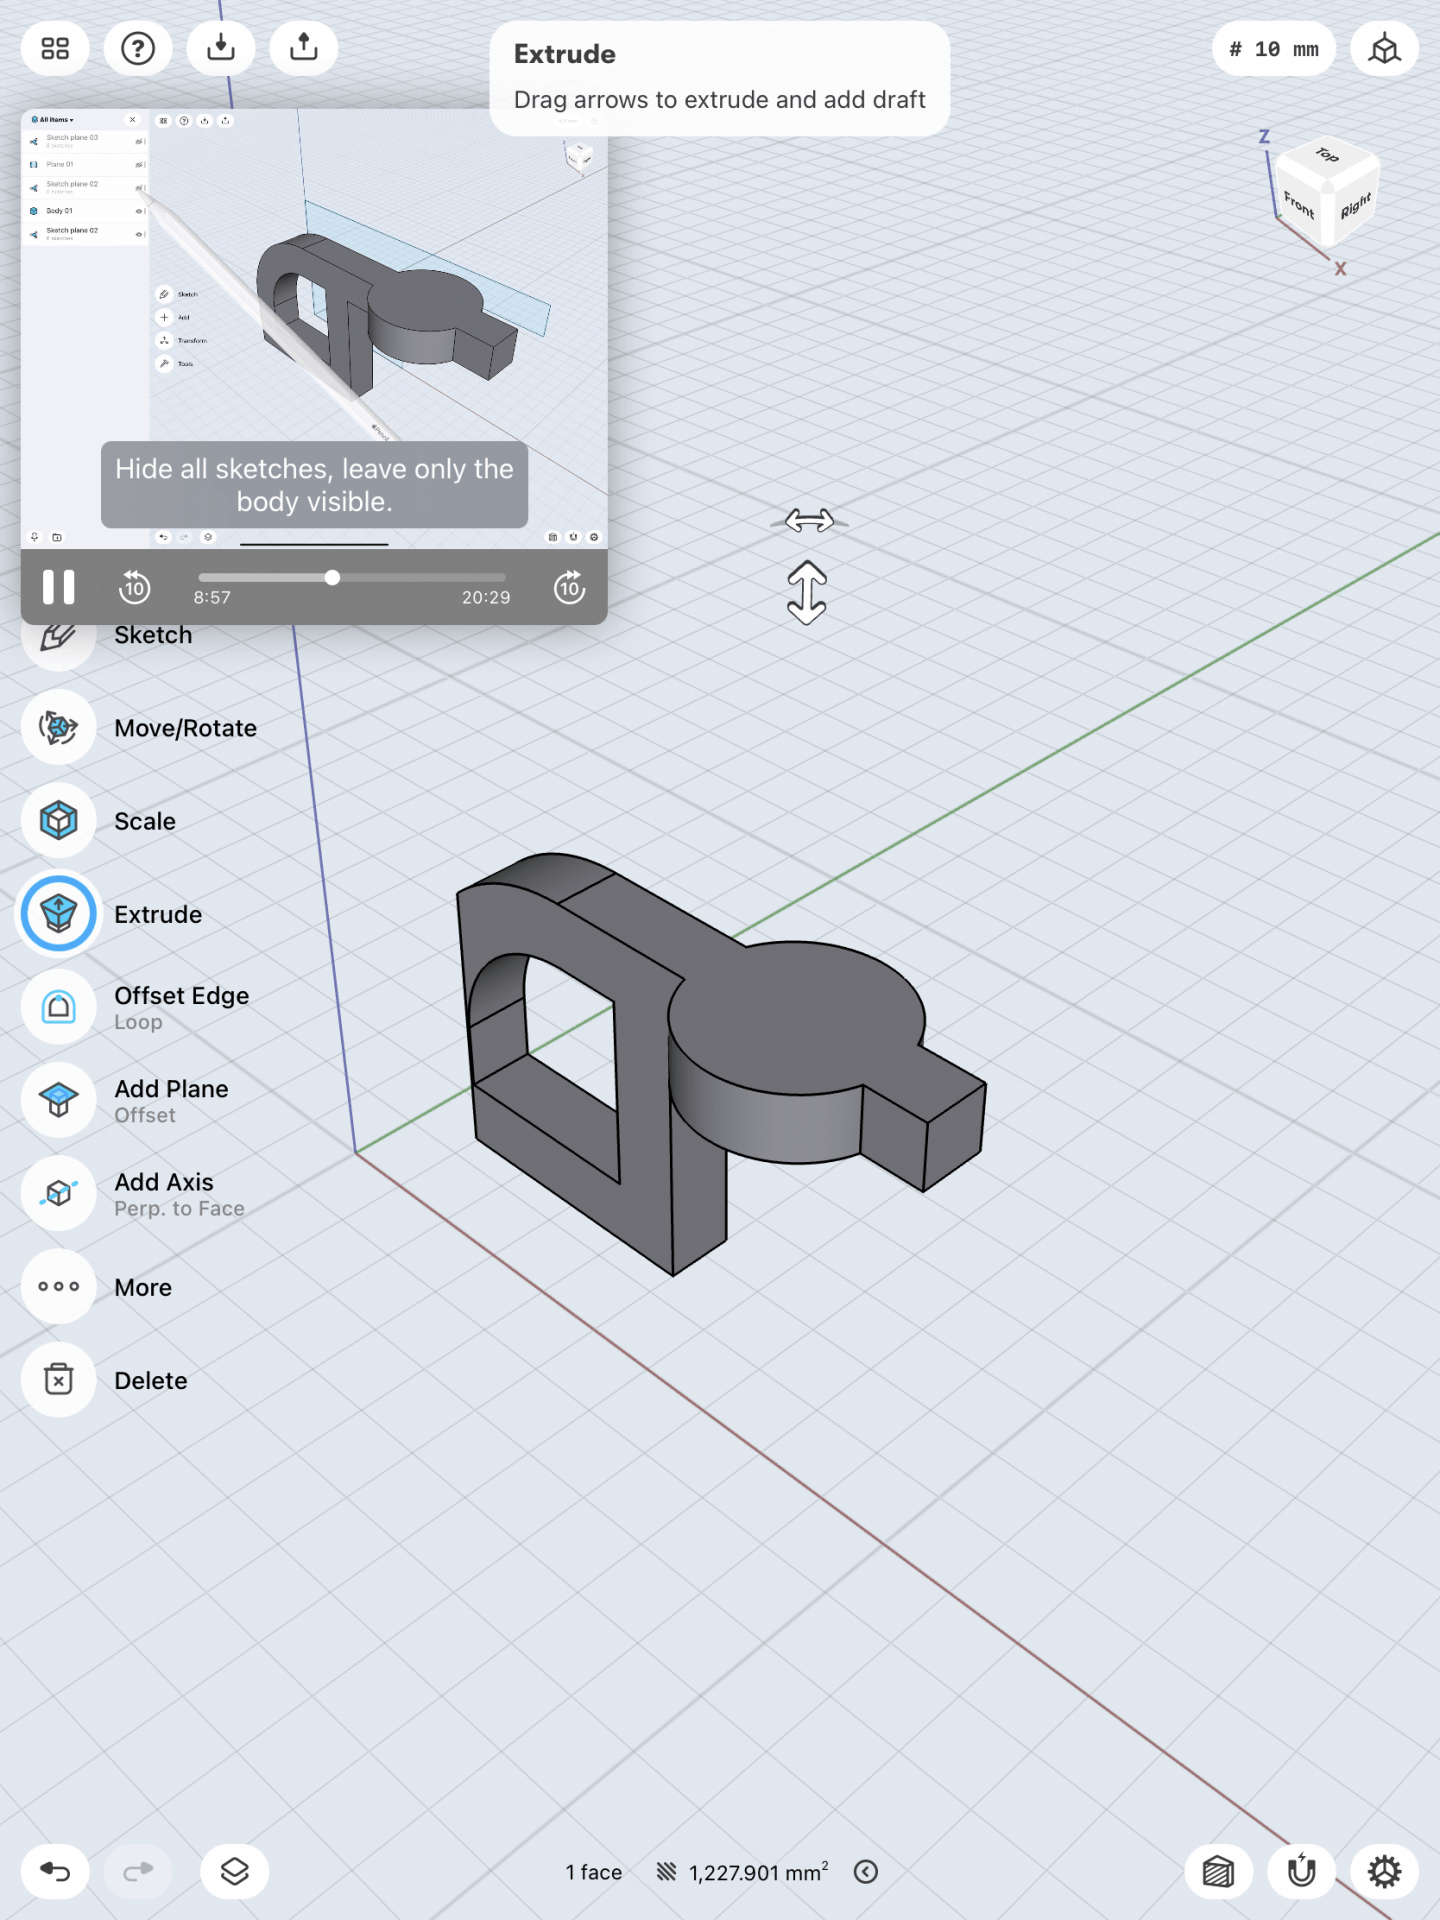
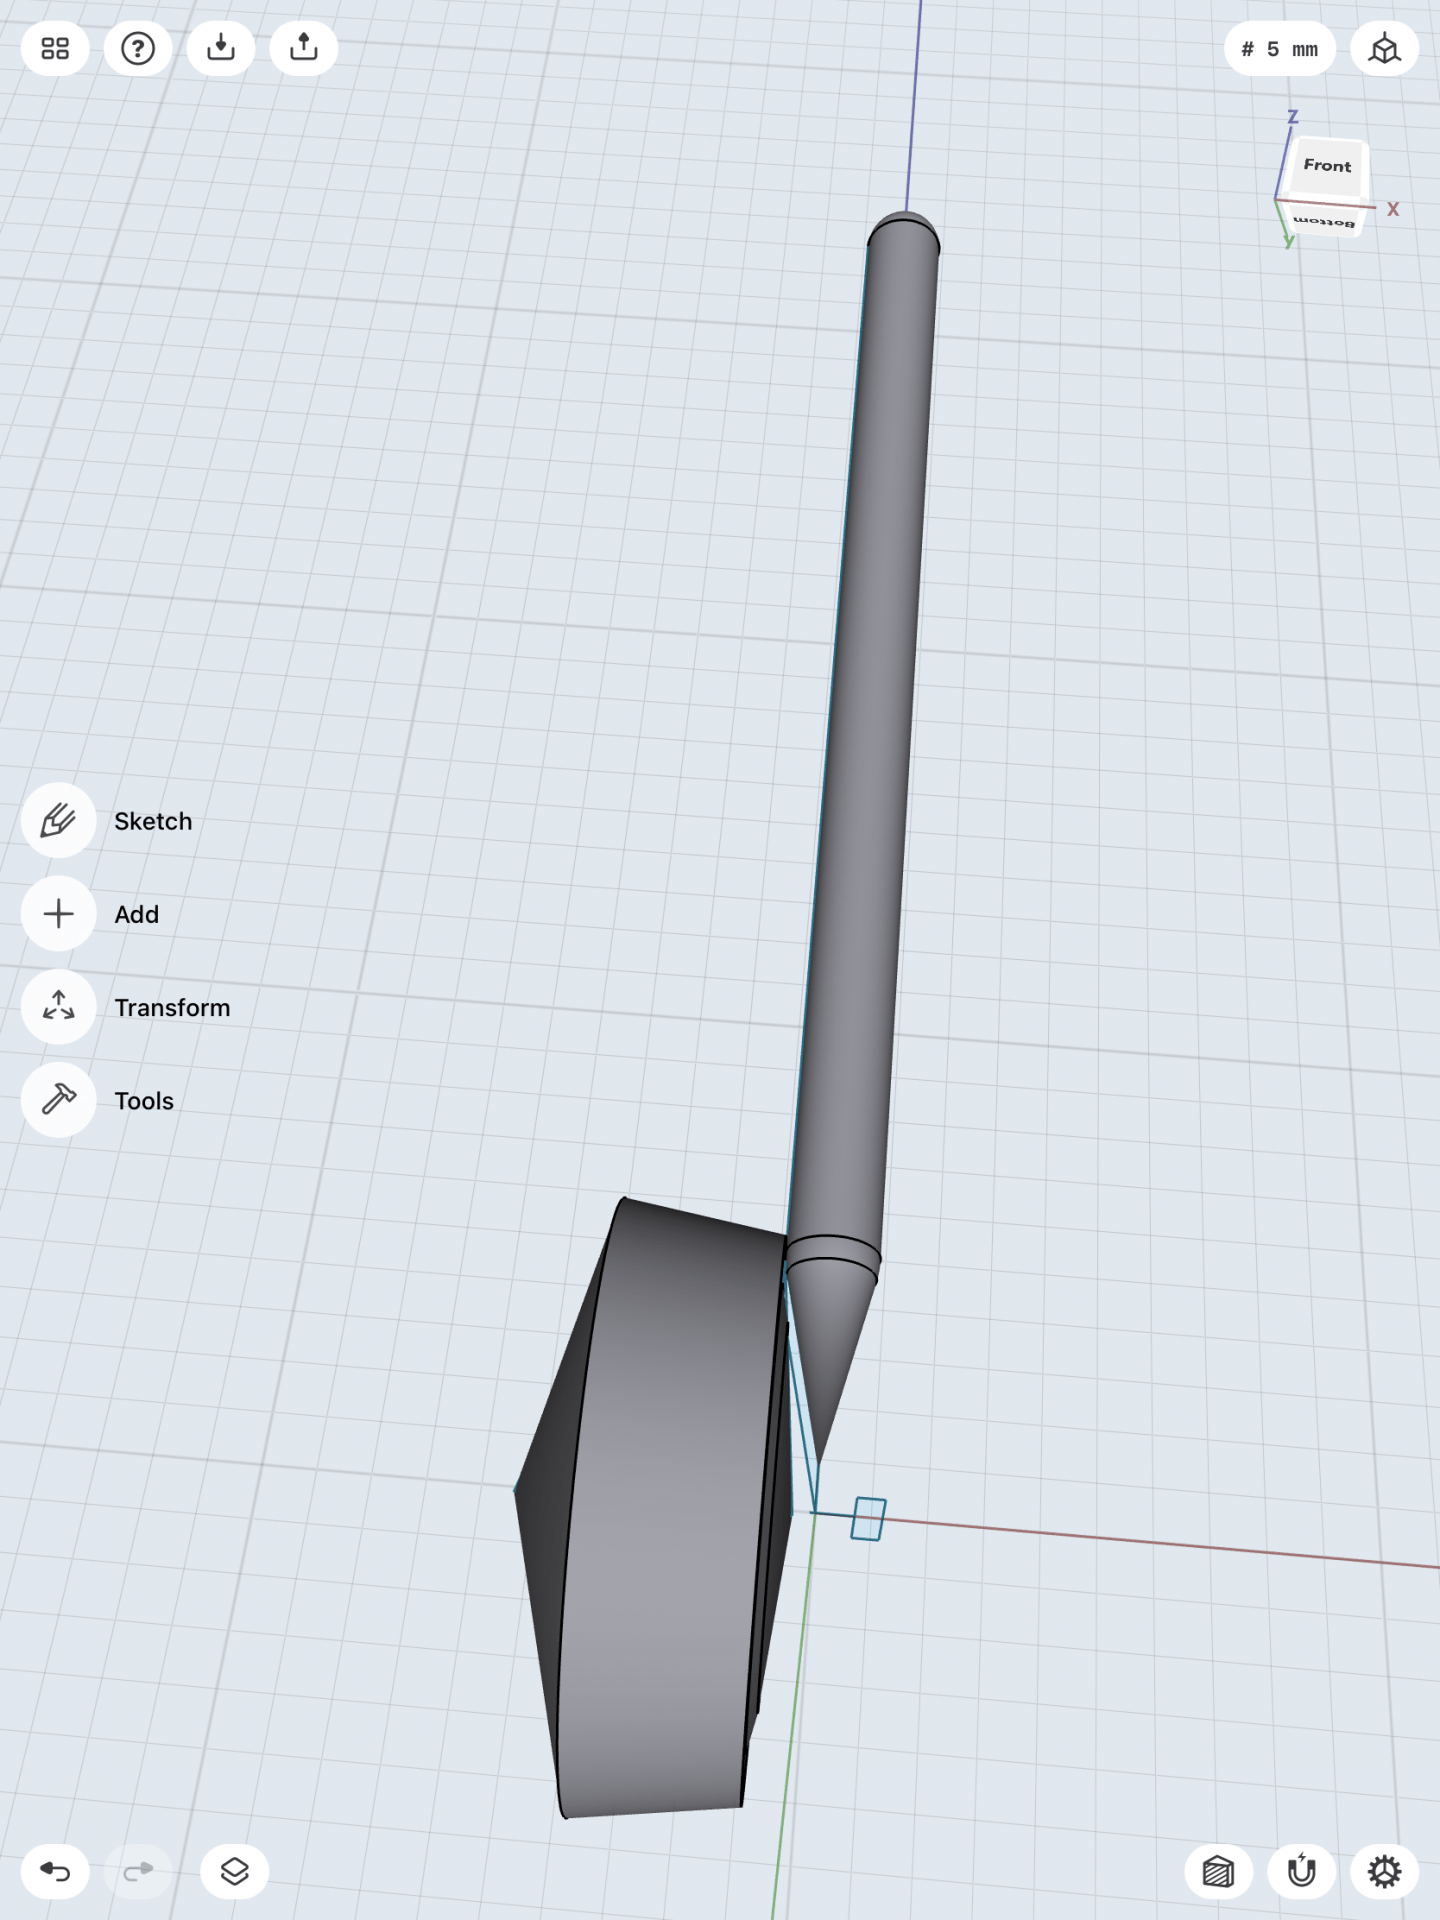
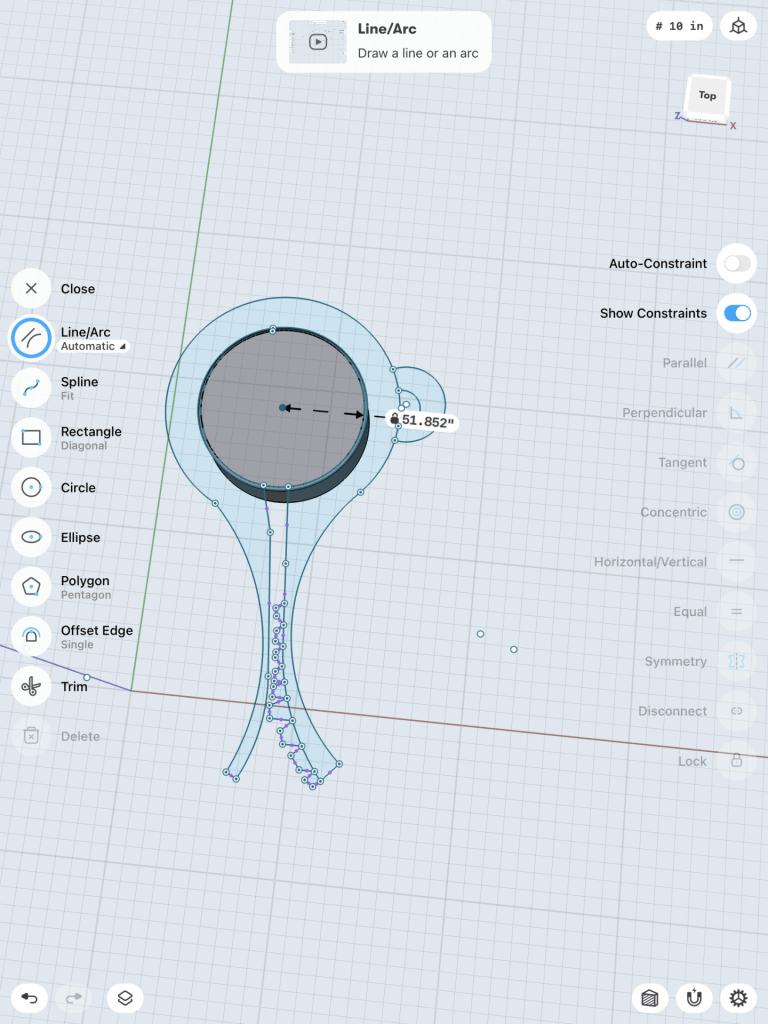
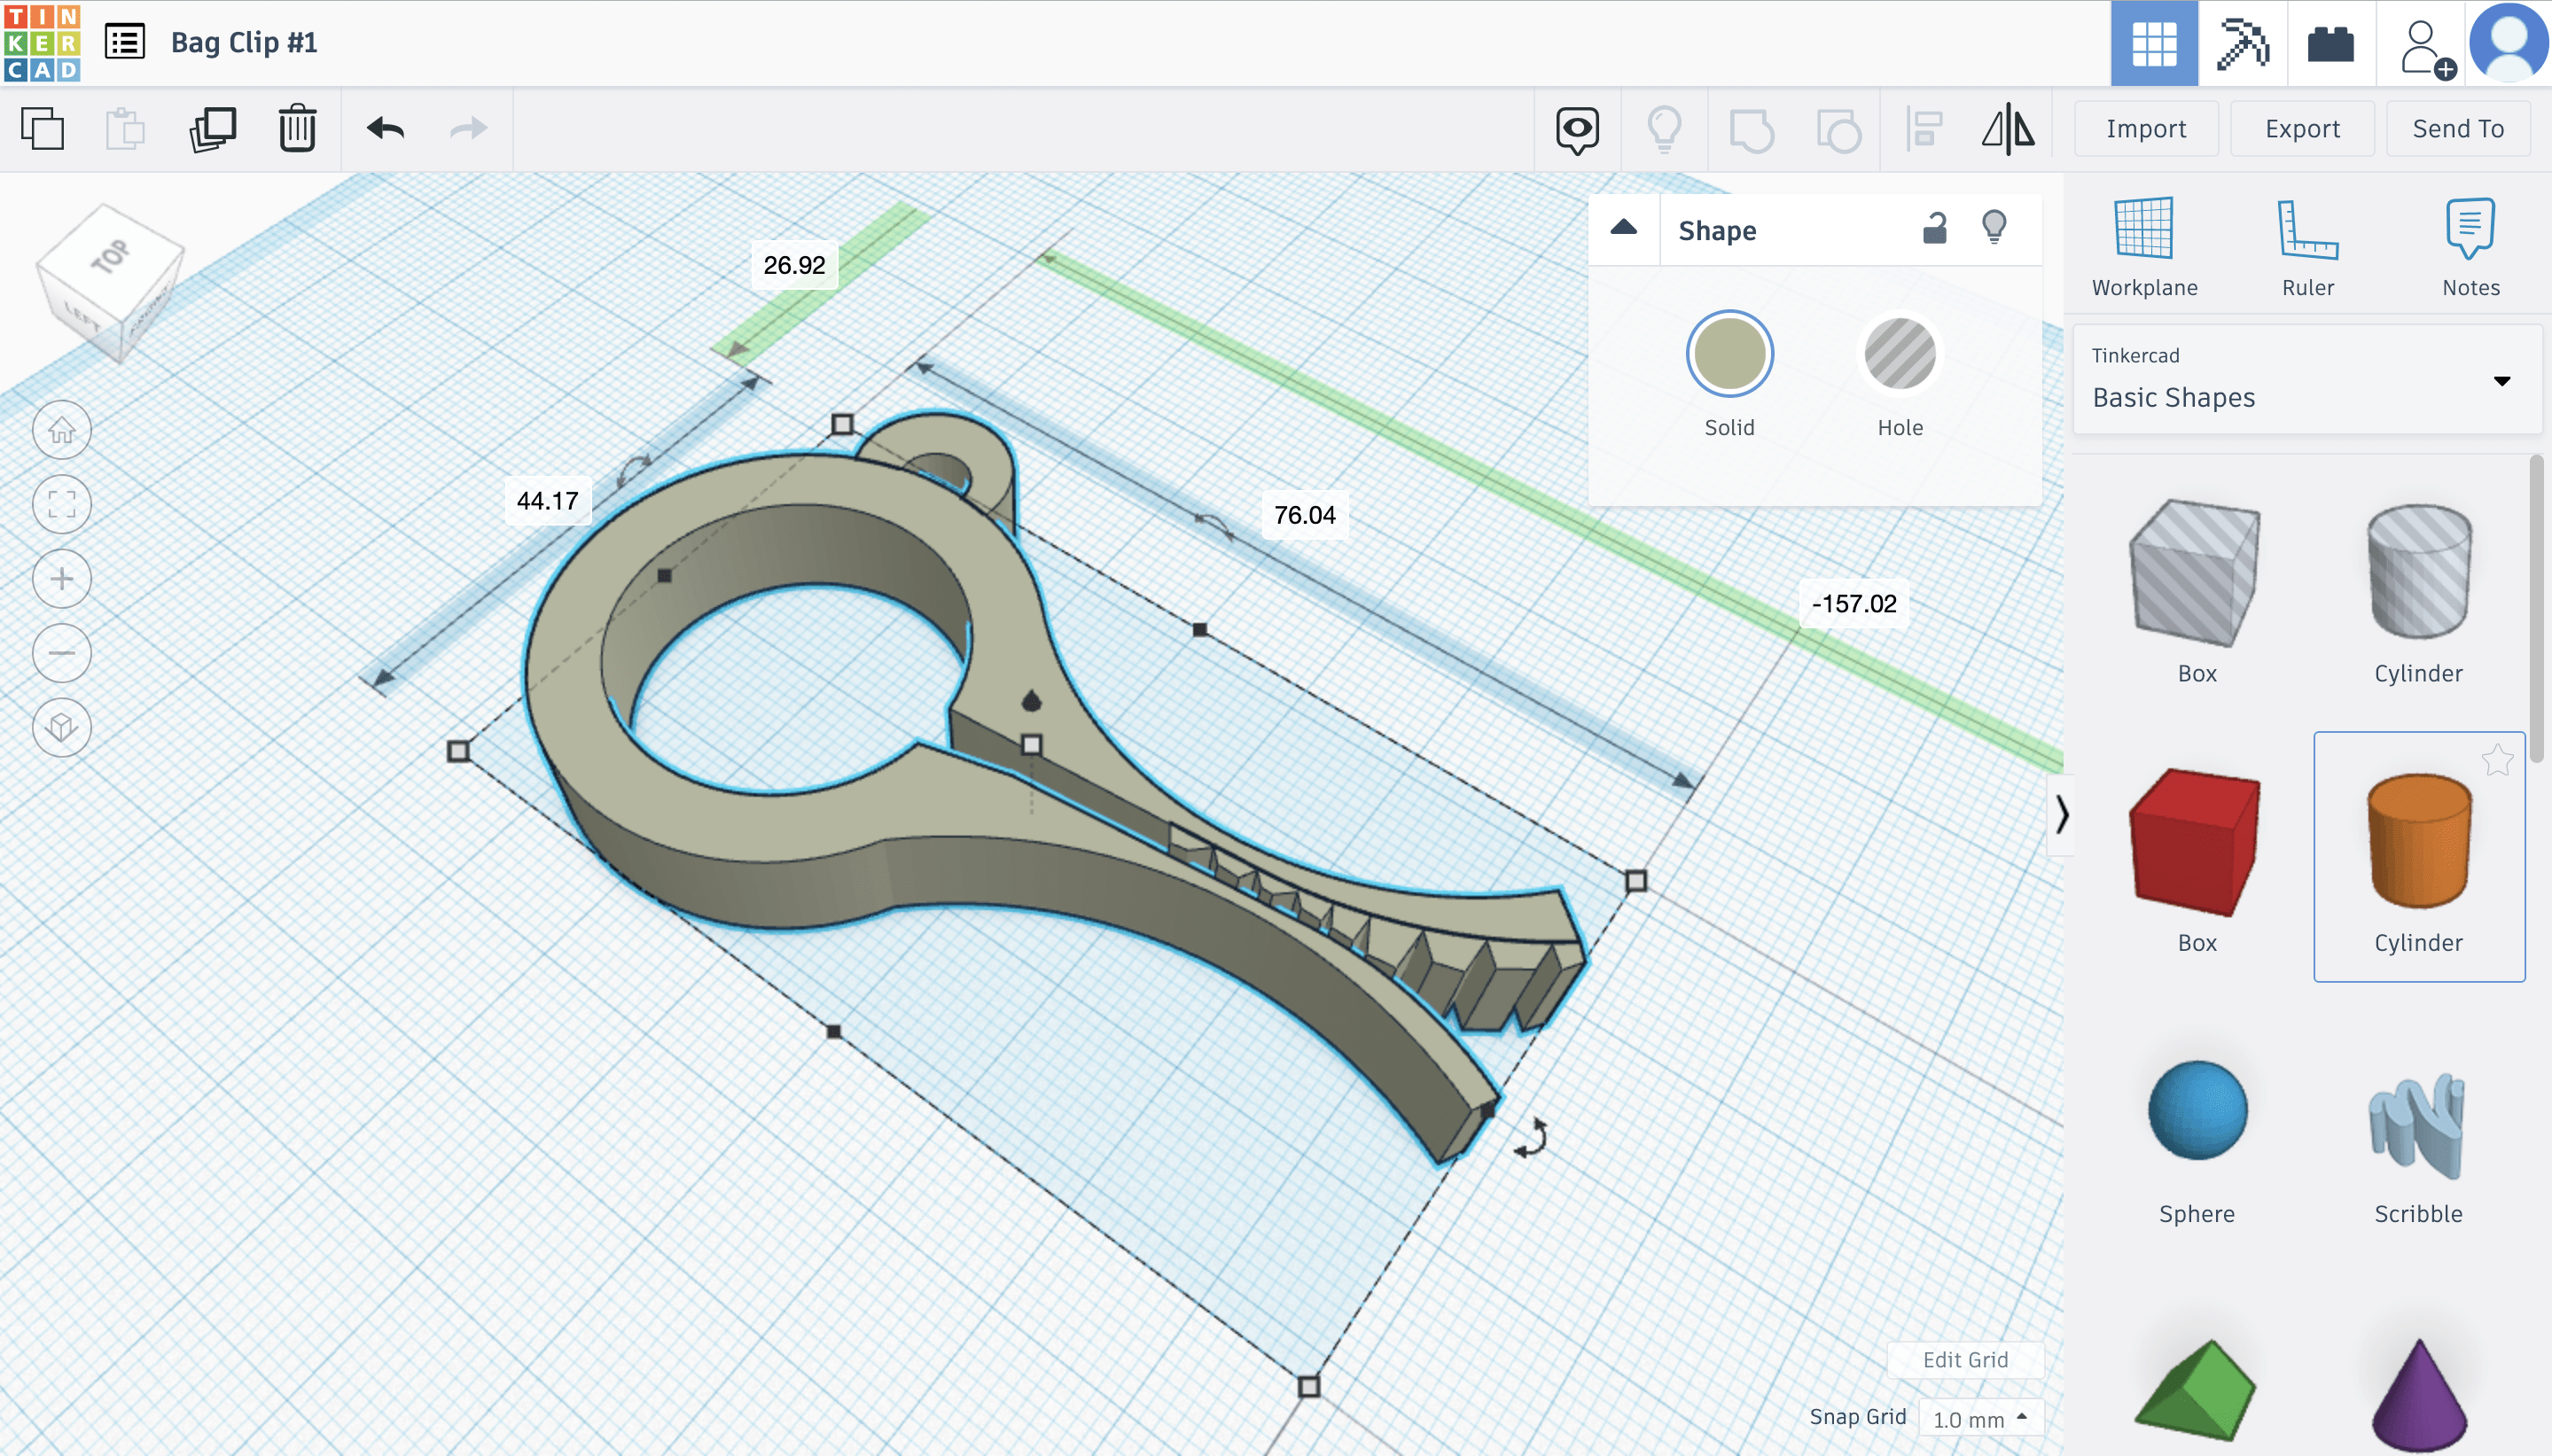
My second iteration was for the letter “f”. This one was a lot harder than expected but I think it turned out decent.

I had to sketch the f and extrude it then I chamfered all the sides until it was completely round. Then I had to take it into tinkercad and add parabloids to make the spikes around it. The spikes are not exactly how I would like them and I am not sure if the “f” is shaped correctly, there may have been an easier or more efficient way to make it so I am going to keep working on it.

Overall, I am super happy with how my iterations are looking so far!

Final Prints

Unfortunately one of my iteration for “B” that I turned in as my final print I do not have a photo of. I do have a photo of another iteration of “B” that is not as good due to the infill density being off but it is not horrible.

I ended up adding a small block to the bottom in order to help the letterform stand up but I did not take into account the weight from the extruding centers of the “B” so it was uneven and very hard to get to stand straight. My final letterform of this that I turned in was the same exact thing but the infill density was lower so the print came out much better.

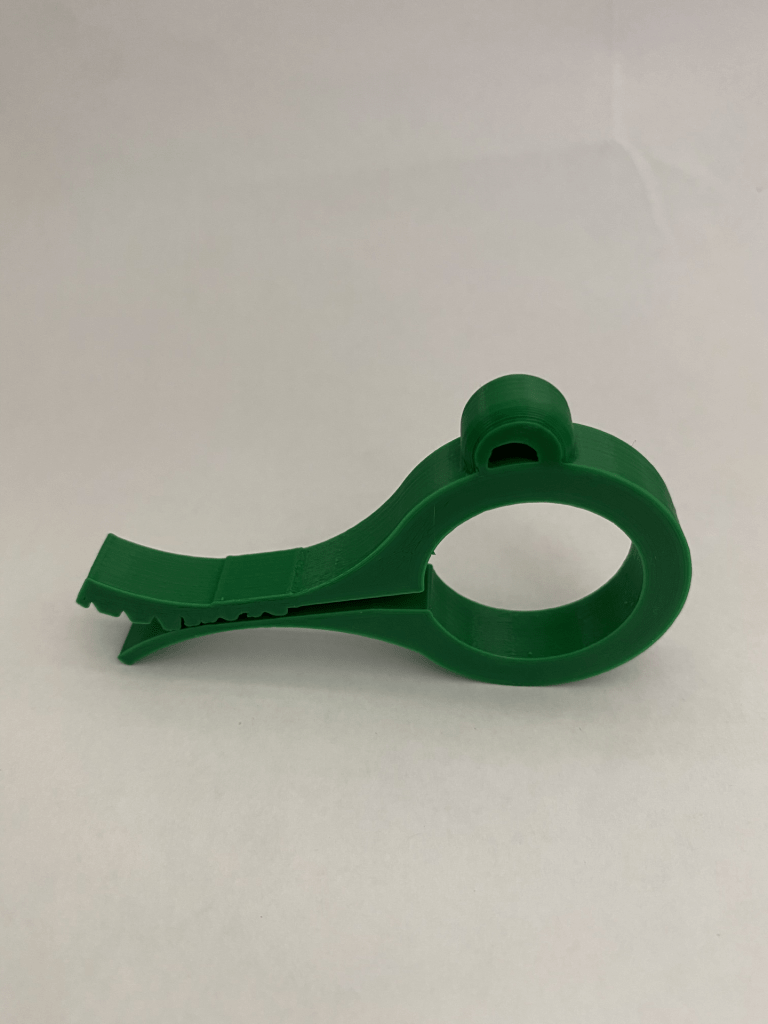
For my letterform “f” It actually printed very well on my first try but I tried to make it stand on the spikes but my first try did not work. I then printed it out again and added a fourth spike to the bottom but unfortunately it was too short so I then needed to sand down the other spikes to make it even. This helped a little bit and now it can stand up but only when it is placed perfectly. There were a ton of supports and rafts that needed to be removed from this print but it was worth all of the struggle of clipping them off.

Overall, I am very proud of how my letterforms turned out. Making them completely on Shapr3D was definitely a challenge but they turned out almost perfect. Had I had an easier time getting back and forth from printing and doing it in time I definitely could have made these letterforms perfect.

Shapr3D First Models

Bracket

To make this bracket I first started by sketching the outline.

I then pulled the face of the object to make it 3D.

Next I needed to sketch the shape I wanted to cut out on the face of the object and then pull it through to cut it out.

I then added a plane on top of the object so that I could sketch another shape that I needed to cut out and I used the trim tool to remove lines that I did not need.

After this I pulled that sketch through to cut the shape the way I wanted and then on the layers menu I hid all of the sketches which left me with this.

Then I sketched a circle and a rectangle and I used the co-centric tool to make the circle even in comparison to the object. I again used the trim tool to get rid of the lines within the circle. The all I did was pull the sketch through to cut it out.

I then need to fillet the edges on this to smooth them.

Next, I hid the body I made so I could just work on the base by making a rectangle then rounding the edges and adding 4 circles. I used the co-centric took to make sure they were aligned with each corner. Then I pulled through the faces to cut out the circles.

I unhid the body and had my final product but needed to select both body and unify them.

This was my final product! It was a lot harder than I expected and I did mess up somewhere along the way and got a flat edge along the back but it turned out okay!

Stylus

For my second model I chose the stylus tutorial and I really struggled. I actually went back and forth between a few of the tutorials and ended up on this one because I was able to get the furthest into it.

This was the initial sketch I started out with that I was then able to revolve into the stylus shape. It was so surprising to me that such a simple sketch would turn in to almost exactly what I wanted.

I was able to round the bottom but then the tutorial moved into a lot of other things and I was unable to figure out what he was doing. For some reason this tutorial was a lot harder for me to follow than the bracket tutorial.

Then I made the stand for the stylus by just sketching a shape almost like a parallelogram and then revolving it. I believe I revolved it on the wrong axis but of all the ways I tried this was the best I could get it.

Although this did not turn out the way it should I still learned a lot more than I knew even from the bracket tutorial. I am going to keep working at this in the hopes that I figure out what I did wrong.

3D Scan

3D Scanning was a very new experience for me but this project was extremely fin nonetheless. Using the IPad to scan myself and others was a pretty cool experience and seeing how detailed it could capture me was almost a little scary. Although it was difficult at first to get a good scan, once the camera’s were recalibrated it was much more simple. I then had to transfer the .obj file of my scan to my laptop and I opened it in Tinkercad.

I then added a stand for my bust and covered the logo on the bottom. There were no holes to fill luckily and nothing to cover up. I could not however, figure out how to stand my figure up straight so I ended up having to print it on its side which was fine it just made a plate and some stilts that I was able to remove.

When I was finally ready to print I saved this as an .stl and sent it to the printer but unfortunately it did not print the first time. I sent it again on a different printer and finally got my final product.

Overall, I am very happy with how this turned out. My dimensions are sort of off I think which I didn’t realize until it was printed. Regardless, this was a very cool experience getting to print something so personal and I am now super interested in 3D scanning and have been very curious about what else scanning is used for.

Julianna’s Self Expression

Research & Concept

Recently I have found myself with a growing need for a bag clip as my addiction to jalapeño potato chips has only gotten stronger. Whenever I am at the store purchasing a bag clip never crosses my mind because really it is a boring item. This is why I chose this item for my self expression print. The more I looked at different images of bag clips, I quickly realized how easy it would be to inject playfulness into this typically overlooked household item.

In order to make the prospect of a bag clip more fun I decided I would make it look like an alligator’s head. I would do this by adding an sphere at the top as an eyeball and a few ridges along the top tab. I would also make the top tab slightly longer to help with opening it. The ridges that are already on the inside in the above example are very important to making the clip able to stay on the bag tighter but also add to the vision of an alligator and sort of look like teeth.

Iterations

For my iterations I used Shapr3d in order to make the shape of the bag clip. I thought this would be easier because of the curved shape and it turned out being perfect because of the very specific shapes I needed to sketch for alligator’s mouth.

These are screenshots of my design in Shapr3d. It was very simple to sketch and extrude my object and it was exactly the shape I wanted. I then transferred it into Tinkercad, because I did not realize you could print straight from Shapr3d.

I then needed to resize my object because it was very small. I did not have a good concept of what size I really wanted it so this was just a guess. Now that my first prints came out I have a better idea of what size is most practical.

Unfortunately, when I moved my object into Cura Ultimaker to slice and print it, for some reason it kept appearing with a hole in it when there was no hole in Shapr3d or in Tinkercad. I decided to go ahead and print it anyway in the hopes that it would print with the hole filled but it did not.

Other than having a hole in it I thought the print came out great so I decided to keep everything the same but to figure out how to fill in the hole and reprint. To do this I went in to Tinkercad and put a box where the hole was appearing in the hopes that it would cover it.

By doing this I was able to fill the hole that was appearing on the slicer and continued to print another iteration.

This is my final iteration of my alligator bag clip. I am very pleased with the way it turned out but I think I am going to try downsizing it a bit. I also decided to put teeth on the inside of the two clamps instead of on the top like I drew in my sketch. I did this in order to make it more useful, I felt like the ridges of the teeth may make the clip grip better on a chip bag rather than having a smooth edge trying to hold together a smooth thin bag. Other than sizing it down a bit I do not think there are any other changes I would make to this design.

Final

As I said I would do before, for my final print I downsized the clip a ton. Additionally, I rounded the eye on the alligator to make it look more realistic. I am extremely happy with how this turned out and I hope people make it or remix it!

3D SVG

For my design I decided to use words from art that I had made inspired by my grandmother. So I took the text from the original work that was in InDesign, and created outlines around it in Illustrator. At first I tried using image trace but when I would import it on to Tinkercad the letters were negative space and all around it was solid so this would not work for what I had in mind. Once I made the outlines and converted it to svg everything went smoothly. While trying to decide what to make I started with a heart shape and had the words coming off of the heart and and I liked the way it looked with the words hanging over the heart. After playing around for a while I decided to make the words a hole in the heart instead.

This is the original art that I took from.

The last photo is my final design for this decoration that is very special to me.

Julianna Barnaba’s Form|Function

F|F Research & Concept

The object I would like to make to demonstrate form and function is this cotton swab and cotton pad container. The purpose of this is to effectively organize those items and either leave the out on your counter or be able to store them away or travel with them using the lid. It is perfectly fitted for the round pads and contains small compartments to fit in a bunch of swabs.

https://www.thingiverse.com/thing:4723700

Some personalizations I would like to make in order to make it more usable for me would be to lessen the amount of compartments. By making only 3 compartments it would give me more space to fit something other than just cotton swabs that may be bigger like makeup brushes. Another personalization I could make would be to make the base of it wider. The original design is just under 119 cm wide. If I made it 123cm I think that would be enough to give more space to fit other things, all while keeping the spot for the cotton pads the same size.

F|F Iterations

This is my original print of the un-altered cotton swab and q-tip holder by Syzguru11 on Thingiverse. This print took about 7 hours and came out great. In my sketches I mentioned wanting to get rid of some of the walls that section it off but after seeing this first print I decided to focus on just removing the lid and the lip at the bottom of the front opening.

After seeing the original print I decided I wanted to remove the small lip from the bottom of opening in the front. I thought this would be a good idea since having that there may make it more difficult when trying to get out the last cotton pad. Finally, I decided to remove the lid seeing as it was not very useful and for myself it did not seem to serve a purpose.

Here is my Tinkercad design with the removed lip using a box hole and the removed lid with a box hole over it as well.

If I had more time to test out more versions of this print I would try to take out some of the walls that make the compartments but when I tried to do that originally, I could not figure out how to properly cover the wall with a hole without messing up anything else in the process.

Here is where I finally was able to semi cover the walls the way I wanted to without creating a hole at the bottom or being destructive to any other part of the design except for the two walls. Unfortunately when I printed this the printer ran out of PLA and was not able to complete the Thing. From what I could tell I was able to remove most of the wall successfully.

As you can see the lip was removed but not in the best way. It was hard for me to tell how it would turn out on Tinkercad but obviously this still works and I think was a beneficial change.

Overall, the process of remixing and reworking this print was really fun and I learned a lot about Tinkercad. I wish that I had more time to reprint my last version without the walls but either way I think my final print was good enough and it has already been extremely useful!

Julianna’s First Print

This past week I was able to use a 3D printer for the first time and it was just as cool, if not cooler than I imagined. I decided that I wanted to print the Flower Fob that @muzz64 on Thingiverse created. I can only imagine the work that goes in to actually creating this design but I am excited to learn. Downloading the design and transferring it to the printer was rather easy other than a few adjustments that needed to be made on my end. I never thought about how the printer knows what you want it to print so I was rather surprised when I found out it was through an SD card. Watching my flower fob print was so cool I could have sat there the entire hour and a half just to watch. Overall it was a super cool experience and I can’t wait to print some more and make my own designs!

Hi, Im Julianna Barnaba

I am from Hamilton, New Jersey where I live with my mom and two younger brothers. I have moved many times but never out of New Jersey. I like to stay active and have always played sports like lacrosse, basketball, and volleyball. My new favorite hobby is going on walks and hikes. I love doing anything thats outside and I spend all of my summer at the beach and have made it a goal to live on a boat for the summer. I am very family oriented and I consider my grandparents my best friends.

I chose a CD Boombox as the object to represent me because I love music and ever since I was little my mom was always playing her music on a boombox and that was what I would wake up to on the weekends as she cleaned or started cooking a pot of sauce on Sundays. Even now I always have a big speaker in my room and you will rarely catch me not listening to music throughout the day.

My creative type is Visionary. I am emotional, passion-driven, and full of ideas.

These are links to where you can find me!