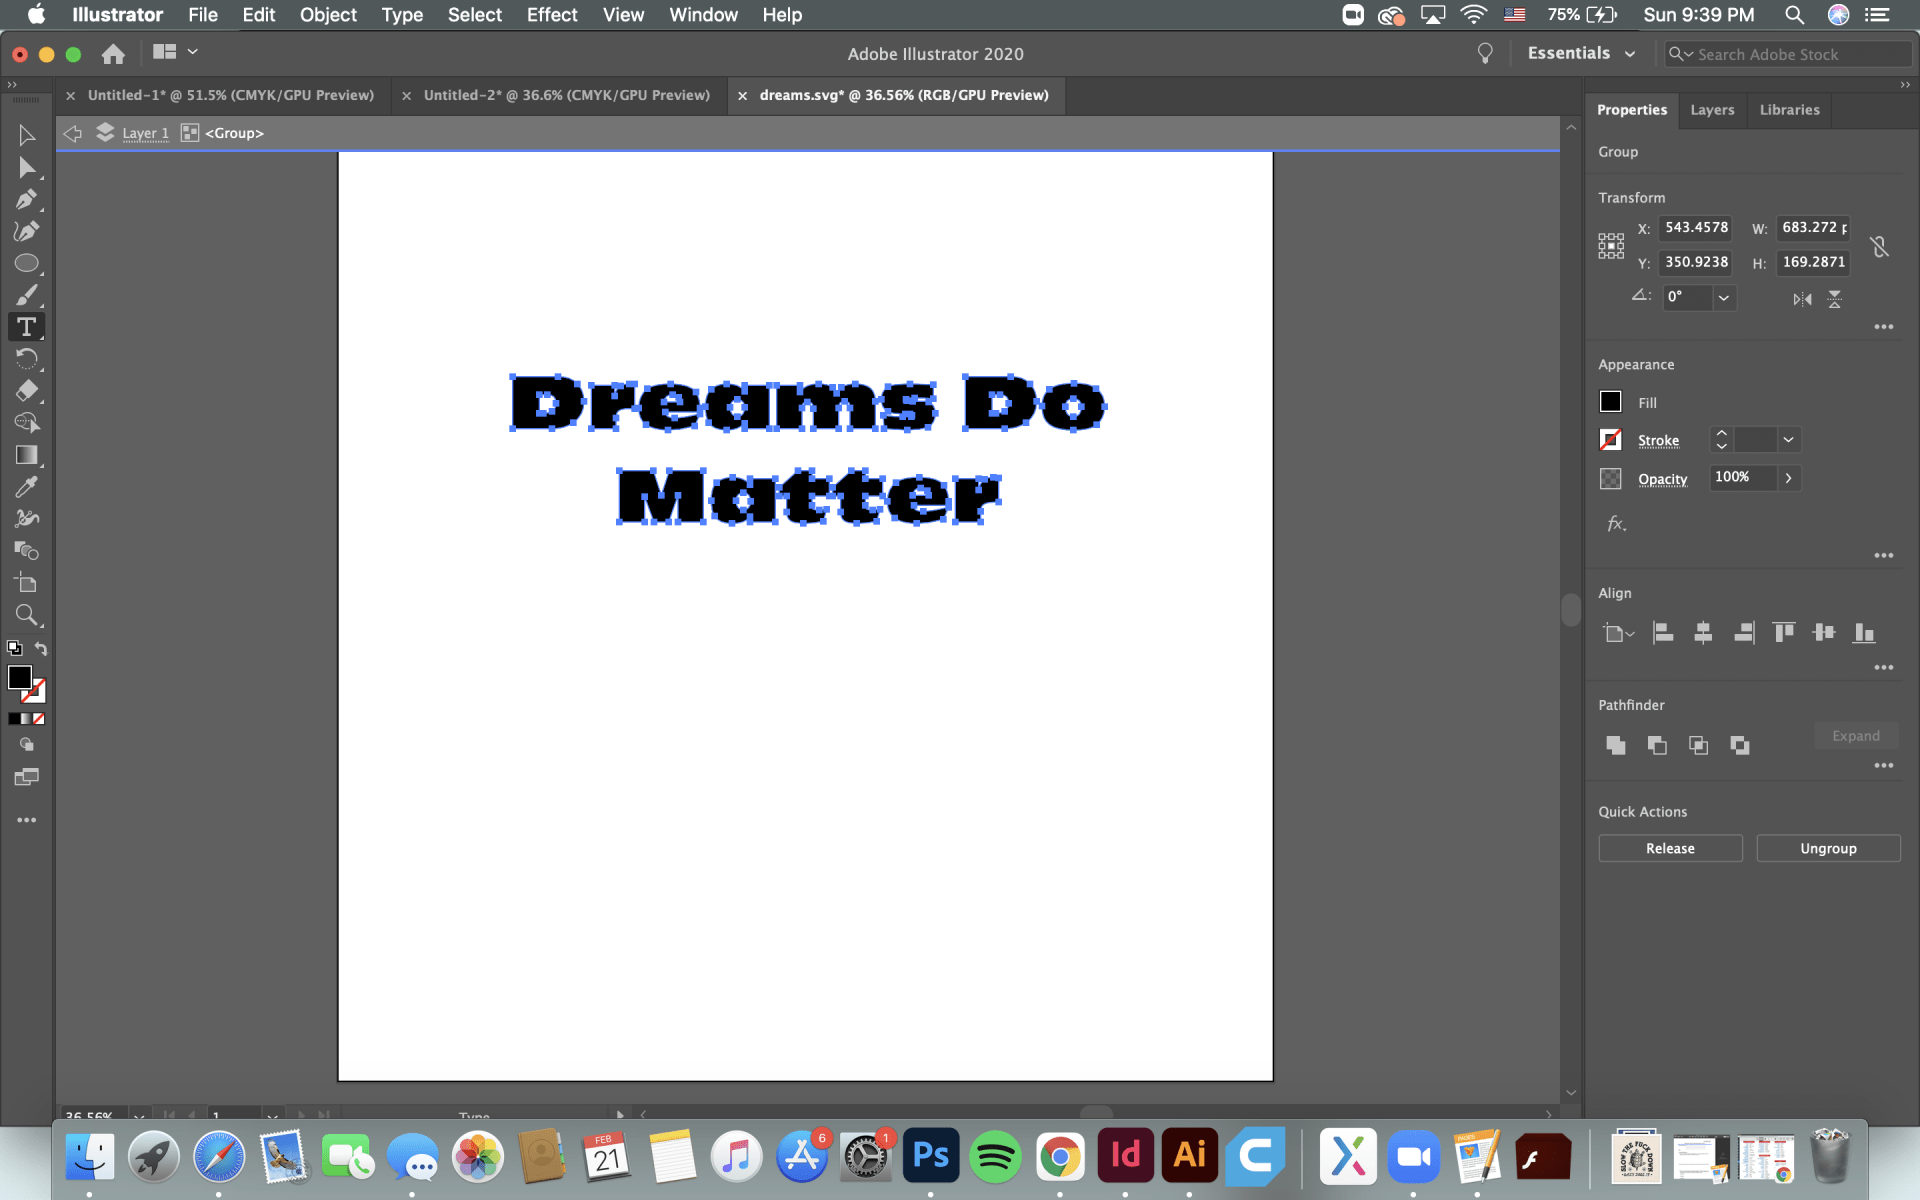
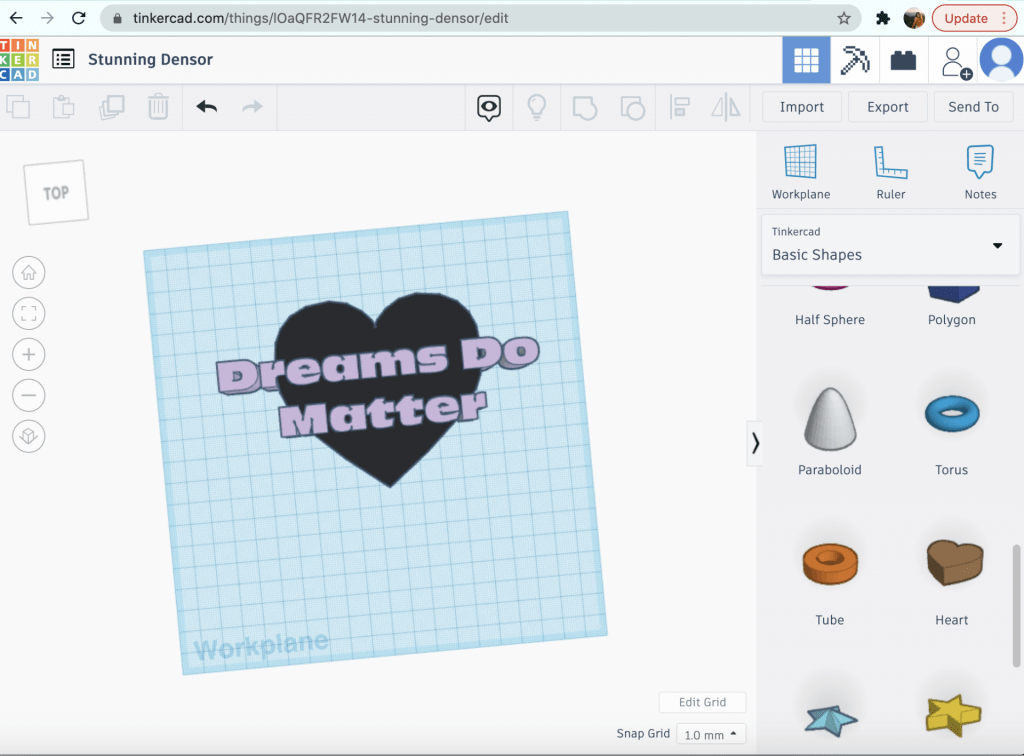
For my design I decided to use words from art that I had made inspired by my grandmother. So I took the text from the original work that was in InDesign, and created outlines around it in Illustrator. At first I tried using image trace but when I would import it on to Tinkercad the letters were negative space and all around it was solid so this would not work for what I had in mind. Once I made the outlines and converted it to svg everything went smoothly. While trying to decide what to make I started with a heart shape and had the words coming off of the heart and and I liked the way it looked with the words hanging over the heart. After playing around for a while I decided to make the words a hole in the heart instead.
This is the original art that I took from.
The last photo is my final design for this decoration that is very special to me.
For my SVG design, I decided that I wanted to make a simple keychain that was personalized with my name on it. I ultimately decided on a personalized keychain because at my apartment my roommates and I all basically have the same keychain holder and we often get our personal keys mixed up. Because of that I thought it would be a good idea to add on an object that is personalized for me so that my roommates and I can avoid the problem of mixing up our keys.
On Adobe Illustrator I knew the shape of the keychain that I wanted so I traced it out with the curvature tool. After creating the shape, I decided that I wanted to put my full first name rather than just my initials so I picked a font I liked and wrote in my name. I then created an outlined my name and then put in little rectangles to add more dimension to it.
To transform the 2D SVG model to a 3D model I began by importing the Illustrator SVG file into Tinkercad. Once imported the empty spaces where I wanted my name and the rectangles to be were imported perfectly as the spaces were left empty. The only element I changed was the thickness of the object. The keychain was imported with a 10mm height and I wanted it to be thin so I changed it to a 5mm height.
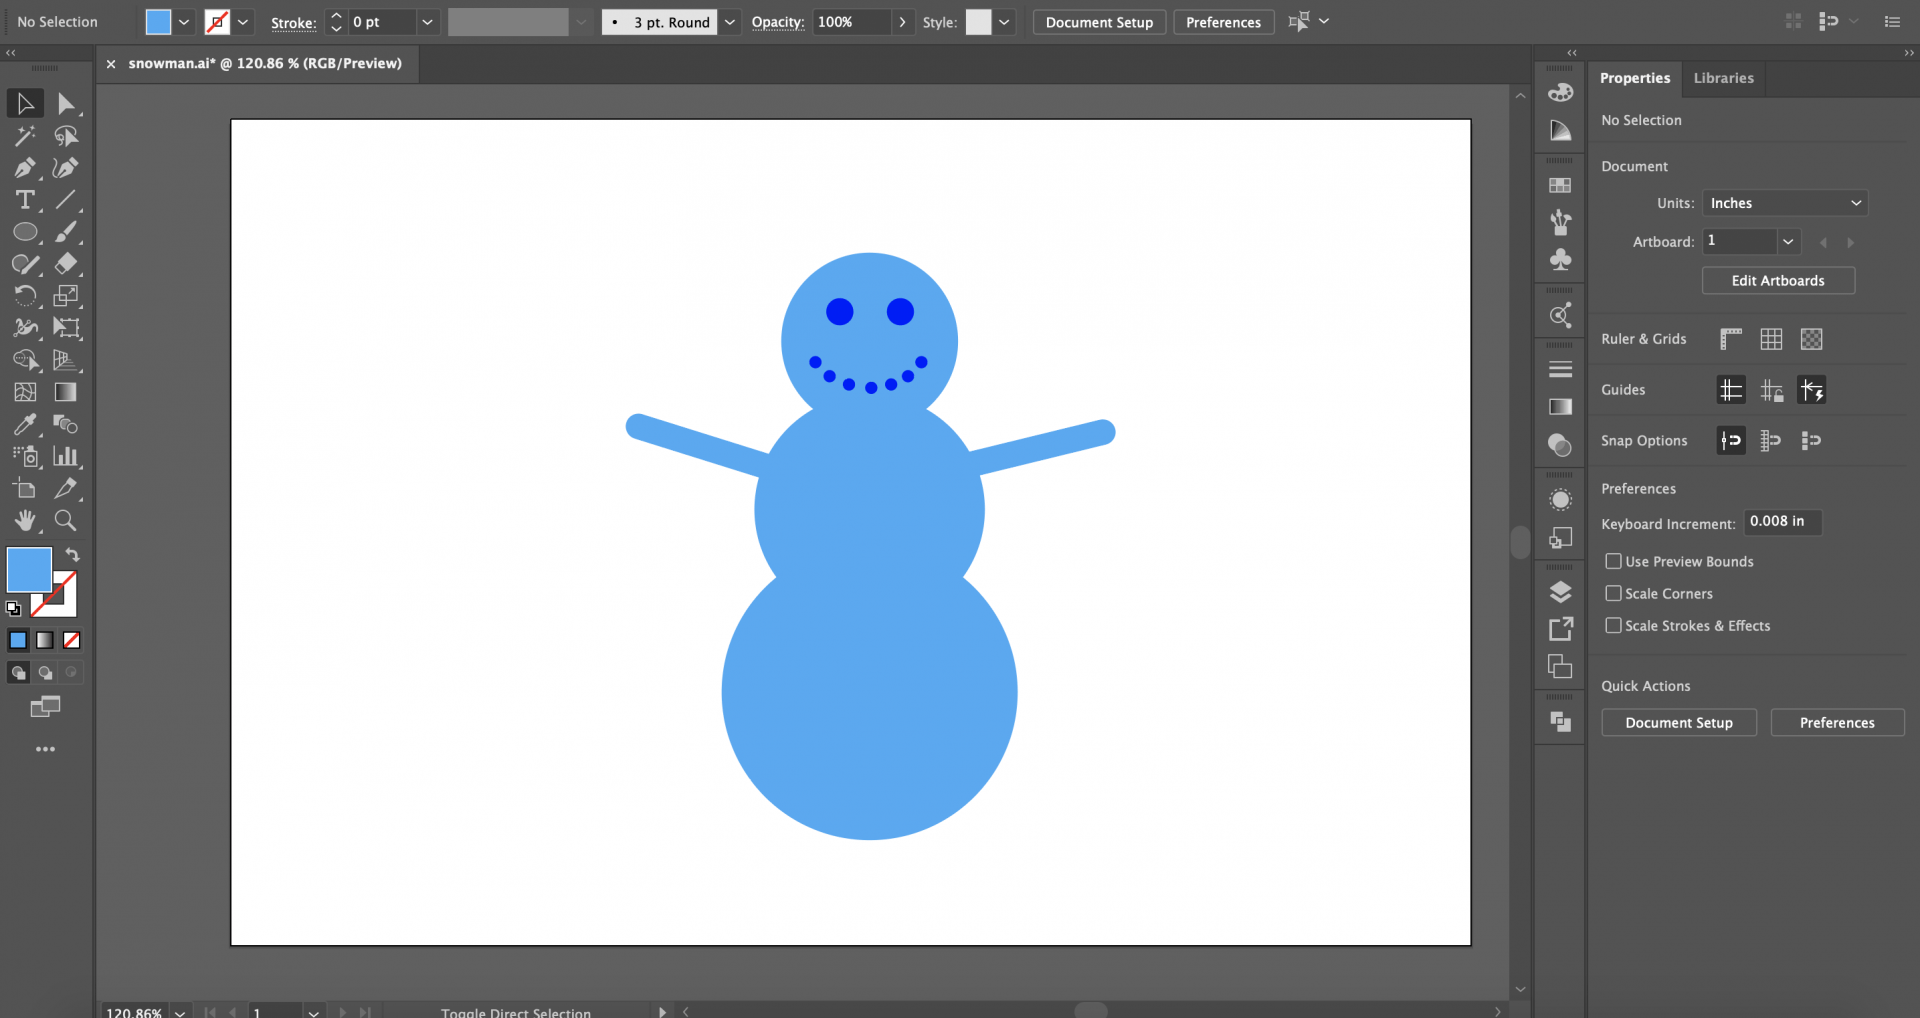
For my design, I didn’t have any logos that would translate well to a single-color object, so I kept it simple by making a little snowman (since we’ve been getting so much snow recently). I created the design in Illustrator using the shape tool, with the final object being made entirely of various circles and rounded rectangles. I created the body using three large circles, with long rounded rectangles for the arms. Once the body was finished, I arranged several small circles to create the snowman’s face. I then selected the face and head, and used the pathfinder minus-fronttool to turn the circles into holes. I repeated these same steps to create the buttons as well.
After adding some finishing touches, I exported the design as an SVG and imported it into Tinkercad at 50% size. Because the SVG file used only positive and negative space, the design imported exactly as intended with no other modifications required.
For my 3D SVG design, I decided I would look back on some of the things I have created in the past. While there were many candidates I ultimately decided to use this logo I created for my UX Design class. I choose this design because I feel that it would really help bring my portfolio together and show off the different skills I have learned throughout my time at JMU in one cohesive project. Though, I also thought it would make a cool coaster!
To transform my 2D SVG logo into a 3D model I began by adjusting my original logo by adjusting the letters a little bit. I then saved a copy of it as a SVG file and then imported the file into Tinkercad. To make the logo more cohesive and printable I added a base to the design and cut off the corners so the base perfectly fit the original logo. Lastly, I combined the base and logo and added a hole incase I wanted to scale it down and also make a keychain.
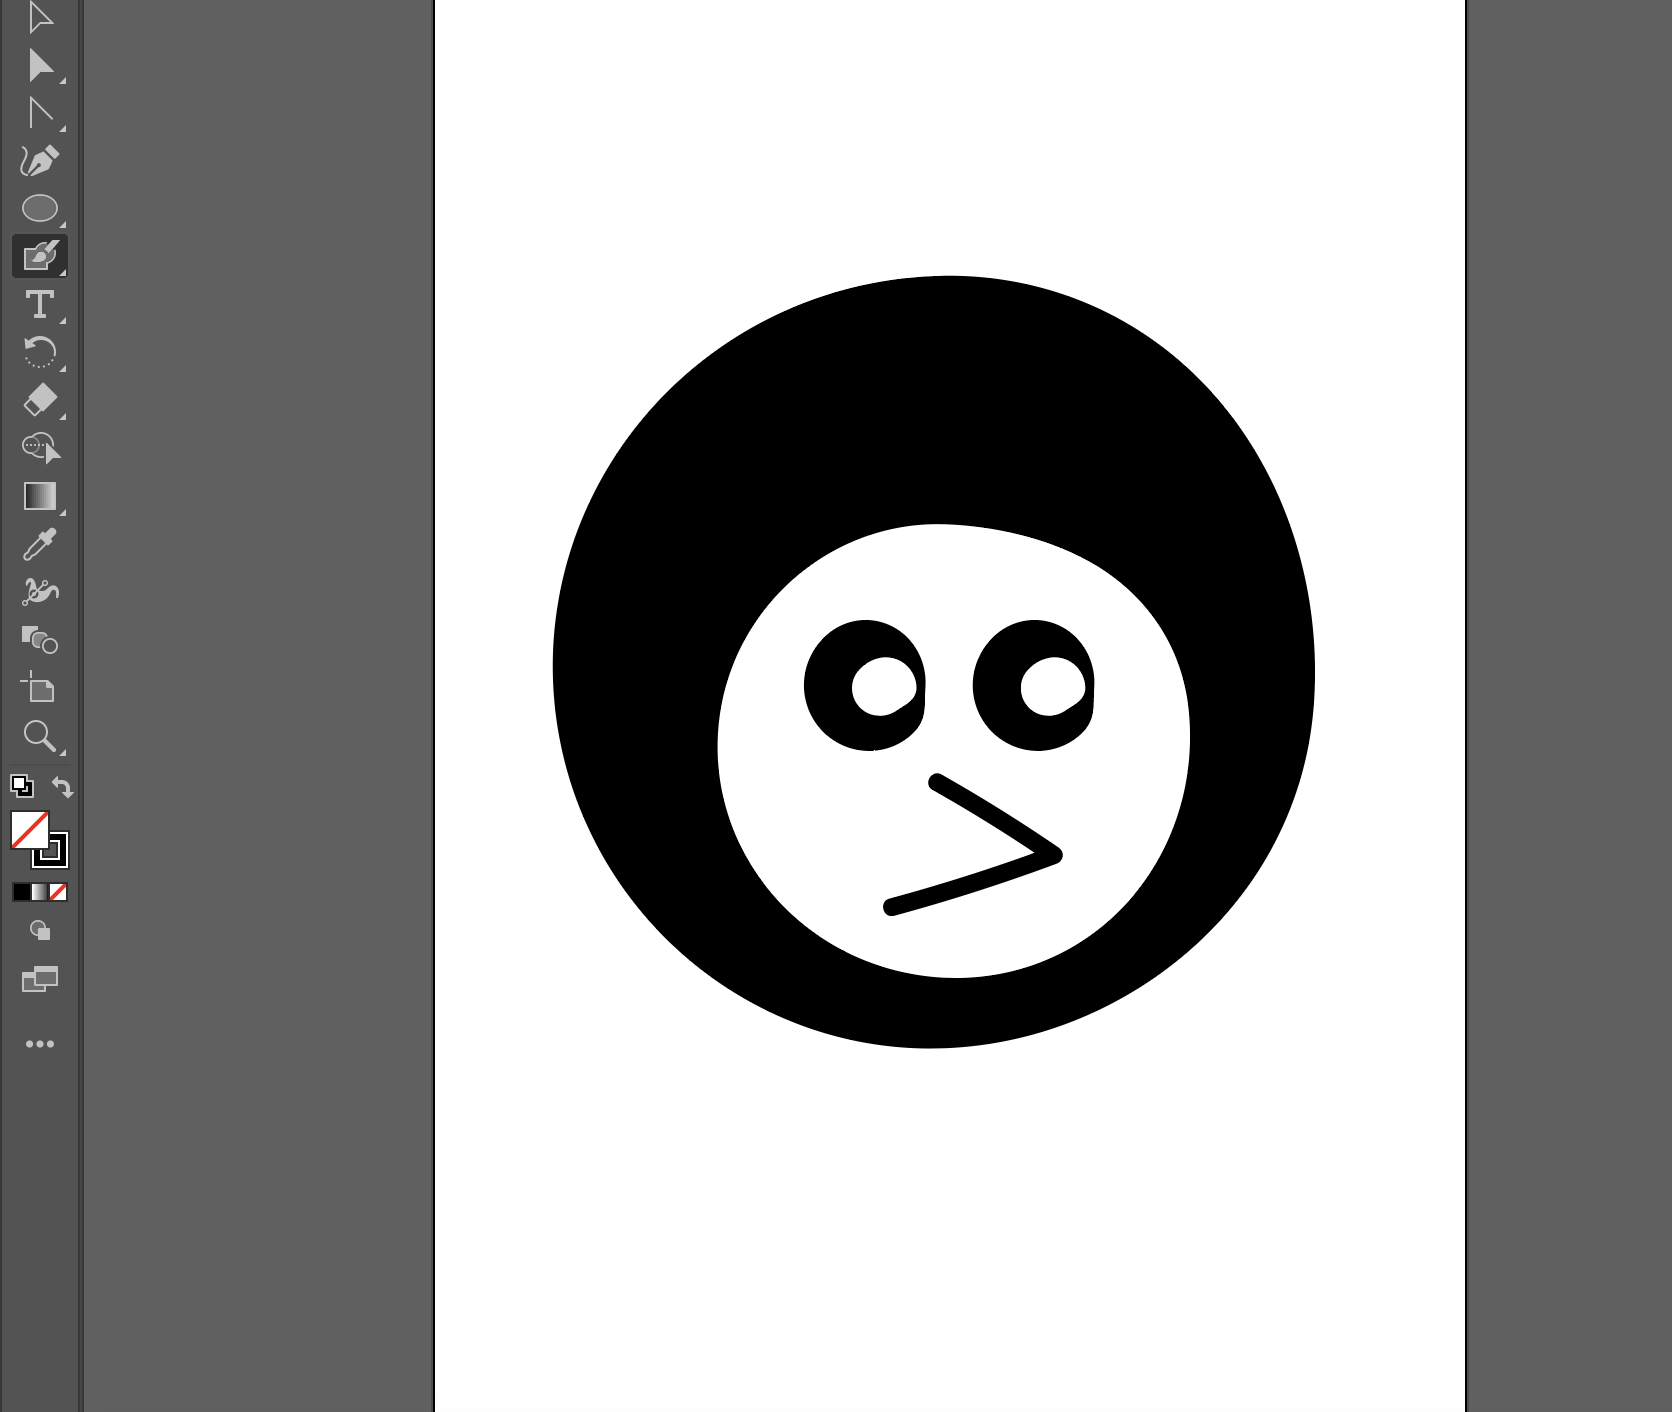
I decided to make my design something simple that wasn’t a generic smiley face. I’m not very good at using Illustrator so I just decided to toy around and see if this looks cool at all.
For my 3D design I decided to recreate my initials in Illustrator and bring them to Tinkercad. I started with the 2d version in Adobe Illustrator and then chose a font that I would like. I then reduced the tracking of the design so that the letters would be close together.
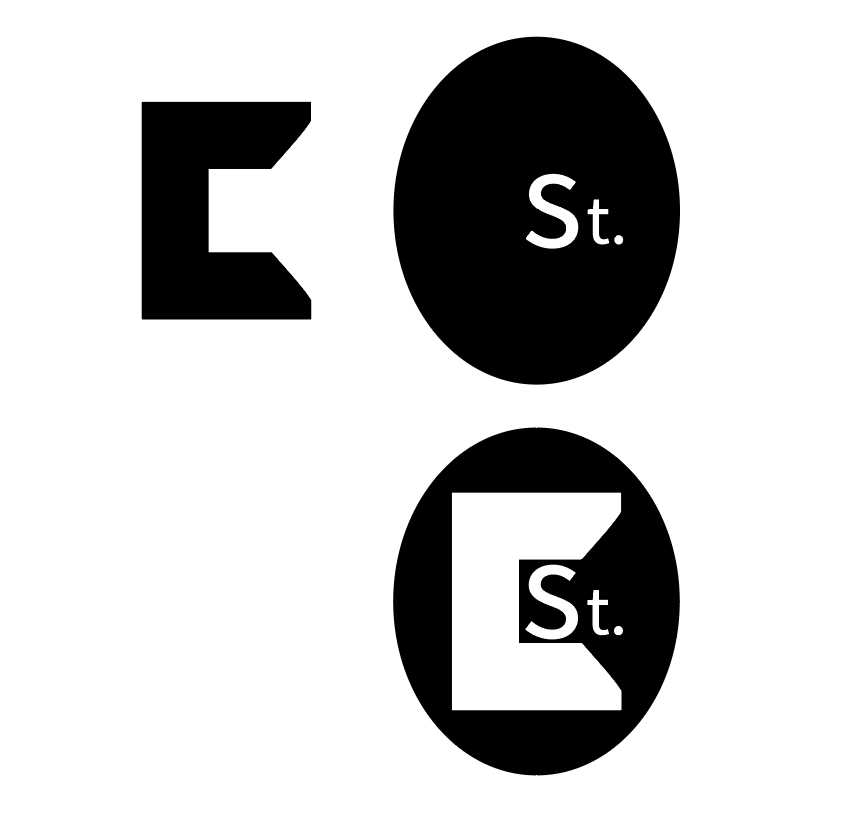
In creating my 3D SVG, I wanted to experiment as much as possible. After seeing the house example in the LinkedIn video, the task seemed pretty daunting. I actually spent longer than I expected playing around in Illustrator/Tinkercad figuring out what looked good and what didn’t. I already had a logo designed prior, but I wanted to start from scratch for this project to really get a feel for it. So for starters I drew a “C’ for the first letter of my name (Image 1, TOP). After that, I experimented with thickness of letters and background shapes. I then worked with figure/ground with the initial letter with the background shape. And from there, I created the rest: The background oval, added the large “C,” and also the first two of my last name (Image 1, BOTTOM). One thing to note, is after importing into Tinkercad initially, I noticed gaps and weird spaces just like the video. So I went back into illustrator, converting the “C” to a shape, make compound paths, and watching the fill component as well. After finishing all of that, I imported to Tinkercad and added to the initial concept (Image 2) to create something more usable than an oval logo. I added to the initial concept by creating a podium for the oval to rest on (Image 3), and I also added a background color oval to add contrast for the lettering (Image 4). Ideally, this was created in mind for something that sits on a desk that you could change the backing color. The largest factor that I got out of designing and re-designing is that I would design, upload to Tinkercad, and repeat. I fixed dimensions within Illustrator so that it would automatically fit in Tinkercad, and I experimented to get to my end result.
Overall, I enjoyed working with SVG’s a lot. I drafted multiple designs (I know It may not look like amazing, but I learned a lot by doing so. I think this is a very cool aspect with a lot of potential!
When creating this vector image, my goal was to keep it simple to develop my proficiency in both Tinkercad and Adobe Illustrator. My first few steps consisted of drawing 3-inch line segments, which I grouped to create two equilateral triangles. I then used the join tool to generate pointed edges on all sides of the triangle. Next, I used the rotate and align tools to develop the Star of David. I then made two line segments, positioned them in a cross formation, and aligned them with the center of the star. Finally, I created ellipses, which I positioned at the top of the star to serve as a bail in the chance that I use my design as a pendant.
I decided to design this ‘star-cross’ for a few reasons. Firstly, It is comprised of fairly simple geometric shapes/symbols that tested my abilities in Illustrator and helped me get more familiar with the program. This vector image is also a symbol of my heritage and spiritual beliefs, which I am very passionate about.
For this assignment, I decided to recreate and make a 3D model of the Mozaic Dance Team logo that I am involved in here at JMU. First, I uploaded the PNG of the logo I had into Illustrator and began tracing the outline of the logo and copied it to a new page as a vector image. I also changed the colors from white to black of the logo since it was a white canvas on Illustrator. During the process of importing it to Tinkercad, I had some issues with the model. For instance, some parts of the model, where there should be an open space, was filled instead. With the empty space being filled, it did not look like the original logo. Through trail and error, I had to edit the shape of the outside large triangle and the letter ‘M’. From the Linkedin learning, I highlighted each shape, went to the object tab, and changed the path of the layer to outline stroke, so it can highlight the shape itself instead of a square box surrounding it. After I changed the layers with an outline stroke, I then went to the pathfinder tab and united those layers together. From there I was able to convert it into a SVG and imported it into Tinkercad.
When I imported my SVG to Tinkercad, I had to change the dimensions of the logo from a length of 1728mm, and width of 1296mm, to a length of 266.27mm and a width of 200mm to fit onto the work plane. After importing it, it looked exactly as my SVG. With the logo, there is a small triangle inside of it that didn’t connect to any part of the model. So, I decided to add a cylinder to the logo, surrounding it and grouping it all together to create a keychain so the logo can stay attached and keep its shape. I then added another cylinder at the top of the model, grouping it and making a hole, so the keychain can have something to hold it up. At the end I resized the whole model with a length and width of 80mm to fit onto the plane. I also raised the height of the logo from 10mm to 15mm, to give it a better three-dimensional look.
I chose to create a 3D model of a monogram of my initials. I’ve always wanted a monogram necklace so I figured this was the next best thing! I created my 2D monogram model in Adobe Illustrator. I started by entering a simple text box containing my typed initials in the font bondoni. I made sure my letters were appropriately sized, with the middle letter being the largest and the other letters having an equal smaller size. Then, I created an outline of the letters and proceeded to stretch the borders to form fluid connections between them. After I was finished creating my 2D model, I saved the file from Adobe as an SVG. I opened Tinkercad and imported the SVG file onto the workplane. My 2D monogram appeared as a 3D model in Tinkercad and I rotated the model until it was perpendicular to the workplane.