Triangle Cap
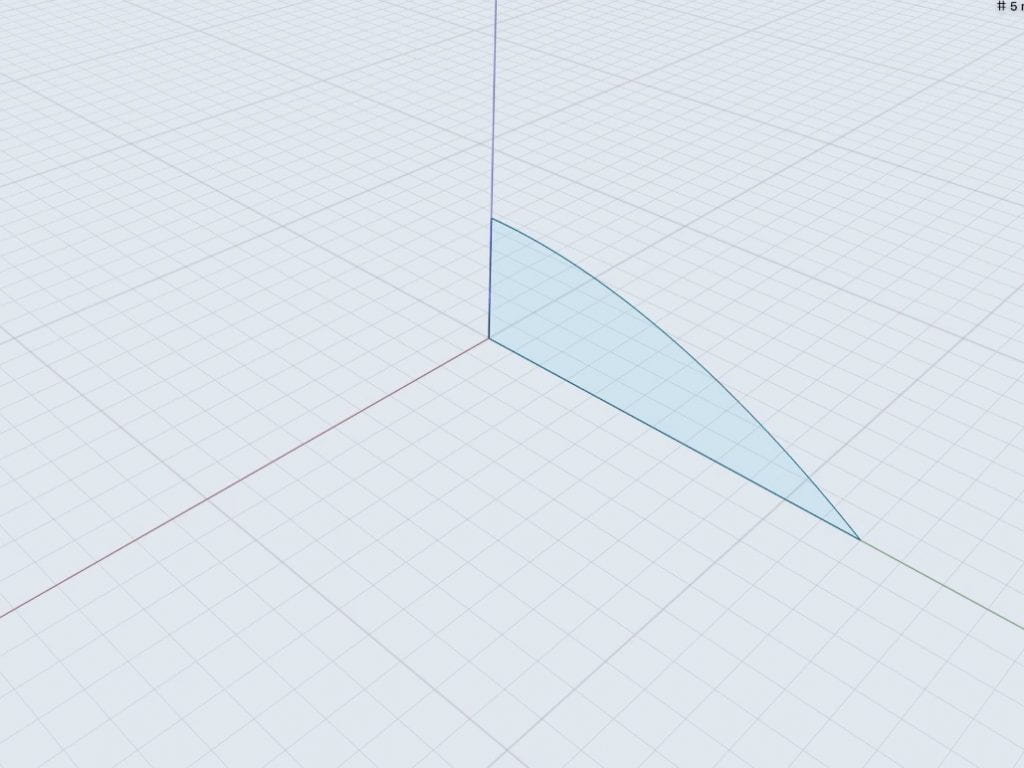
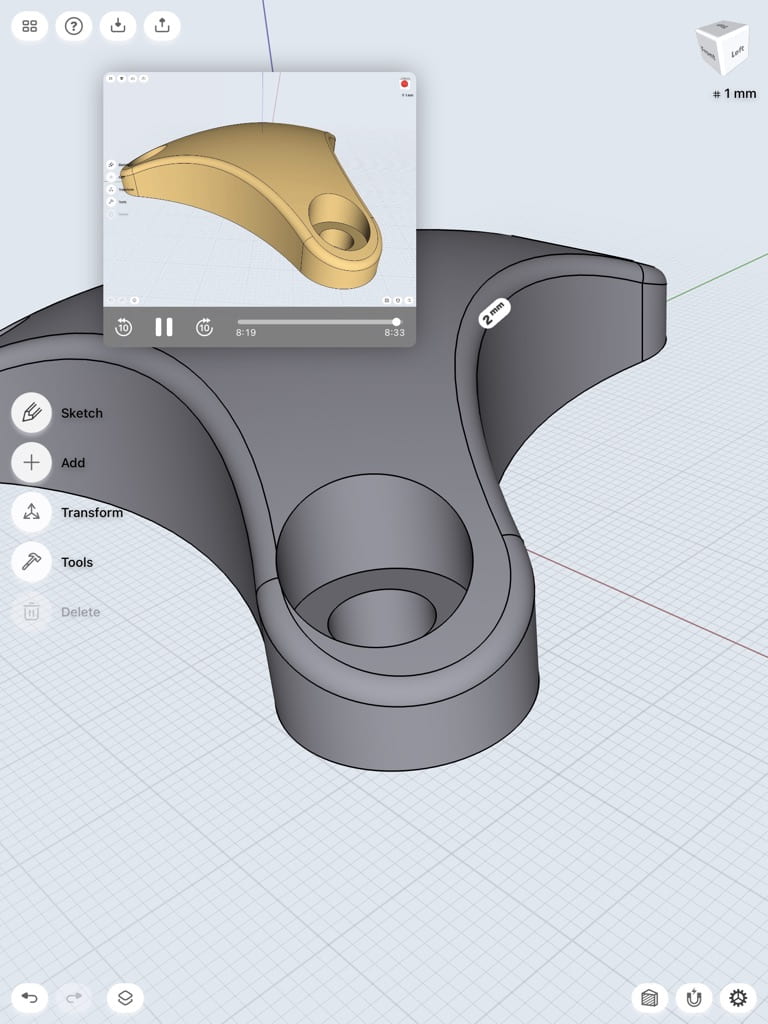
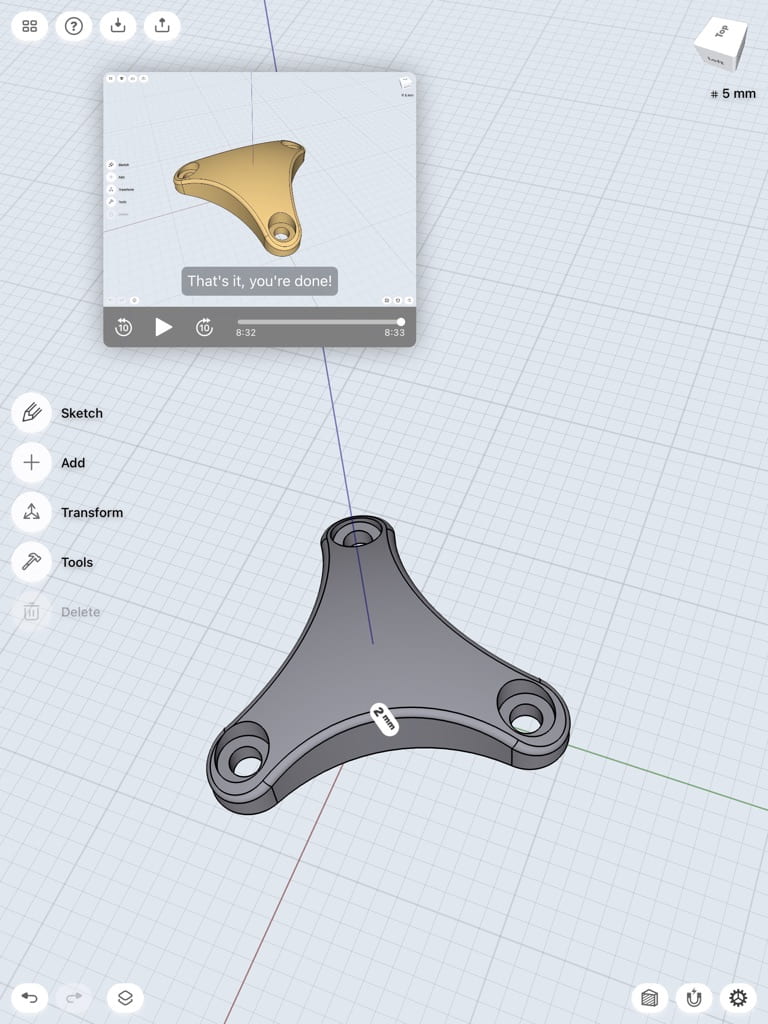
This tutorial made the construction of a triangle cap very easy and straightforward. We began by ensuring that we were in a millimeter view and that all snapping guides were on. In the top view, we made a sketch that would then become the basis for our triangle cap. Some of the functions were difficult to figure out, such as the “copy” function, because the version of Shapr3D that was used in the video is not the same as what I have on my app, but I figured these things out as we went along (the copy function is a small button that appears next to the sketch). We utilized dragging the transformation centers to the origin and rotating in order to make copies to make our sketch. We also used the equal tool to ensure that our circles stayed the same size. Drawing the arcs was a bit confusing because I thought that I had to guess where the person in the tutorial was drawing the arcs from, but in a later step he instructs to make them all tangents and set a 50mm radius, which made my sketch look like his. Once we made the sketch a body, we his the body and the sketch to begin a different part of the object. This was important for me to learn because I did not utilize this when making my first Shapr 3D sketch for the Self Expressions drafts. We drew a new sketch and used the revolve tool, which I have never used, to create an odd looking shape. Using a new plane, also something I did not do, allowed us to more easily sketch what we wanted and create the holes for the triangle cap. Trimming really helps to organize your sketch as well, as seen throughout this tutorial. The techniques used in this video were ones that I had never thought to do and will enhance future designs of mine.
Photos of the process


Tinkercad i-frame
Tutorial Reference
Model a triangle-cap from Shapr 3D
Bracket-mount
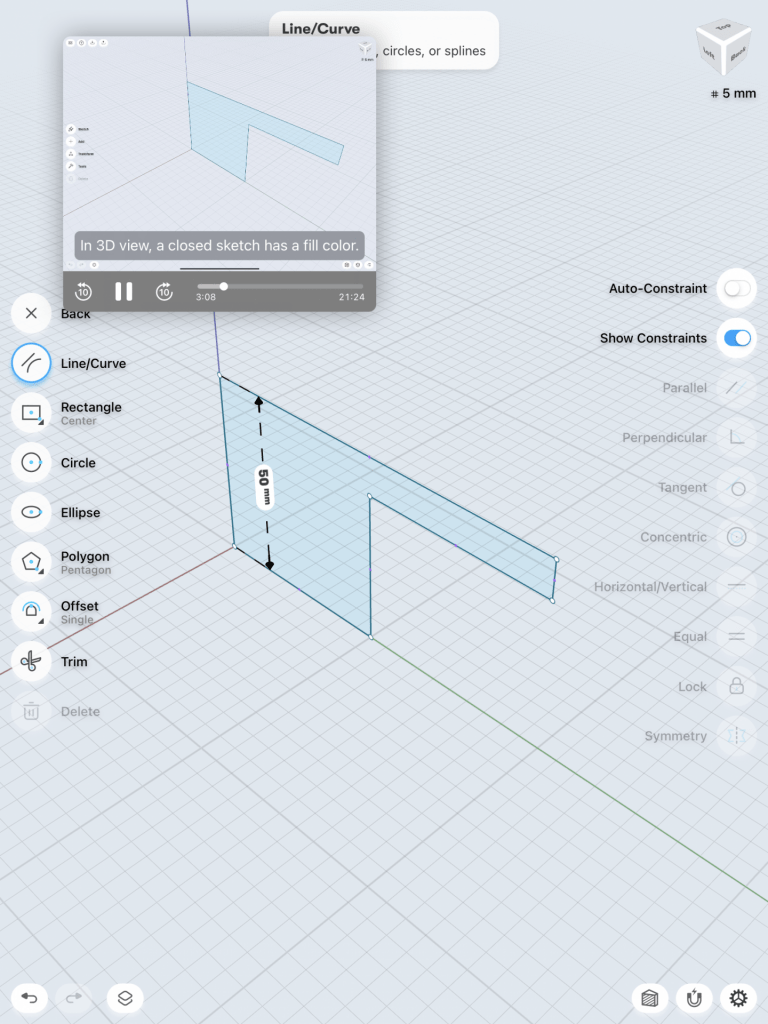
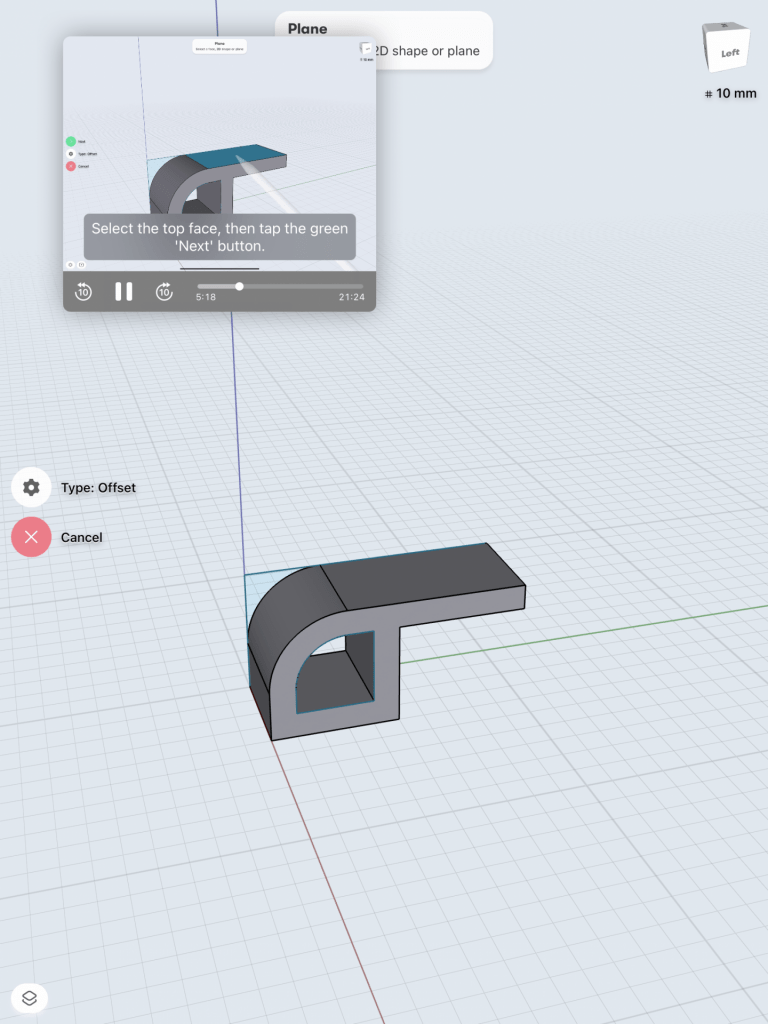
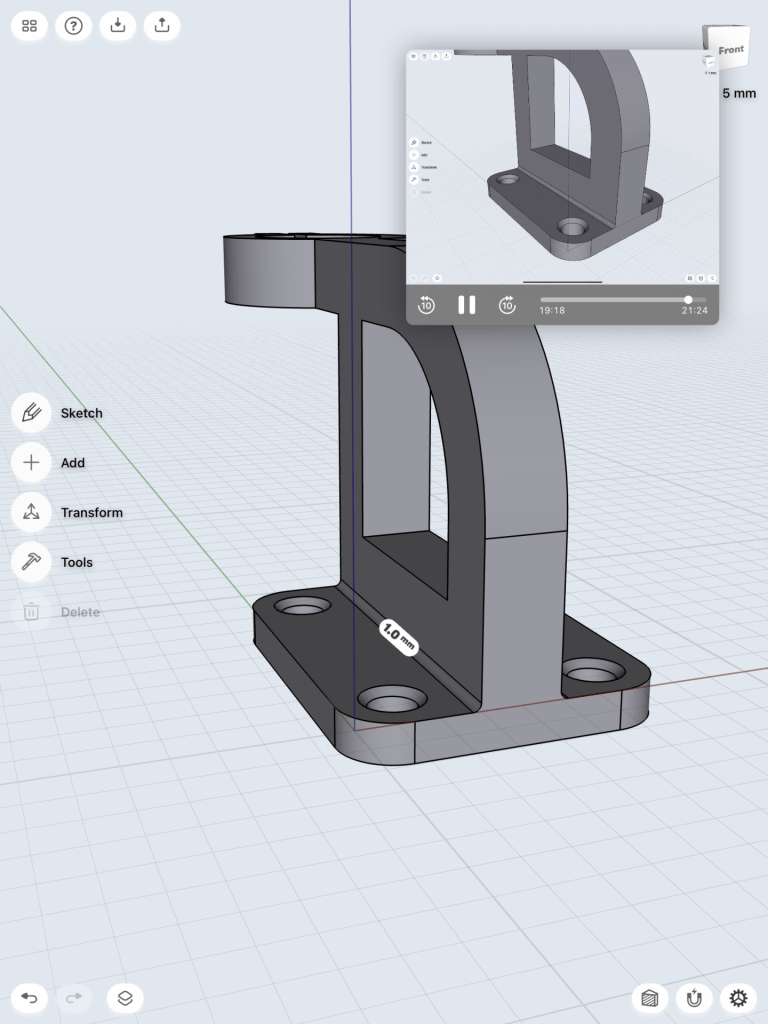
Although I do know that the bracket-mount tutorial was meant for people who could not see the trimagle cap tutorial, I really wanted to hone in on the skills and I thought this design looked intriguing and challenging. Making sure we were in millimeter view and had all on the snapping guides, we began sketching on the left view which is a 2D view, which is easier to sketch on. We manipulated the work plane so that each block represented 5mm, which was better for this design and something I had not thought about before. We drew a an oddly-shaped which we then turned into a 3D body by pulling it out. Being able to adjust the lengths by doing an action and then pressing the measurements associated with it and customizing them helped greatly throughout this entire tutorial. We used the offset tool to create a sketch on the inside of the model which we would later turn into a hole. Drawing a sketch above our work and then pulling it down later to cut parts makes the process much easier than what I had thought you would have to do. Trimming unnecessary parts of the sketches really does wonders in terms of organizing a sketch and design. What I believe this tutorial exemplified was hiding and showing bodies and sketches; in my Self Expressions Iterations I was having a lot of difficulty because my sketches and bodies were all over the place, but throught his tutorial I became aware of how to fix this issue and create a more seamless design. We used the intersect method to manipulate our design and make something that was once a hole into the body we want. Making circles concentric ensures that your sketches are right where they should be and makes them precise. Maneuvering the app was made easy with this tutorial, as every little movement was made clear and vocalized. Cutting material was made easy through taking a sketch and pushing in downwards to cut through another body.
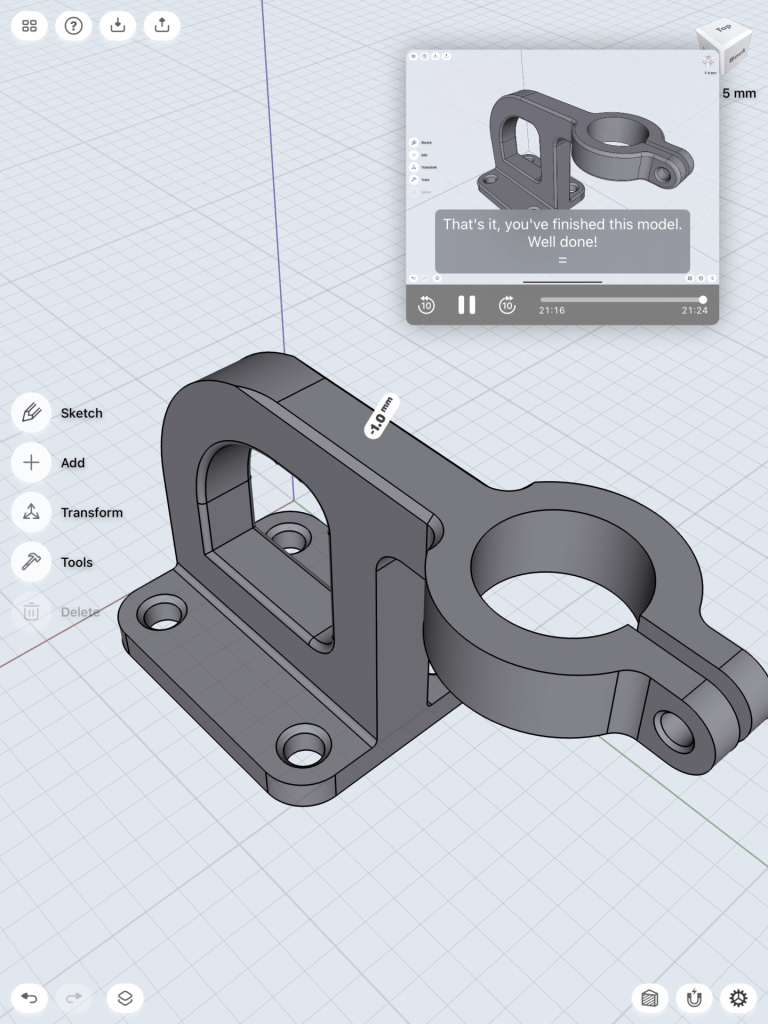
Optimization was another area of design that this tutorial made clear of its importance. We hid our main body and began a different body. We optimized blending by selecting all of the edges we wanted to blend and doing it all at once. Again, using the copy tool, we optimized translating circles. Selecting all four circle filling and pulling them down to create holes was another way that we optimized because this allowed us to not have to do this one by one.
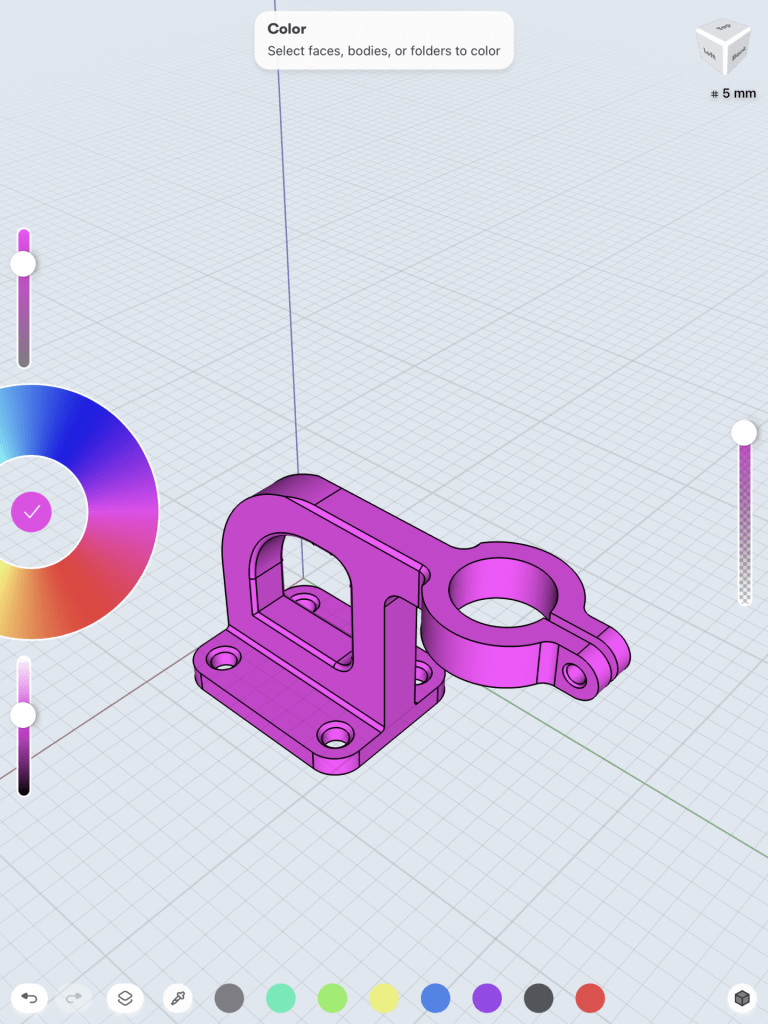
We opened the view of the first body again and saw how they were not one body, and were actually two separate bodies. Using the union tool, we made the two bodies into one; this really helped when it came to customizing the color because you did not have to try and find the exact same color for both parts.
We did a lot of blending in this sketch, especially towards the end. Making circles and arcs concentric also added to the precision of the design. We added a lot of details to this design which I believe makes this tutorial stand out; aesthetics really do matter in a design and this tutorial’s precision on this matter makes me want to incorporate more of these techniques into my future designs.
Photos of the Process


Tinkercad i-frame
Tutorial Reference
Model a bracket-mount from Shapr 3D