Research & Concept
Letterforms are an interesting art-form that simultaneously has strict rules but is still very customizable. Different fonts or styles can impact the way a letter is perceived by a viewer. Certain textures and lines might express a tone like playfulness through bubble letters on a children’s game, or a more antique feeling can be portrayed through script-handwriting letterforms. Working with letterforms is an art because the whole challenge is expressing what you want creatively while still maintaining traditional letter standards.
Glyph 1: Capital A
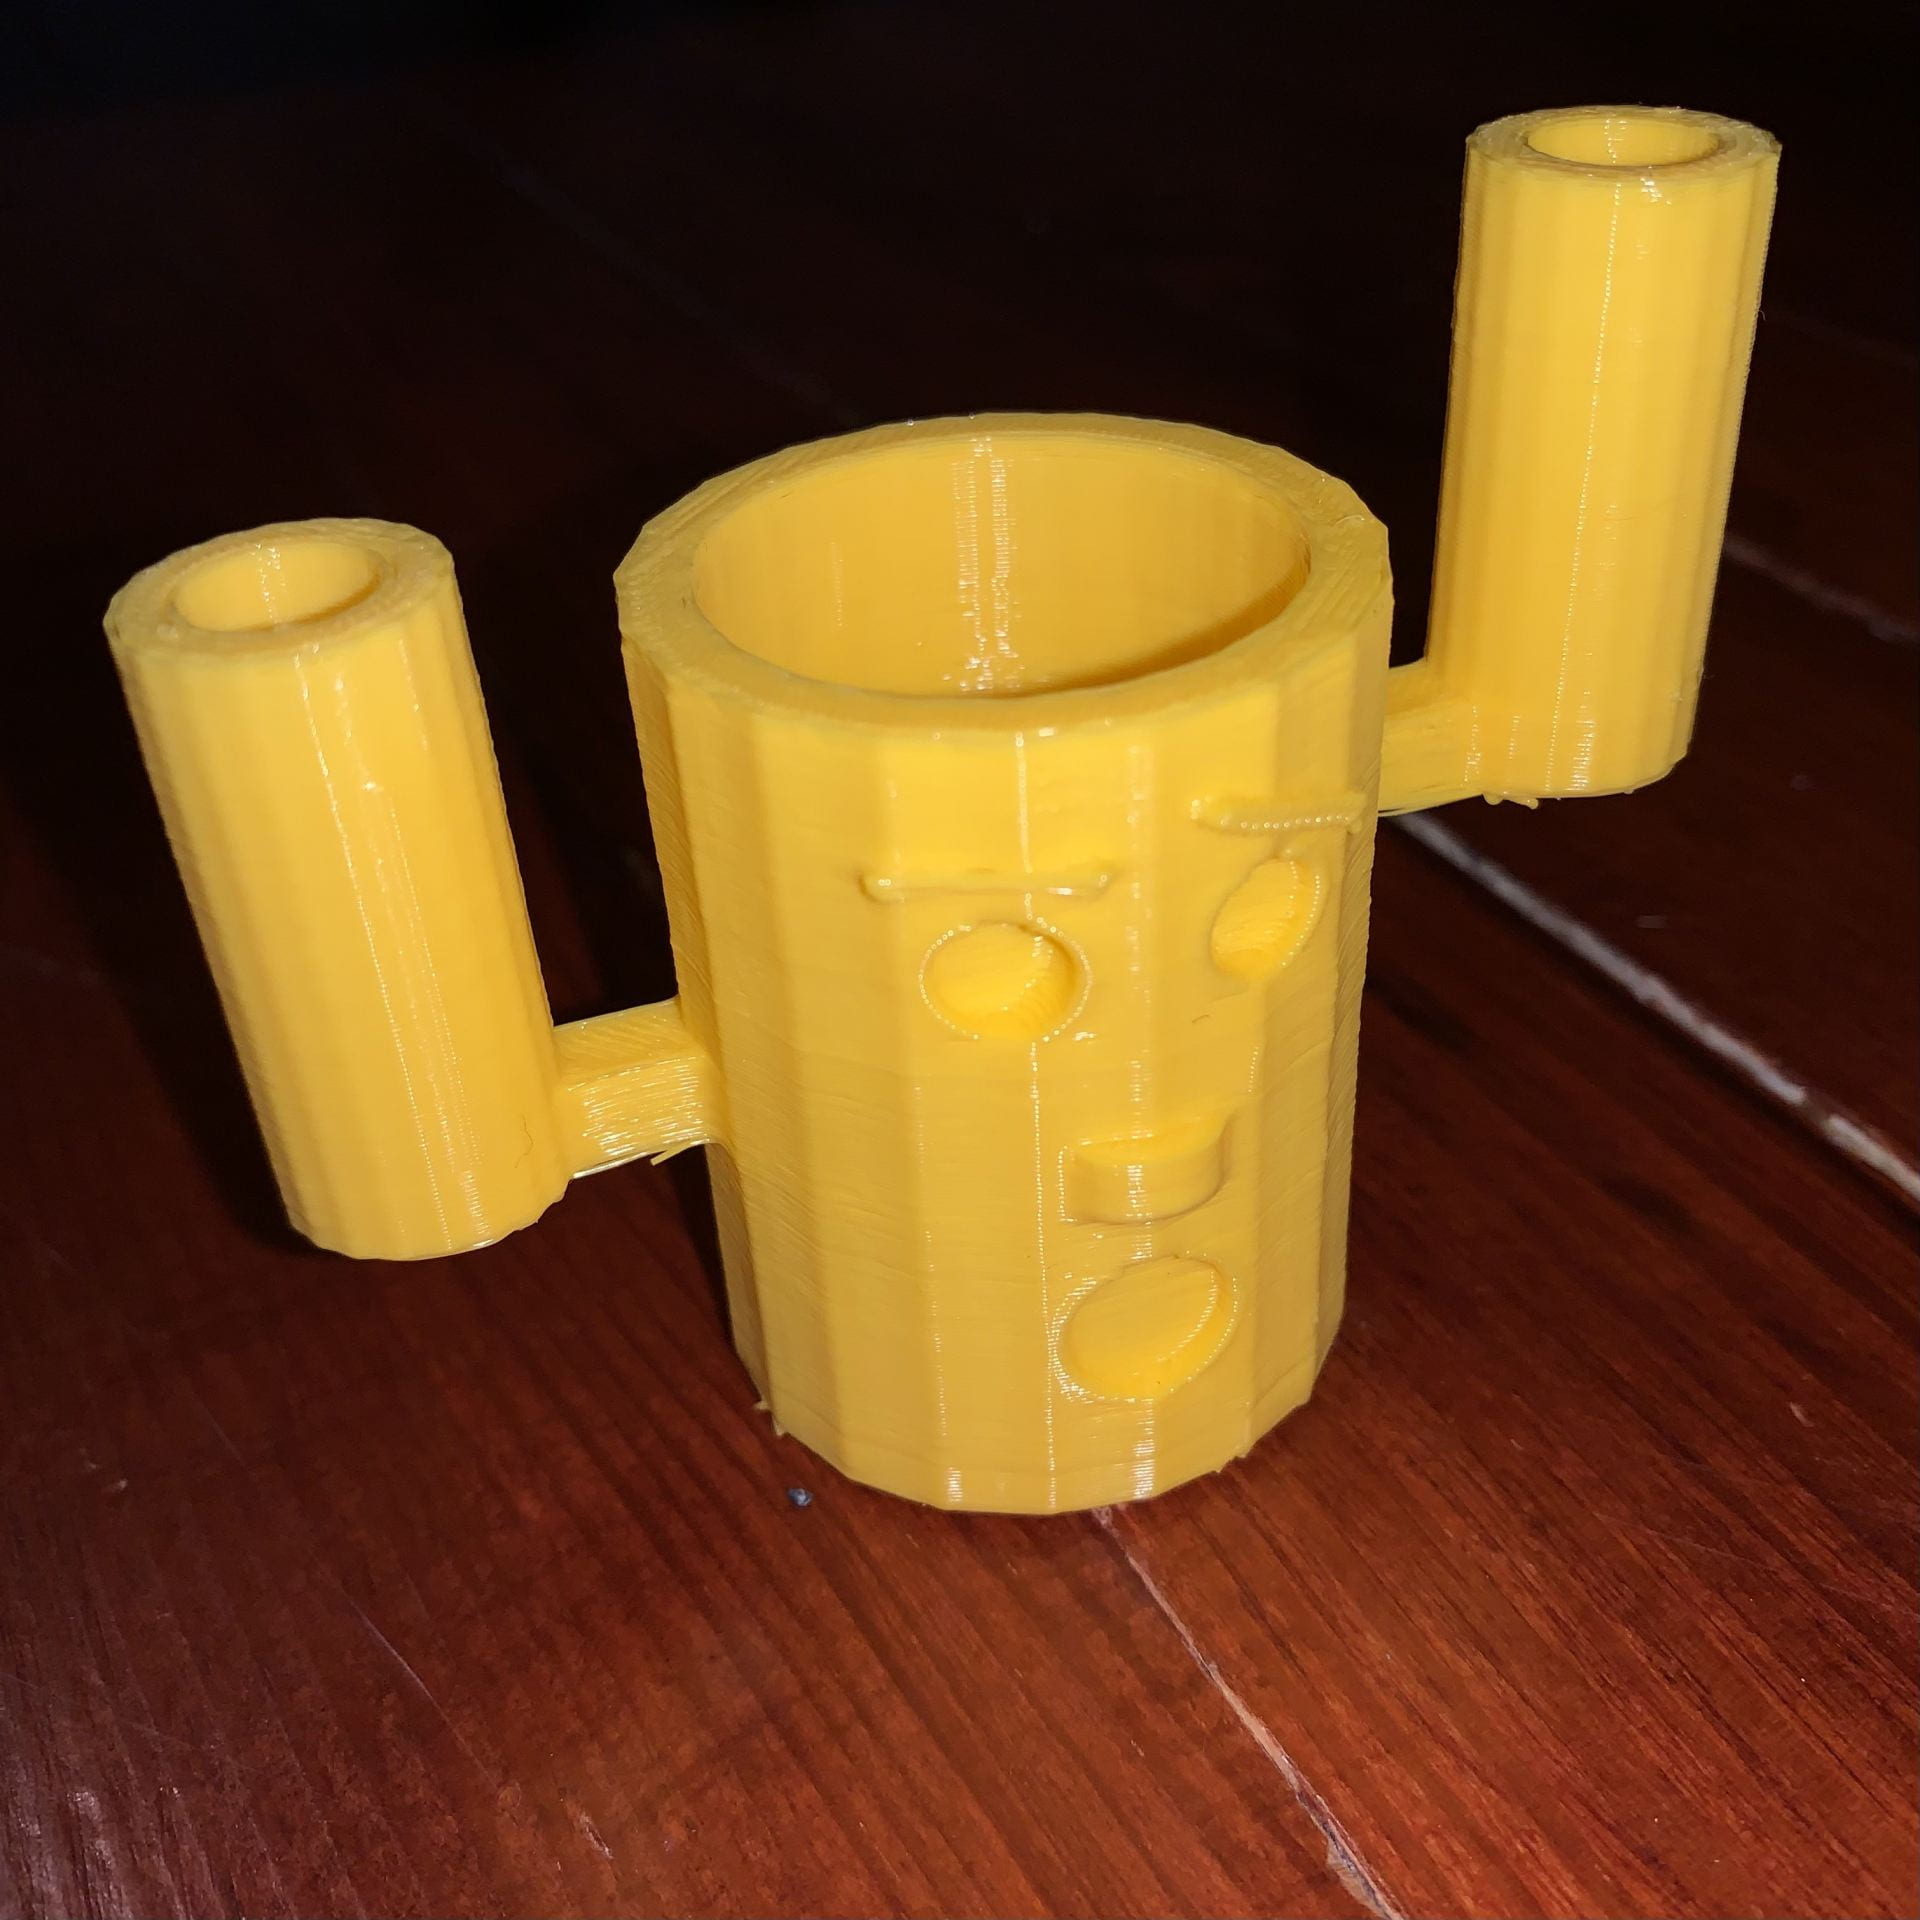
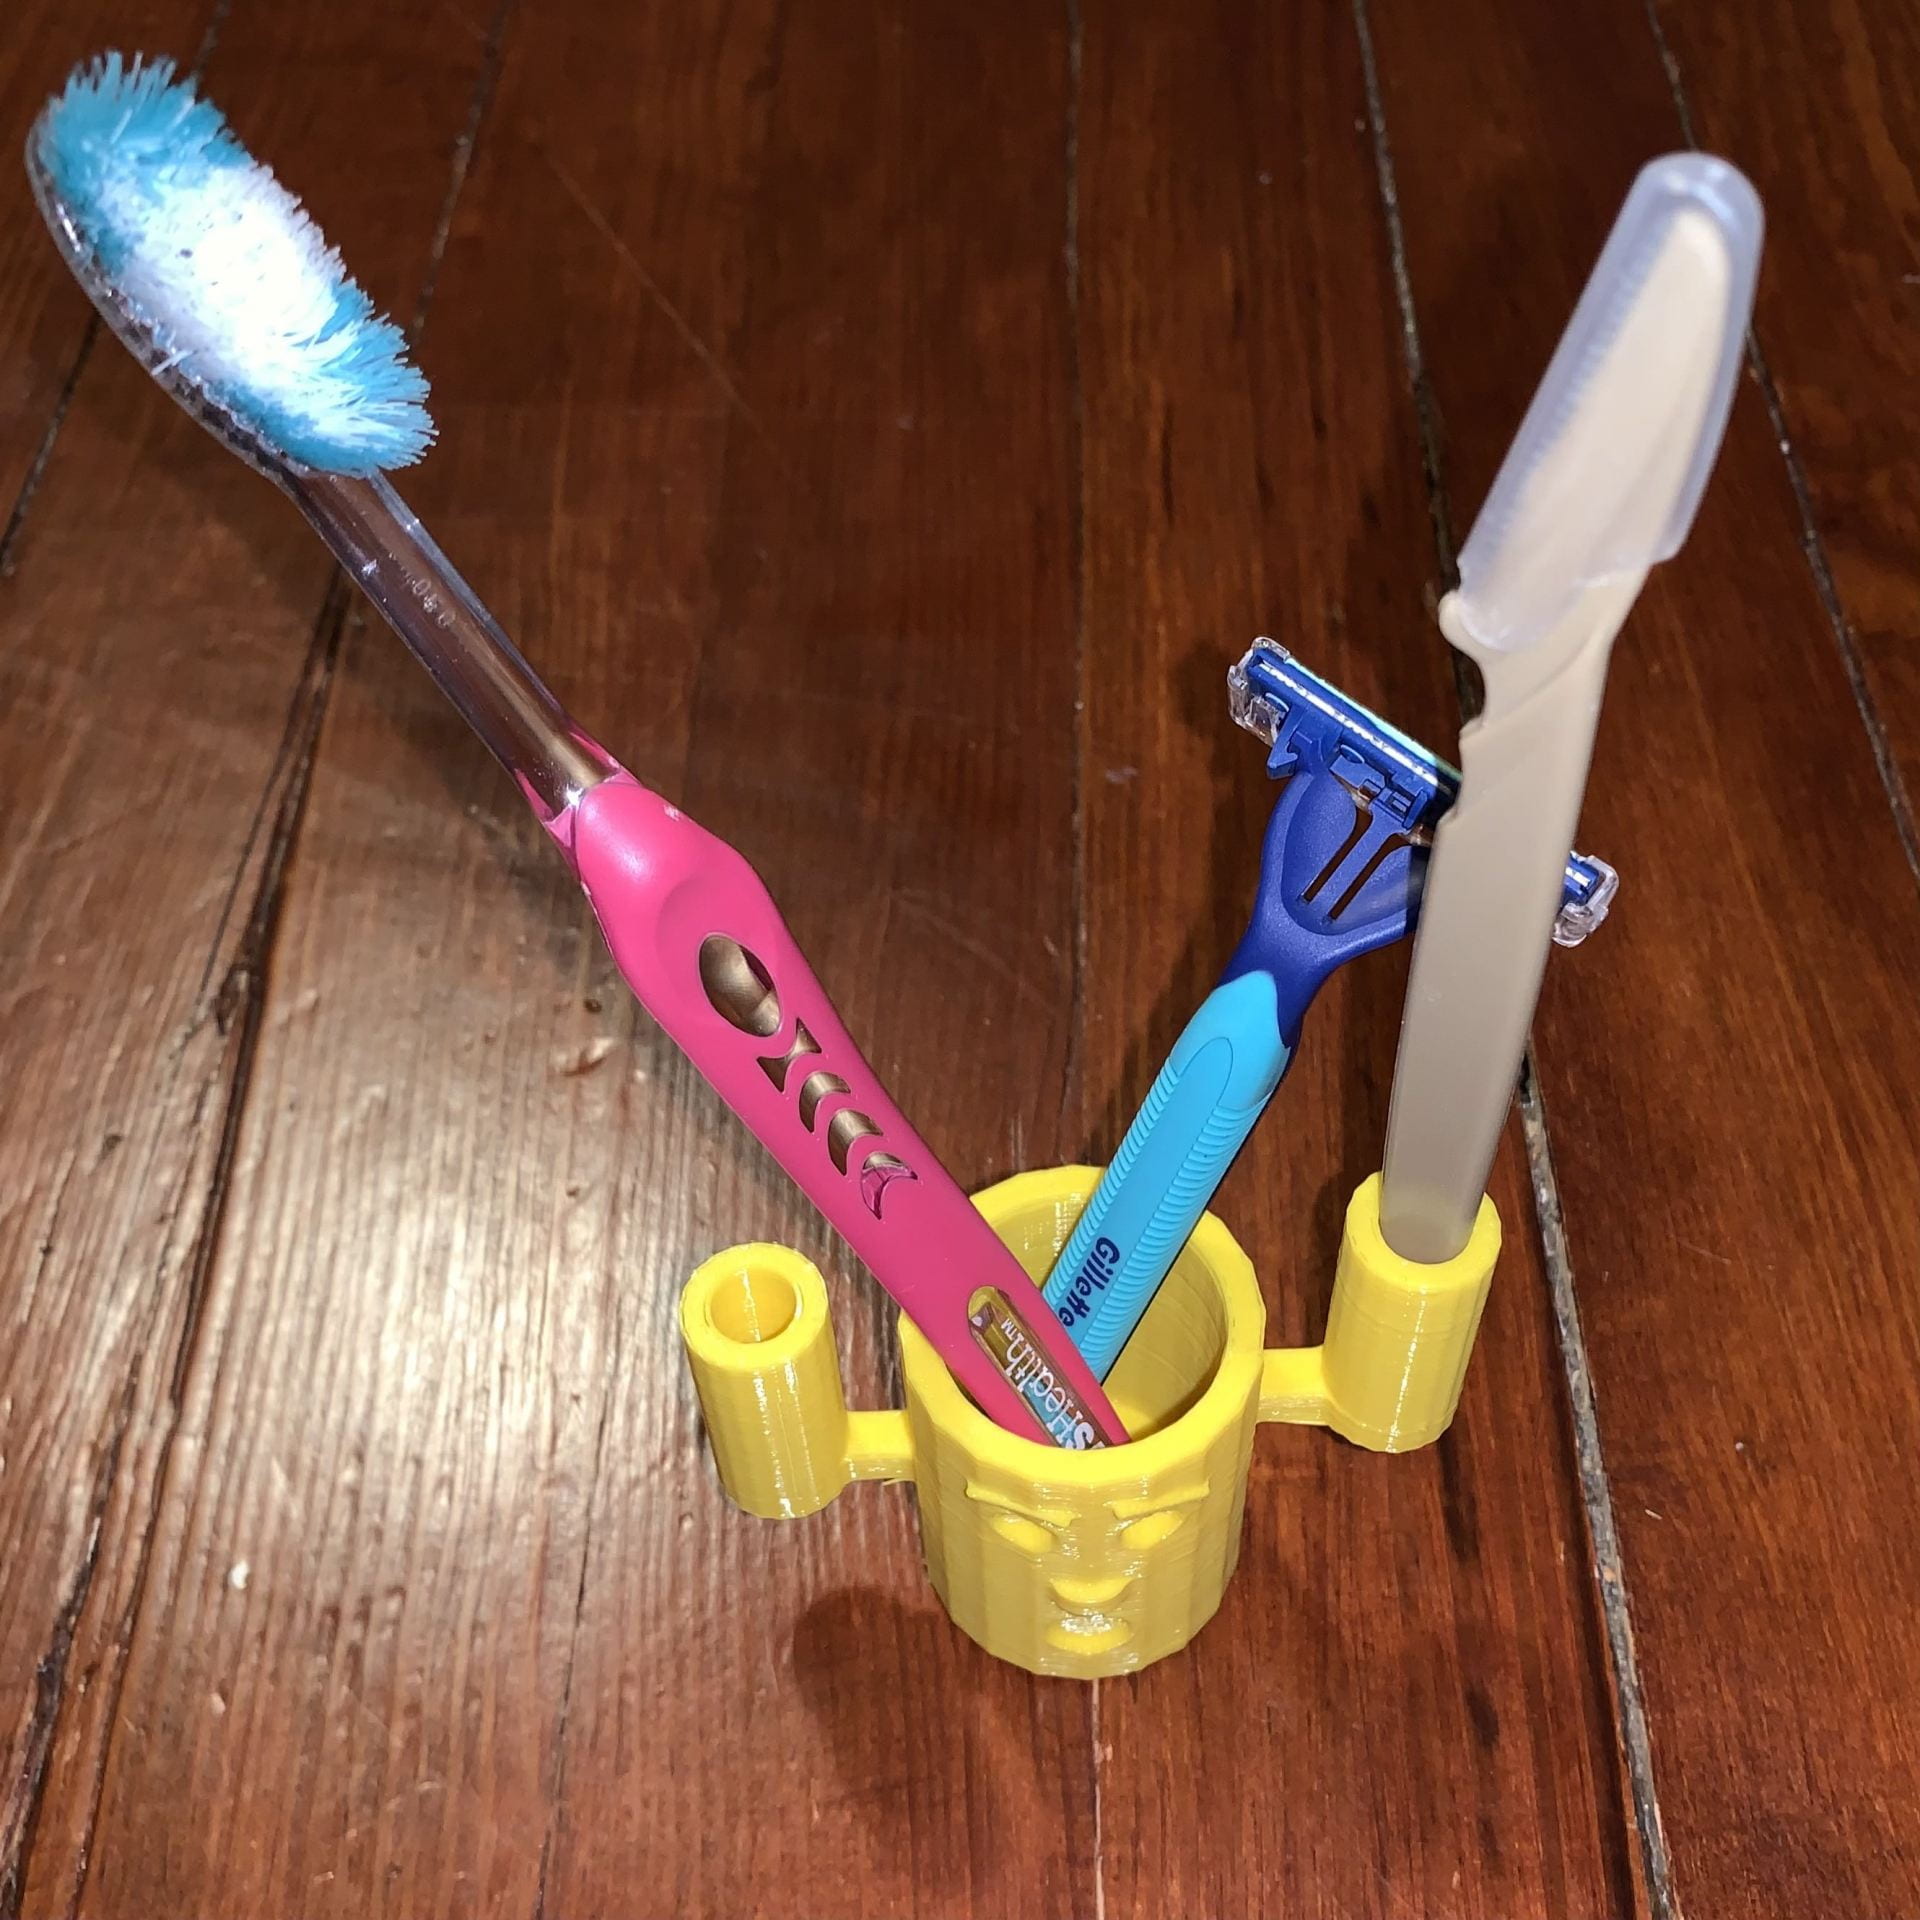
Capital A is a very symmetrical letter in most instances which makes it a little more constricting because whatever is changed on the left side will most likely have to be mirrored onto the right. I chose this letter because my middle initial is A and coincidentally, my girlfriends name starts with A in case I don’t have money to get her a gift.


Glyph 2: X
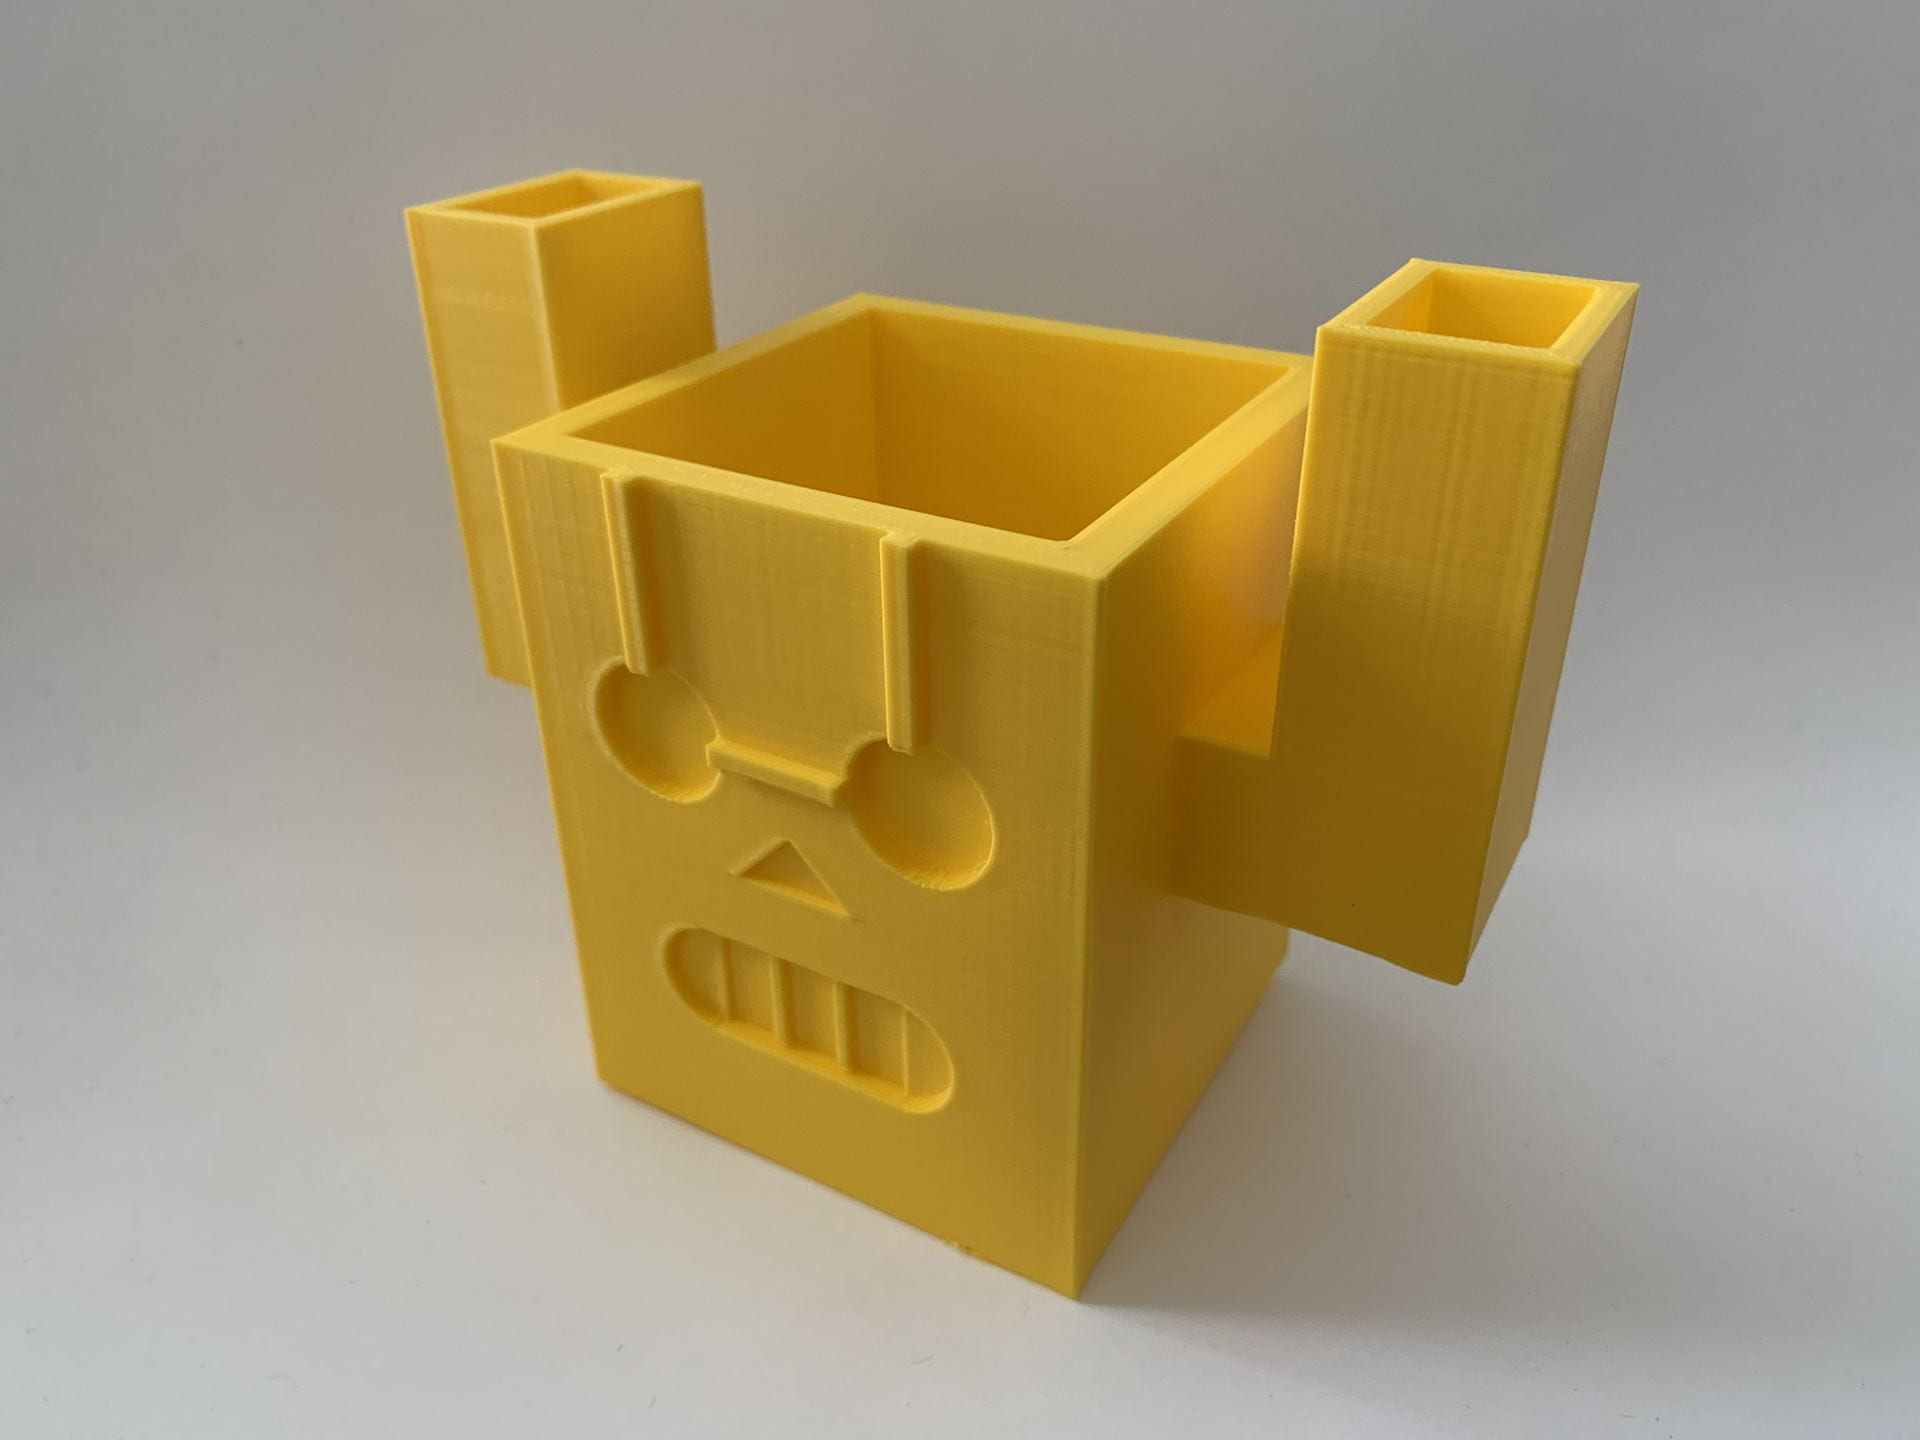
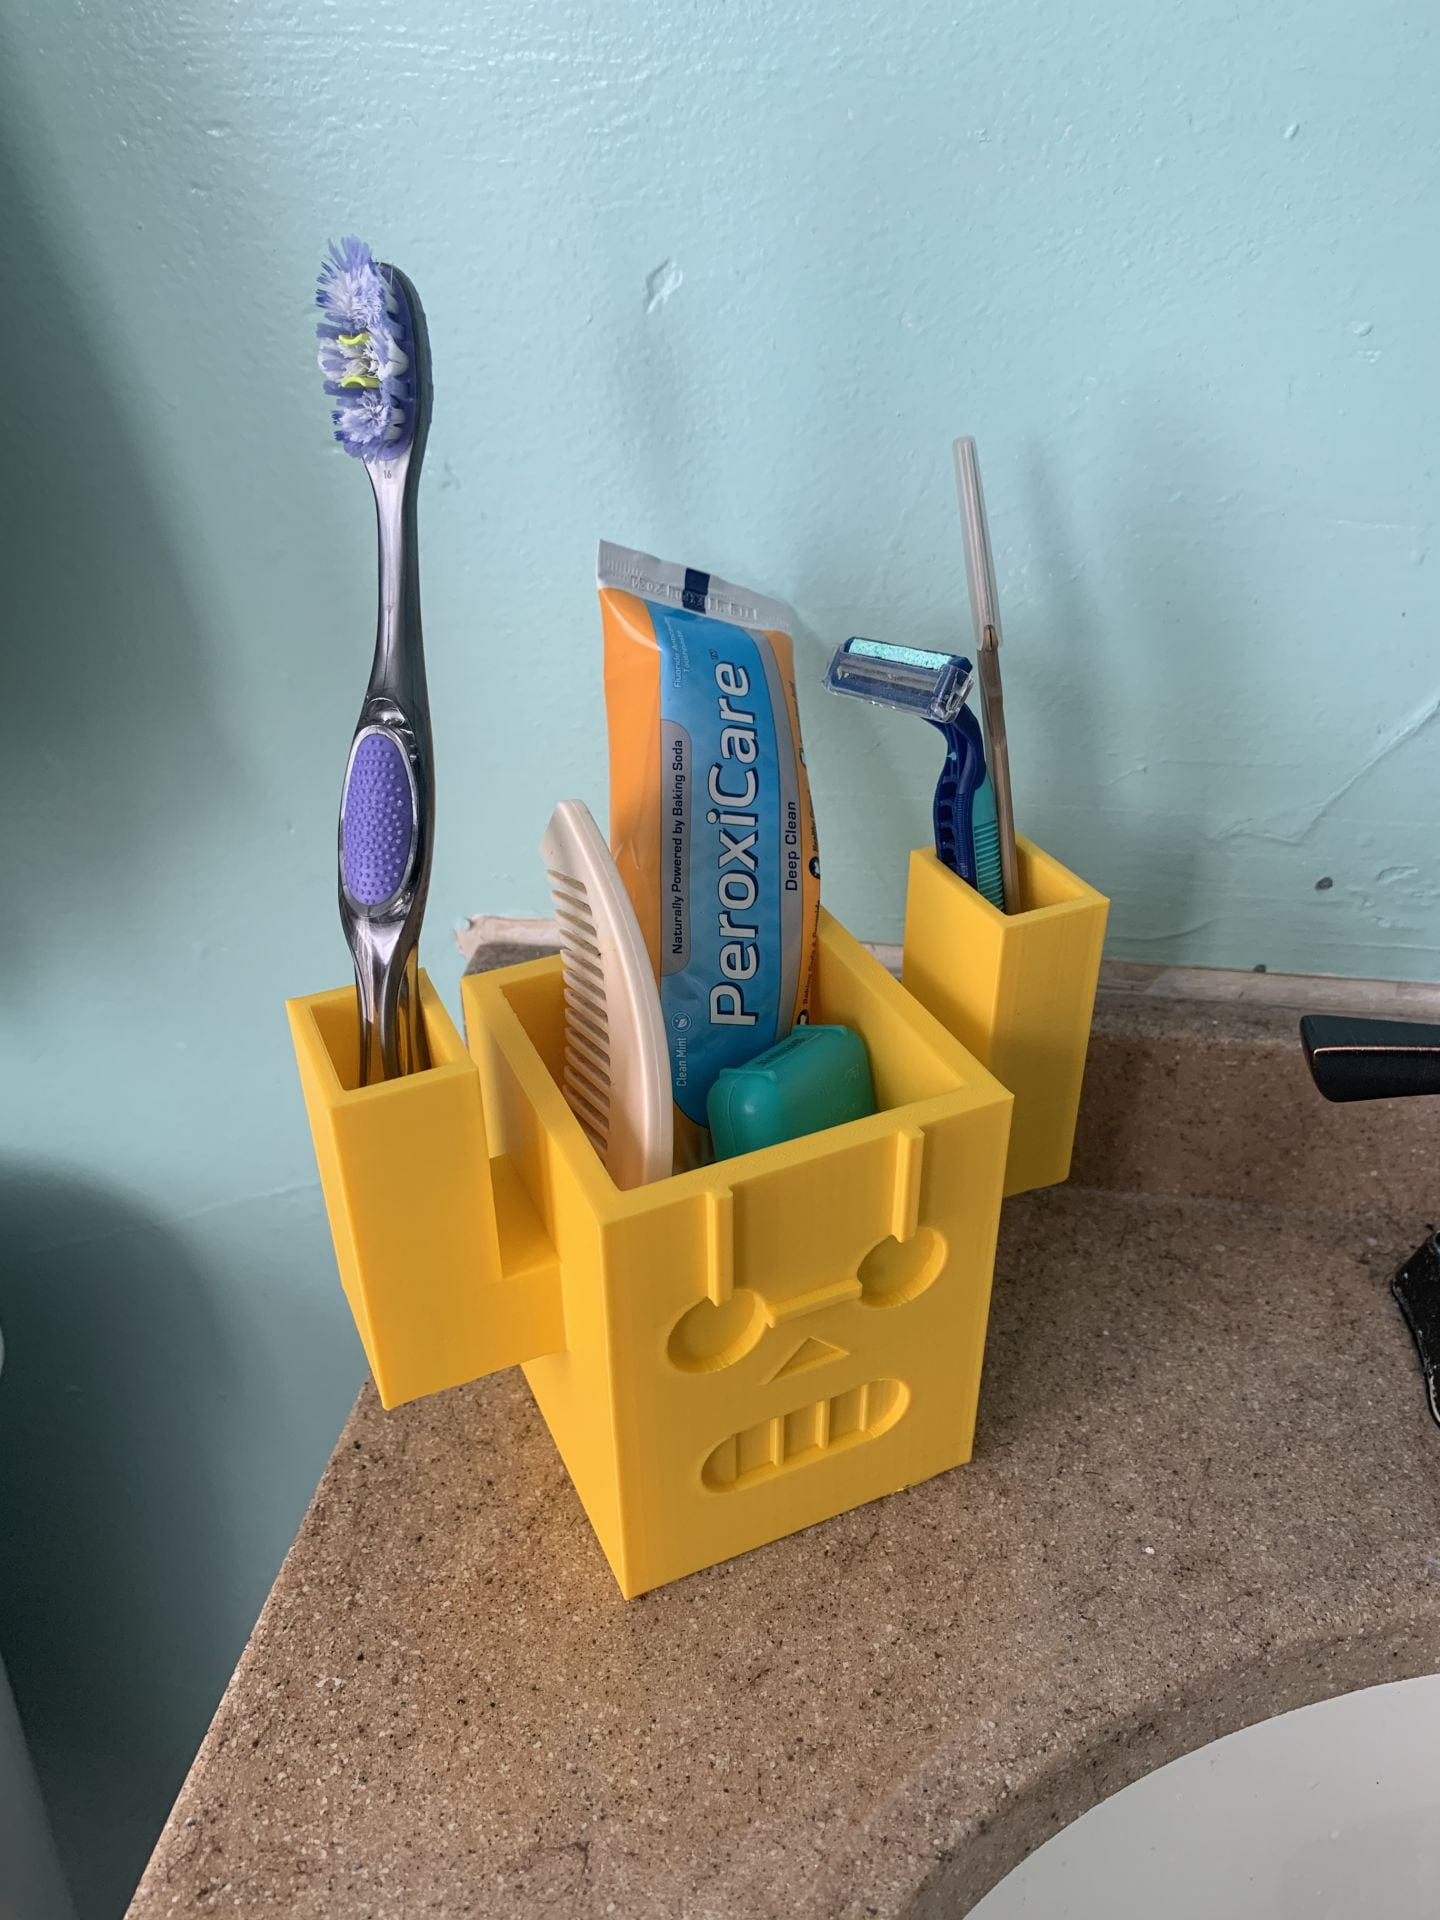
X is the most under-represented letter in our alphabet. It is seen in a lot of commercials for products with flashy names that appeal to kids. I chose this one because I love an underdog story. Theres a lot of surface area to X so I feel like I have a good bit of space to work with creatively.


Iterations
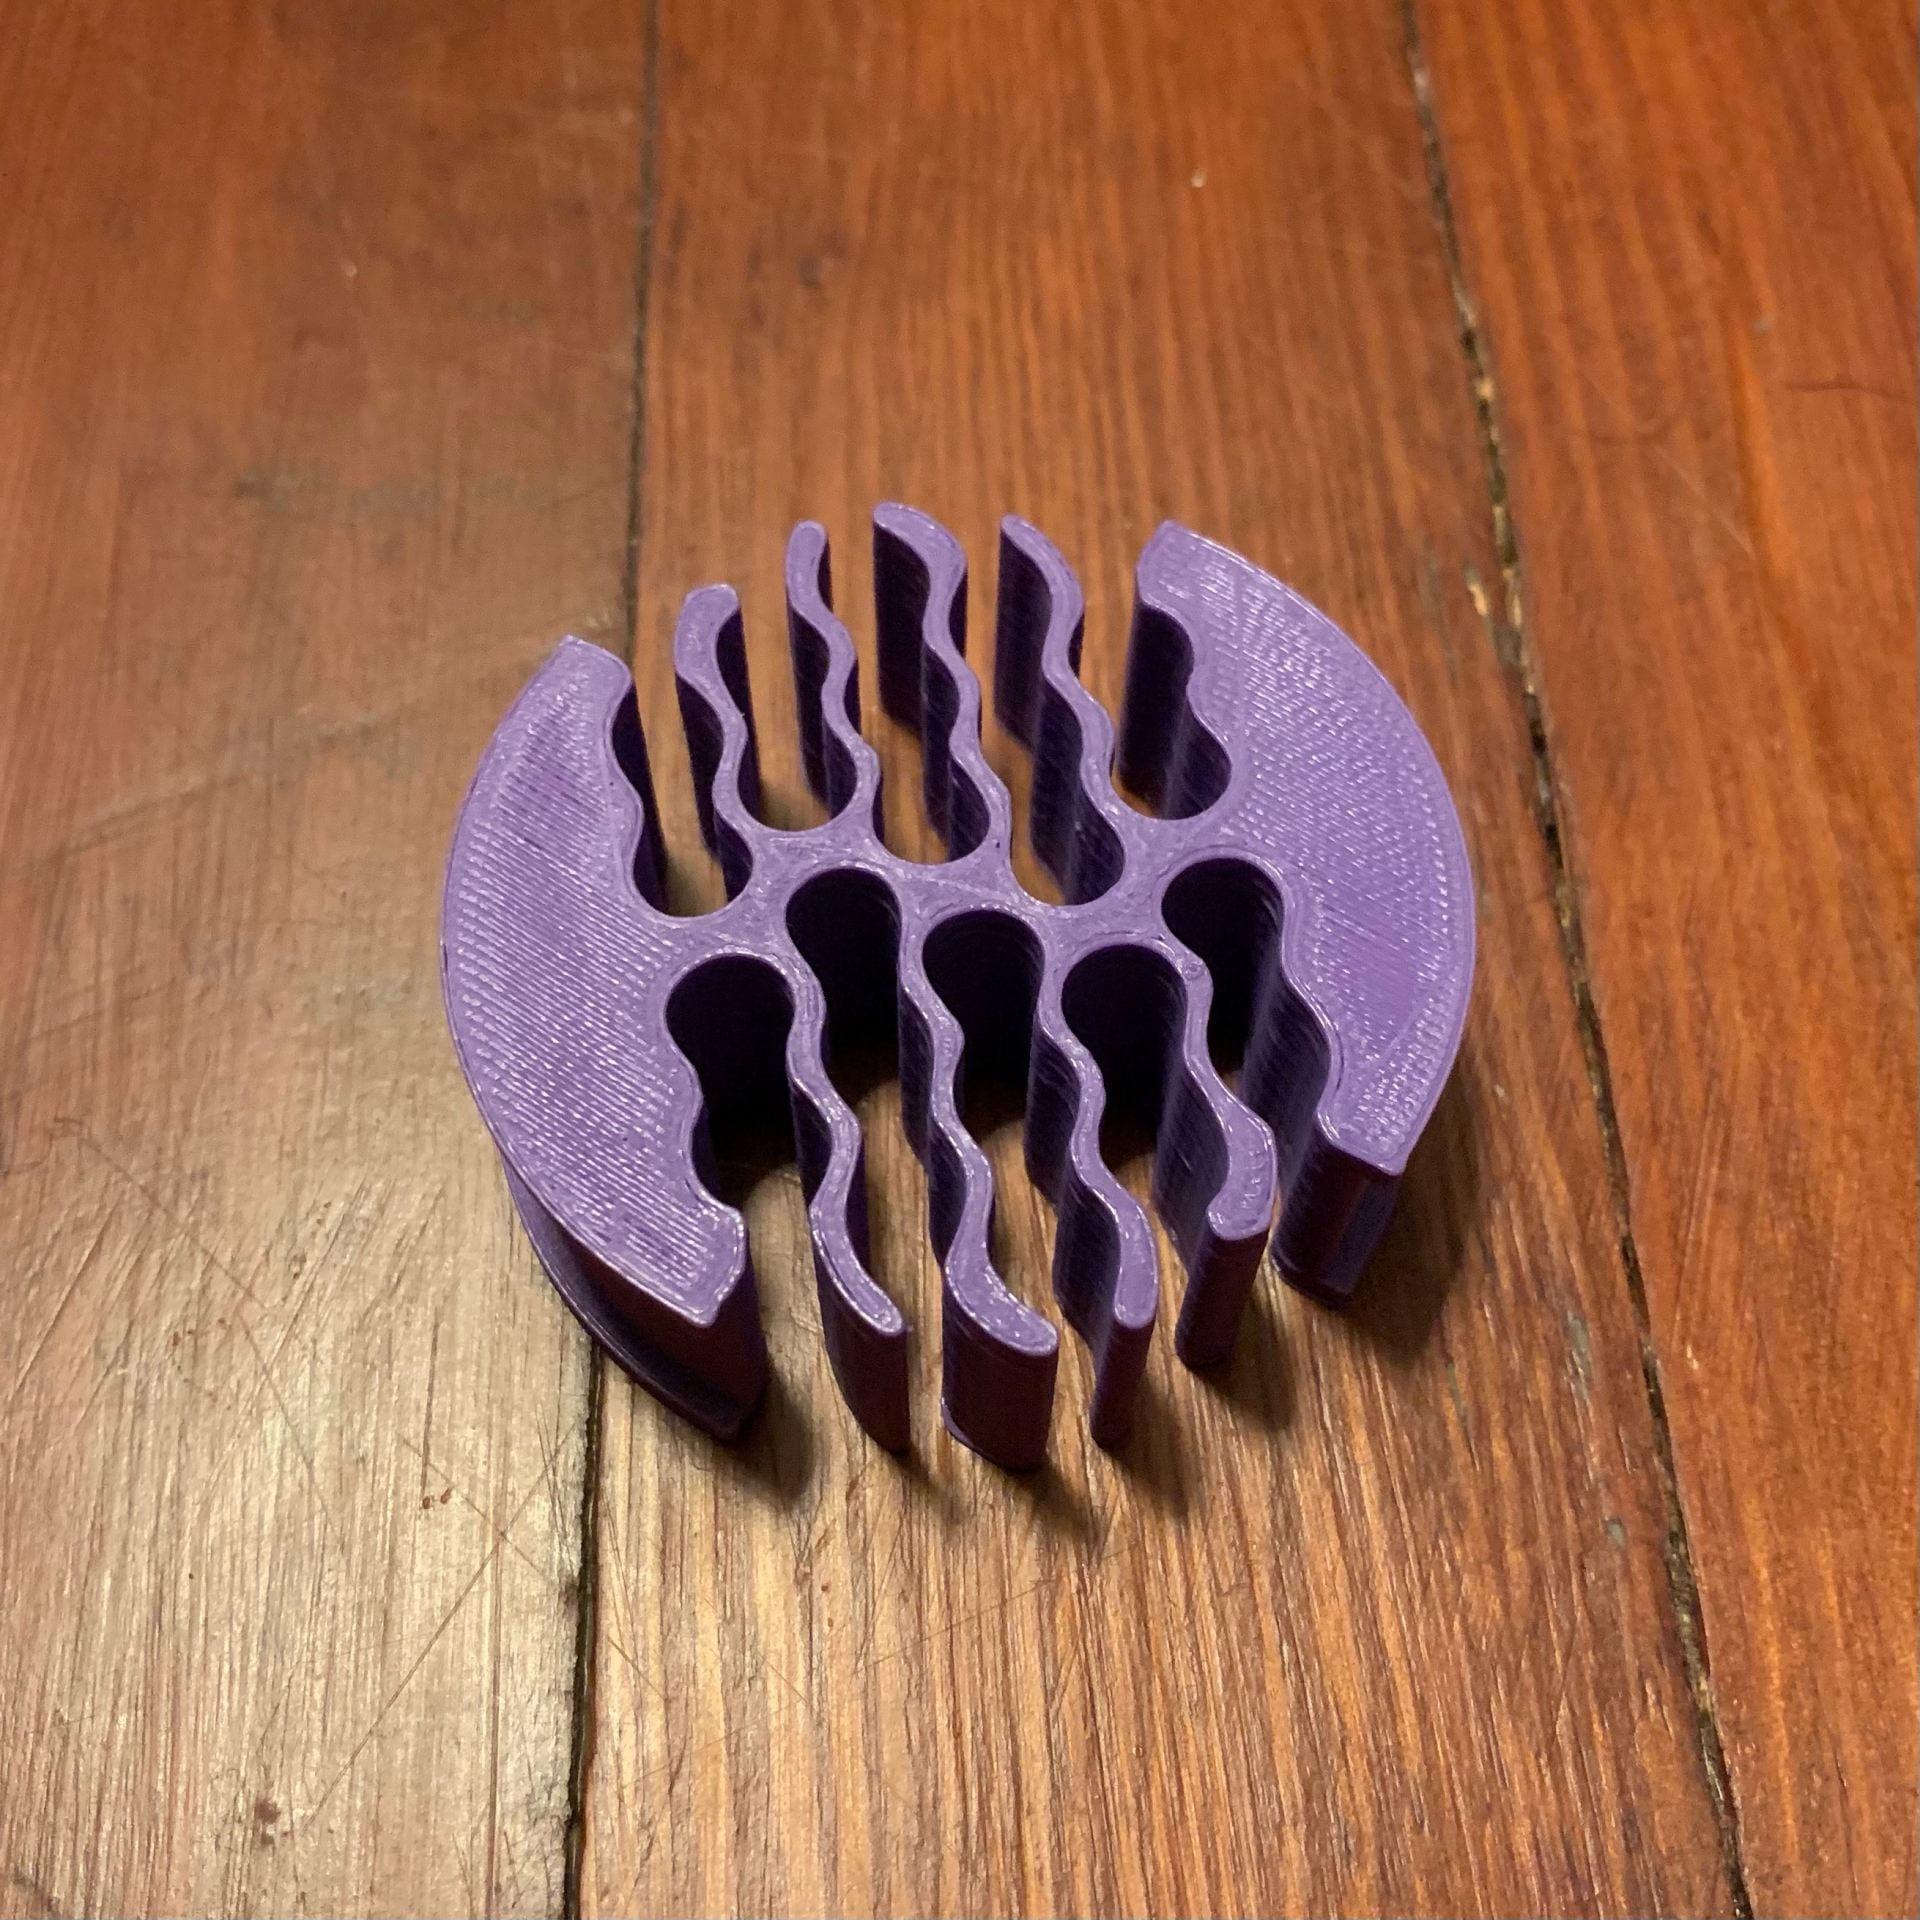
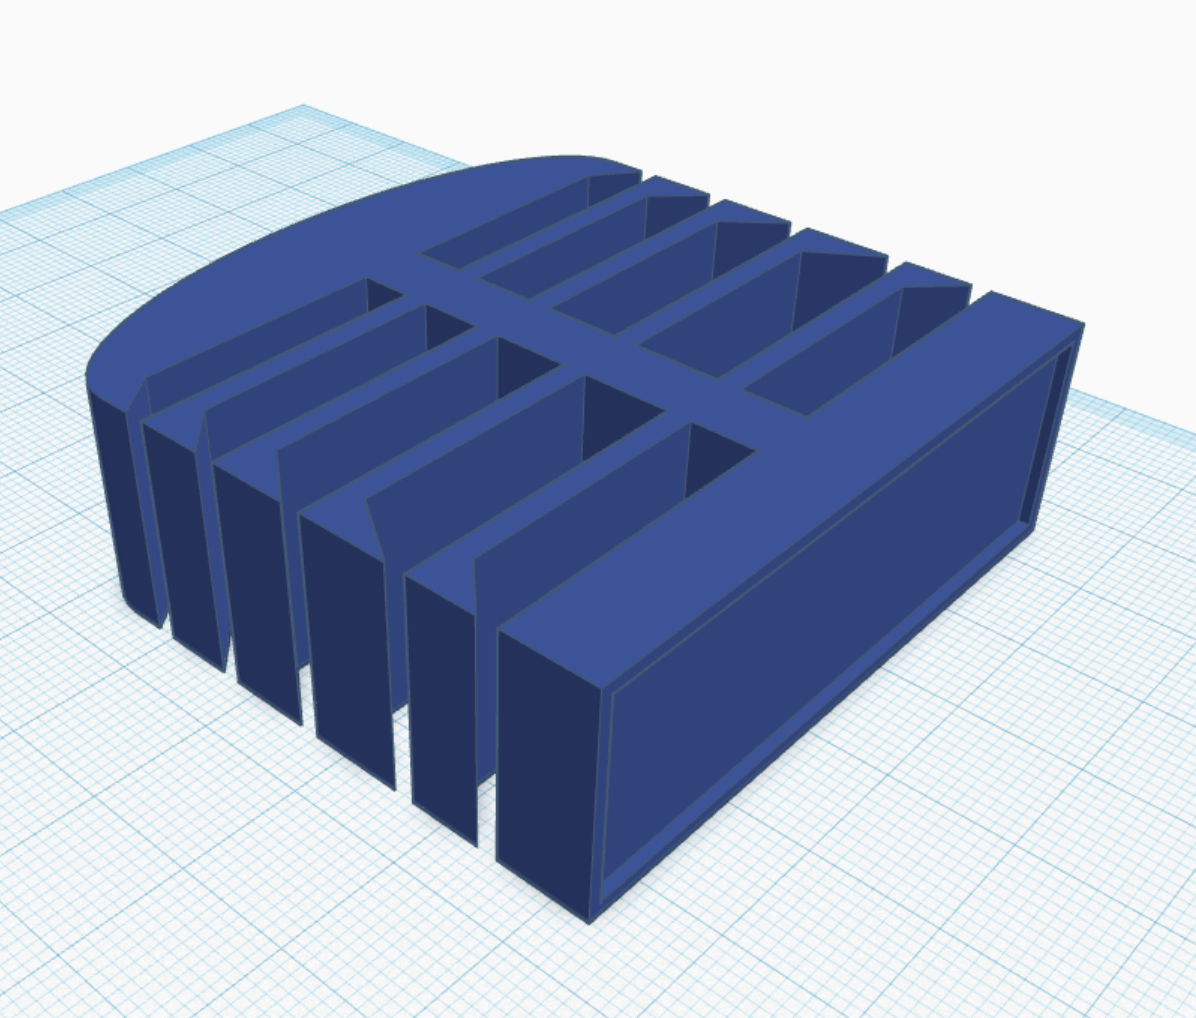
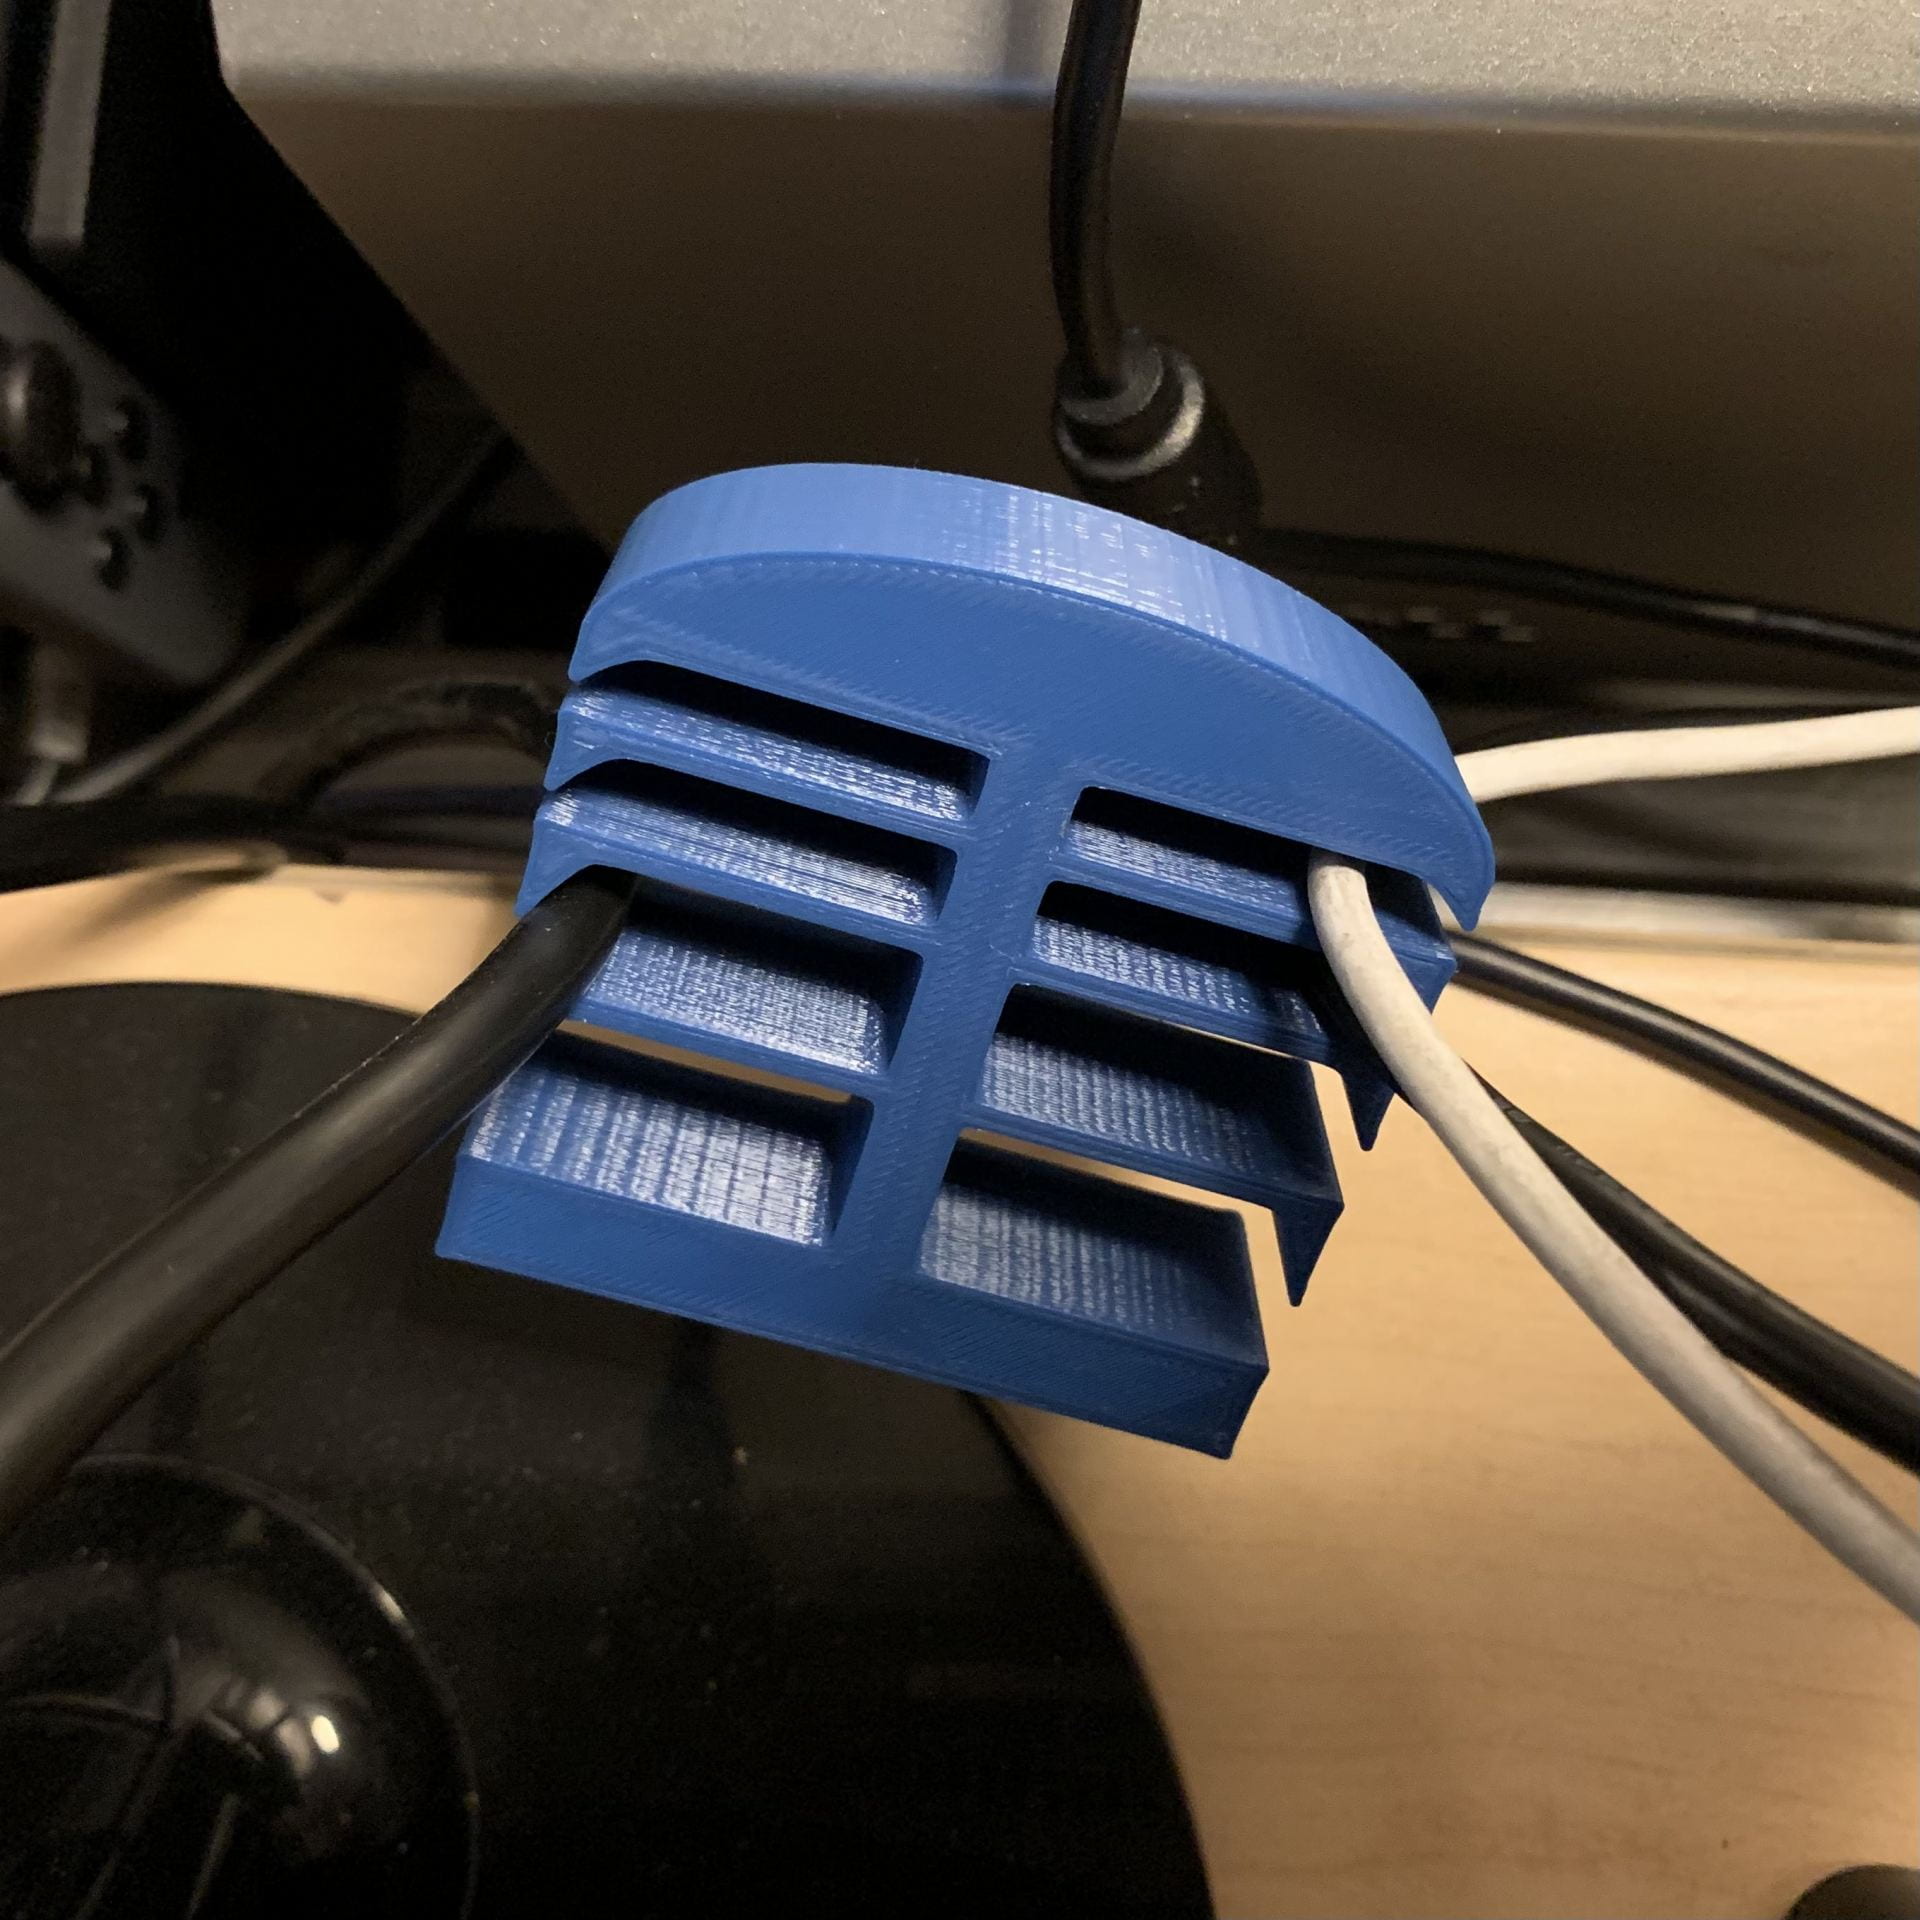
A
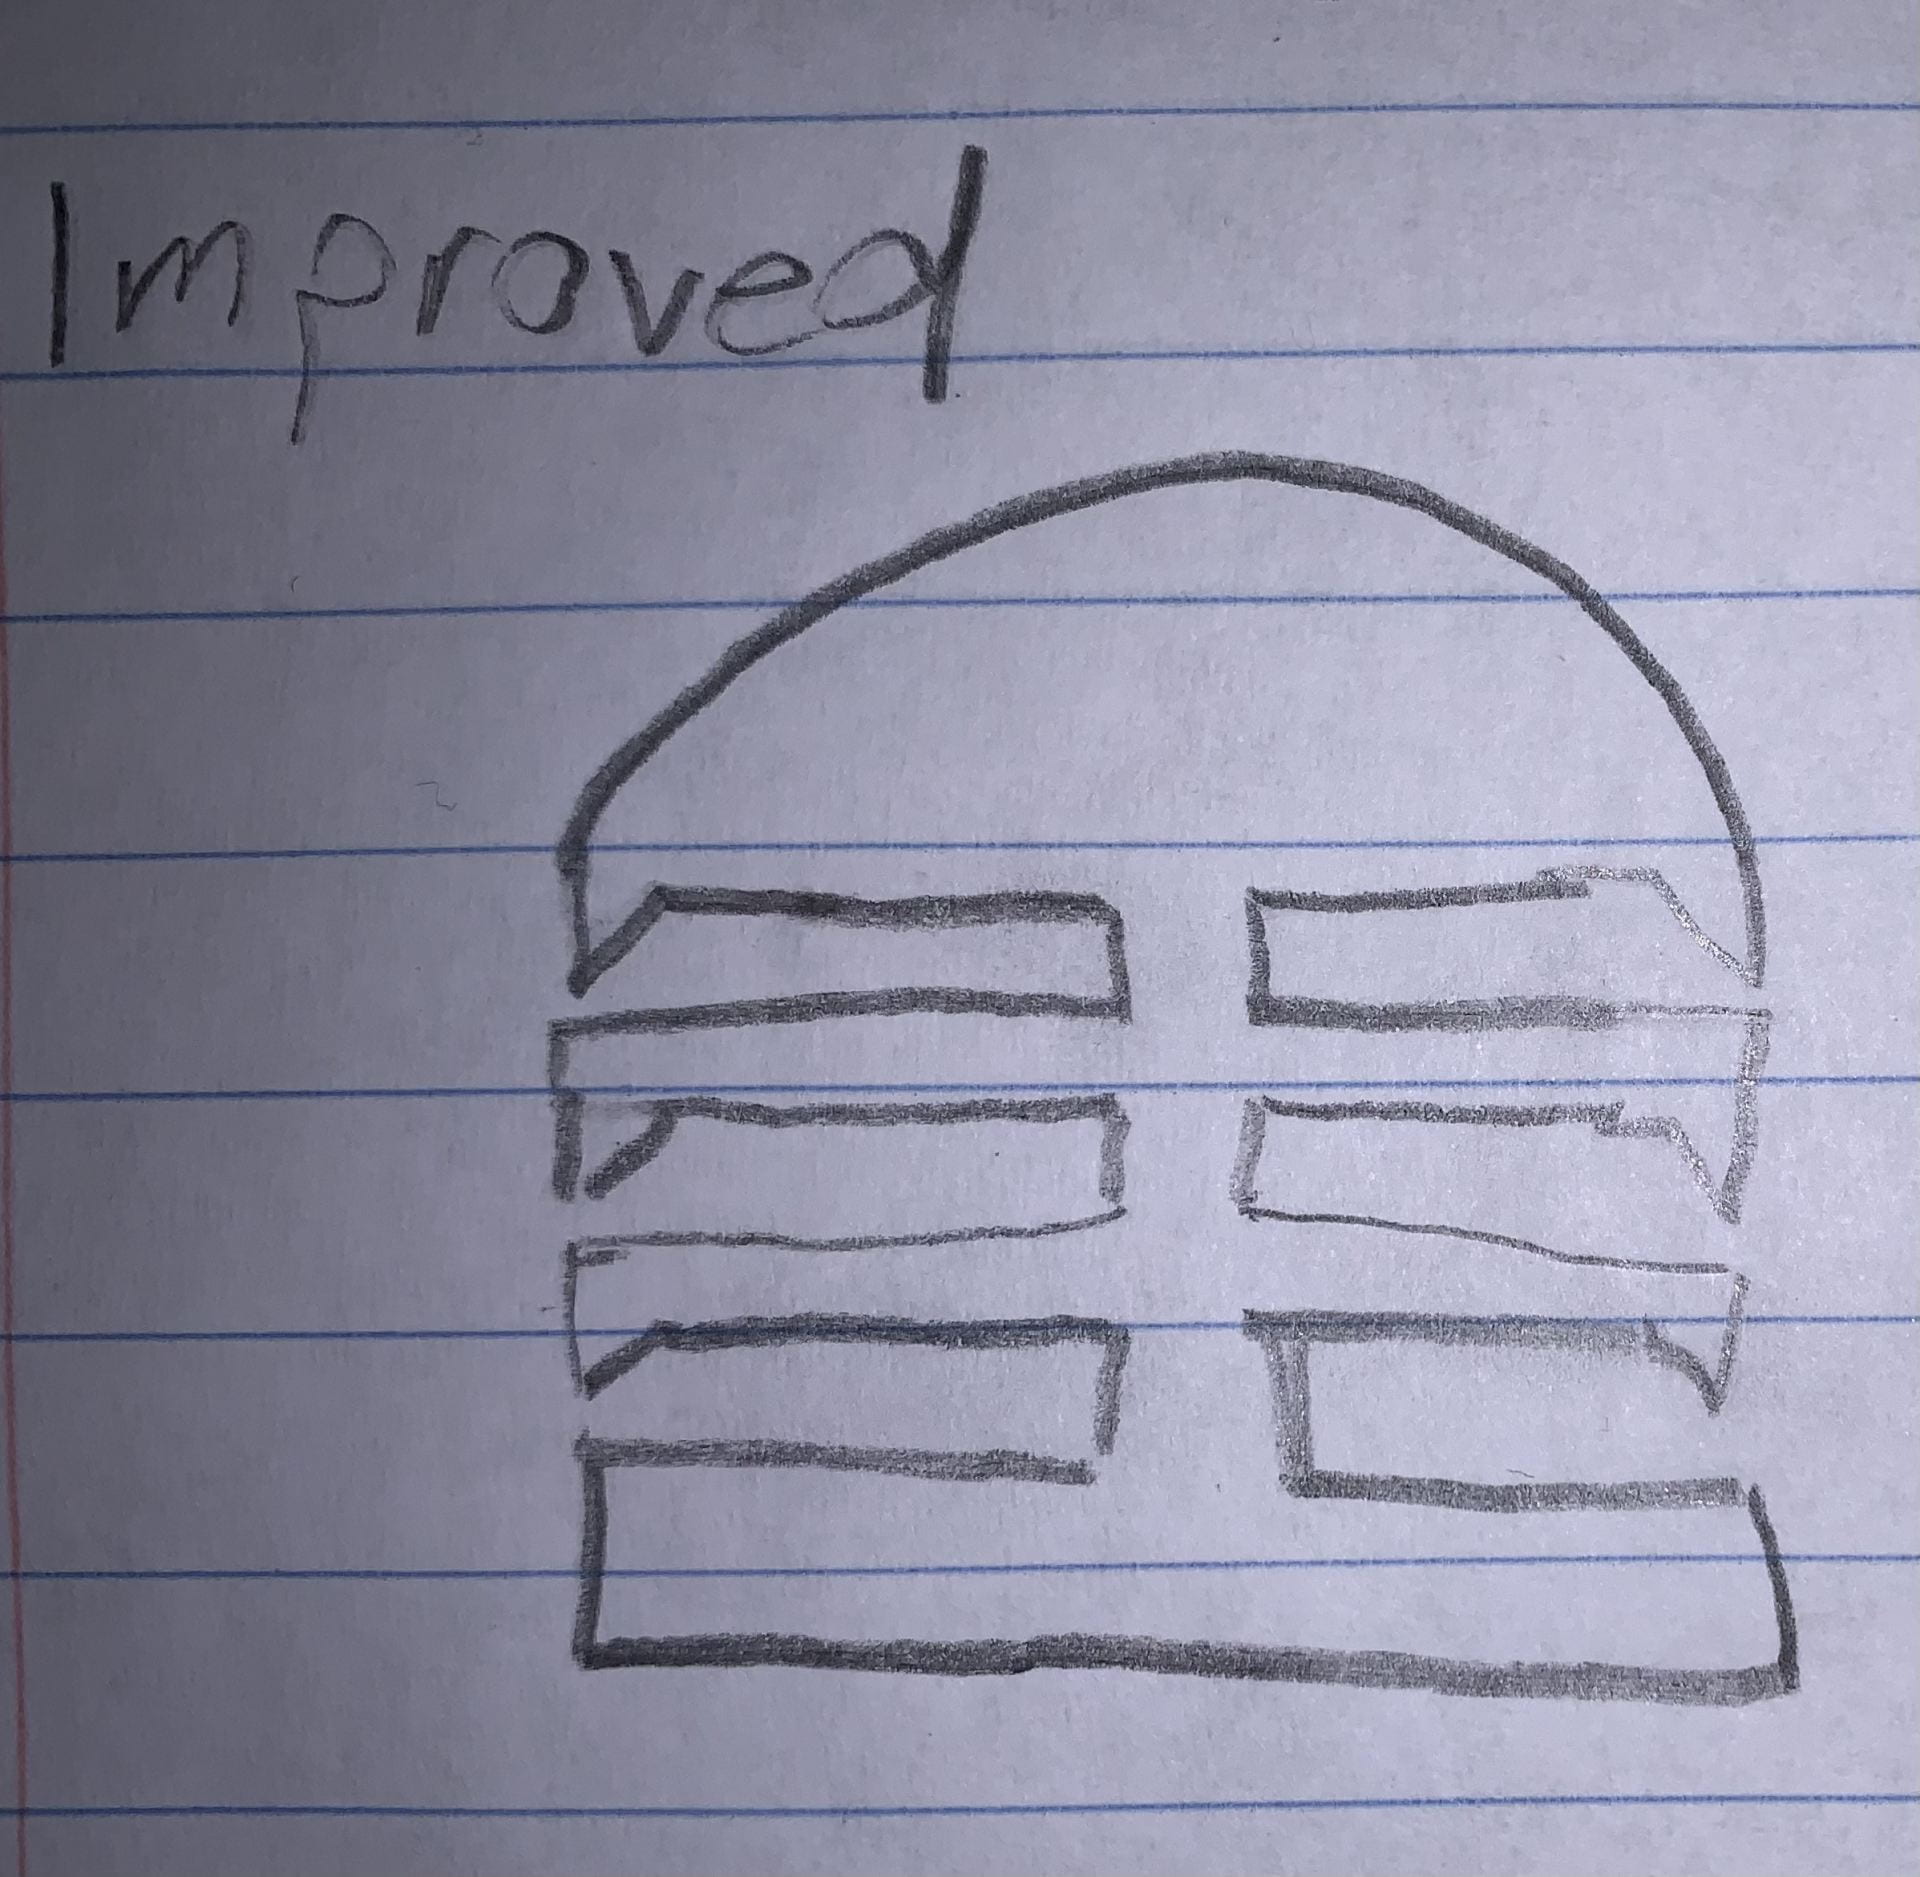
My first iteration attempt was on the letter A. I looked at the sketch in the bottom right and I thought of ring toss and I’ve been meaning to play ring toss recently, so why not center it around my middle initial? I think I made a pretty fun whimsical decision with this. I need to print this one out to see how big I should make the ring; I’m not a professional ring tosser. I tried Shapr3D for this one but my hands are so shaky it made it hard.

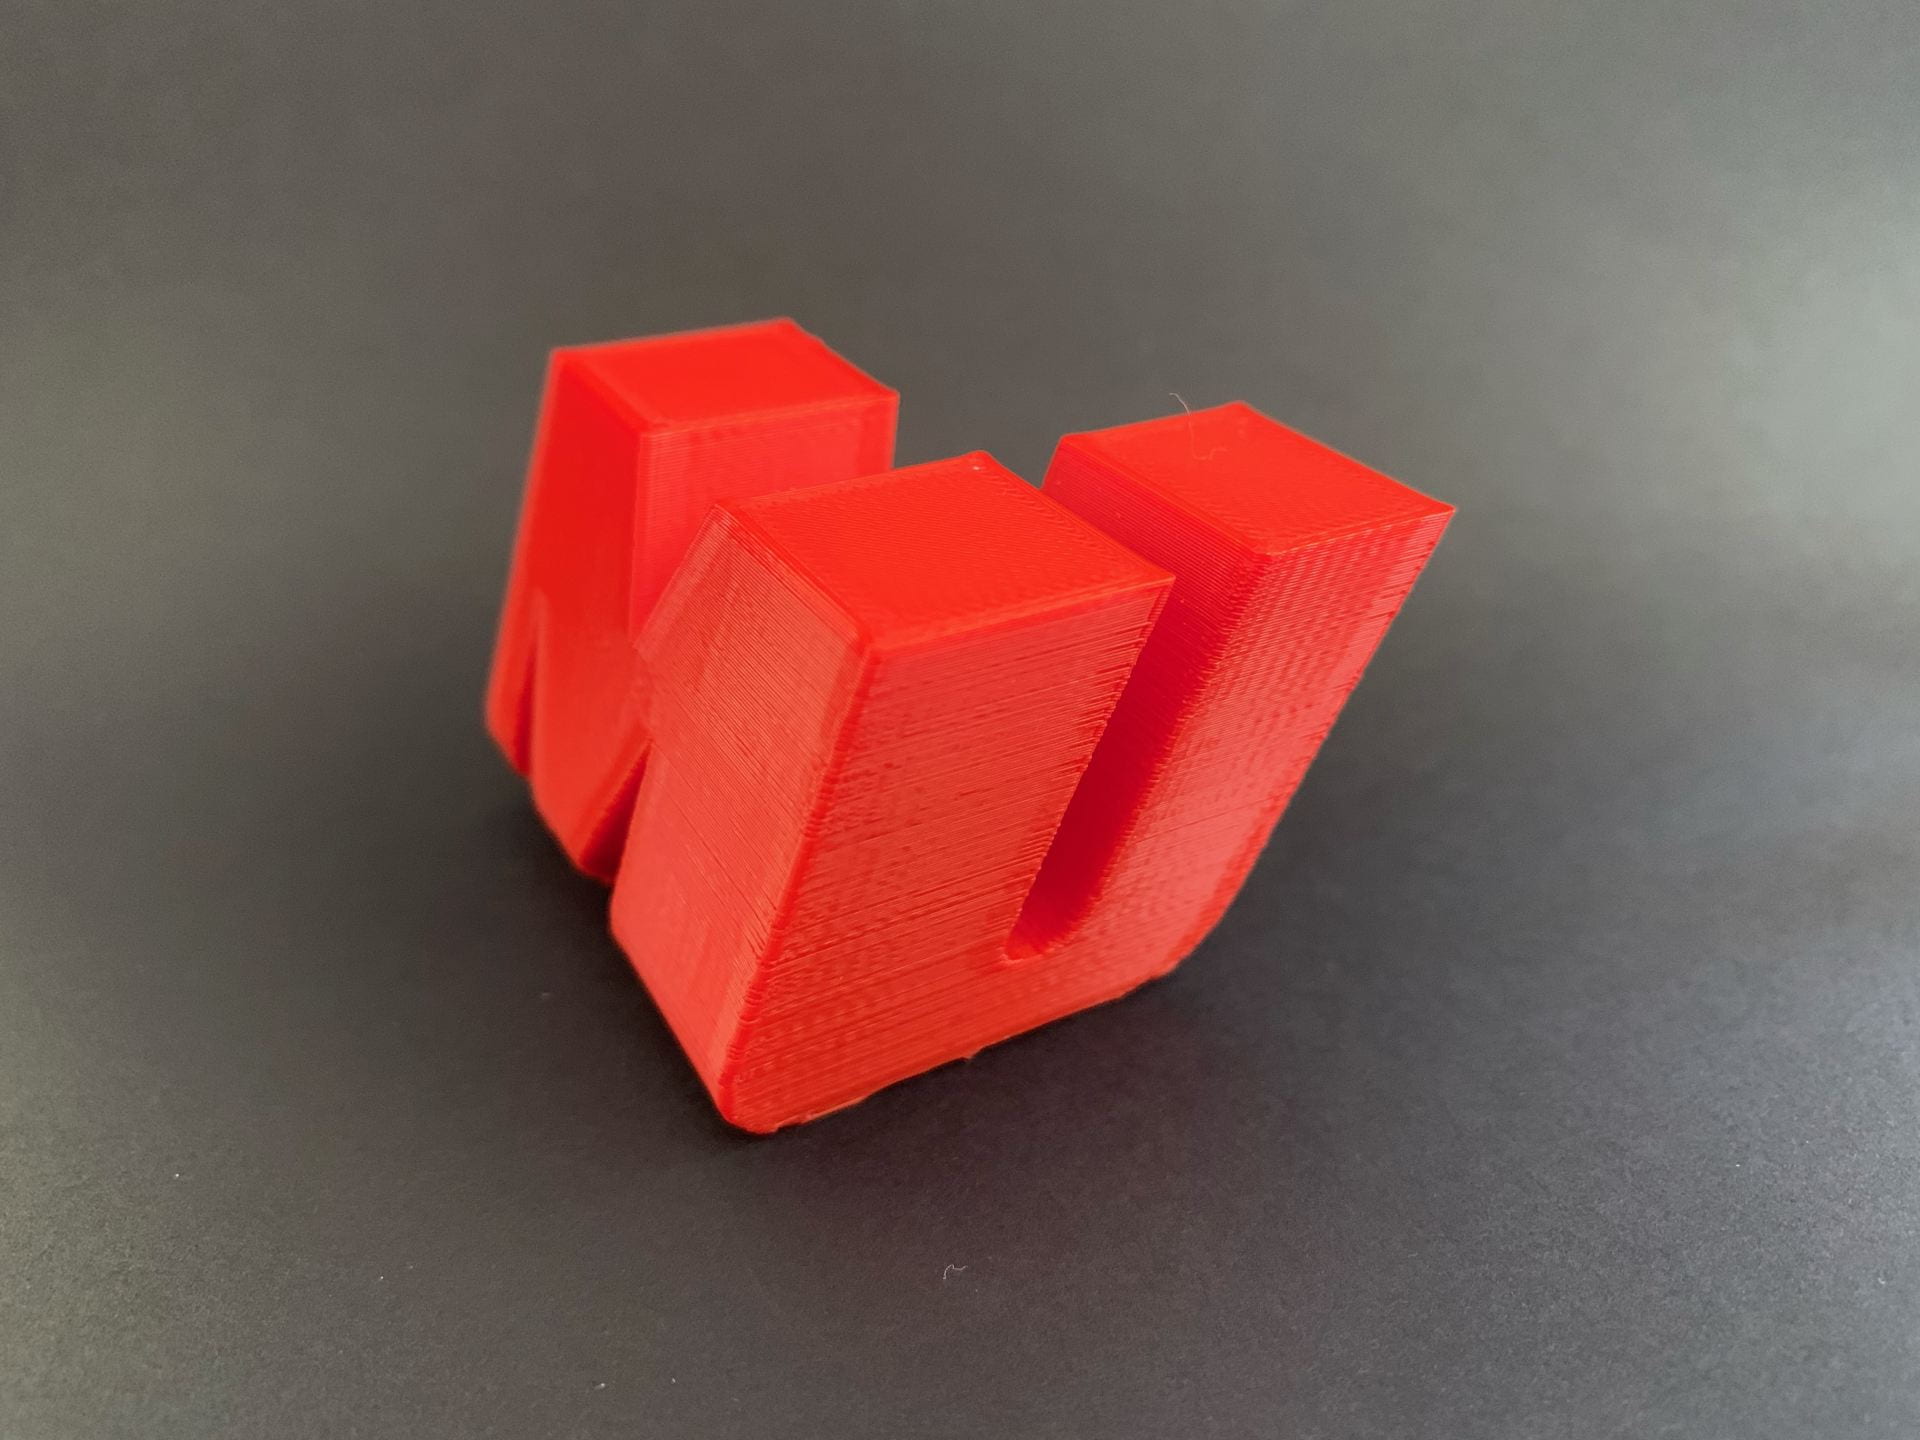
X
My second iteration was the letter X. My sketches for this one were pretty uninspired so I looked at the one in the bottom right, played around with it and tried to translate it into 3D. They almost look like puzzle pieces being put together. I think I did an alright job but I’m going to try drawing something new in Shapr3D because I feel pretty limited with Tinkercad and I think this letter has potential.

Final Prints

I had a very rough time dealing with my final prints. I tried to print my ring toss A twice before but they ended up turning into spaghetti right near the end. I think I just got unlucky because on my third print it came out beautifully. The only thing I changed from the initial design was increasing the size of the triangle hole in the center.


My X print came out wonderfully and I love the design of it. I thought it was a weak entry at first but I really like the way it looks and it was very satisfying to rip the supports off and be left with such clean lines.