Bracket
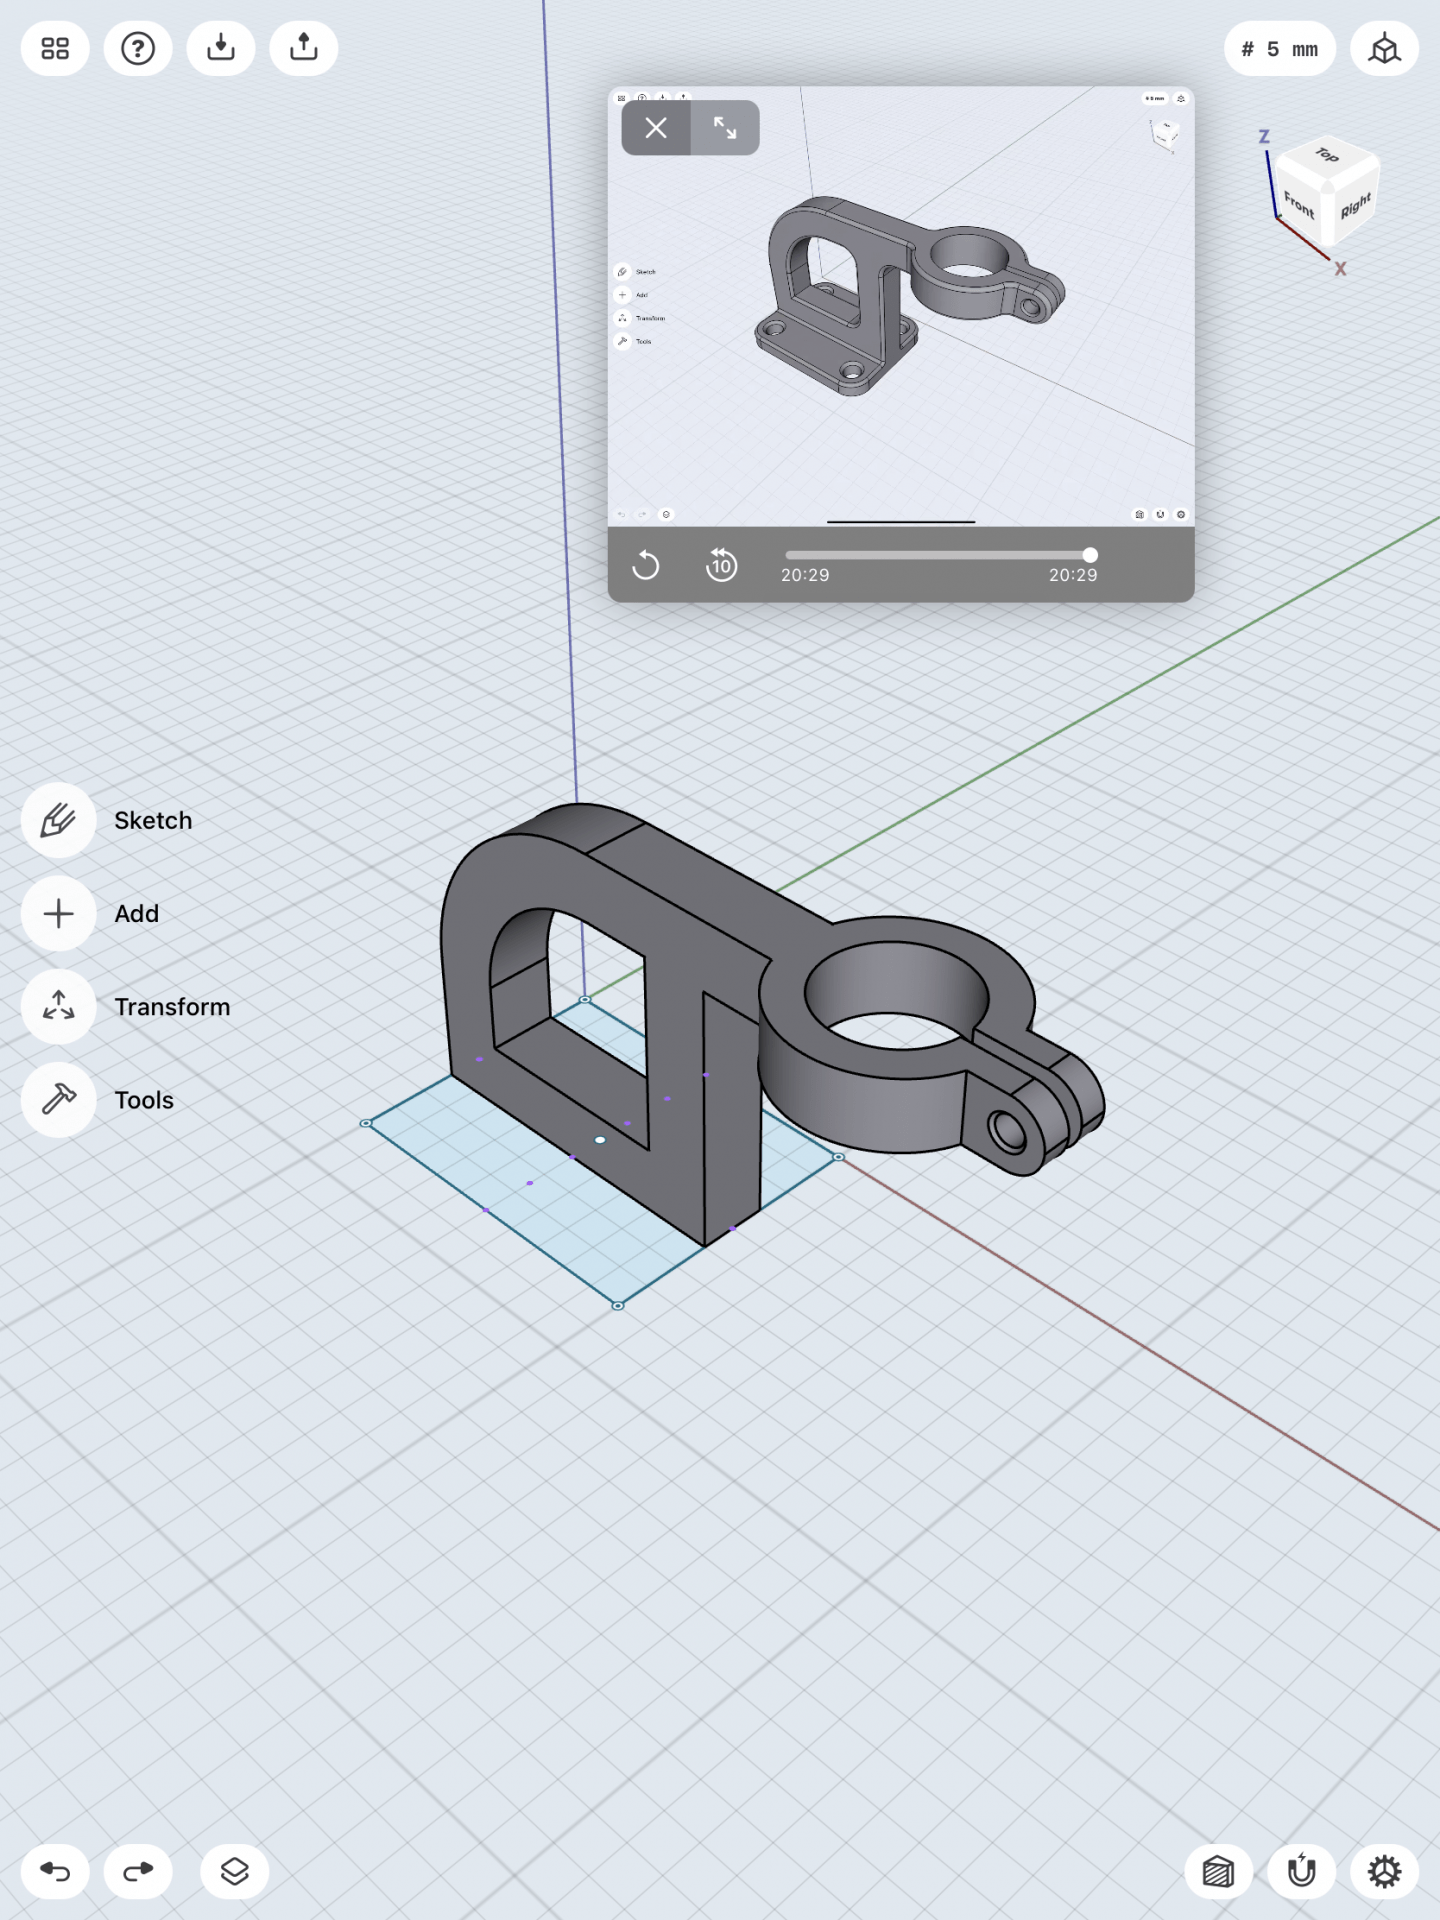
To create this bracket mount, the first step I took was outline the shape of the object in 2D. From following the tutorial I was able to sketch the outline of the object with the correct dimensions. After the 2D sketch was completed I selected the sketch and pulled it out to make the body 3D. After filling out the object, I then beveled the sides and created a hole inside of the bracket.


The next steps I took was to create a hole on top of the bracket by using the plane tool to place the shaped hole in correctly. I then pushed the plane down through the solid object to create a hole. I then intersected the two objects to get the correct shape of the bracket mount.


I then beveled the outside arms that were sticking out to round them out and places a hole in between the two arms.
The bottom portion of the object then needed to be made and connected. A separate square the four holes in each corner was then created. We rounded it out and then connected it to the entire object.

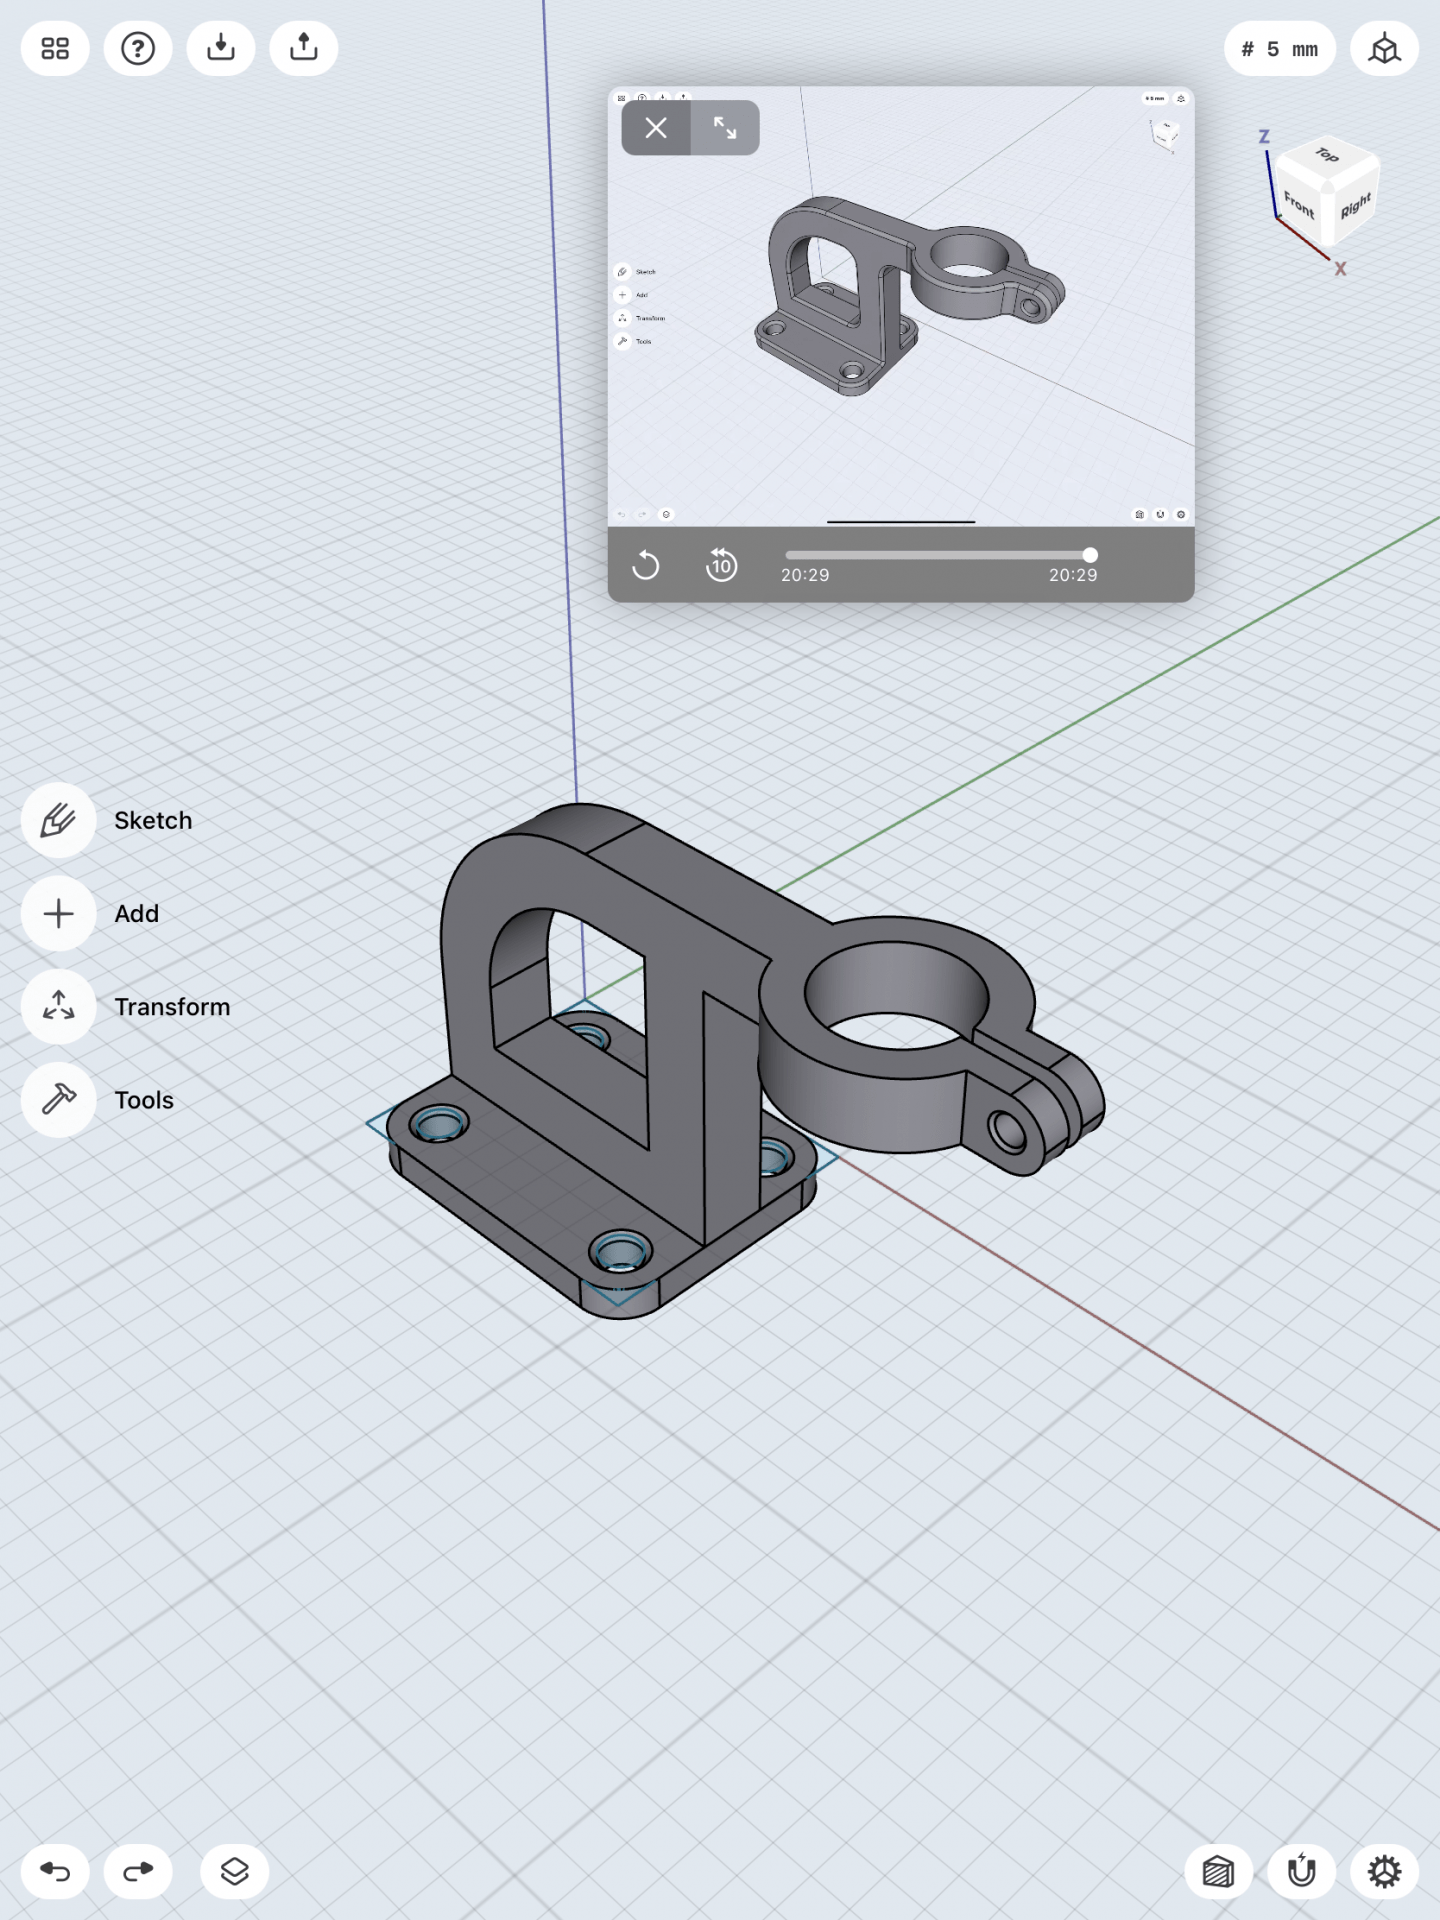
The final step that was taken was to bevel out the rest of the edges to perfect the bracket mount.

3D Modeling a Tea Kettle
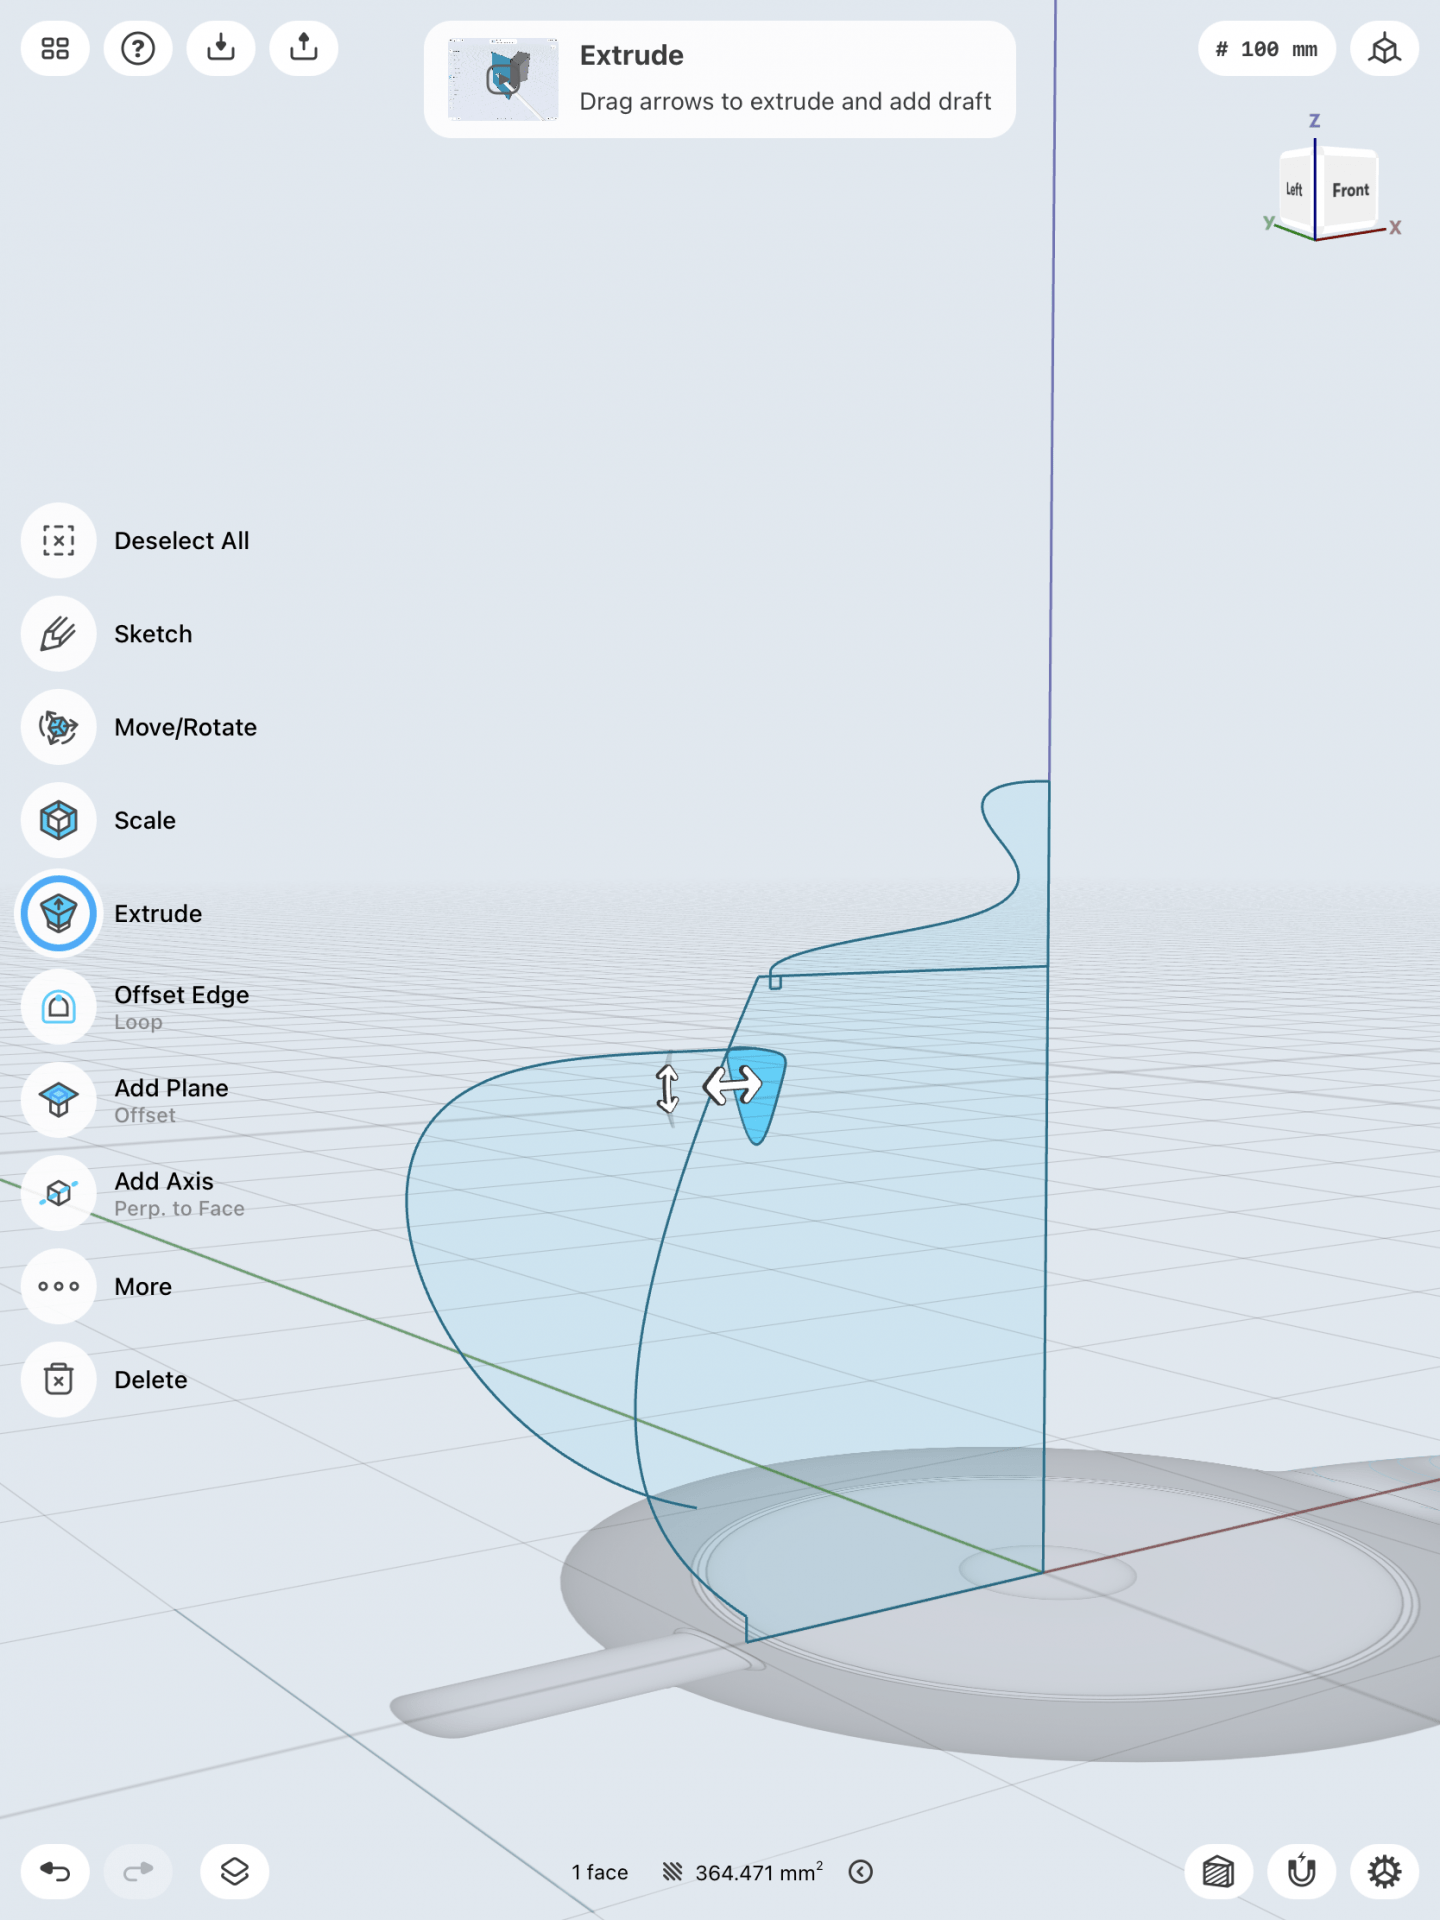
For the 3D modeling of our choice I choose to create a tea kettle. This design was very challenging and very time consuming. To start, the first step I took was to download the tea kettle image to trace over it. I then used the spline tool to sketch half of the outline out. After sketching the outline out I revolved the 2D sketch to make it into a 3D object. I then did the same to the top of kettle pot cover. After those were fully revolved I then created the handle by creating a plane on the 2D sketch of the handle and used the sweep tool to make the handle 3D.


The next step was creating the spout by using the ellipsis tool to create circles where the spout would connect to the kettle. After placing the circles in the correct position, I clicked all the circle sketches in place and used the loft tool to make it into 3D.
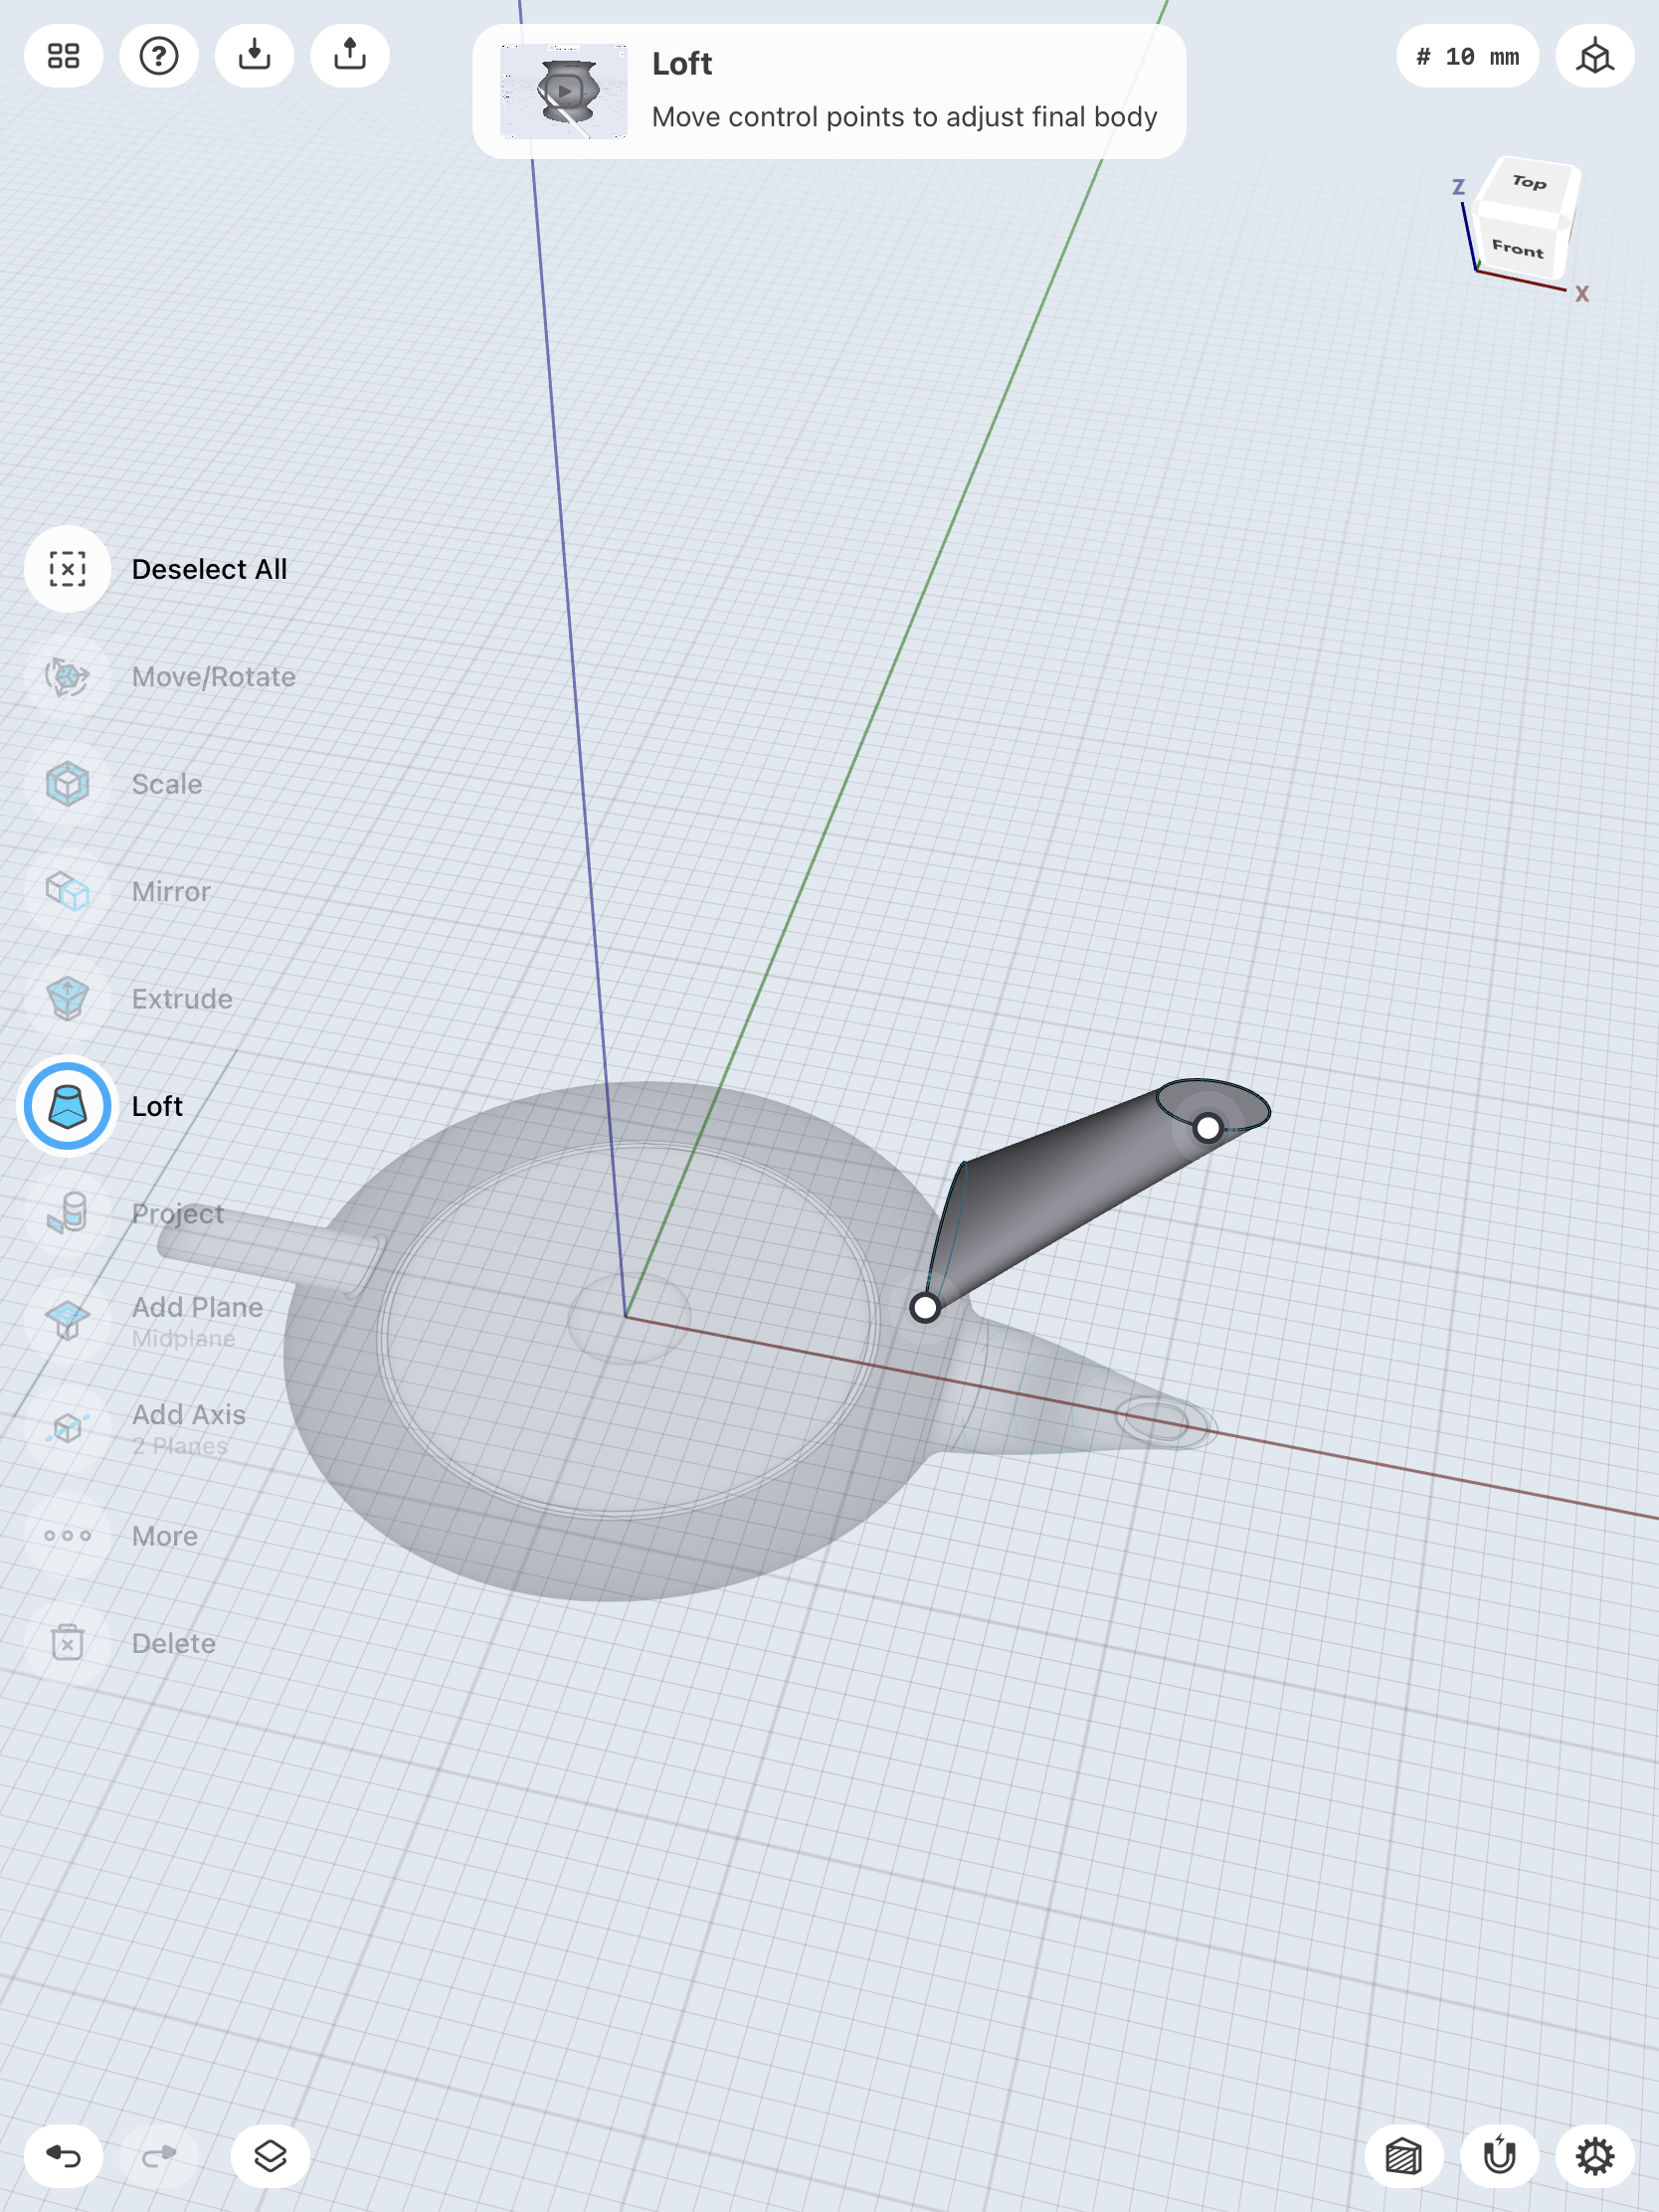
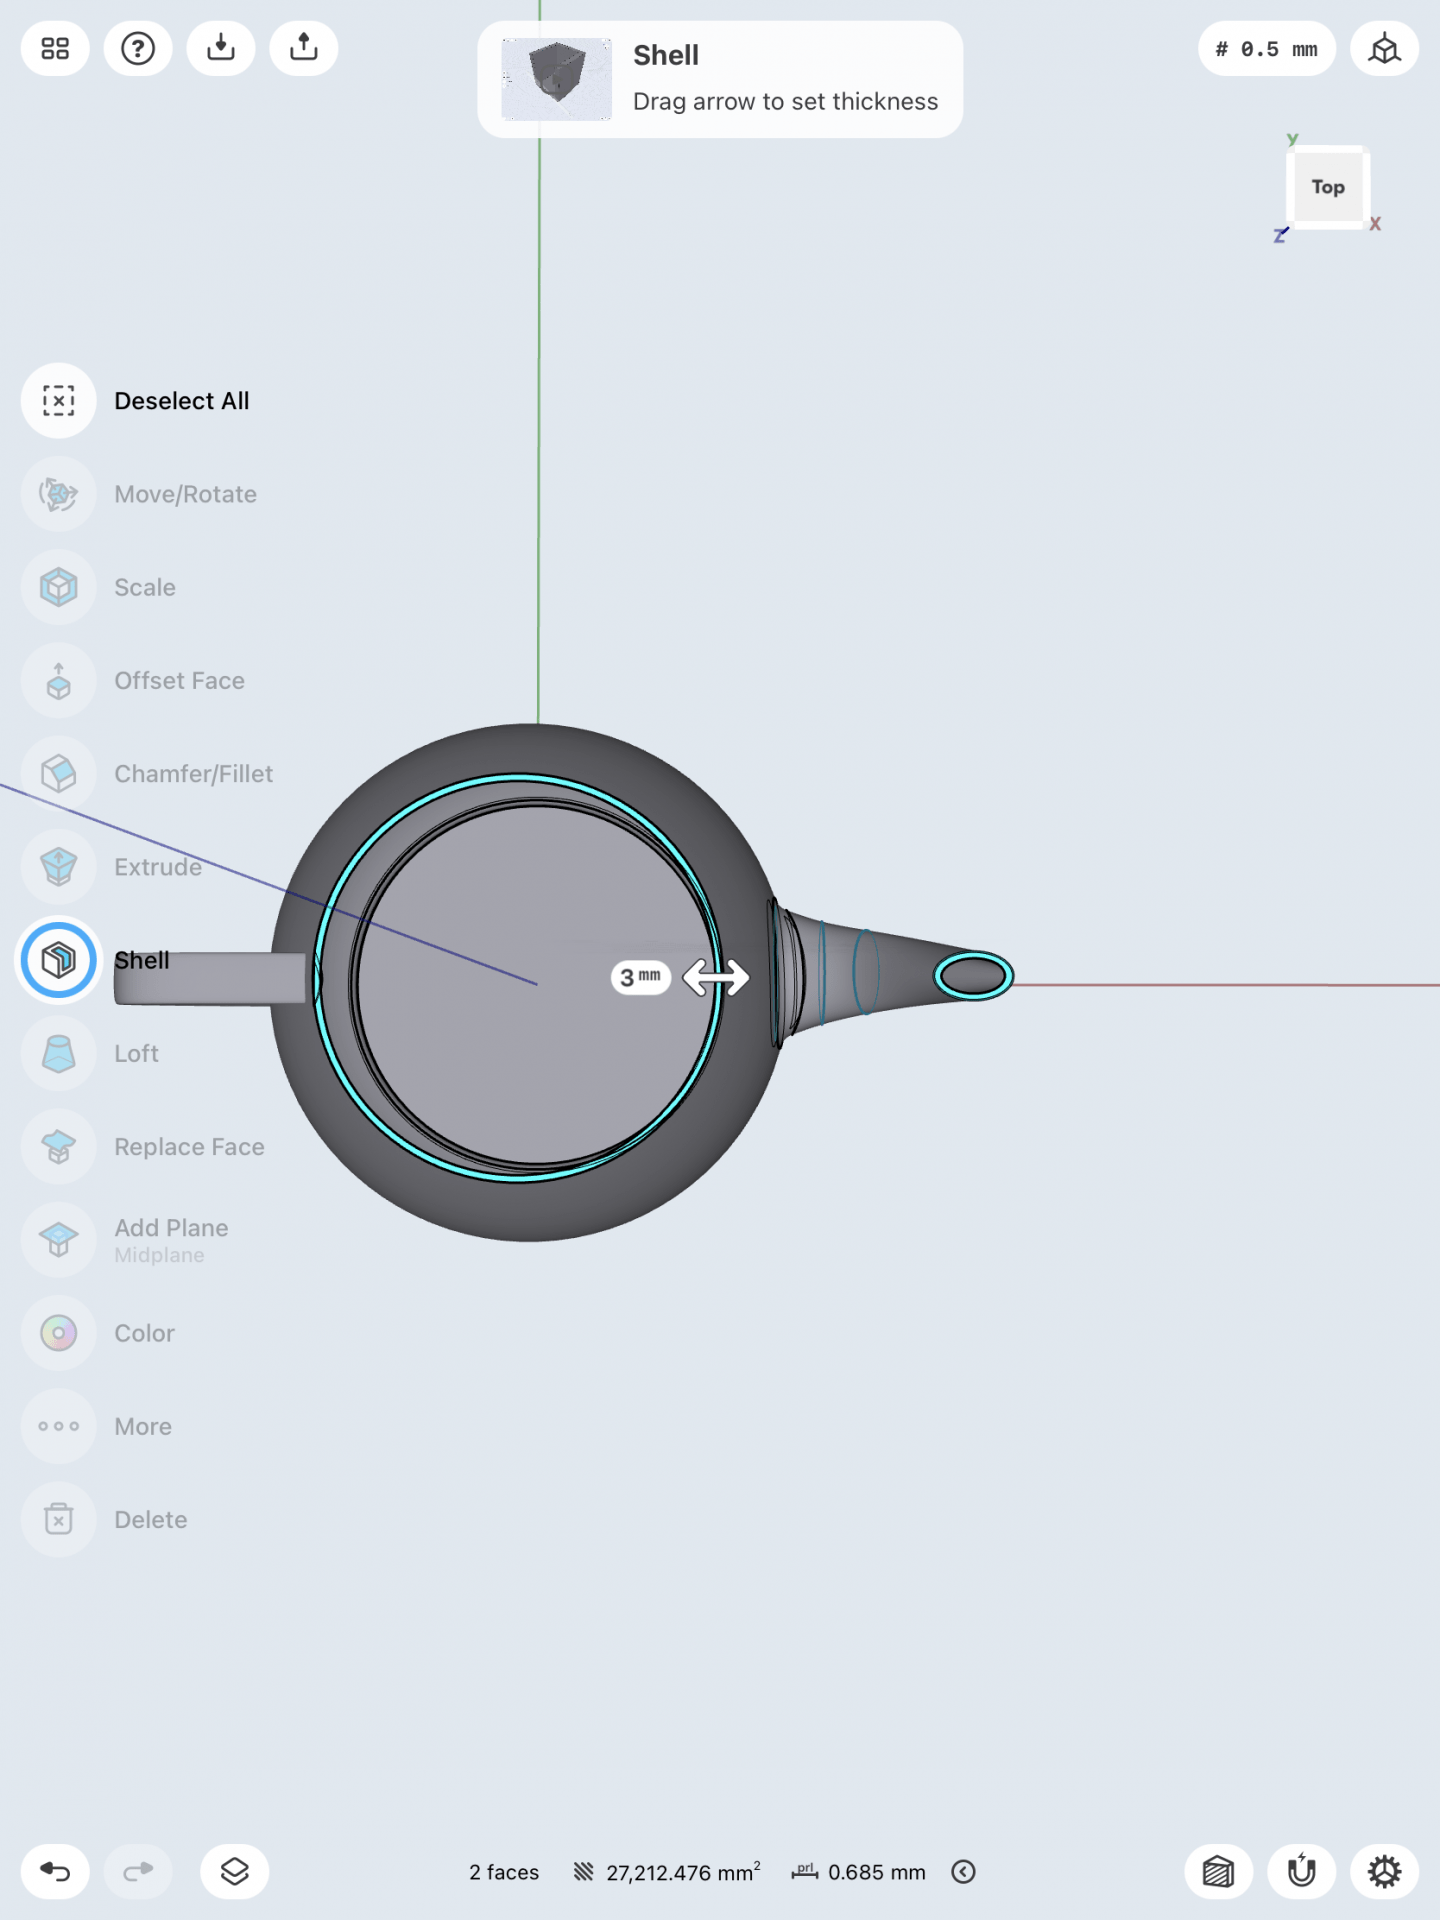
I hid the kettle bottle to make sketching the spout easier but after bringing the body back, I then hollowed out the inside of both the kettle and spout by shelling the object.

Lastly, the final step I took was beveling small details and angles of the kettle. I unhid the other parts of the tea kettle and finally changed the color.


Credit to Shapr3D and tutorial by Wayne State Industrial Design Professor and Autodesk Expert Elite educator Claas Kuhnen.