Research & Concept:

While trying to think of an object to make more playful while still adding to its functionality, I had a bit of a hard time thinking of something until I started thinking about basic, boring items that one may have around their house. Then the idea struck me to do coasters! Typically coasters tend to be pretty boring and simple, like the coasters pictured above from Wayfair. In order to spice up the design a little bit, I decided to turn the coasters into a different shape and make them fit together seamlessly so they look cool when not in use too.
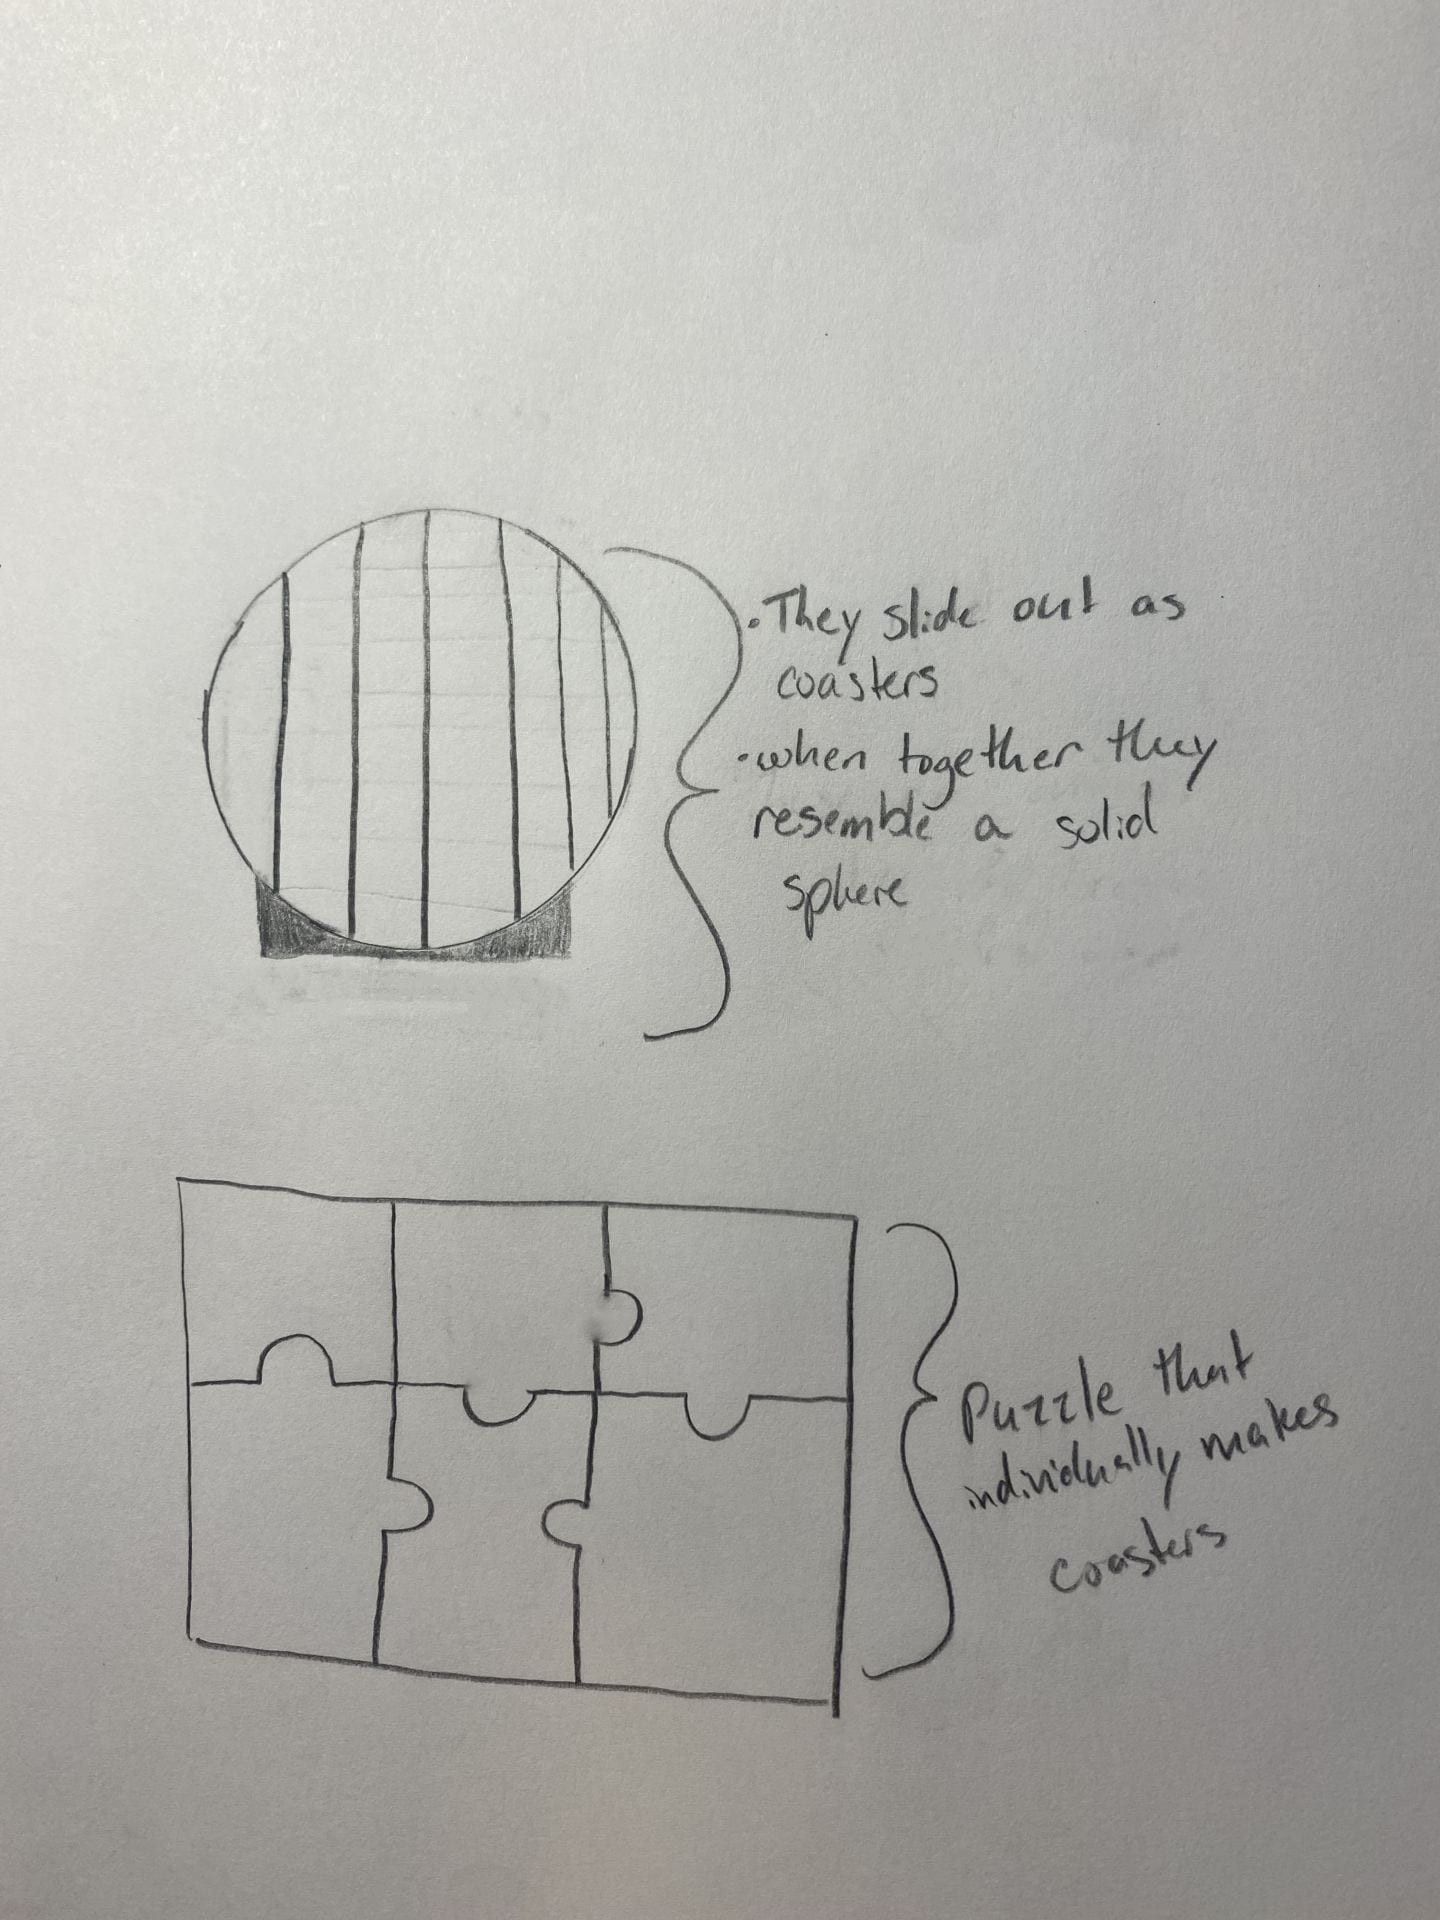
Pictured above are two of the sketches I came up with for redesigning coasters. When trying to figure out how to make it more whimsical I came up with two different base designs of a sphere and puzzle.
The sphere will turn the coasters on their side like slides and fit together to make a perfect ball with little to no gaps. This will add a slight playful aspect to the design while keeping its functionality. As for the look of the sphere as a whole, I am still debating between turning it into a globe or leaving it as a plain sphere.
As for the puzzle design, the coasters will come together to create an image or phrase that guests can smirk at when reaching for a coaster or play with to finish the puzzle. This will add that slight playfulness act that maintains the functionality of the object.
Iterations:
After reviewing the original drawings of my designs, I decided that I would make the puzzle my final self-expression print. While examining the design and the dimensions of a typical coaster, I soon realized that if I were to make every coaster a piece of a puzzle, as I had originally planned, it would be too big to be a functional puzzle. Instead, I decided to make each individual coaster a puzzle of its own. Not only did this help add more of a playful touch to the object, but it made it an overall better product.
To make the design come to life, I ended up using a mixture of the apps Shapr3D and TinkerCad. I found both of these apps useful in their own ways. Shapr3D was helpful initially in designing the base of the puzzle, but TinkerCad proved useful later on as I began making additional iterations.
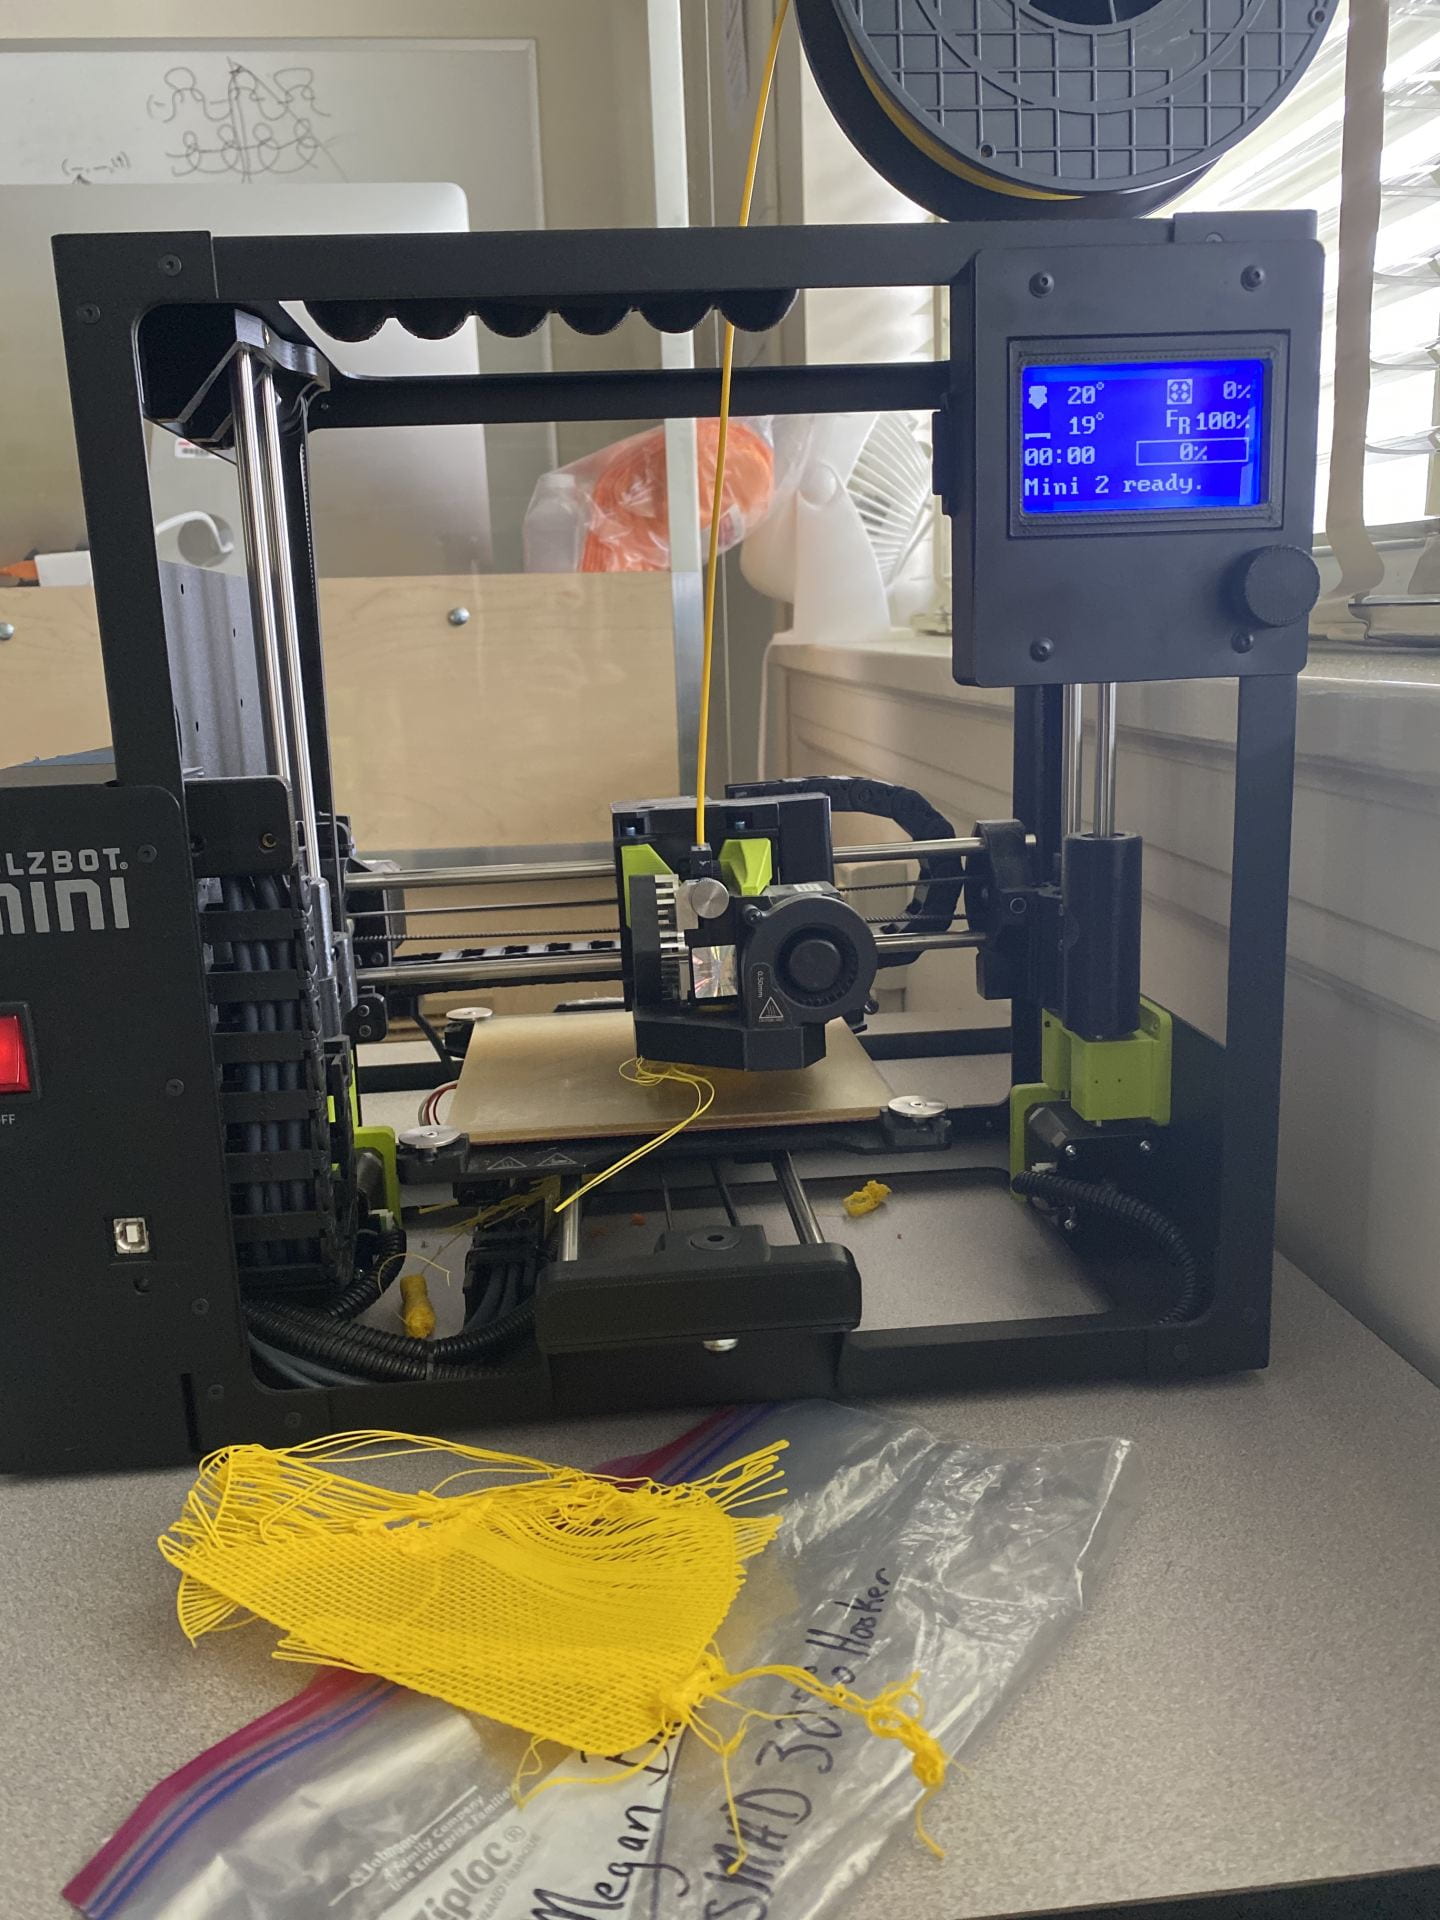
After attempting to print my design the first time and witnessing the disaster pictured above, I quickly learned that I needed to print the design without a raft and change the dimensions. I changed the coaster from six by six inches to four by four inches and I increased the height from one millimeter to two and a half millimeters. This made the puzzle print smoother and sturdier. I also made the decision to switch from the Ultimaker Cura Lulzbot mini to an Ultimaker Cura 3, which seemed to make the printing process flow a lot better as well. While tweaking my design I also decided to add JMU| SMAD to the coaster to make it more like a real puzzle with a design on it.

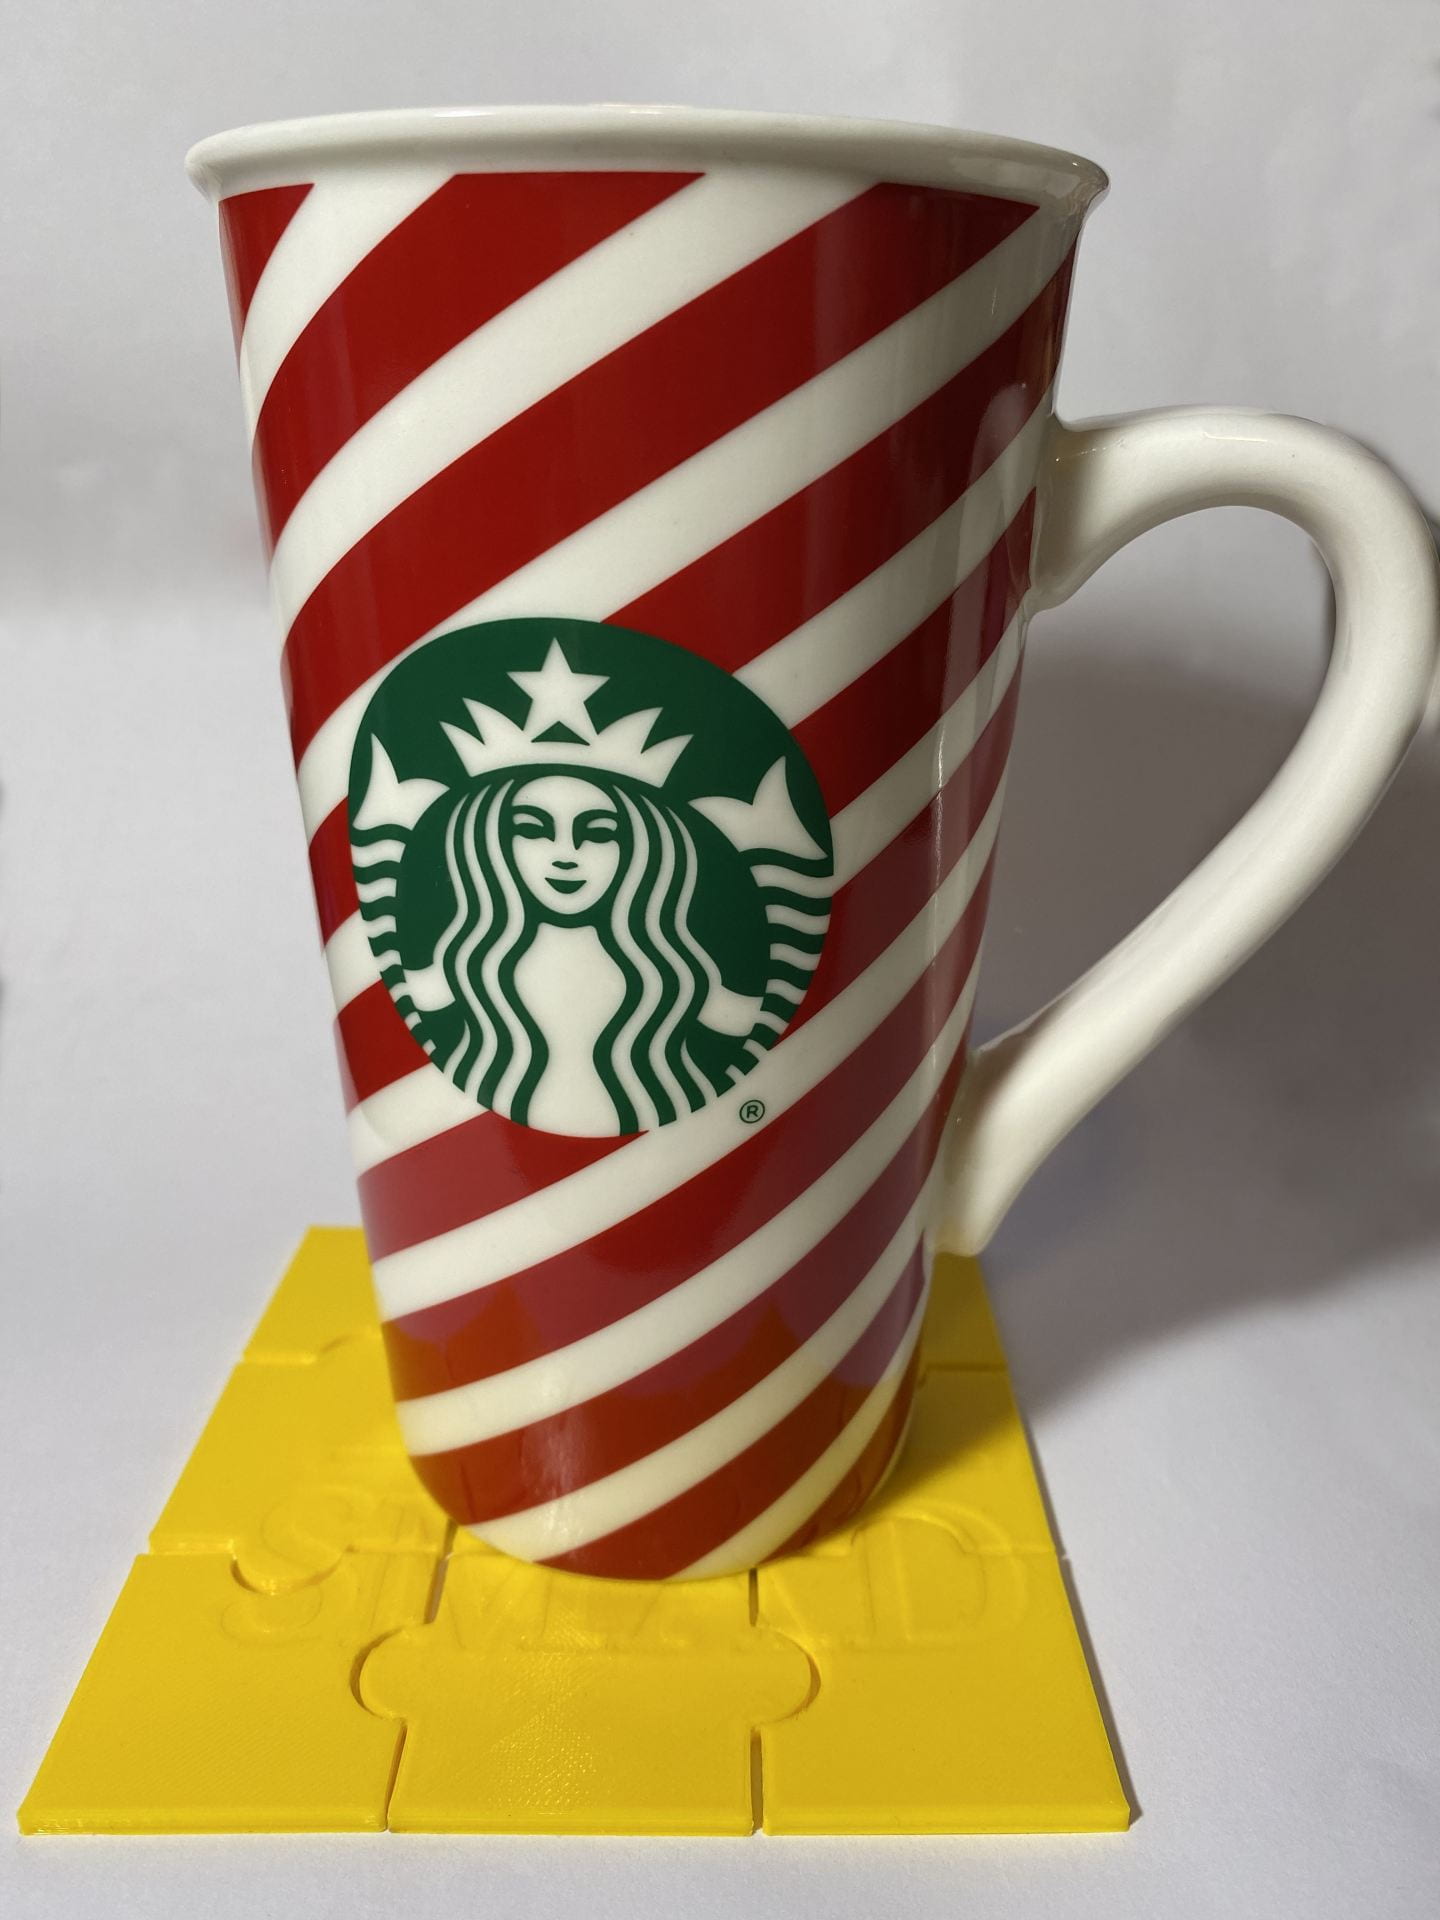

Pictured above is my final print for right now, while there are still a few adjustments I would like to make the model still came out well. A few things I would change would be making the design of JMU|SMAD more prominent and deeper into the coaster since the JMU section didn’t print and the SMAD portion isn’t that noticeable. I would also make the puzzle pieces more compact by changing the arms of the puzzle pieces to be more of a tear-drop shape instead of a circular shape.
Overall, I would say that this was a project that really challenged me. It taught me a lot about incorporating playfulness into everyday objects and puzzle making, as well as that not everything that seems simple to design will be simple to produce.
Final Print:
After reflecting on feedback from my peers I decided to go with my original idea of making the puzzle pieces into individual coasters, instead of making the coasters into puzzle pieces. To make this switch I ended up having to change the dimensions of each puzzle piece to 19.05 mm tall, 122.6 mm long, and 127 mm wide and then print each piece separately. While this was more time-consuming it ended up creating a more functional and playful final print.
Upon changing the dimensions of the model I ended up making other adjustments that some peers had suggested from my original model to make the final print better. Some of those adjustments included changing the holes and knobs of the puzzle pieces so that they would fit together better and making the letters more prominent in the print by embedding them deeper into the model.


Overall, this final print doesn’t have any problems or other adjustments to be made. All of the pieces fit together pretty well and work as both a functioning puzzle and coasters which is why it is my final print.