Daniel Doh’s Form|Function

F|F Research & Concept
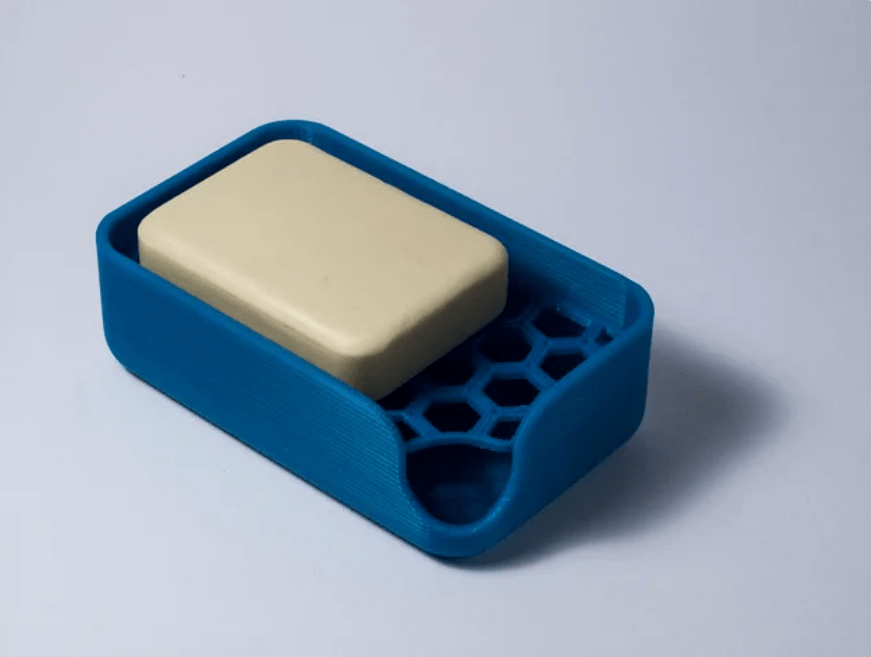
3D Soap Holder https://www.thingiverse.com/thing:404028

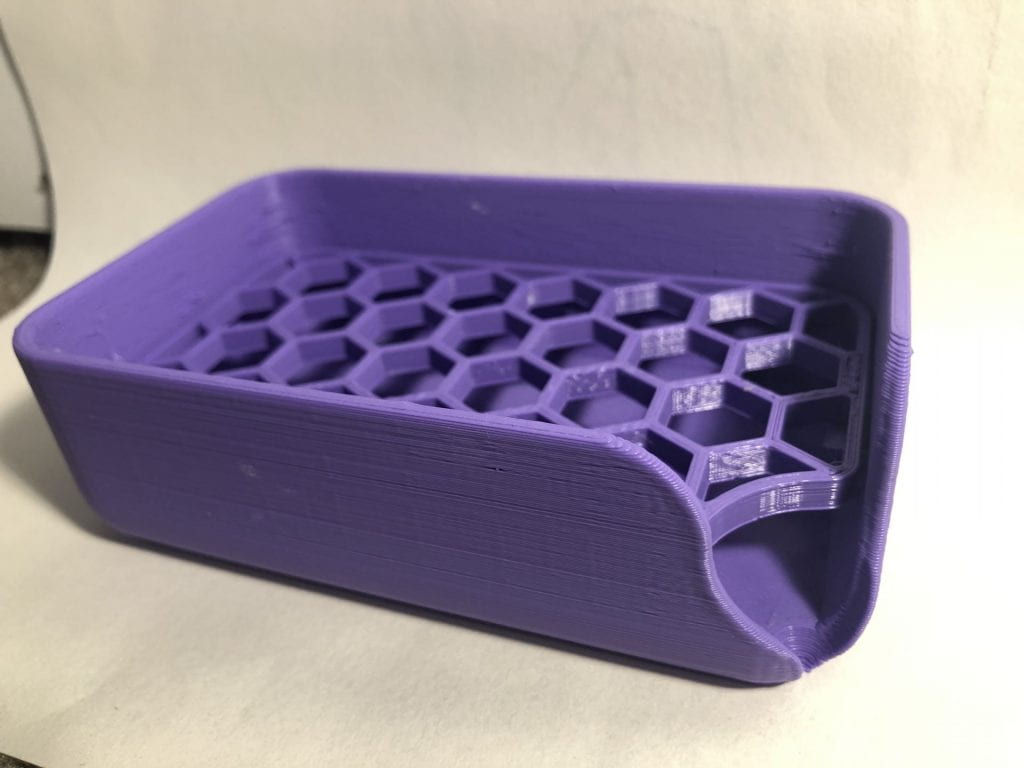
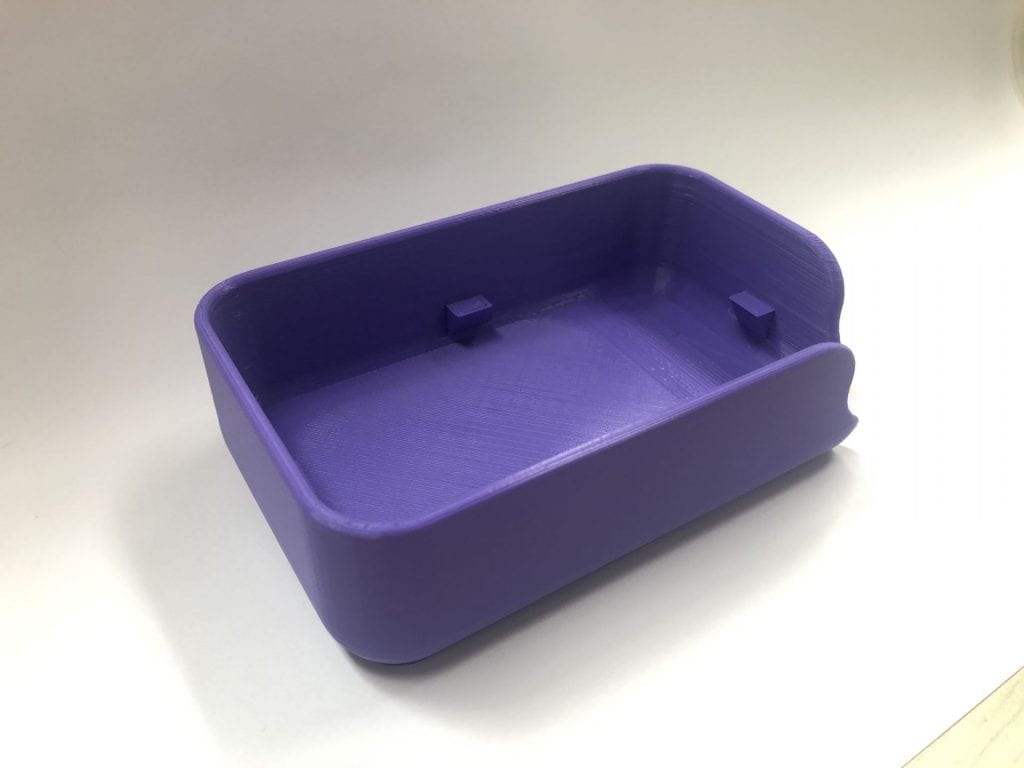
This is a model of a 3D soap holder. The main purpose of this model is to have a personalized box for a bar of soap to put in your bathroom. People usually have a bar of soap sitting on their sink counter or at the side of their bathtub. After using the bar of soap, when people set it down, it would typically start sliding off the surface and falling on the floor. This model is a solution for that issue. This model will hold your soap box and collect the excess water from the soap and let it filter to the bottom of the box. There is also a small crevice at the corner of the box to remove the honeycomb filter, making it easy to clean the box and putting it back together. This is great for all basic types of soap bars, but there are bars of soap that have different sizes and weight today that could have an issue when using this model, and I think the current model should be slightly modified for all types of bars of soap.

Personalizations/Improvements

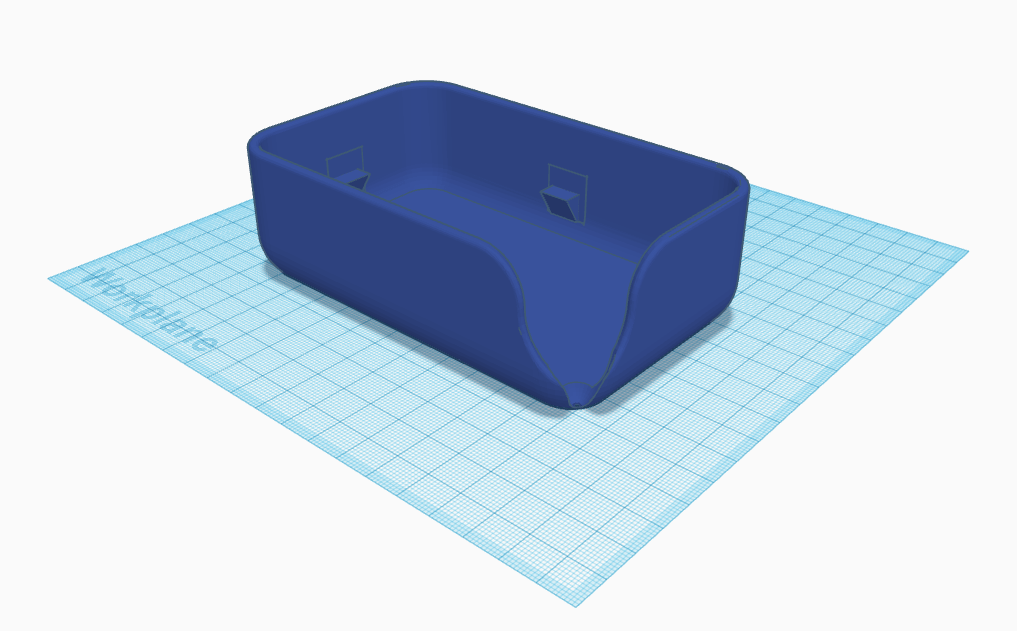
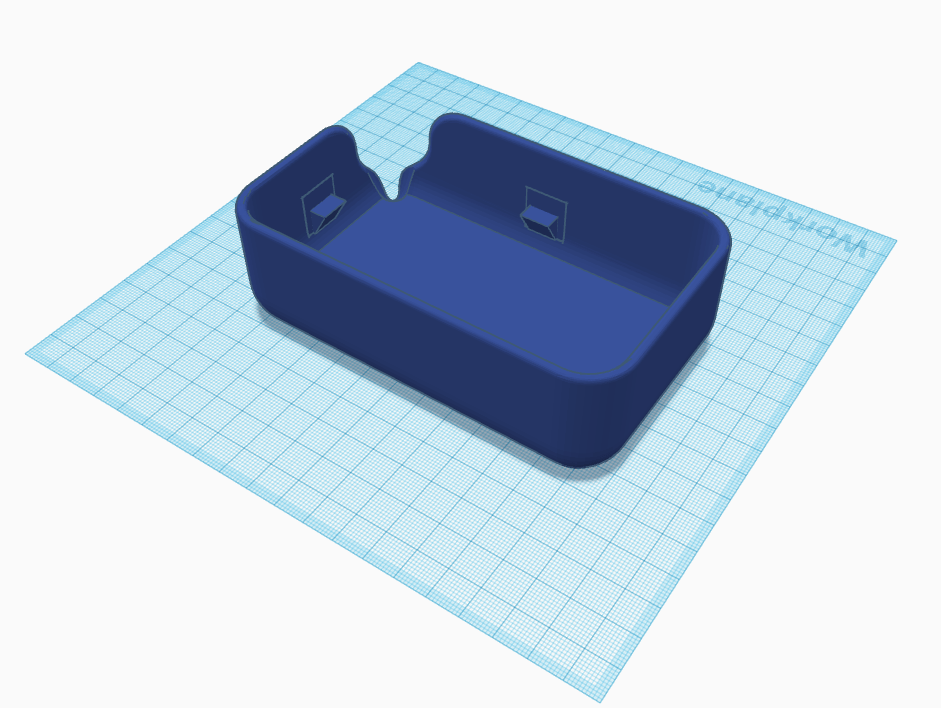
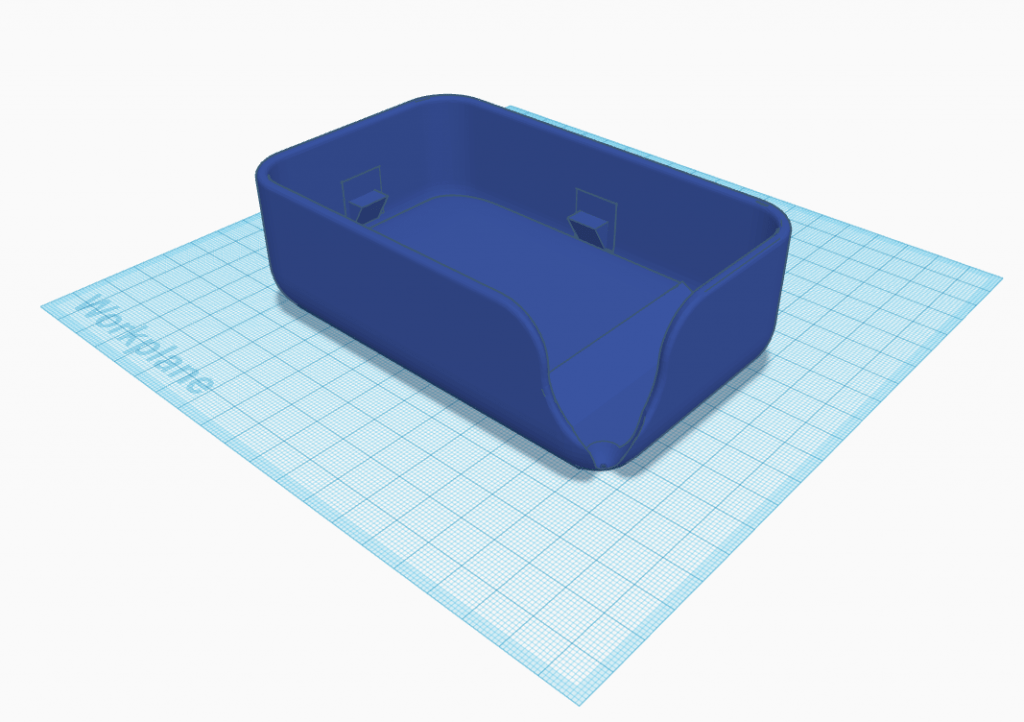
The image above shows some of my personal improvements for the soap holder model. The original height of the model is 30mm tall, but I feel like with the different sizes of bars of soap nowadays, it might not be tall enough to hold the bar of soap in place. That is why I wanted to make the height of the box taller to 35mm. Another improvement I would make is to close the corner of the box, but keep the shape of the honeycomb, with the corner bit off, so it would still filter the excess water from the soap. The reason why is because, with the original model, the corner seems a bit too open, and I feel like the excess water will leak out, and the water leaking out could end up under the box, making it become slippery, and thus, the box could slide around, or even fall off. As a result, my two main improvements would be to change the height of the soap holder, and the corner of the box.

Form | Function Iterations

Original Thingiverse Model:

The slideshow above is the original model created by, piuLAB. There has been no remixes done to this model.

The video above is a demonstration of how the original model works. It does its job of keeping the bar of soap in place, and filtering out the excess water from the soap after using it, however there is some issues that I see. Since this bar of soap has been used for a while, the size of the bar of soap has decreased. However, if I happen to use a new bar of soap, it might be able to keep it in place and stay inside of the box, but due to the density and the height of the new bar of soap, it could lead it to falling of the model due to its size and height. Also the lip on the corner of the model that filters out the excess water has some issues as well. I have used this model for a couple of days, and as you can see from the video, after using the bar of soap, there is still a large amount of water in the box that didn’t filter out. I had to manually pick up the box and pour out the excess water myself, when the model should be doing that itself. So I decided to change and make some iterations to the original model.

Iteration Process

First remix of Soap Holder:

The 2 slideshows above shows my first iteration of the soap holder and printing it out. The original soap holder had a height of 30mm, and I decided to raise it to 40mm to make sure any types of bars of soap can stay in place and prevent it from falling off the box itself. As you can see from slide 2-4 of the printed model images above, I had also made the lip of the corner of the box deeper with grouping a cone shape with the model, to make sure the excess water can filter out from the box. After using the remixed box a couples of times with a bar of soap, it did improve the functionality of the model. The bar of soap stayed in place, and the excess water was filtering much more than the original model. However there was still some errors with the box.

Second remix of Soap Holder:

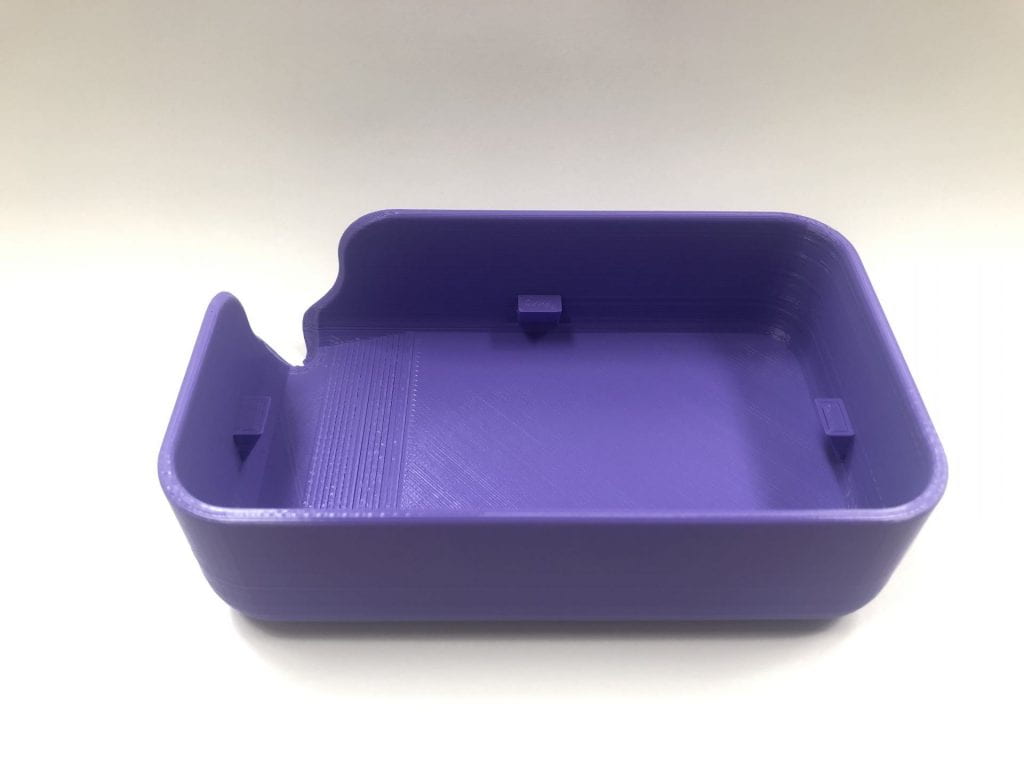
The slideshow above are images of my second remix of the model. Due to the weather, I did not have the chance to print the model out. In this remix, I have kept the iterations from the second remix (keeping the height of 40mm and making the corner lip of the box deeper). The main change I have made in this remix is including an incline inside of the box. Since there is still excess water at the bottom of the box that won’t exit out of the corner, I decided it would be best to add an incline so the excess water can flow down the incline and exit out of the corner of the box.

F|F Final Print & Reflection

This is the final remix of my model without the filter.

This is the final remix of my model with the filter.

Reflection:

This is my final remixed print of the original soap holder created by piuLAB. My main changes in my remix was increasing the height, making the corner lip deeper for the excess water, and adding an incline inside the box for the water to exit out of the corner. For more details, visit my remix at Thingiverse.

This project was very interesting and creatively challenging for me. When I first downloaded the original files, it was very confusing to me of how I can remix this original model. My first edit of this model was to raise the height of the box from 30mm to 40mm so any types of soap boxes can stay in place, and wouldn’t slip off the box after being used. After that, I wanted to make more edits. I then saw that the lip corner of the box, where the excess water exits out of the box, felt a bit too closed for the water to exit. I wanted to change that, so in Tinkercad I grouped a cylinder with the corner lip of the box, so the lip is much deeper than before, and the excess water can exit out much easier than before. After printing that remix, it worked exactly as I planned. However, I wanted to make another edit to the box. I decided to add an incline inside of the box so when the water drips from the soap to the bottom, the excess water can glide down the incline and exit out of the corner. That edit was very challenging, I had a hard time figuring out which shape could fit inside the box in the best way possible. I then ended up grouping a box and a wedge together and changed the radius, so the perimeter of the incline would be the same size as the box. In the end, the print went really well and I’m glad that it functioned the way I wanted it to function.

This process really made me be more creative than I usually am, and it felt very satisfying to make a print that would function the way I wanted it to do. Although there were many trial and errors when changing the shape of the original model and adding new parts to it, it was worth it. I can’t wait to use my remixed model at home. This was my very first finalized remix of an original model that I have done, and thanks to this experience, I am now looking forward to remixing other original models, and even creating my own original model that I can be proud of.
Karina’s Form|Function


F|F Research & Concept

Original Object:
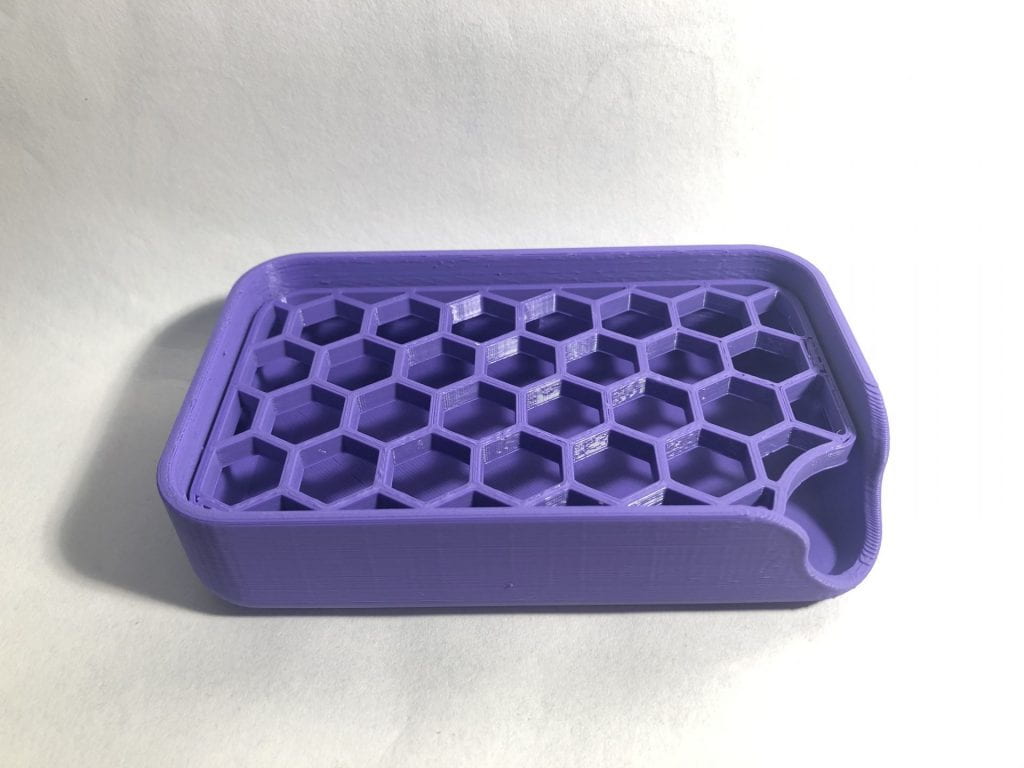
3D Printed Phone Stand

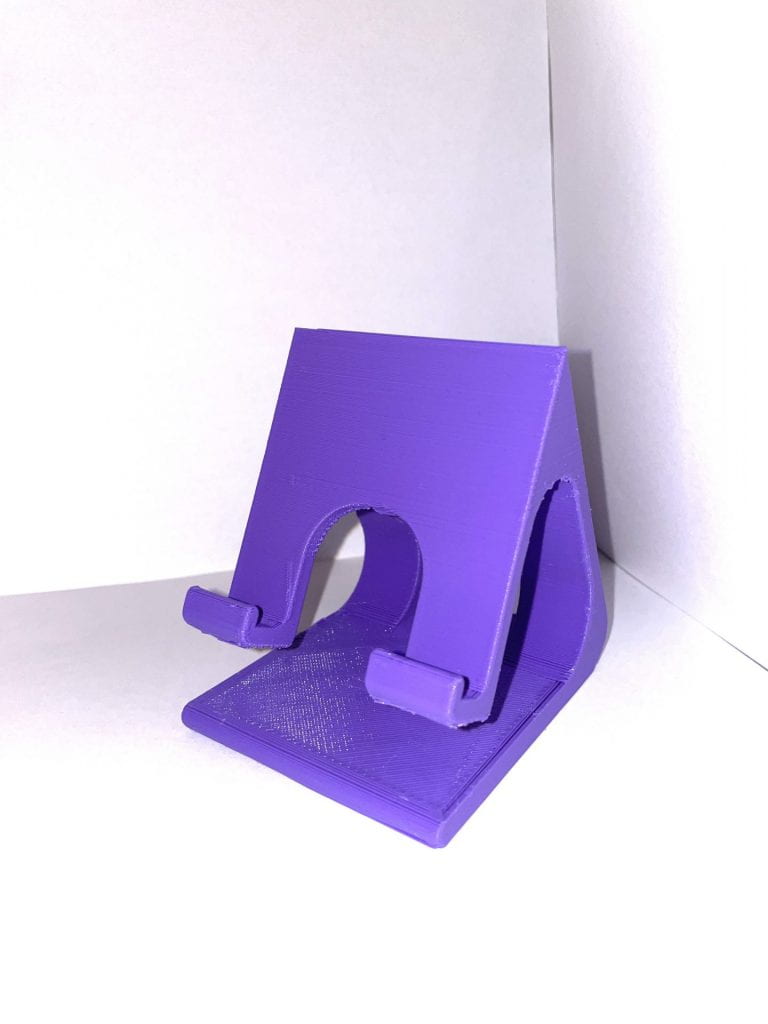
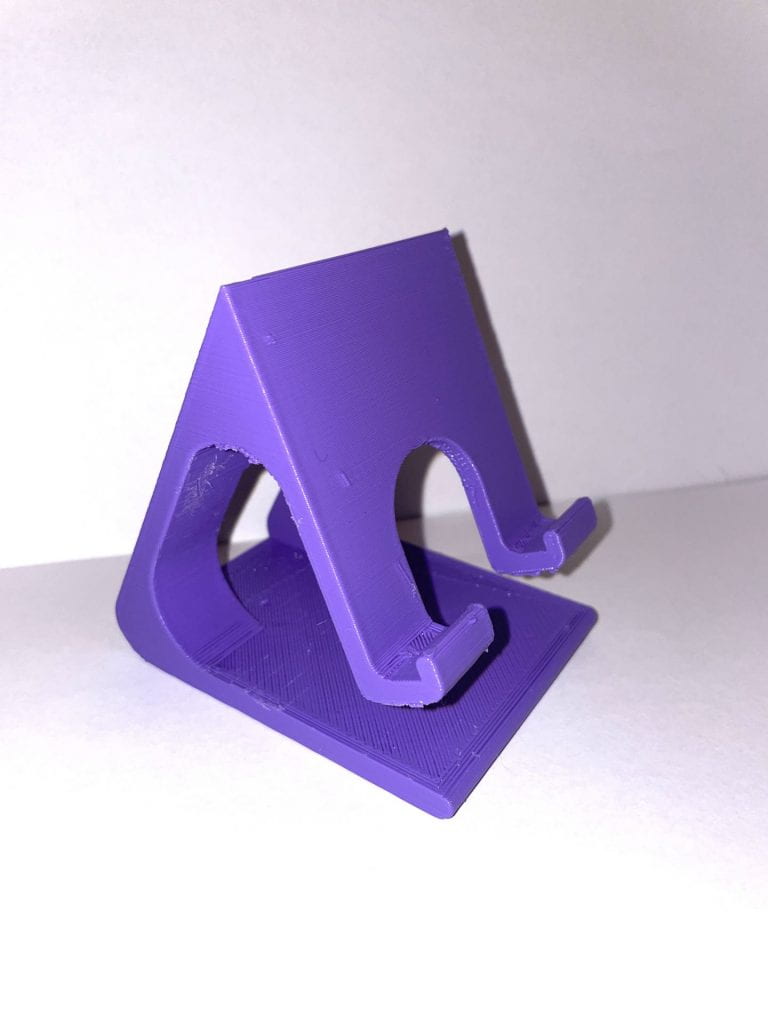
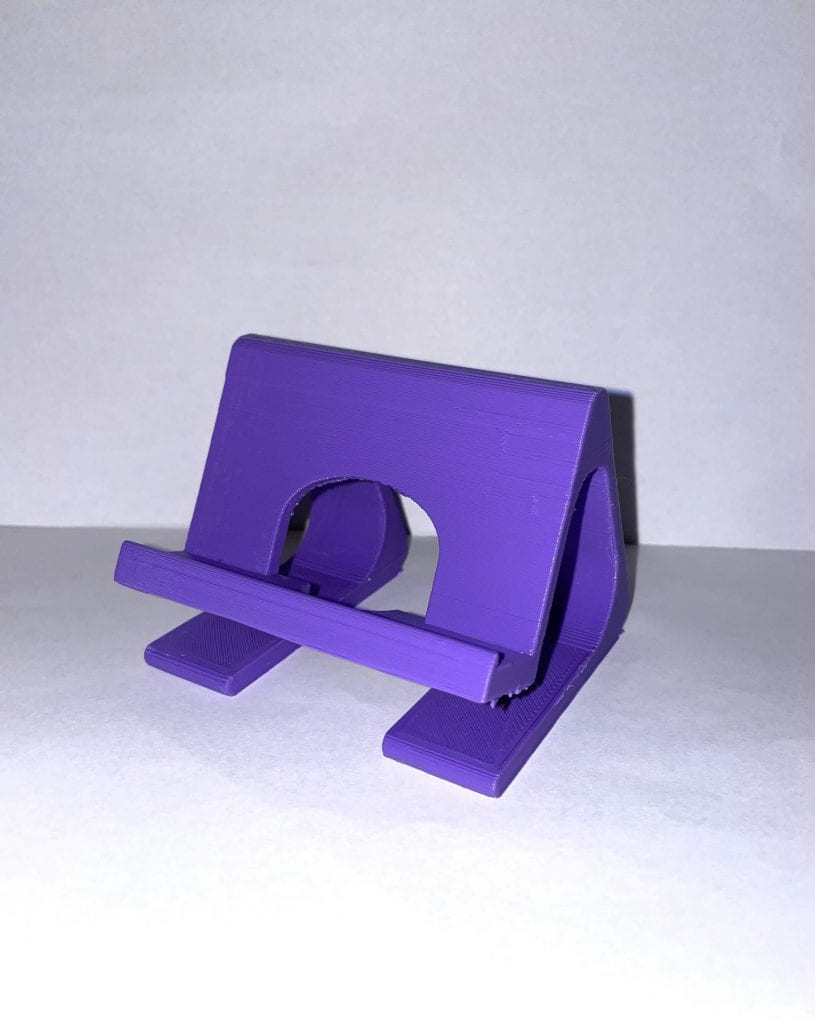
The image above is of an original and simple 3D printed cellphone stand found on Thingiverse. It is designed to be placed on a flat surface to hold up a cellphone in an angled manner. There is a hole in the back of the object and on the bottom of the actual phone holder section, so when the phone is held up vertically, a cable or charger may run through the object. The object also allows for a phone to be set up horizontally as well. This original object on Thingiverse, is designed to fit an iPhone 6; therefore, it must be adjusted to be suitable for other phones.

Potential Personalizations/Improvements:

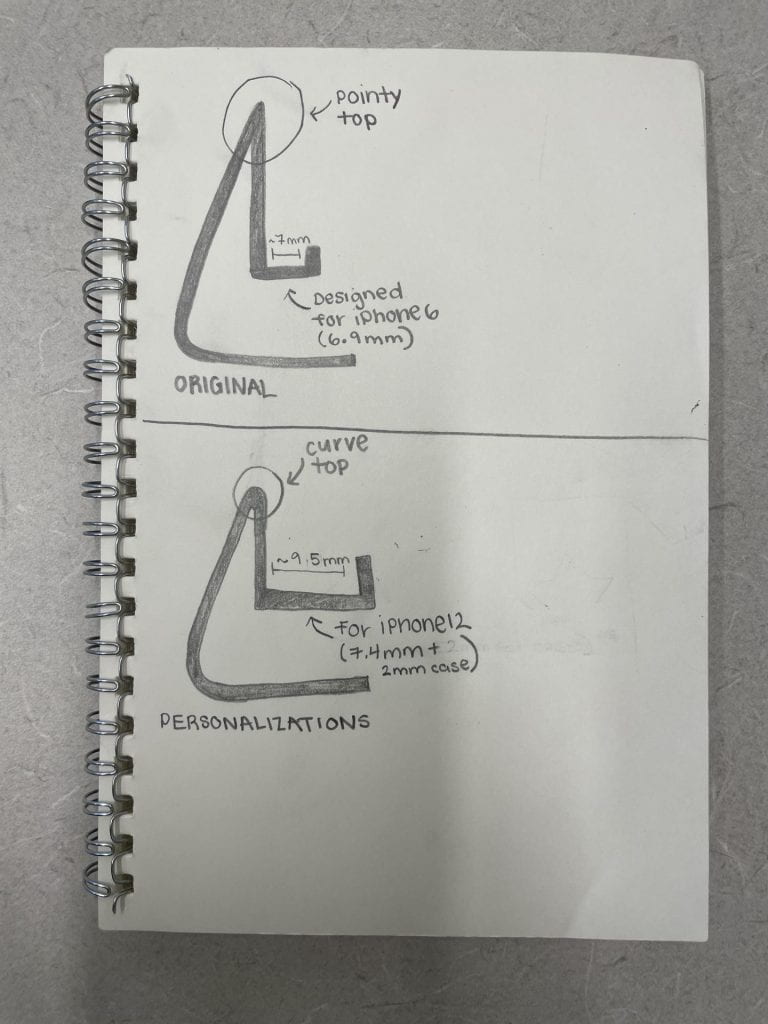
One personalization or improvement I wish to make is a thicker notch that can fit an iPhone 12 rather than just an iPhone 6. The original object contains a notch that is about 7mm, but the change I would make is a notch of about 9.5mm. This notch also is adjusted to fit my iPhone with its otter box case which is about 2mm. Another slight customization I plan to make is curving the point at the top a little. Rather than having a strong point, it would be curved. Overall, the two big improvements I’d make are change the notch size and round the edge of the top.

Another idea is widening the entire object so that it can have a better grip of my phone when it is placed horizontally. I also read some comments on the original Thingiverse object saying how it slips a lot and moves around easily. Therefore, maybe I can find a way to 3D print an anti-slip feature at the bottom of the phone stand. In addition to this, I read a lot of comments about the platform not being high enough, so I can make some altercations heightening it a bit.

F|F Iterations

Phone Stand designed by GoAftens
,

This is the print I made of the original phone stand designed by GoAftens. To print this object, I used an Ultimaker 2 Extended+ printer. To cut the printing time, I changed the layer height to 0.3 and changed the infill percentage to 10. I was able to cut the printing time from 7 hours to just 2 hours and 25 minutes.

I think the original object would be even better if I lifted the platform just a little more so that the charger does not hit the table. Therefore, I will be attempting this fix in my remixes.

First Remix

In attempt to make the notch size wider, I accidentally removed the notch all together and did not realize until after it was printed and tested. In this remix attempt, I made a hole at the bottom, widened the overall object, and curved the top.

Second Remix

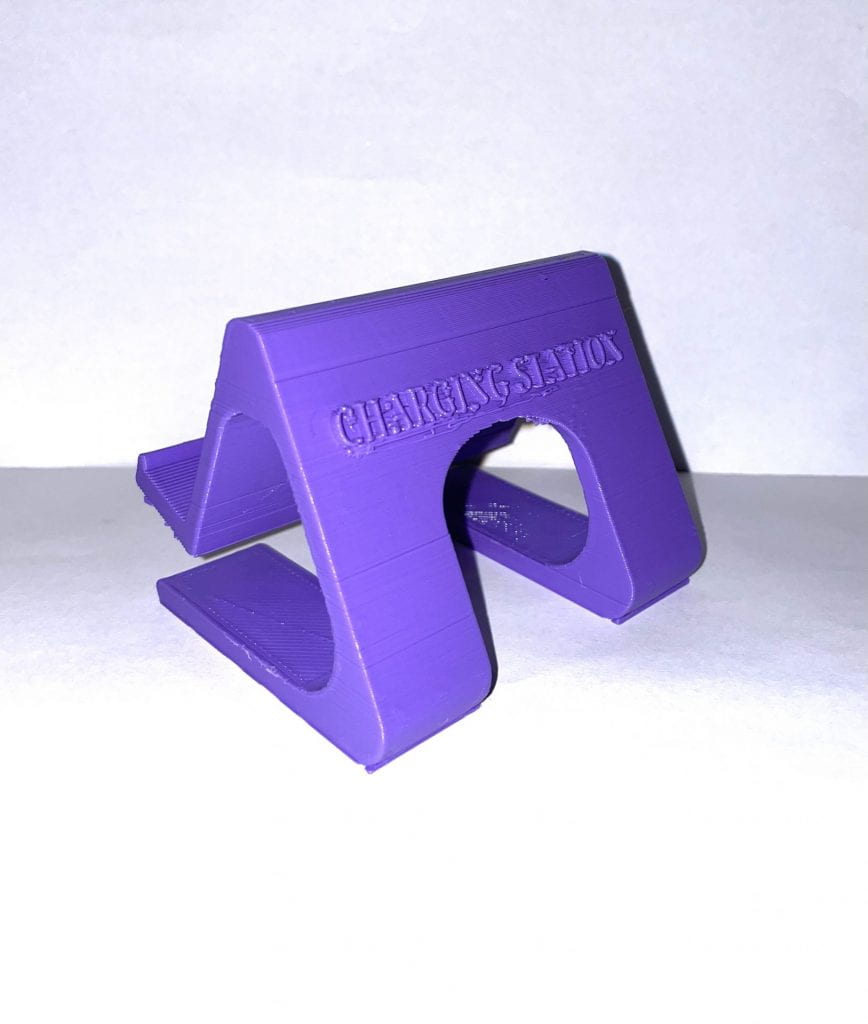
In this remix attempt, I created a different style for the platform, but realized I need to make the hole bigger to allow for the charger to go through. I also added a fun little 3D text on the back that states “CHARGING STATION”, which I like. I kept the wider look and the curved top from the past remix and fixed the notch on this one! I think overall this is my better print and that I simply need to add the bigger hole into the platform and raise the platform a little.

Third Remix

I have not been able to print this remix attempt quite yet (due to the snow and campus closings), but according to my calculations from my past remixes, I think this one will work out best. I fixed the hole on the platform and adjusted the height of the object.


F|F Final Print & Reflection

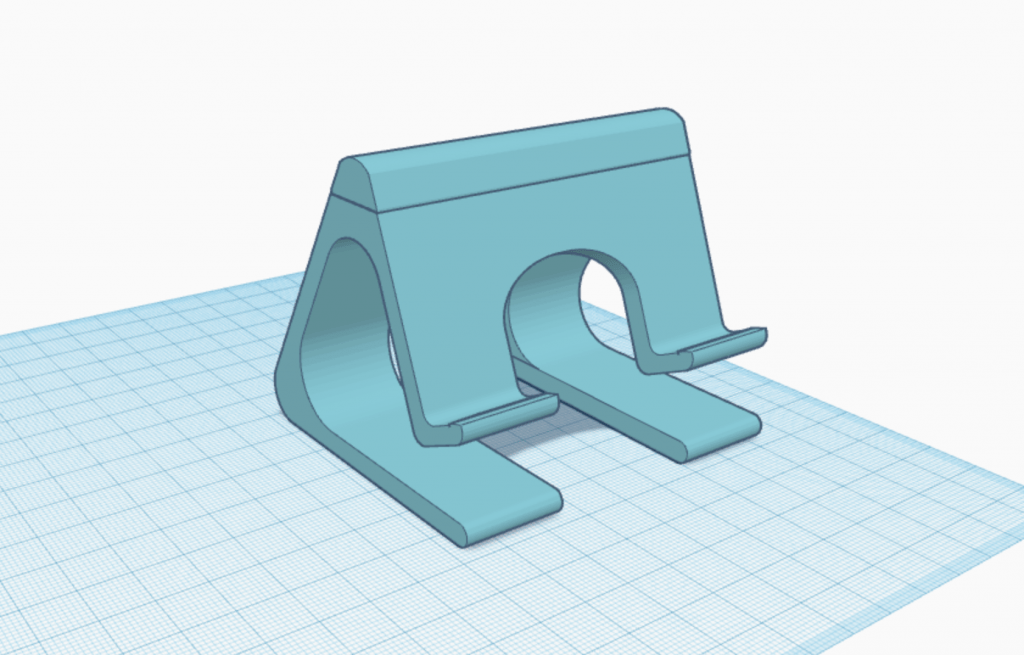
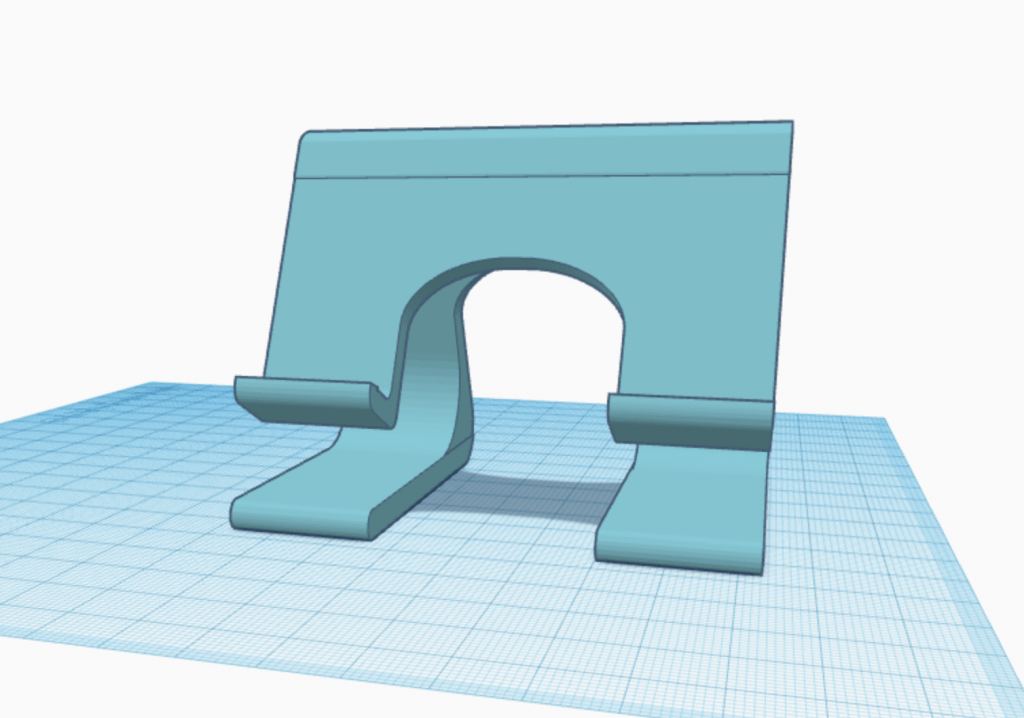
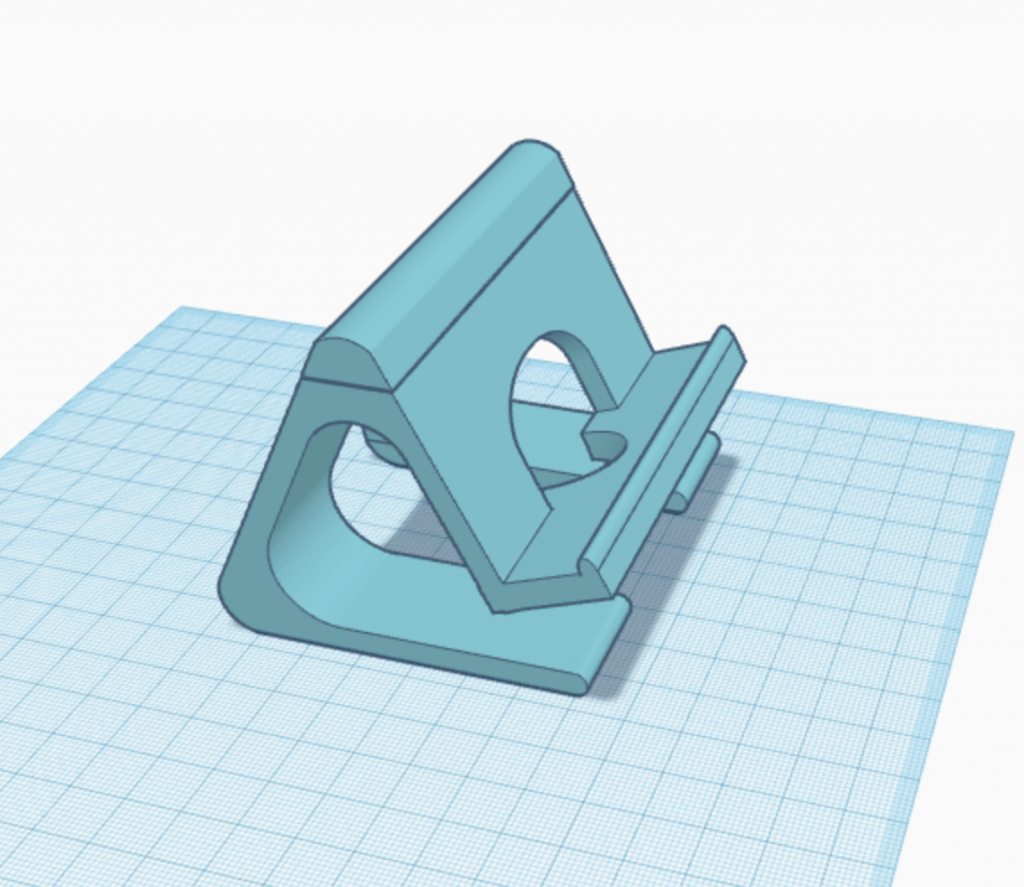
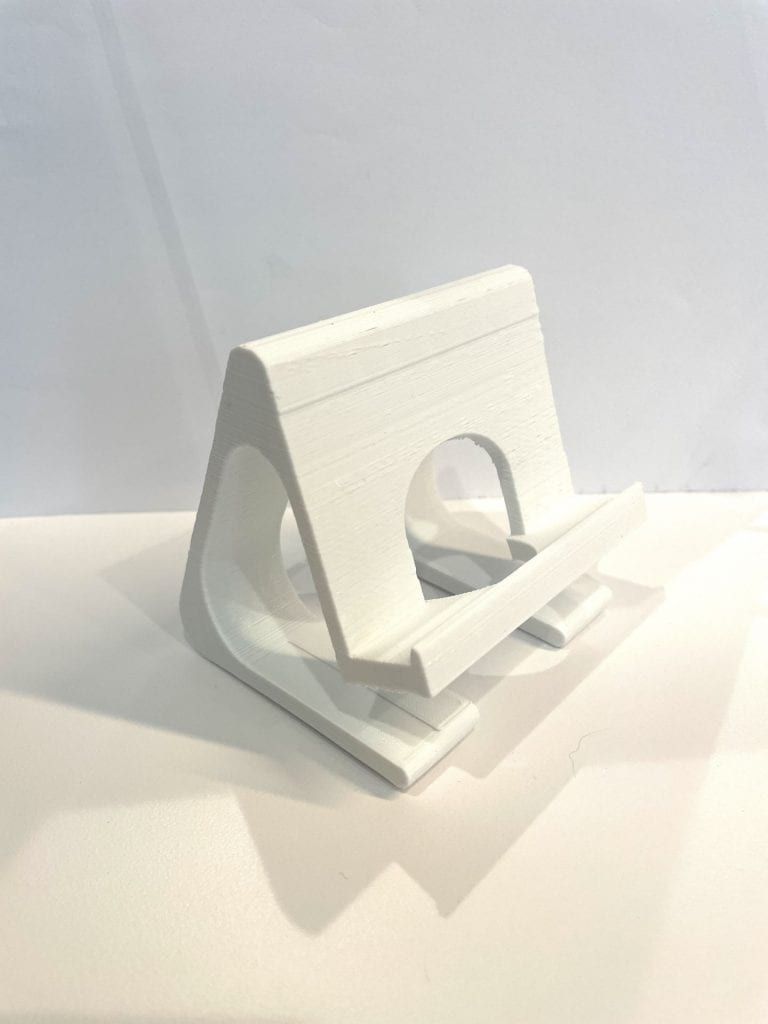
This is my F|F Final print of the remix of GoAftens original phone stand. My remix includes changes to the overall height and width, notch size, platform design, notch design, and back design. More details about my remix can be found on Thingiverse.

Original VS Remix
Original VS Remix
Reflection:

The overall process to obtain this final print was relatively easy, but very time consuming. I encountered very little errors, but was still able to find ways to improve the overall design of the object. Although the original object was really good and sturdy, I still found it important to create subtle changes to overall improve the function of the object.

I immediately knew I needed to adjust the notch size of the original object so that it could fit my iPhone 12 with its thick case on. After some more trial and error with this, I discovered I also needed to raise the height of the object because the original height was too low that a phone charger could not properly fit into the design. I also made a big hole in the notch for a phone charger to run through as well as one in the platform that helped with the issue of the charger. Originally, a phone charger would hit the bottom of the table or the platform and not properly work with the design. However, the changes I made allow for the charger to fit without an issue. This gave me the idea of naming the object the ‘Charging Station’, which I wrote on the back because it is, indeed, a charging station for my cellular device.

I really enjoyed printing this phone stand and creating personalizations and changes to the original object. It was very exciting to find an object that I could potentially use then adjusting it to my specific wants and desires. I was super proud of my final print and was really excited to show it to all my roommates. I learned a lot throughout this entire project process including how to use Tinkercad and how to 3D print. After a few trial and errors, I learned what the necessary printer settings needed to be in order to print a sturdy and more durable phone stand. This was a challenge because print time was an important aspect, but I was able to work around this issue. Overall, I cannot wait to use my new and improved Phone Stand- Charging Station that I 3D printed!

Cole’s First 3D Print

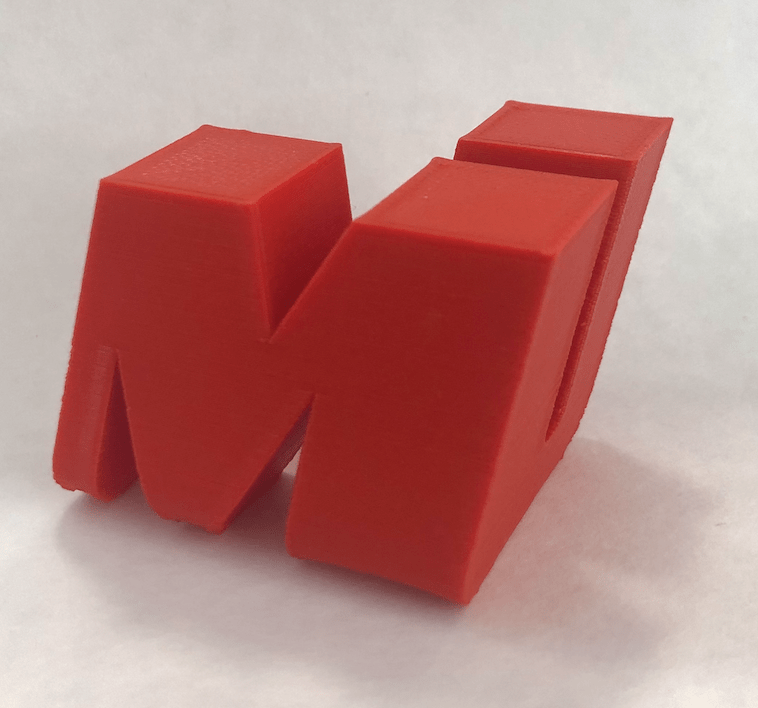
This was my first time 3D printing so I was very excited to see how the machine worked. I thought it was really cool how the 3-D printer was able to take a file from a hard drive and make it into an exact replica of what it looked like on the computer. I was surprised how simple the process was and I’m excited to make more complex creations.

Megan’s First 3D Print


This week I had the pleasure of 3D printing something for the first time! Before class, I was a little nervous since I had never been in a 3D printing lab let alone actually 3D print something. However, once I got to the lab my nerves slowly began to calm down, particularly after I realized that everyone else was just as nervous as I was. Throughout the whole process, Prof. Hooker was there to help all of us newbies and guide us through the process of scaling the models and then printing them. All in all, I found this project to be a nice introduction to the 3D printing process and I look forward to the other projects we will be doing throughout the semester.


Chance’s First Print

Prior to taking SMAD 305, I had very little 3D experience. I of course knew how the process worked, but there are many factors that come into play in which users should be aware of. Time is one of them that really came into play during my first print. My piece did not finish within the class timeframe so that will definitely be something that I pay much closer attention to in the future. While this project was very set and structured, I’m excited to see what innovation I can conjure up. Some other things that I will be looking to evaluate are structures alongside curvature in designs. Overall, I am looking forward to creating designs in the future.
Hi, I’m Melissa

Hi, my name is Melissa Ward. I am from right outside Philadelphia, Pennsylvania. I am a junior majoring in SMAD with a concentration in interactive design and a minor in sociology. I am a member of Phi Mu here at JMU. In my free time, I enjoy listening to music/ podcasts, cooking and running.

I tend to do a lot of things haphazardly and my brain is always running at a million miles a minute, but I also have a method to my madness. So, I don’t think there’s just one object that would describe me. I ended up choosing a junk drawer. While junk drawers are messy and haphazard, a lot of people know exactly what is in their own junk drawers and how everything should be organized.

https://www.thingiverse.com/ward4mm/designs

https://www.tinkercad.com/users/dylNNdKVJyf-ward4mm

Hi, I’m Jenna Johnson

Hi my name is Jenna Johnson and I am an Interactive Design concentration in the School of Media Arts and Design with a minor in music industry. I am from Ellicott City, Maryland and live there with my Dad, Mom, and younger sister. I have been a dancer my entire life (I even began at JMU as a dance major) and I am on the contemporary team in the Madison Dance Club. I am also very passionate about music and my dream job is to work somewhere in the music business. In addition to dance and music, another one of my hobbies is hiking and adventuring. I love learning about and seeing the world around me, which relates to why I am excited to take this 3D printing class; I see this class as an opportunity to learn a special skill that I otherwise would not have the opportunity to learn.

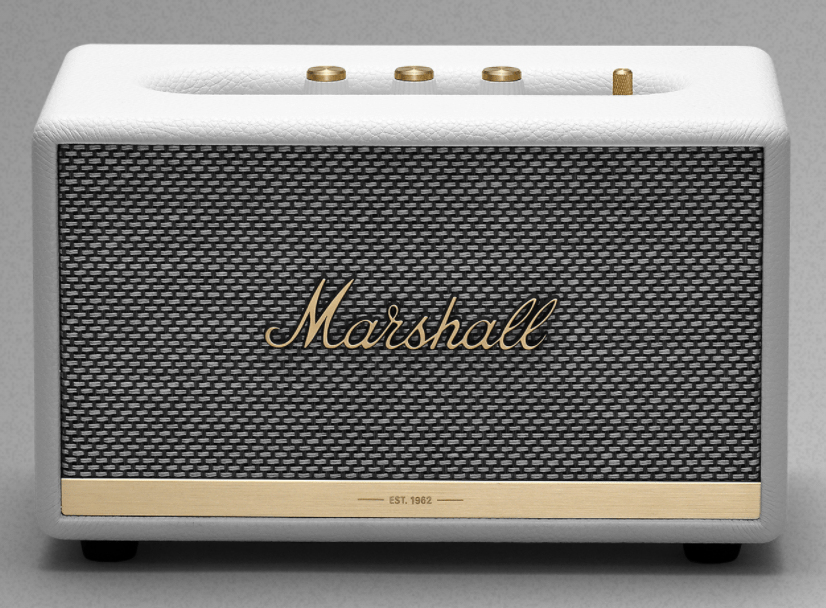
The object I chose to represent me is a speaker, because music is a large part of my life and I often have the mentality that each playlist I make is the “soundtrack” of my life at that time.

The creative type quiz revealed that I am a Dreamer, someone who is empathetic, deeply emotional, intuitive, idealist, and romantic.

You can find me on:

johns6je on Tinkercad- https://www.tinkercad.com/users/9DZnsygwqwd-johns6je

johns6je on Thingiverse- https://www.thingiverse.com/johns6je/designs

Hi, I’m Unda

Hi everyone! My name is Unda Dittaboot and I’m a junior. I’m a DVC concentration with a minor in film studies. In my free time I love to watch lots of movies, listen to music, and go hiking with friends! I’m personally taking this class because I love creating and being innovative so 305 seemed like the perfect course to take. I’ve never worked with 3D printers before so I’m very excited to learn more about it this semester as well!

The object that I chose to represent me is a camera because I enjoy documenting and making videos of people and places around me. I appreciate seeing the world through a different lens and it is something I try to do daily. This object also slightly relates to why I want to take this class because both filming and 3d printing allow me to be creative and experiment in many different ways.

As a creative type I am an Innovator!

You can find me on:

dittabux on Tinkercad

dittabux on Thingiverse