Bracket
![](https://sites.lib.jmu.edu/adrihooker/files/2021/04/IMG_0111-edited.png)
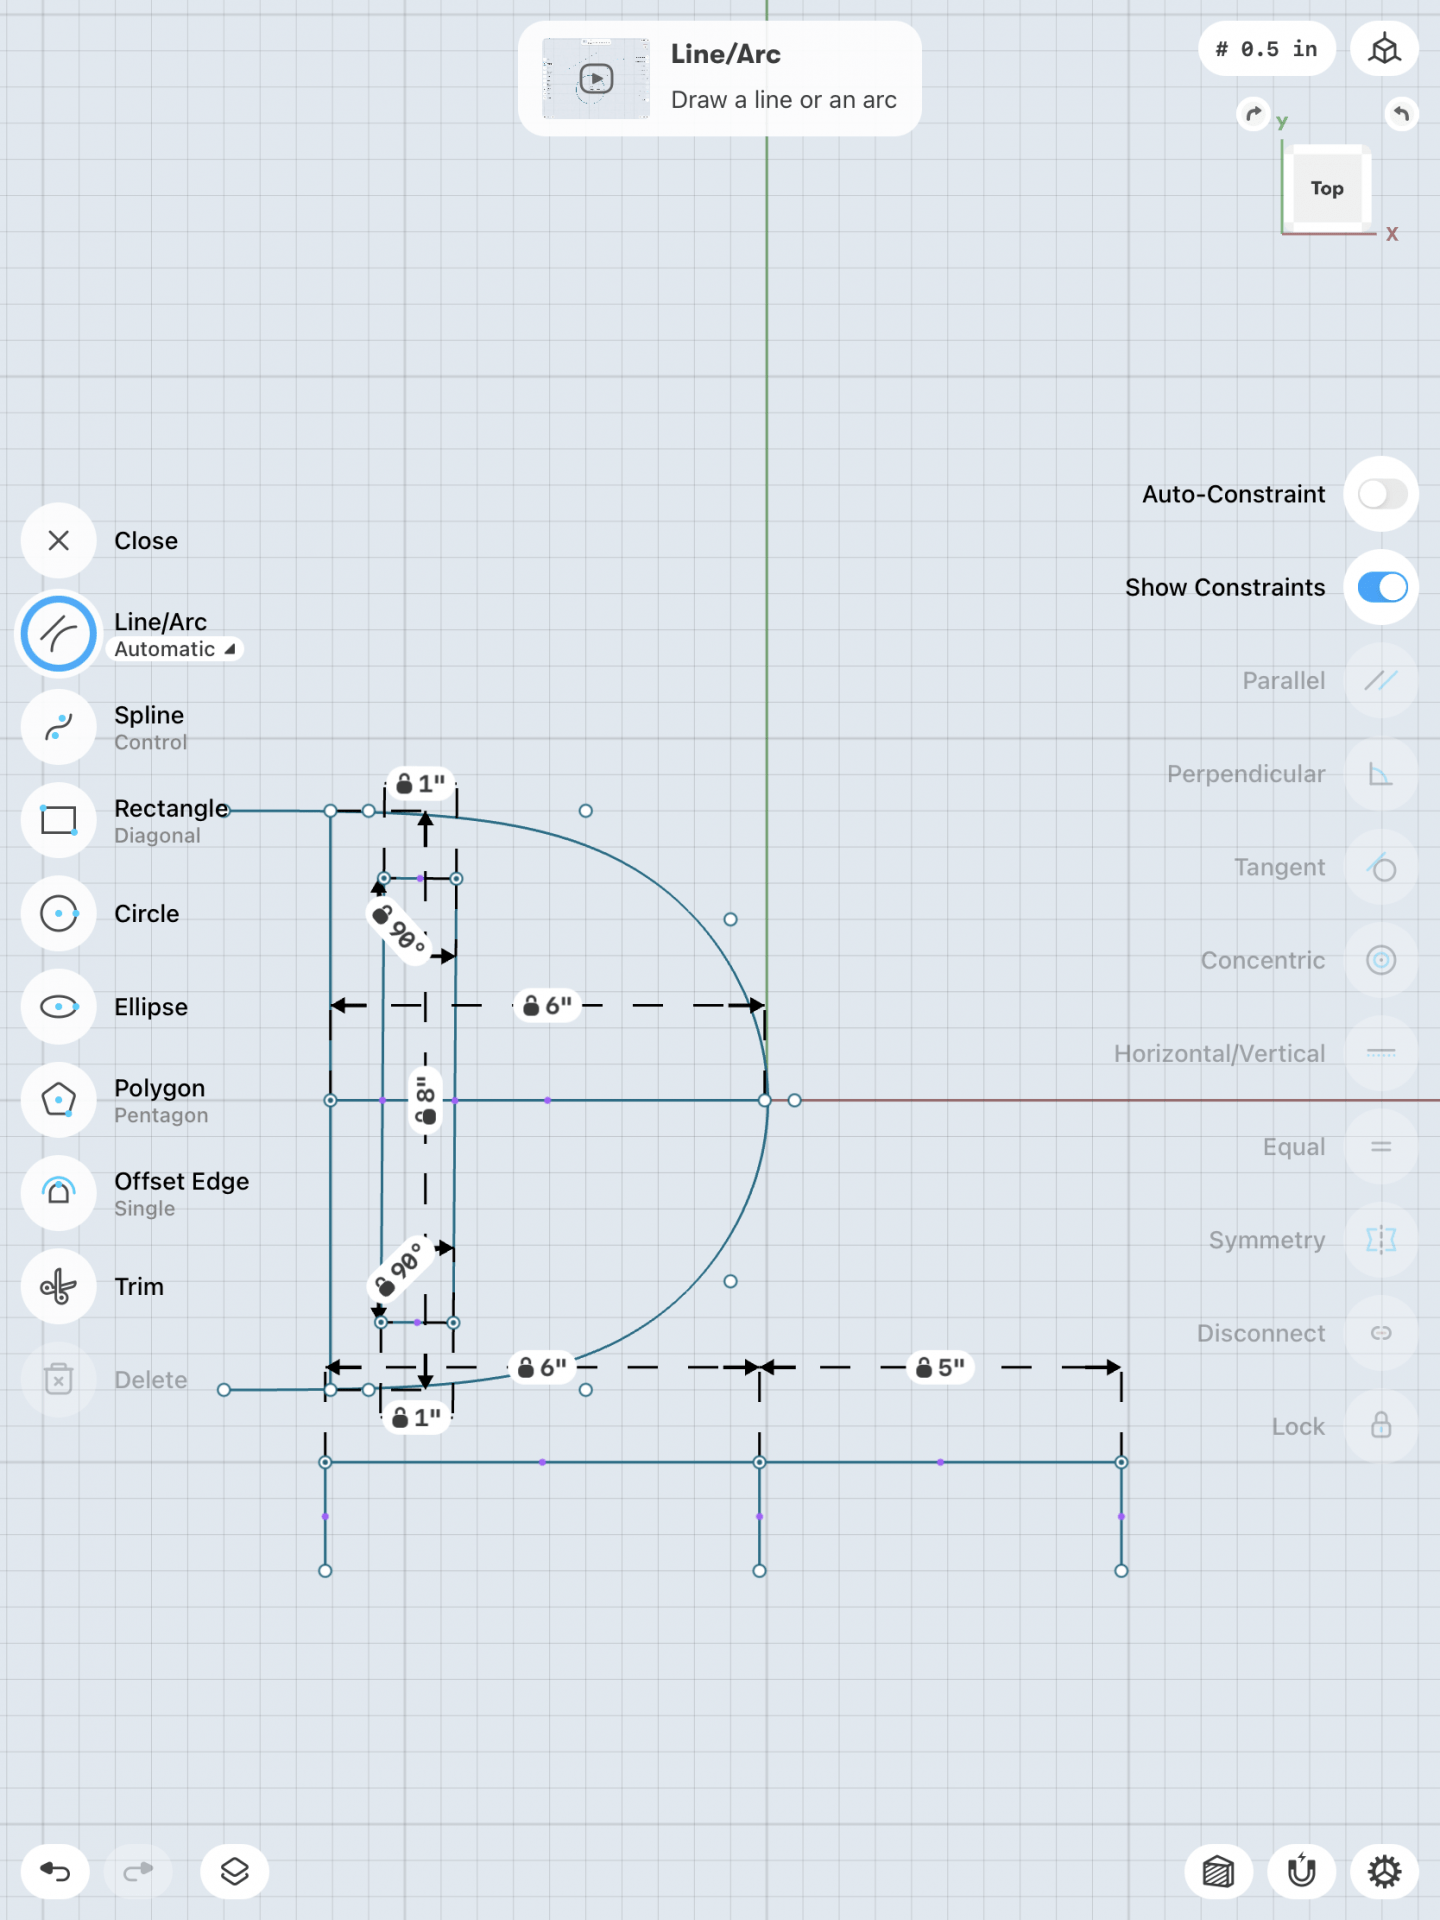
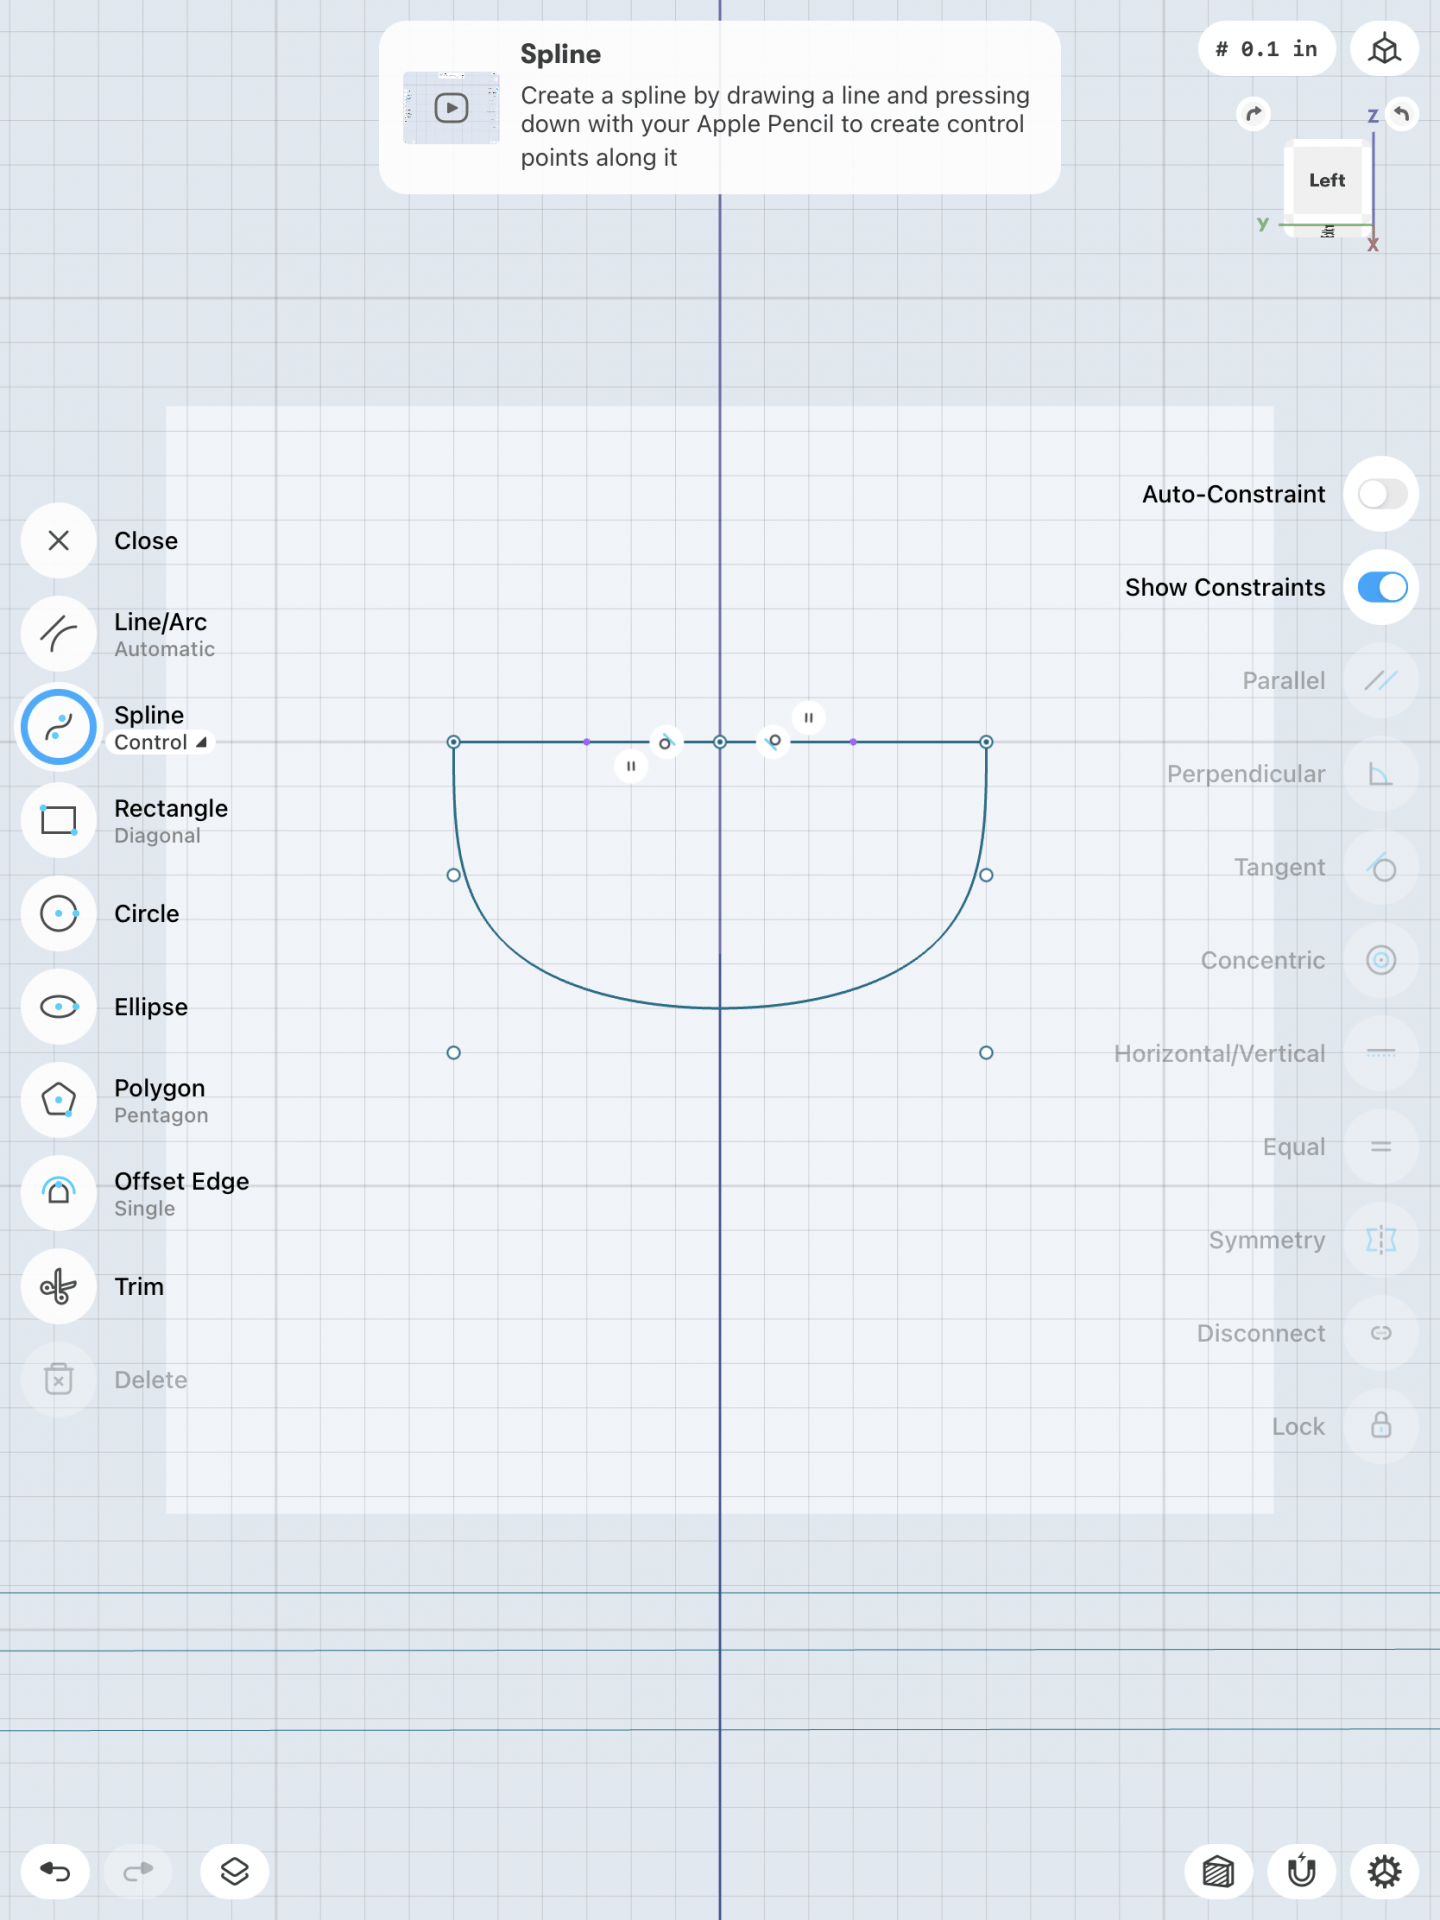
I first began by creating the bracket with this sketch.
![](https://sites.lib.jmu.edu/adrihooker/files/2021/04/IMG_0112-edited.png)
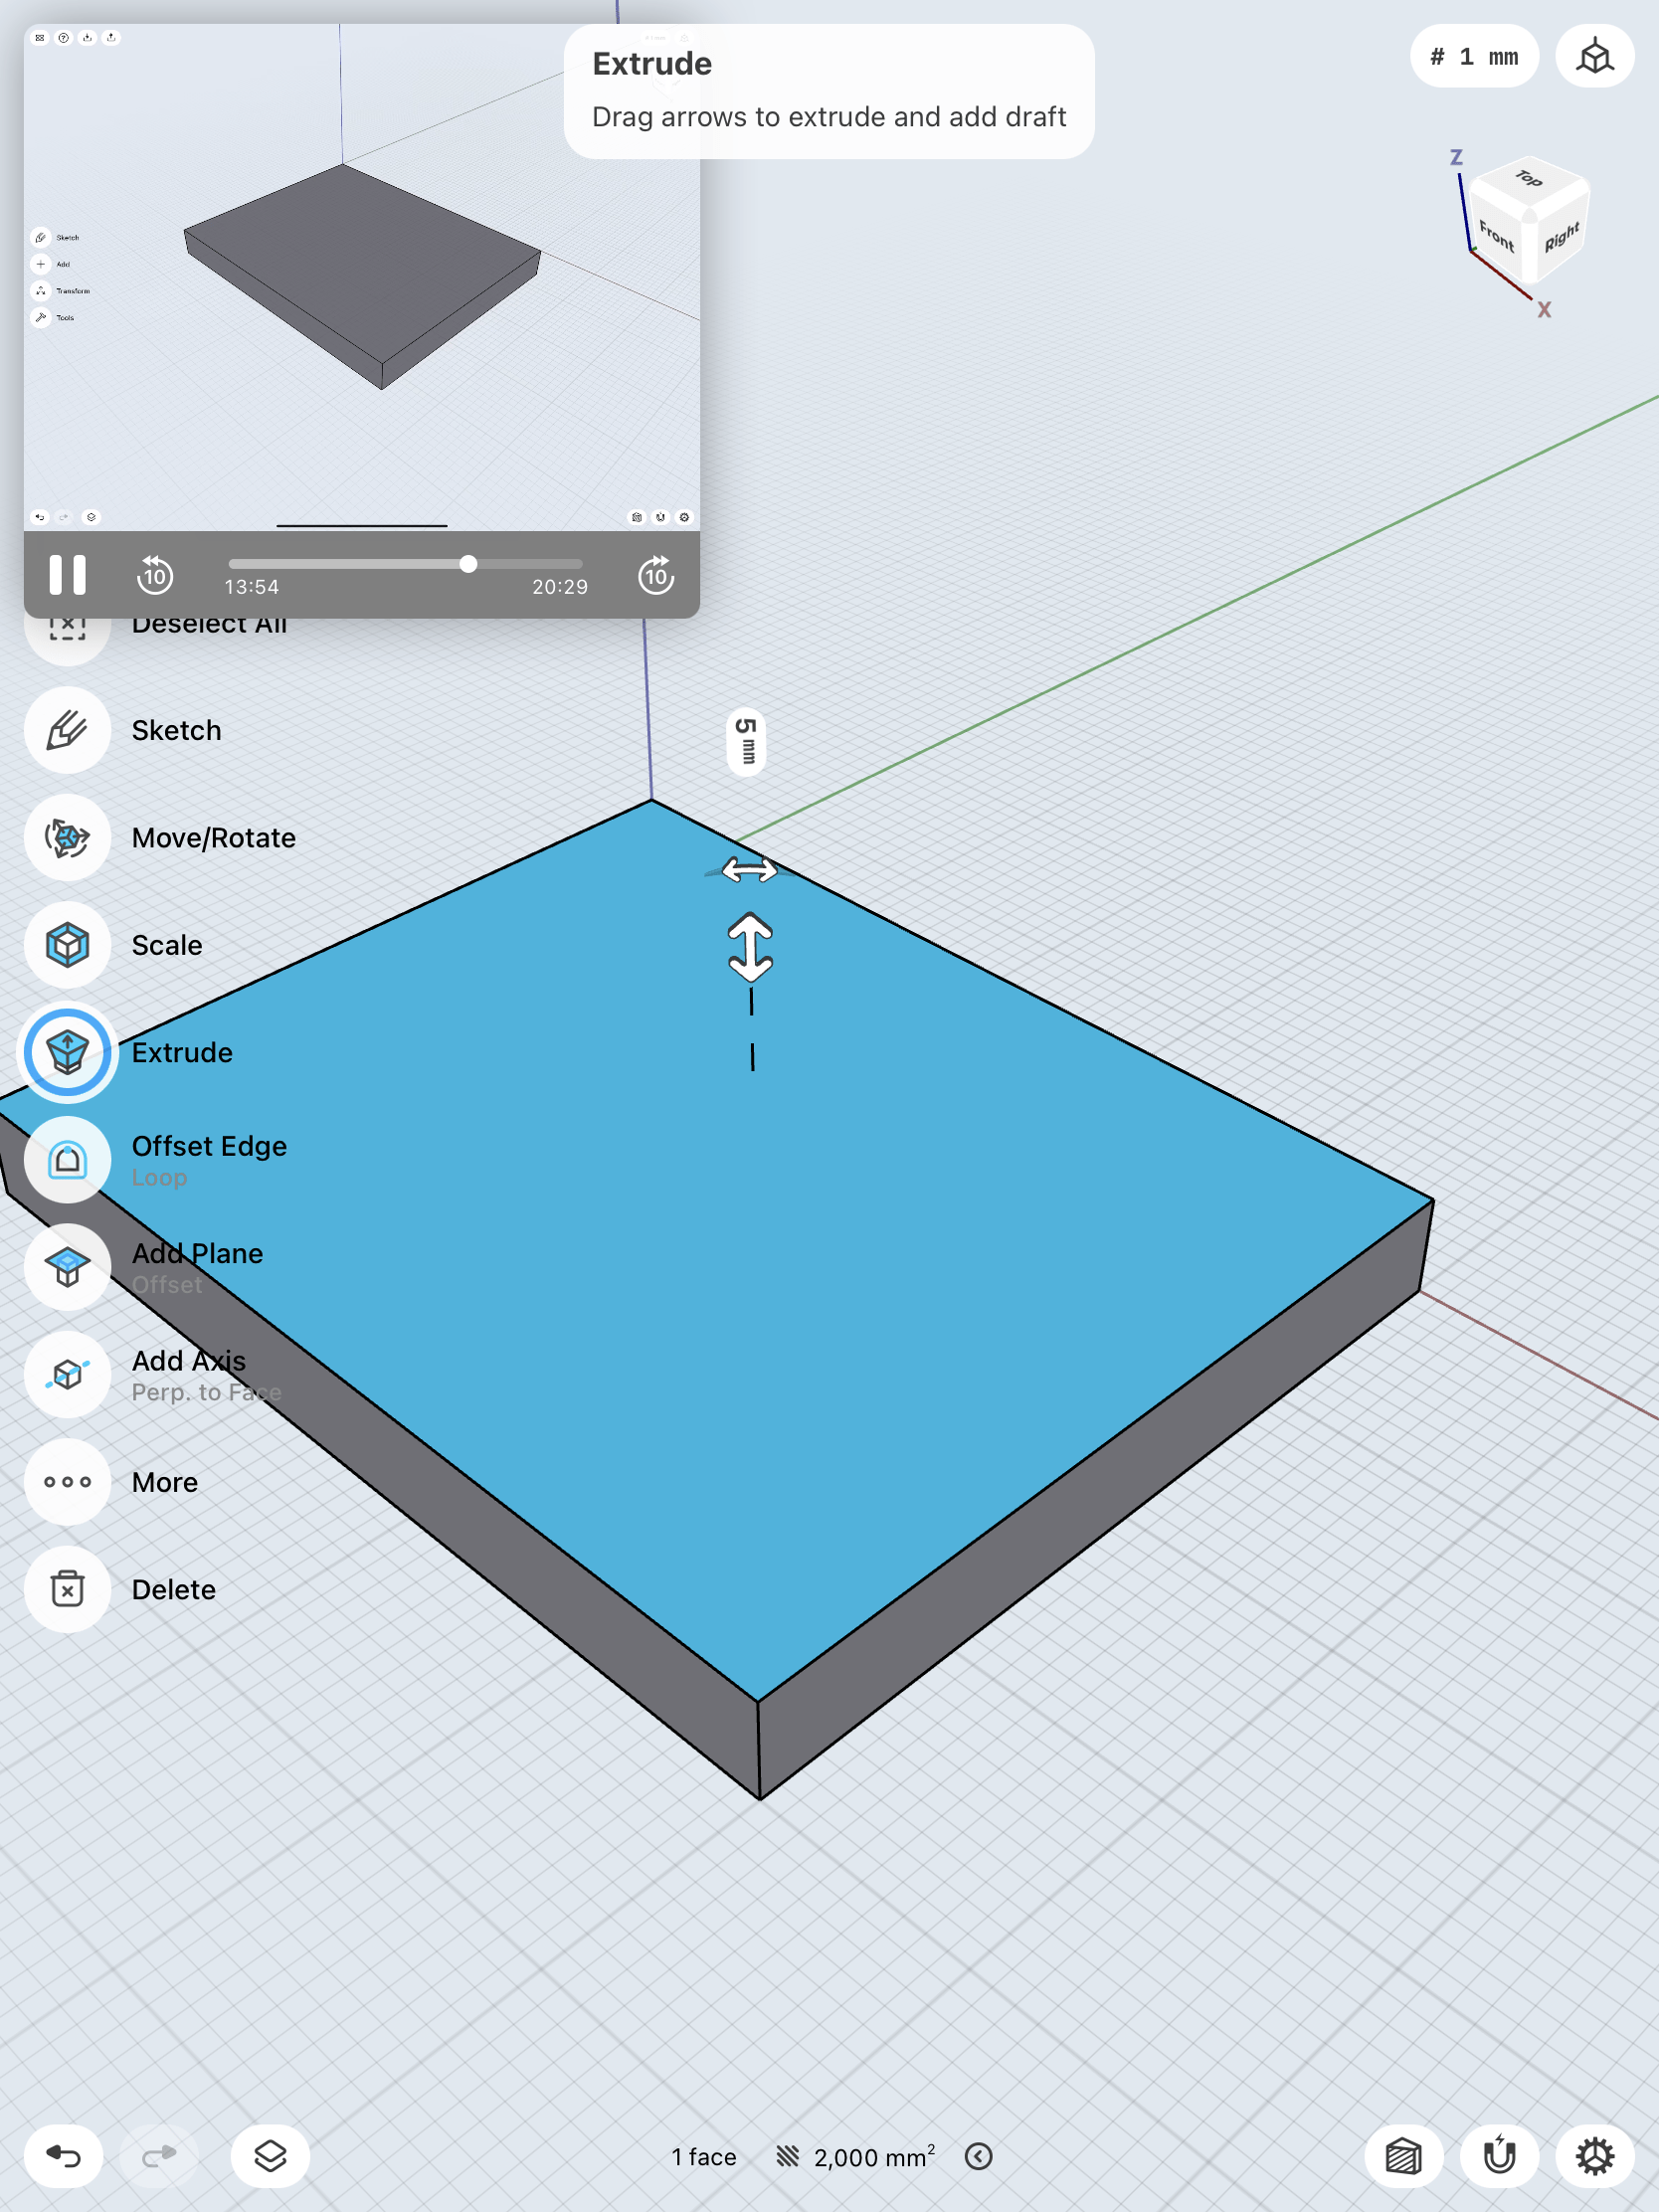
I then extended the sketch to create this object.
![](https://sites.lib.jmu.edu/adrihooker/files/2021/04/IMG_0114-711x1024.png)
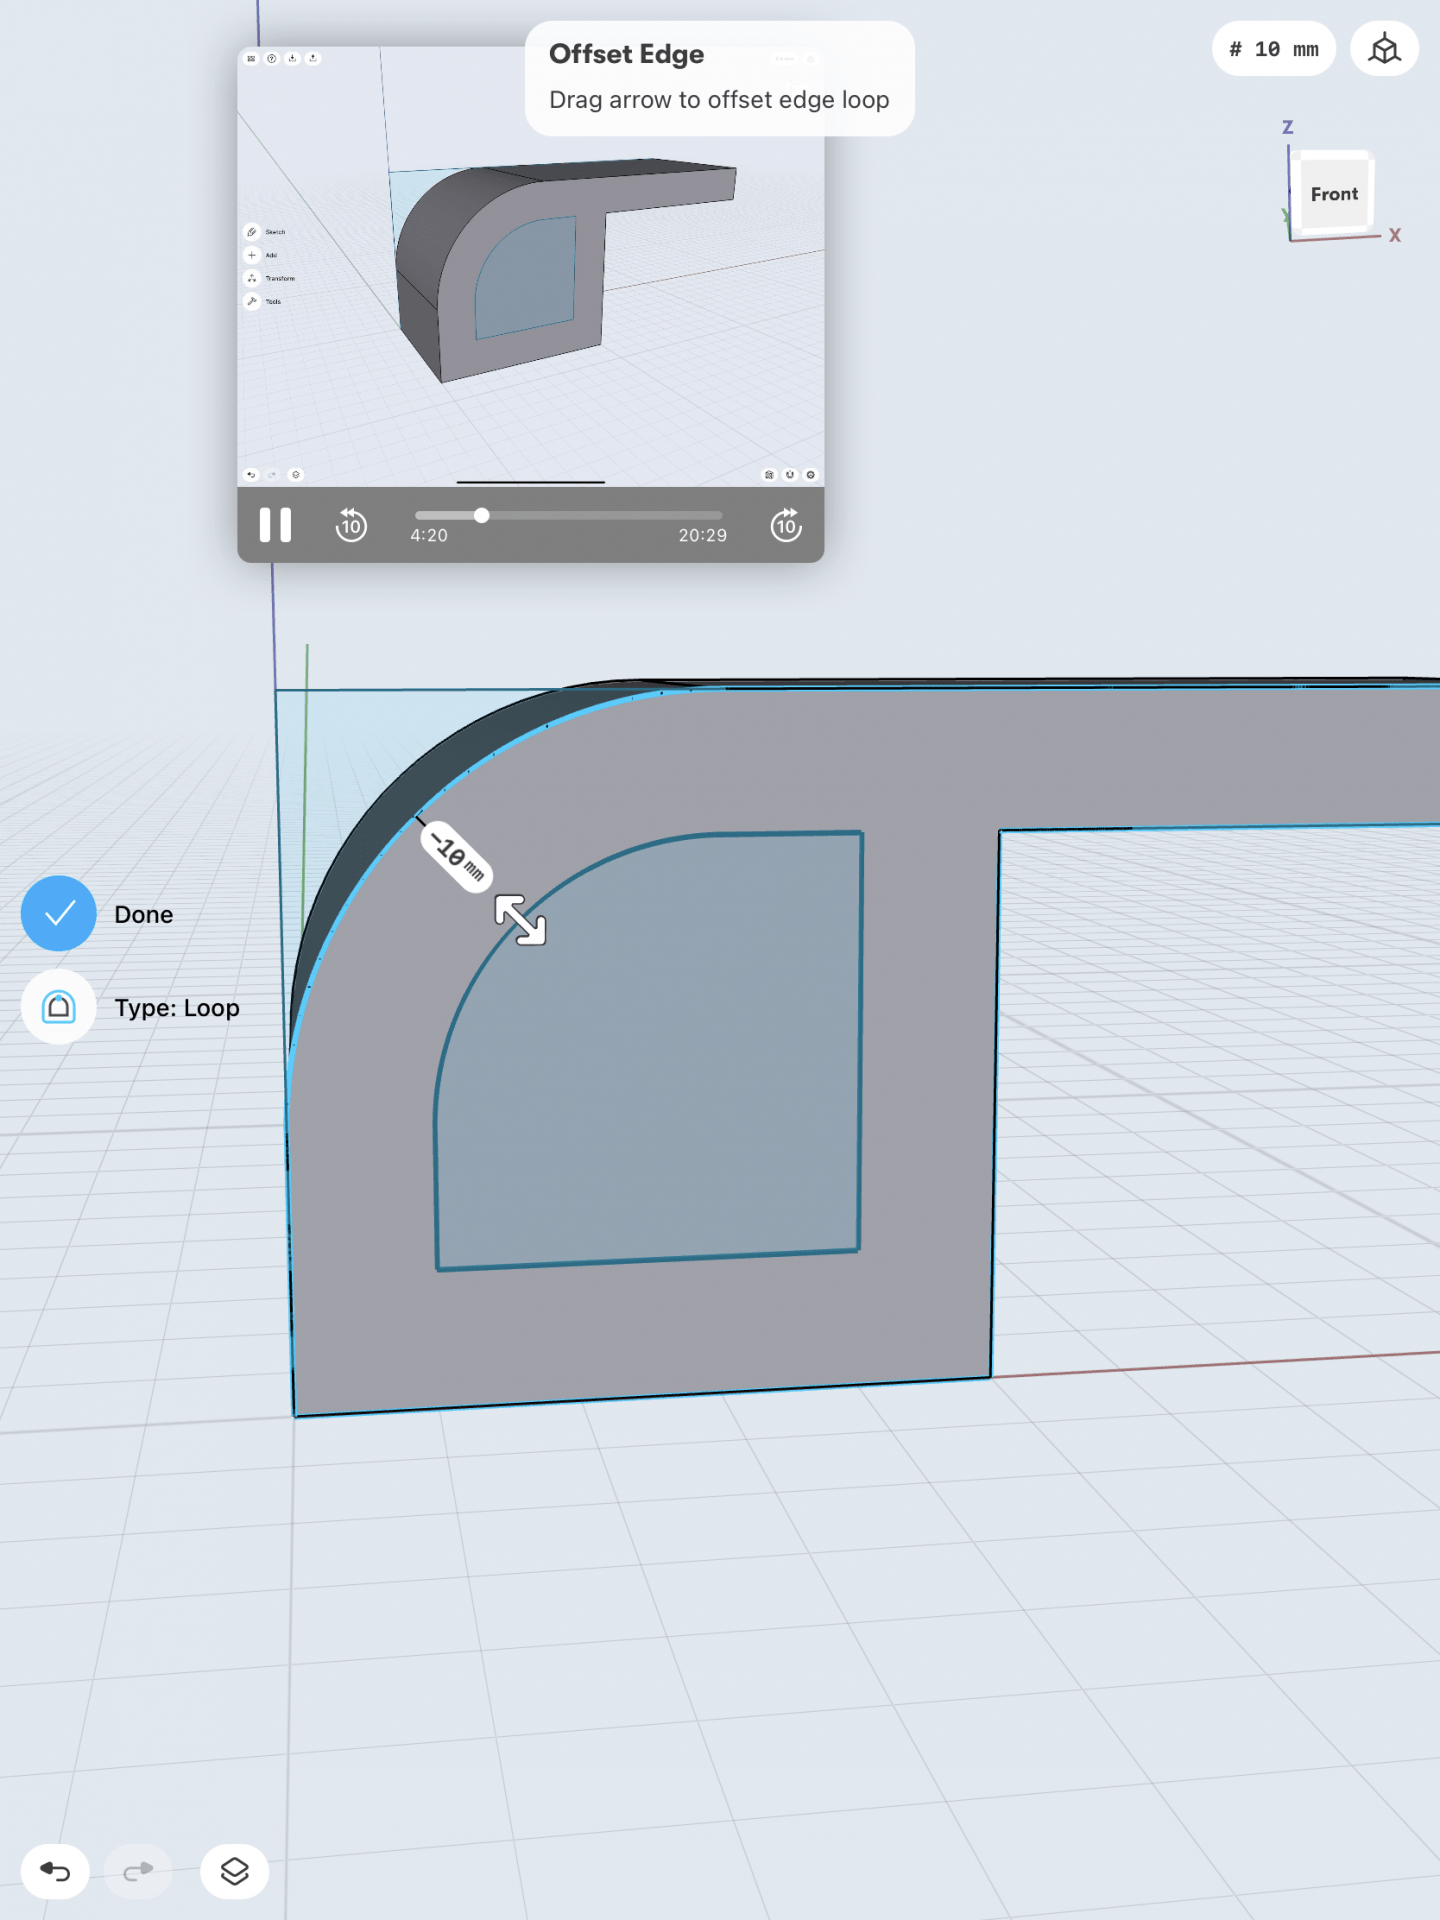
I then rounded the edge of the object and created a second sketch on top of the object. I used this sketch to extrude a part of the object.
![](https://i0.wp.com/sites.lib.jmu.edu/adrihooker/files/2021/04/IMG_0115.png?ssl=1)
![](https://i0.wp.com/sites.lib.jmu.edu/adrihooker/files/2021/04/IMG_0117-edited.png?ssl=1)
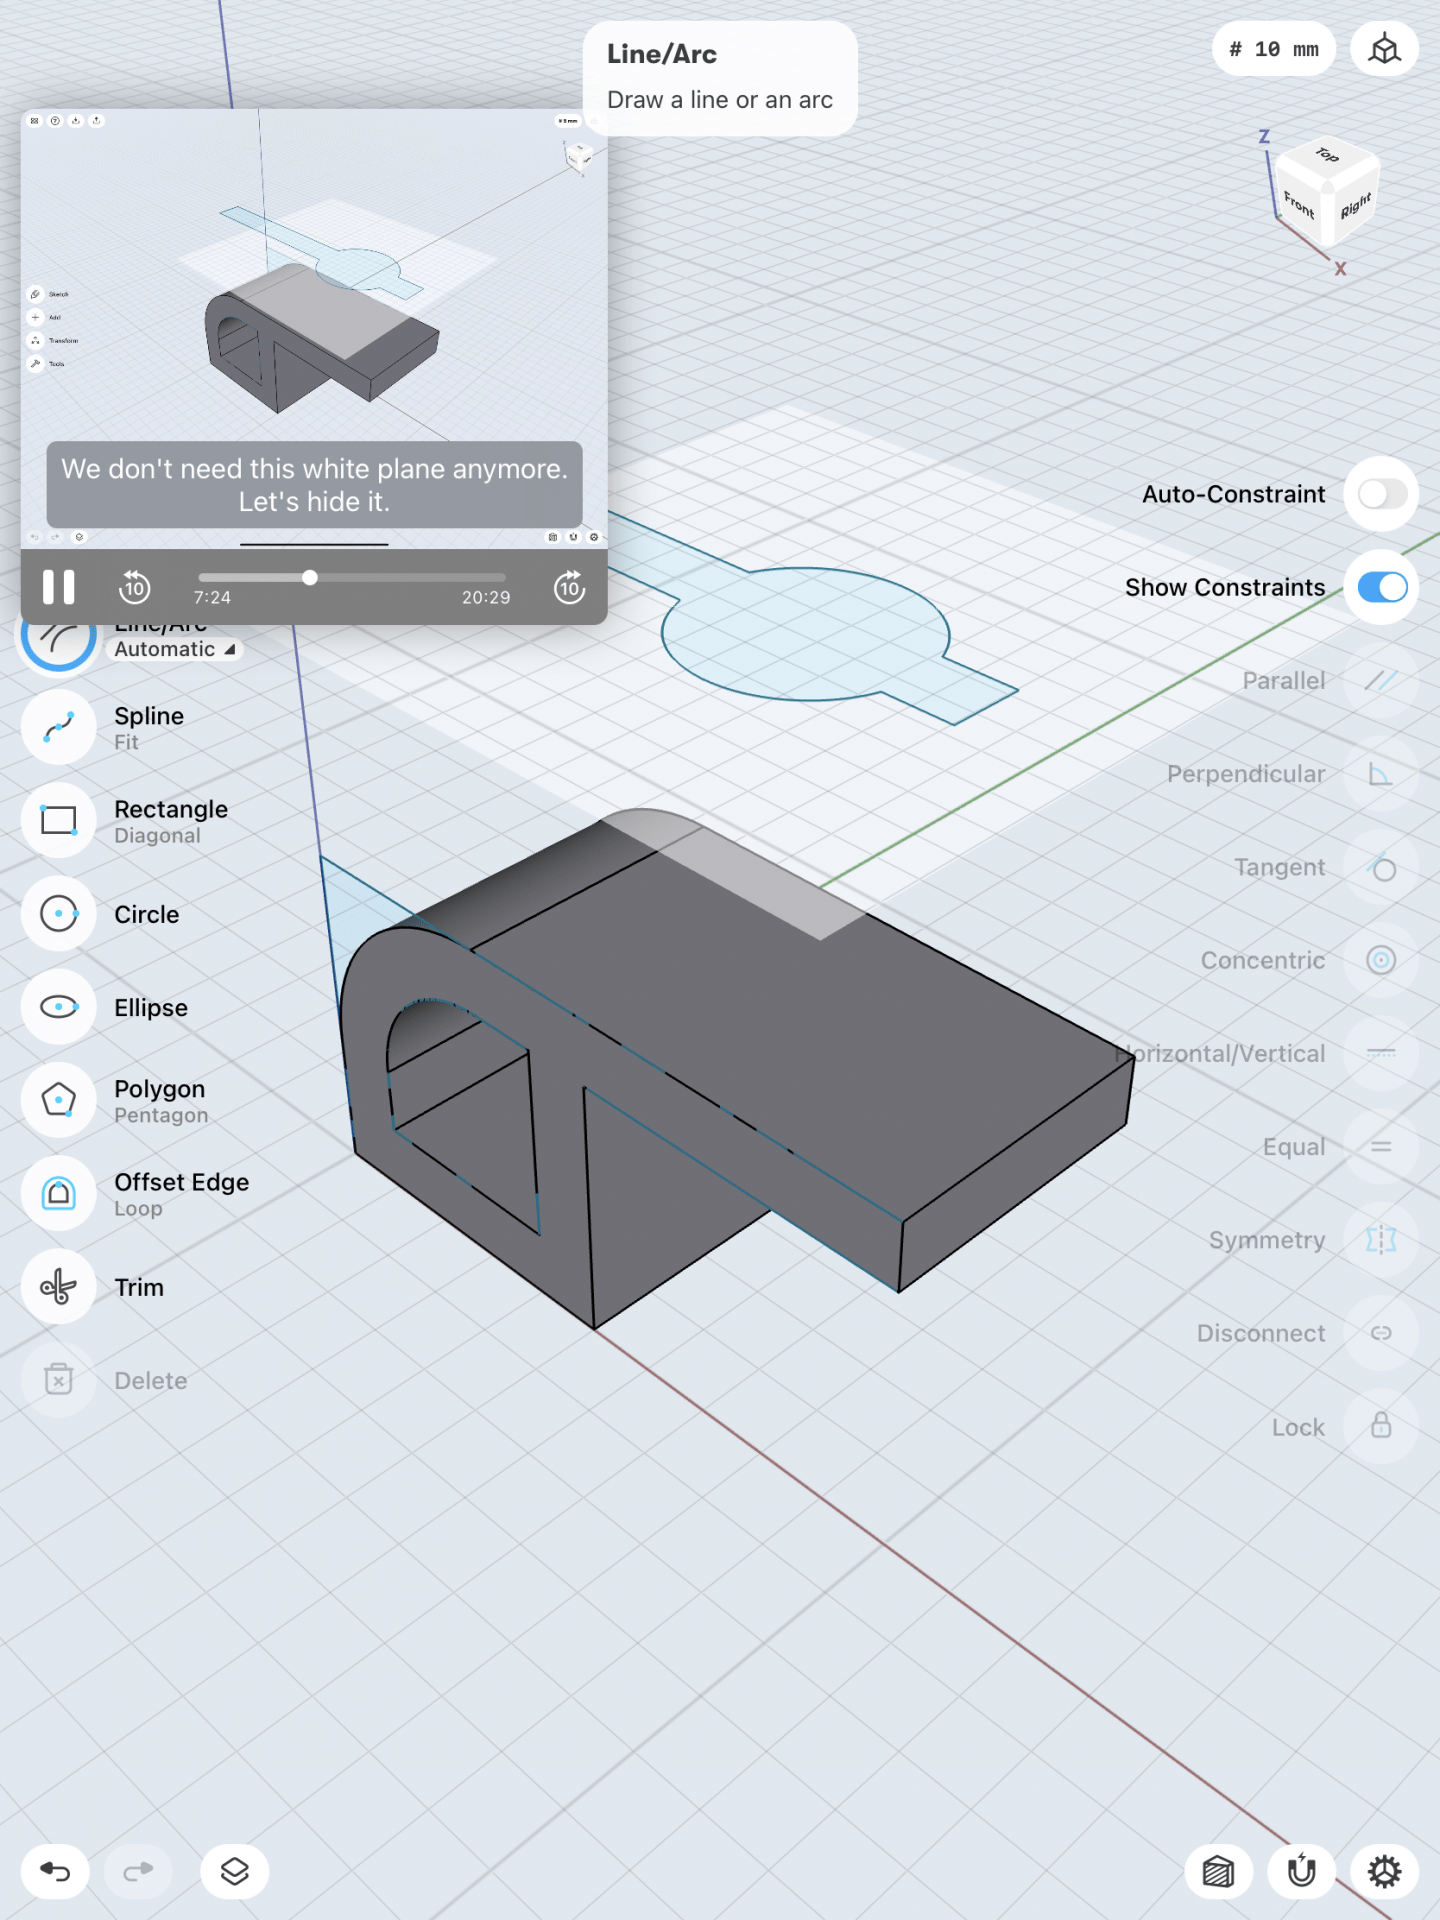
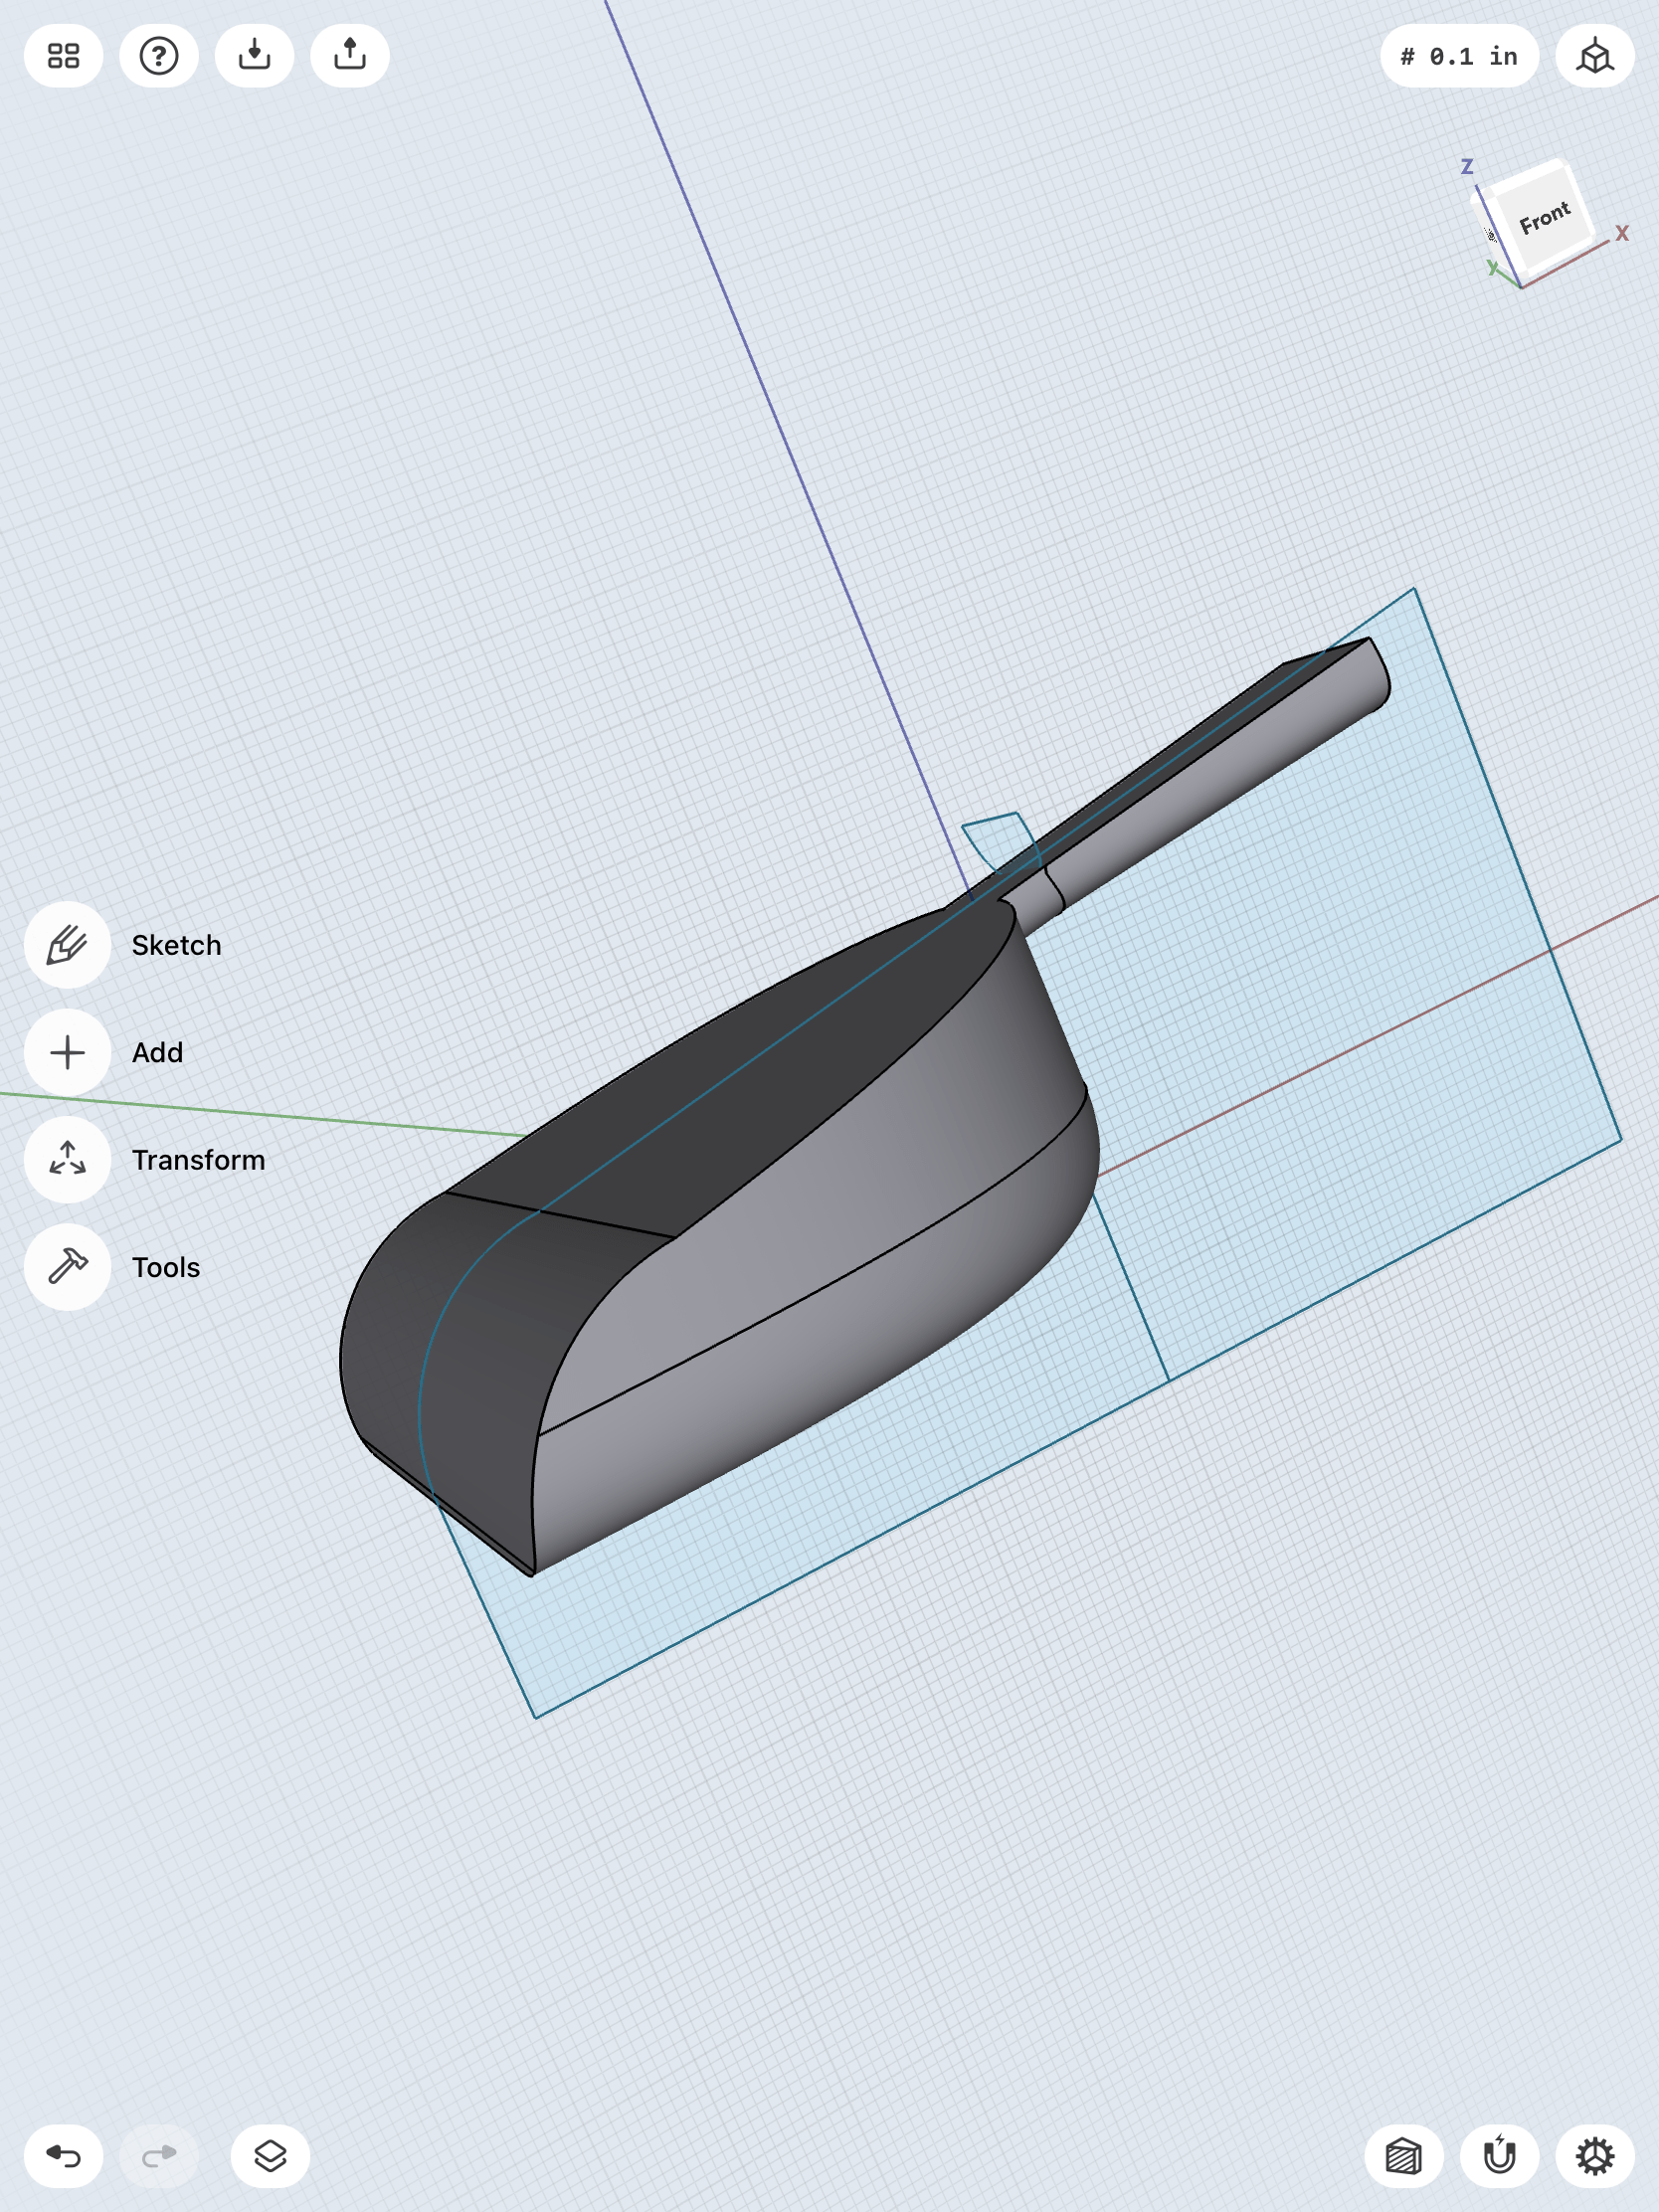
Once I extruded the side of the object, I created a plane and drew the next sketch that I would use to extrude through the top of the object.
![](https://sites.lib.jmu.edu/adrihooker/files/2021/04/IMG_0094-edited.png)
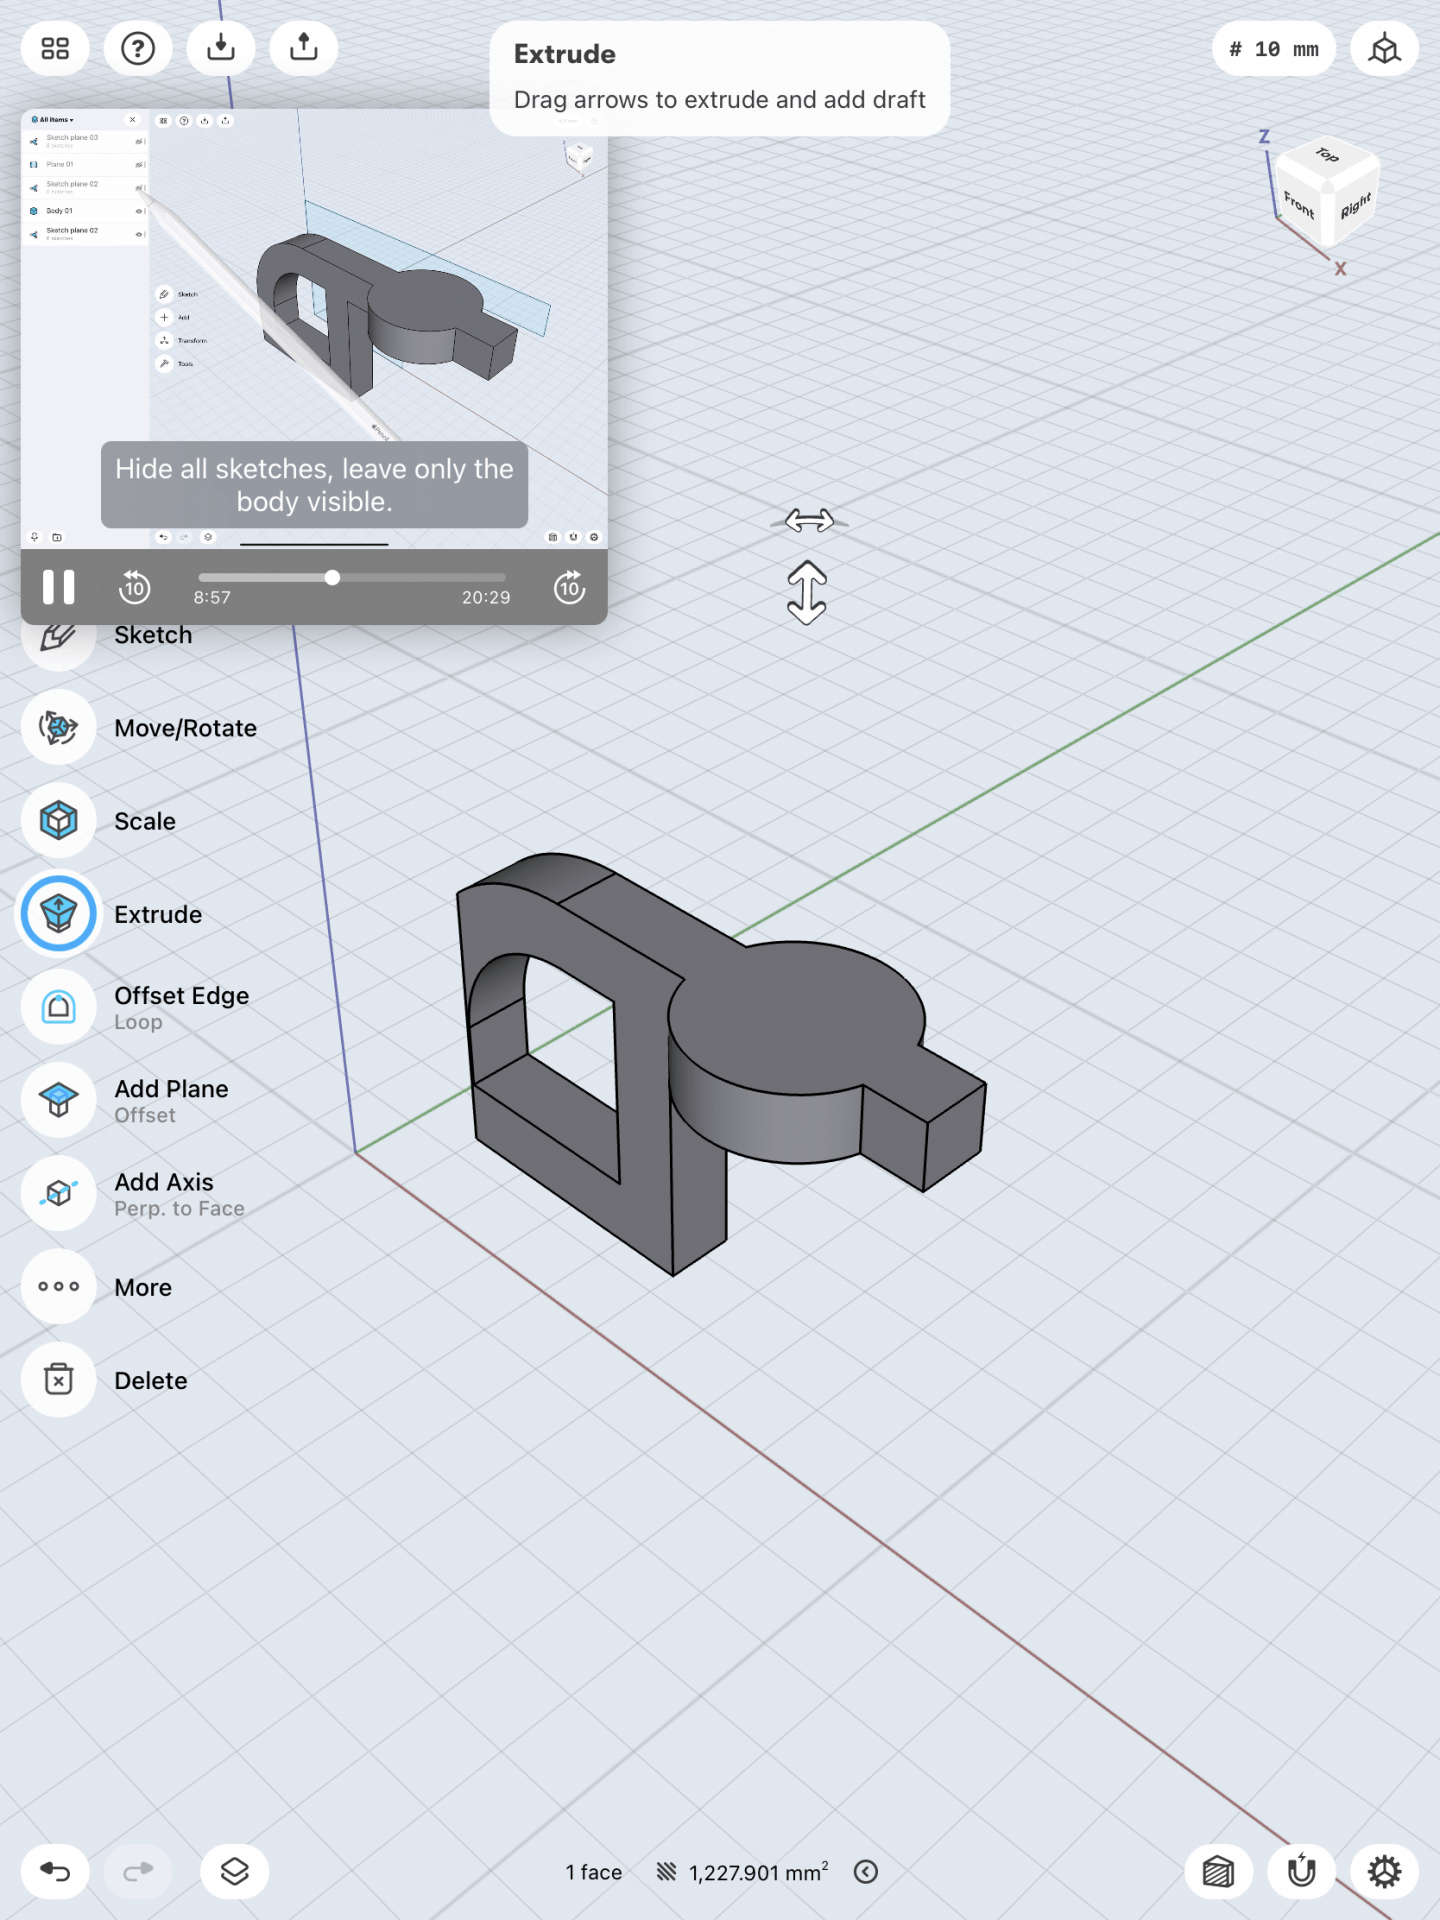
I then selected “intersect” to creat this shape.
![](https://i2.wp.com/sites.lib.jmu.edu/adrihooker/files/2021/04/IMG_0096.png?ssl=1)
![](https://i2.wp.com/sites.lib.jmu.edu/adrihooker/files/2021/04/IMG_0118.png?ssl=1)
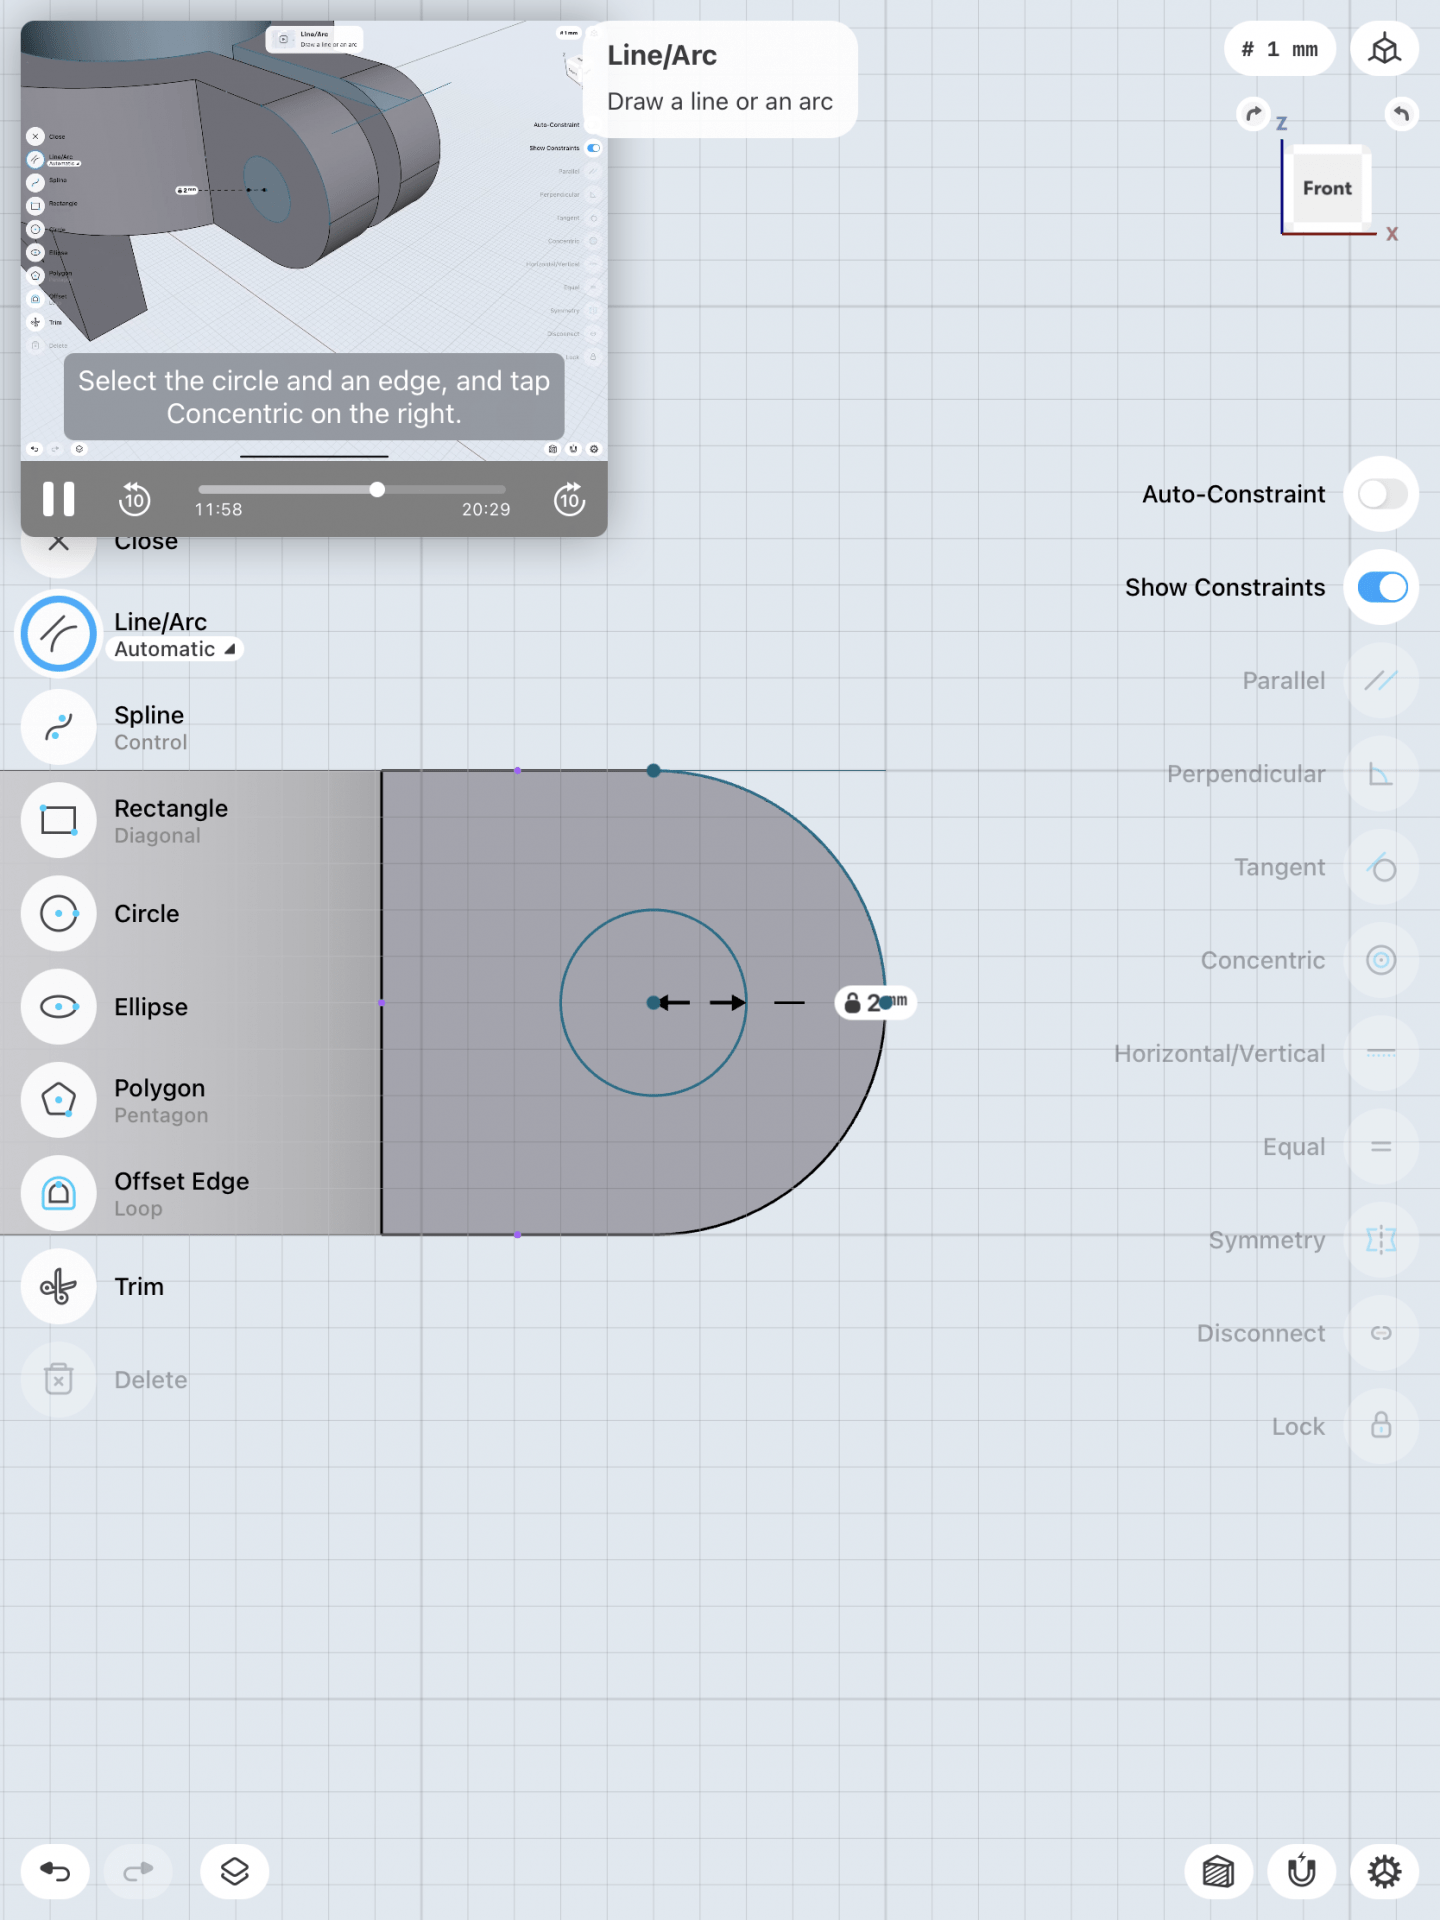
Then, I created the bottom section of the bracket by creating a square sketch, which I then extended into an object. After this, I created 4 circular sketches, which I then used to cut through the piece to make the holes.
![](https://i0.wp.com/sites.lib.jmu.edu/adrihooker/files/2021/04/IMG_0097.png?ssl=1)
![](https://i1.wp.com/sites.lib.jmu.edu/adrihooker/files/2021/04/IMG_0098.png?ssl=1)
![](https://i2.wp.com/sites.lib.jmu.edu/adrihooker/files/2021/04/IMG_0100.png?ssl=1)
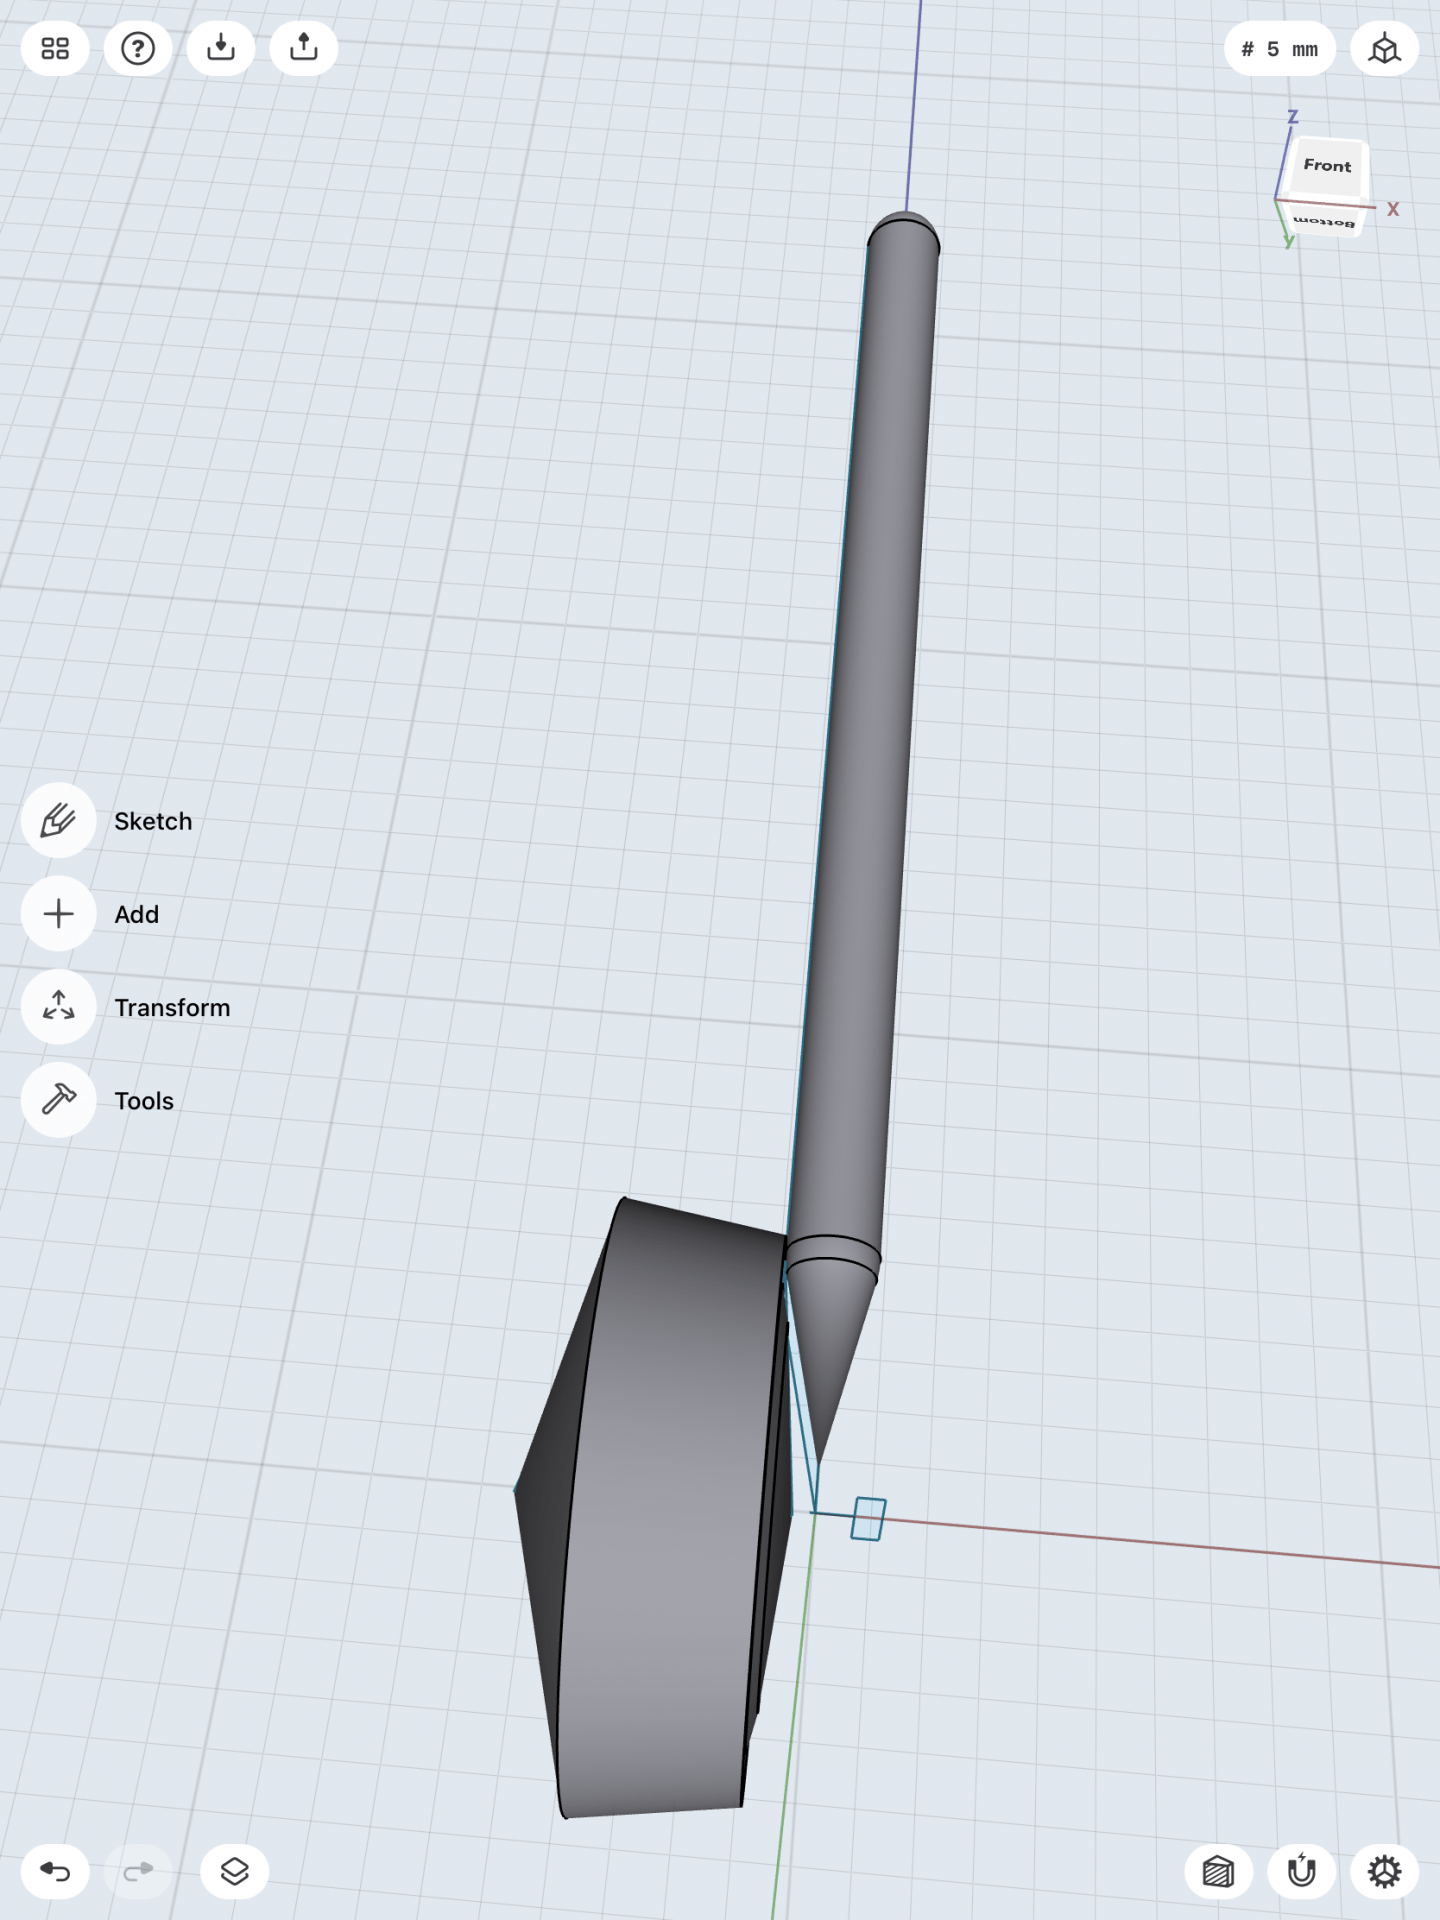
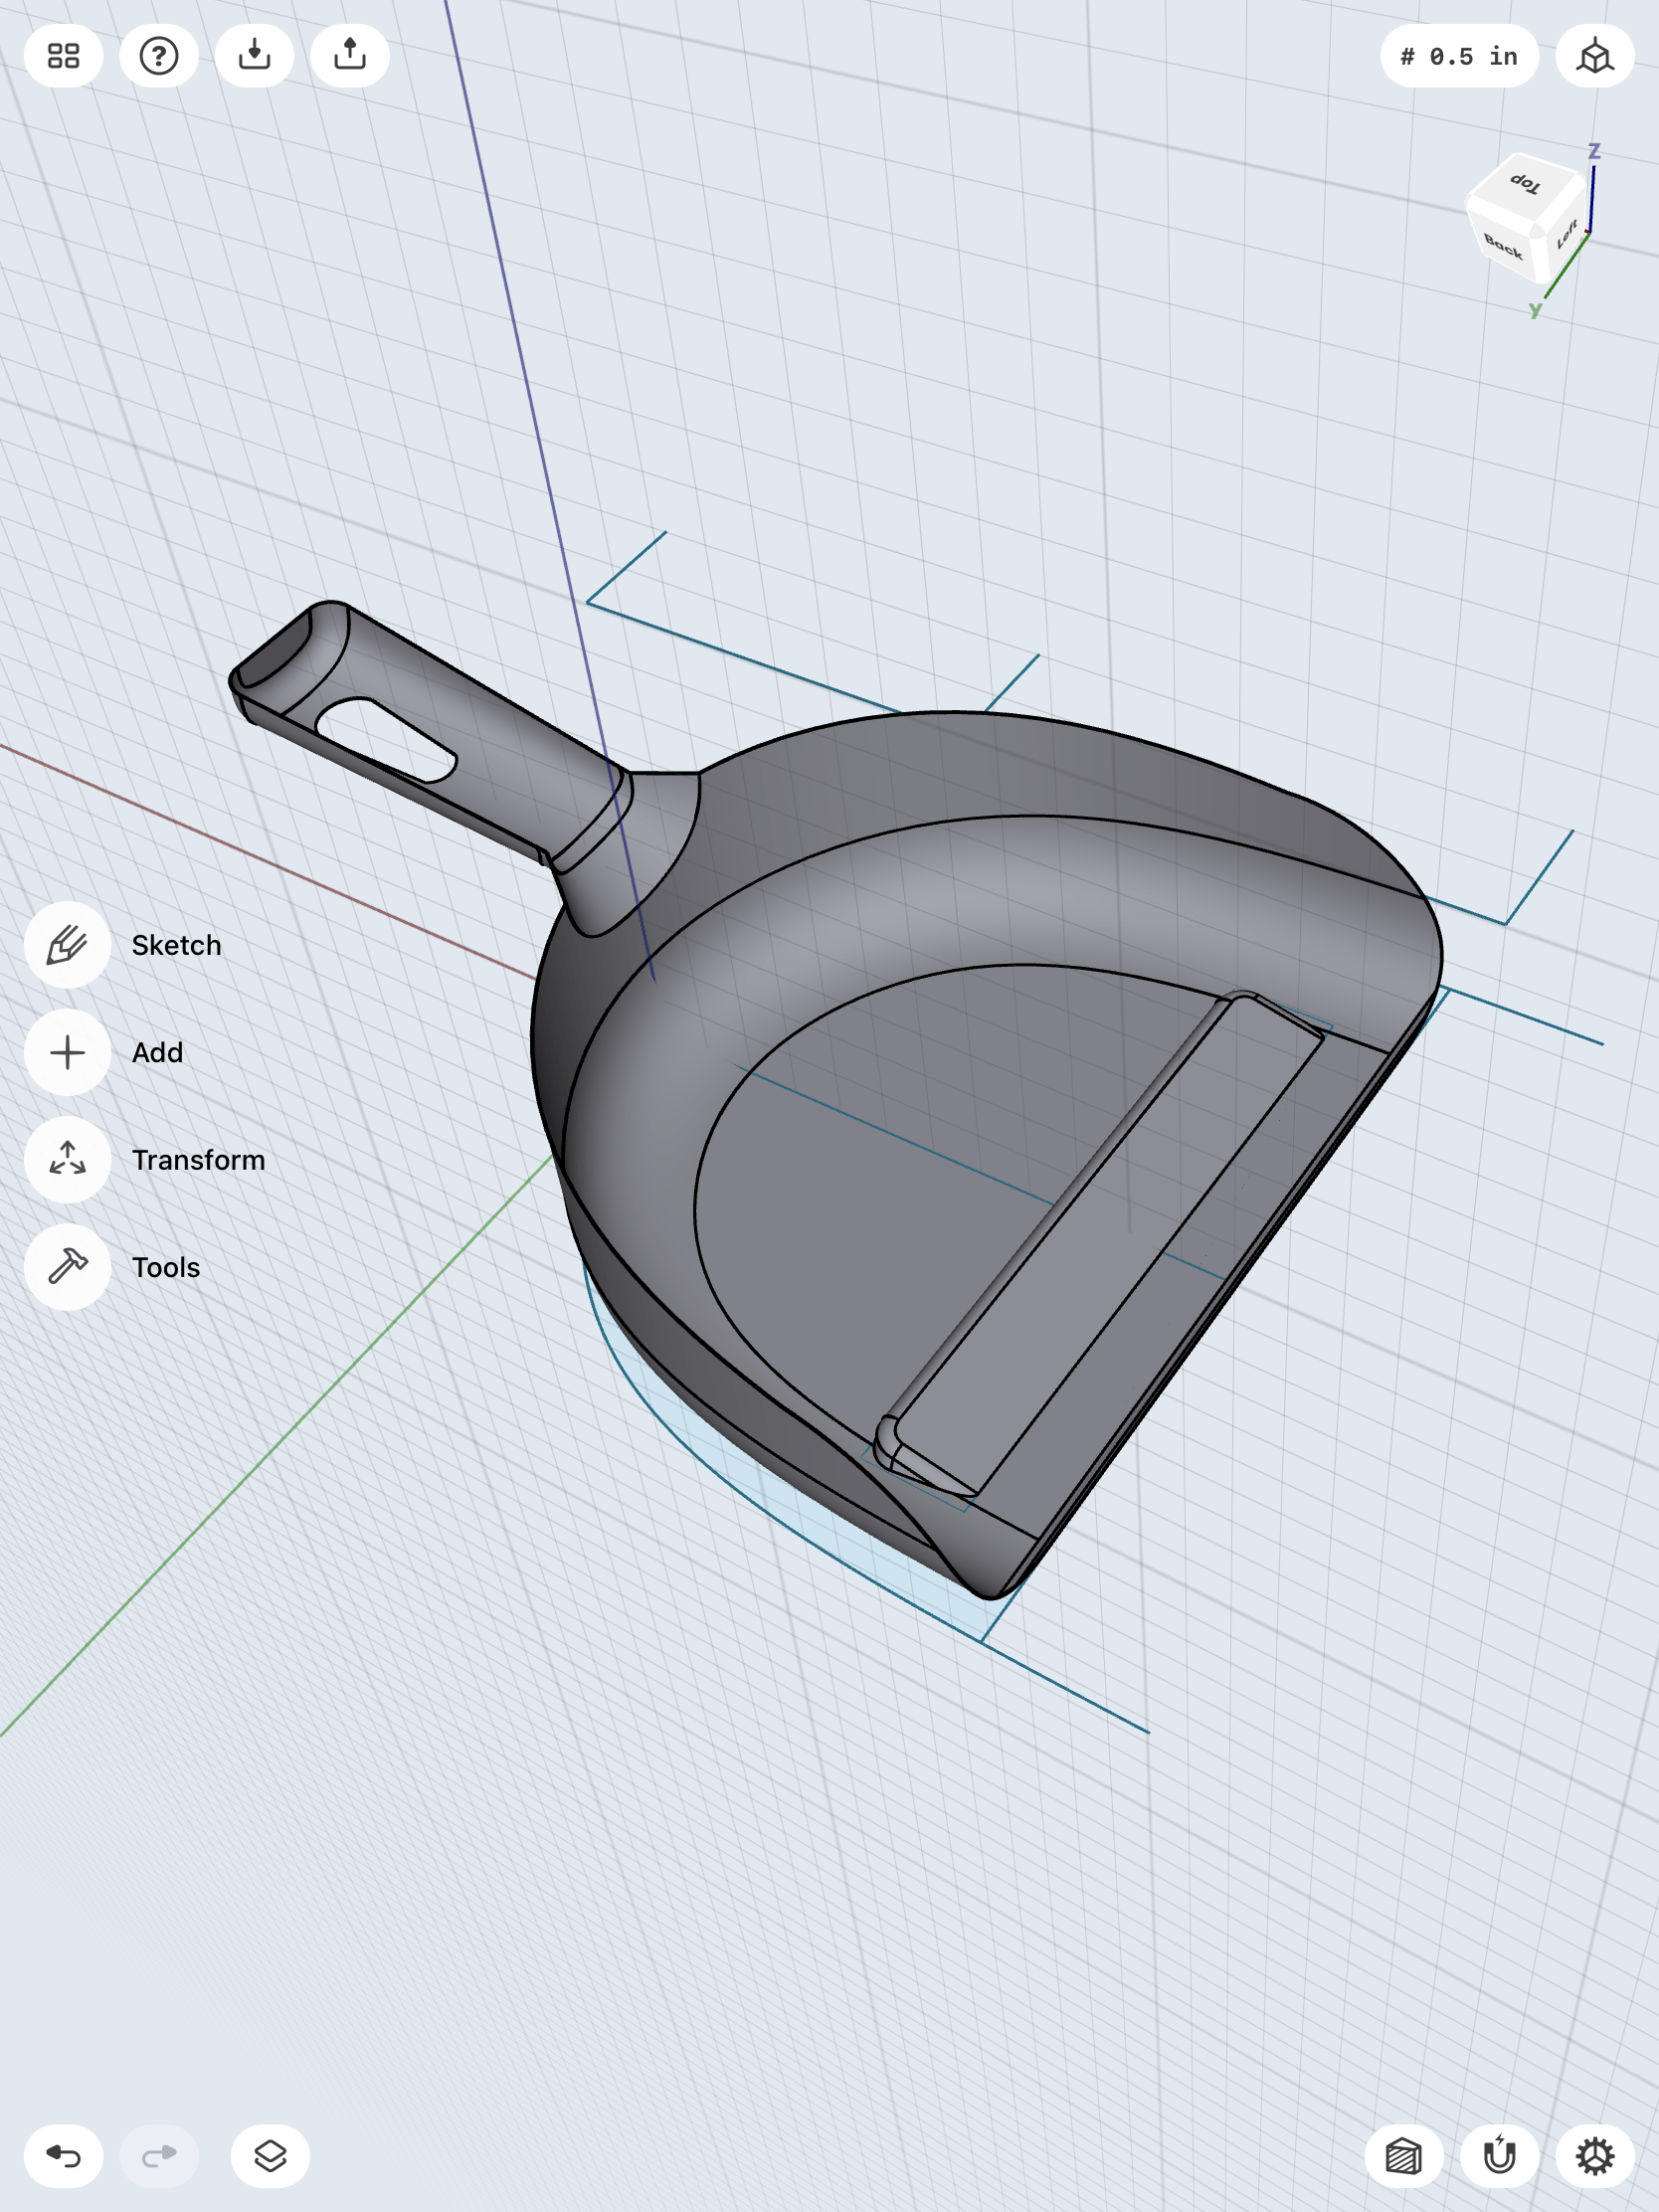
Lastly, I put the top and bottom of the bracket together and smooth the edges to add detail.
Stylus & Base
For creating the stylus & base I used this tutorial.
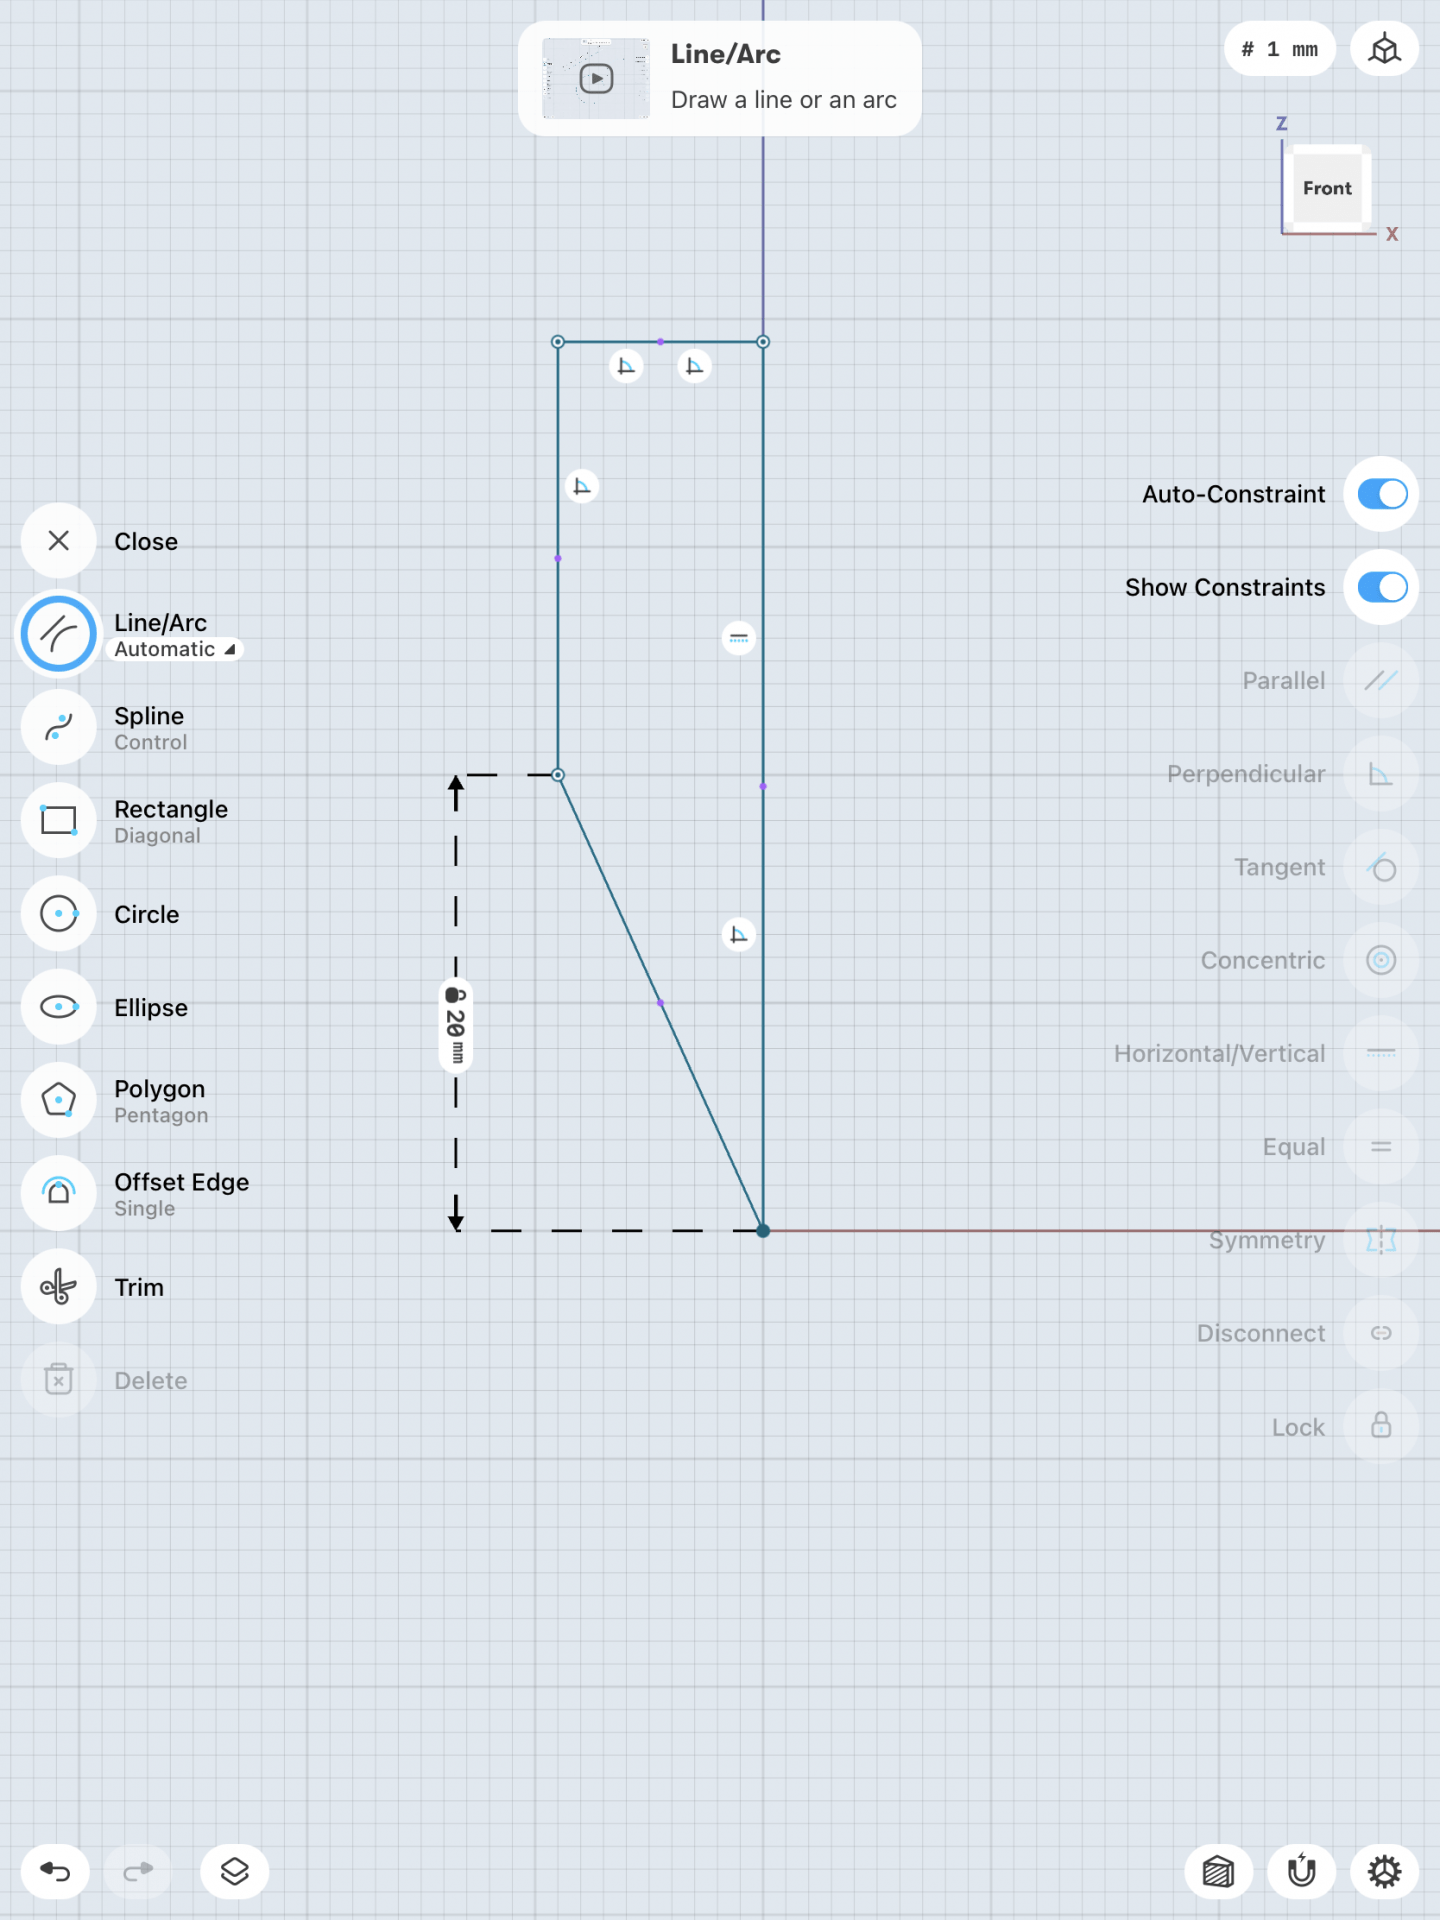
I first began by creating a sketch of a pen shape. I then used the “revolve” tool to get a 360-degree view of the object. I then used a rectangle sketch to extrude the side of the stylus.
![](https://i1.wp.com/sites.lib.jmu.edu/adrihooker/files/2021/04/IMG_6044120E4EB1-1.jpeg?ssl=1)
![](https://i0.wp.com/sites.lib.jmu.edu/adrihooker/files/2021/04/IMG_0106-1.png?ssl=1)
![](https://i2.wp.com/sites.lib.jmu.edu/adrihooker/files/2021/04/IMG_0104.png?ssl=1)
![](https://i0.wp.com/sites.lib.jmu.edu/adrihooker/files/2021/04/IMG_74E8412B077D-1.jpeg?ssl=1)
After this portion of creating the stylus I began to run into some issues.
![](https://i1.wp.com/sites.lib.jmu.edu/adrihooker/files/2021/04/IMG_0109-edited.png?ssl=1)
![](https://i1.wp.com/sites.lib.jmu.edu/adrihooker/files/2021/04/IMG_0108.png?ssl=1)
I was able to create the stylus holder by creating a sketch, which I then turned into a 3D object using the “revolve” tool. I also had troub
![](https://sites.lib.jmu.edu/adrihooker/files/2021/04/IMG_0107-edited.png)
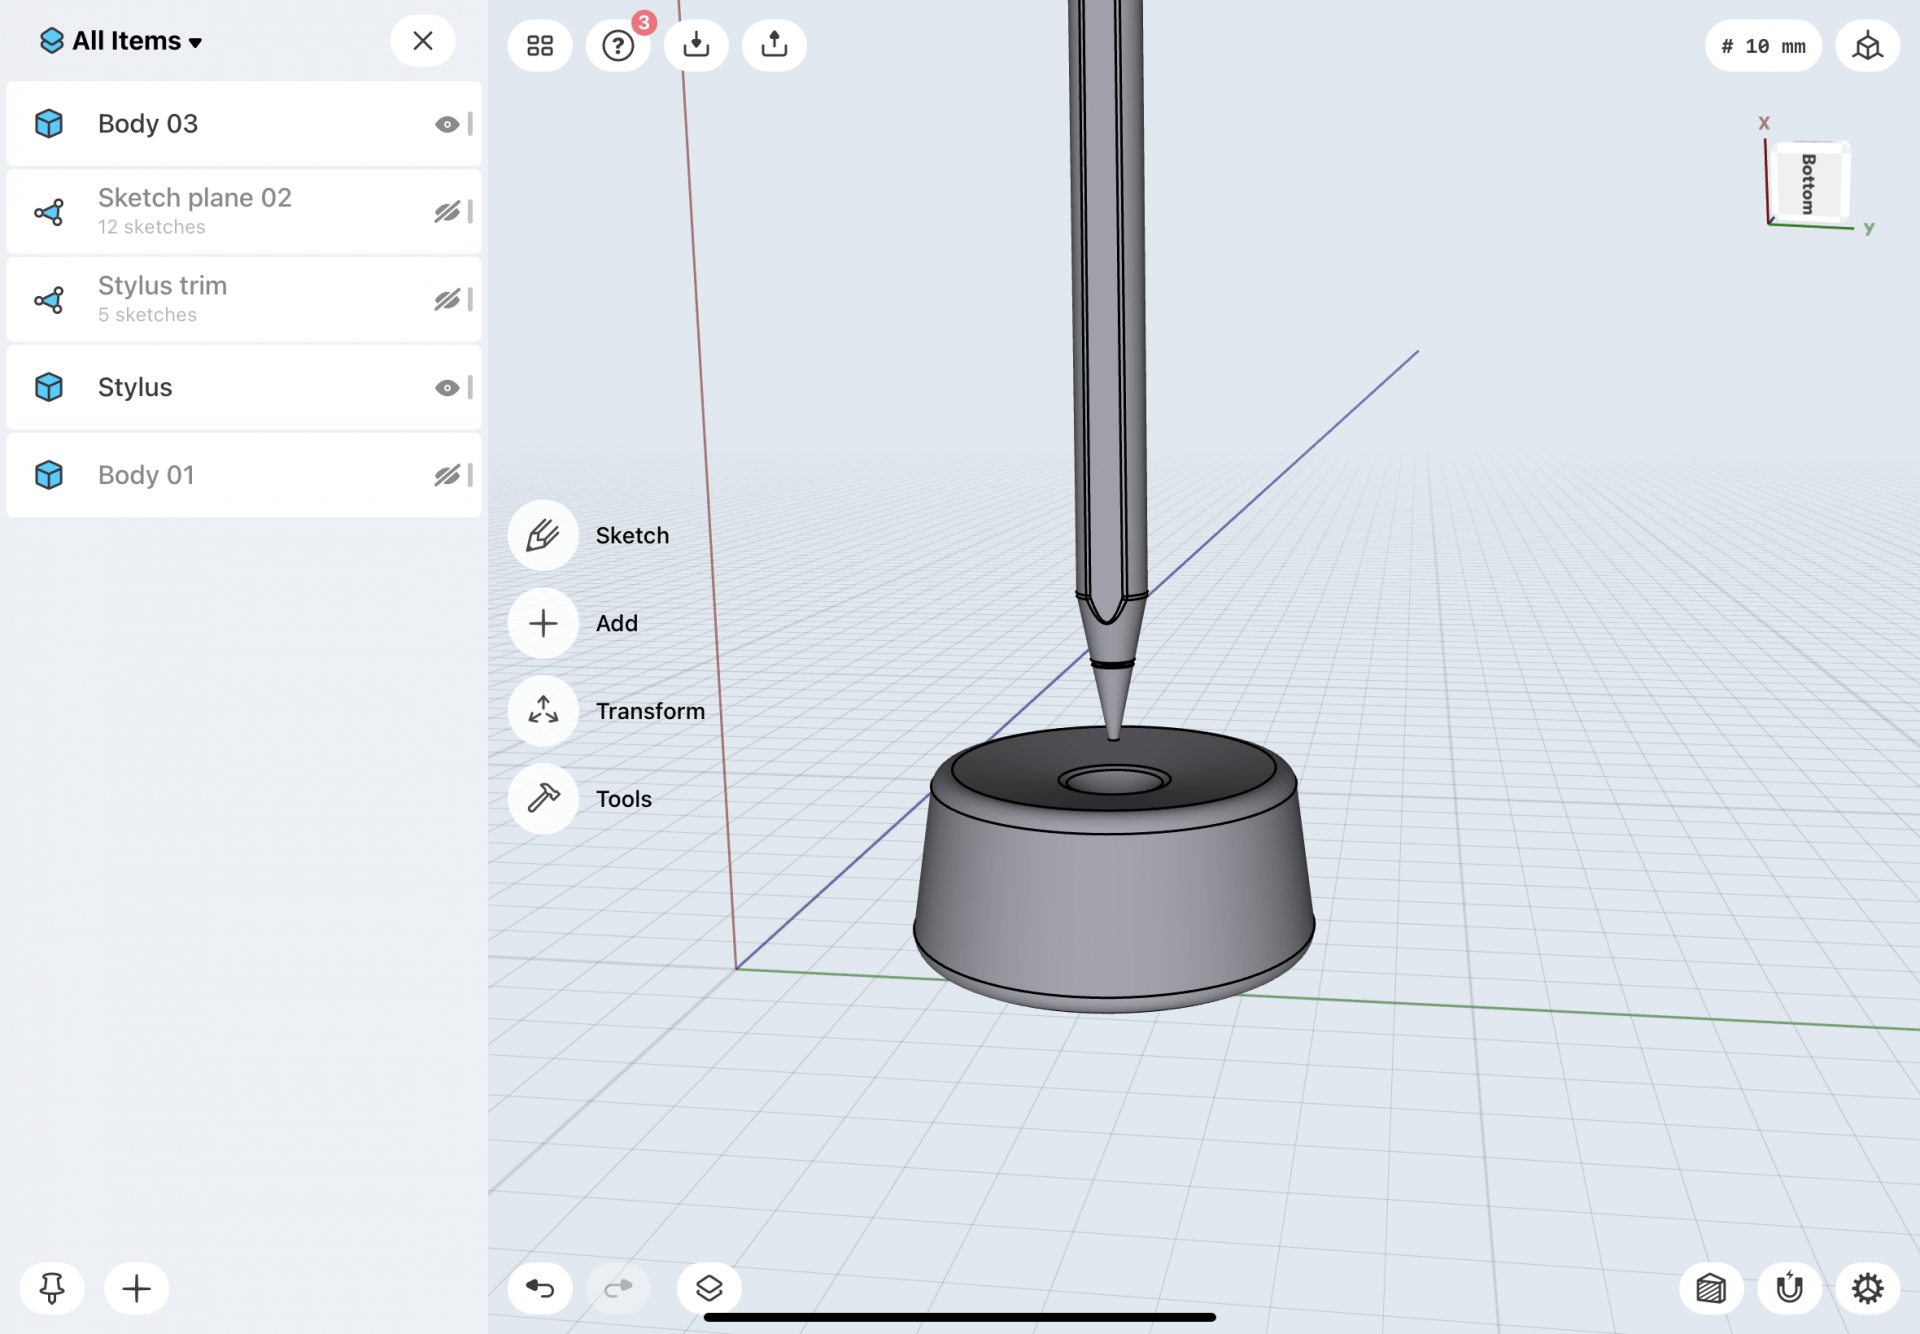
I then rounded out the edges to add detail, as well as detailed the inside of the object.