3D Scan

In order to create this final model we had to start with creating a 3D scan of ourselves in the classroom. We used the iPad that was provided and scanned each other one by one. It took a lot of trial and error to get a good scan because the subject had to stay completely still the entire time. The person creating the scan had to make sure that they were scanning the person from all possible angles, which again added an element of difficulty to this project.

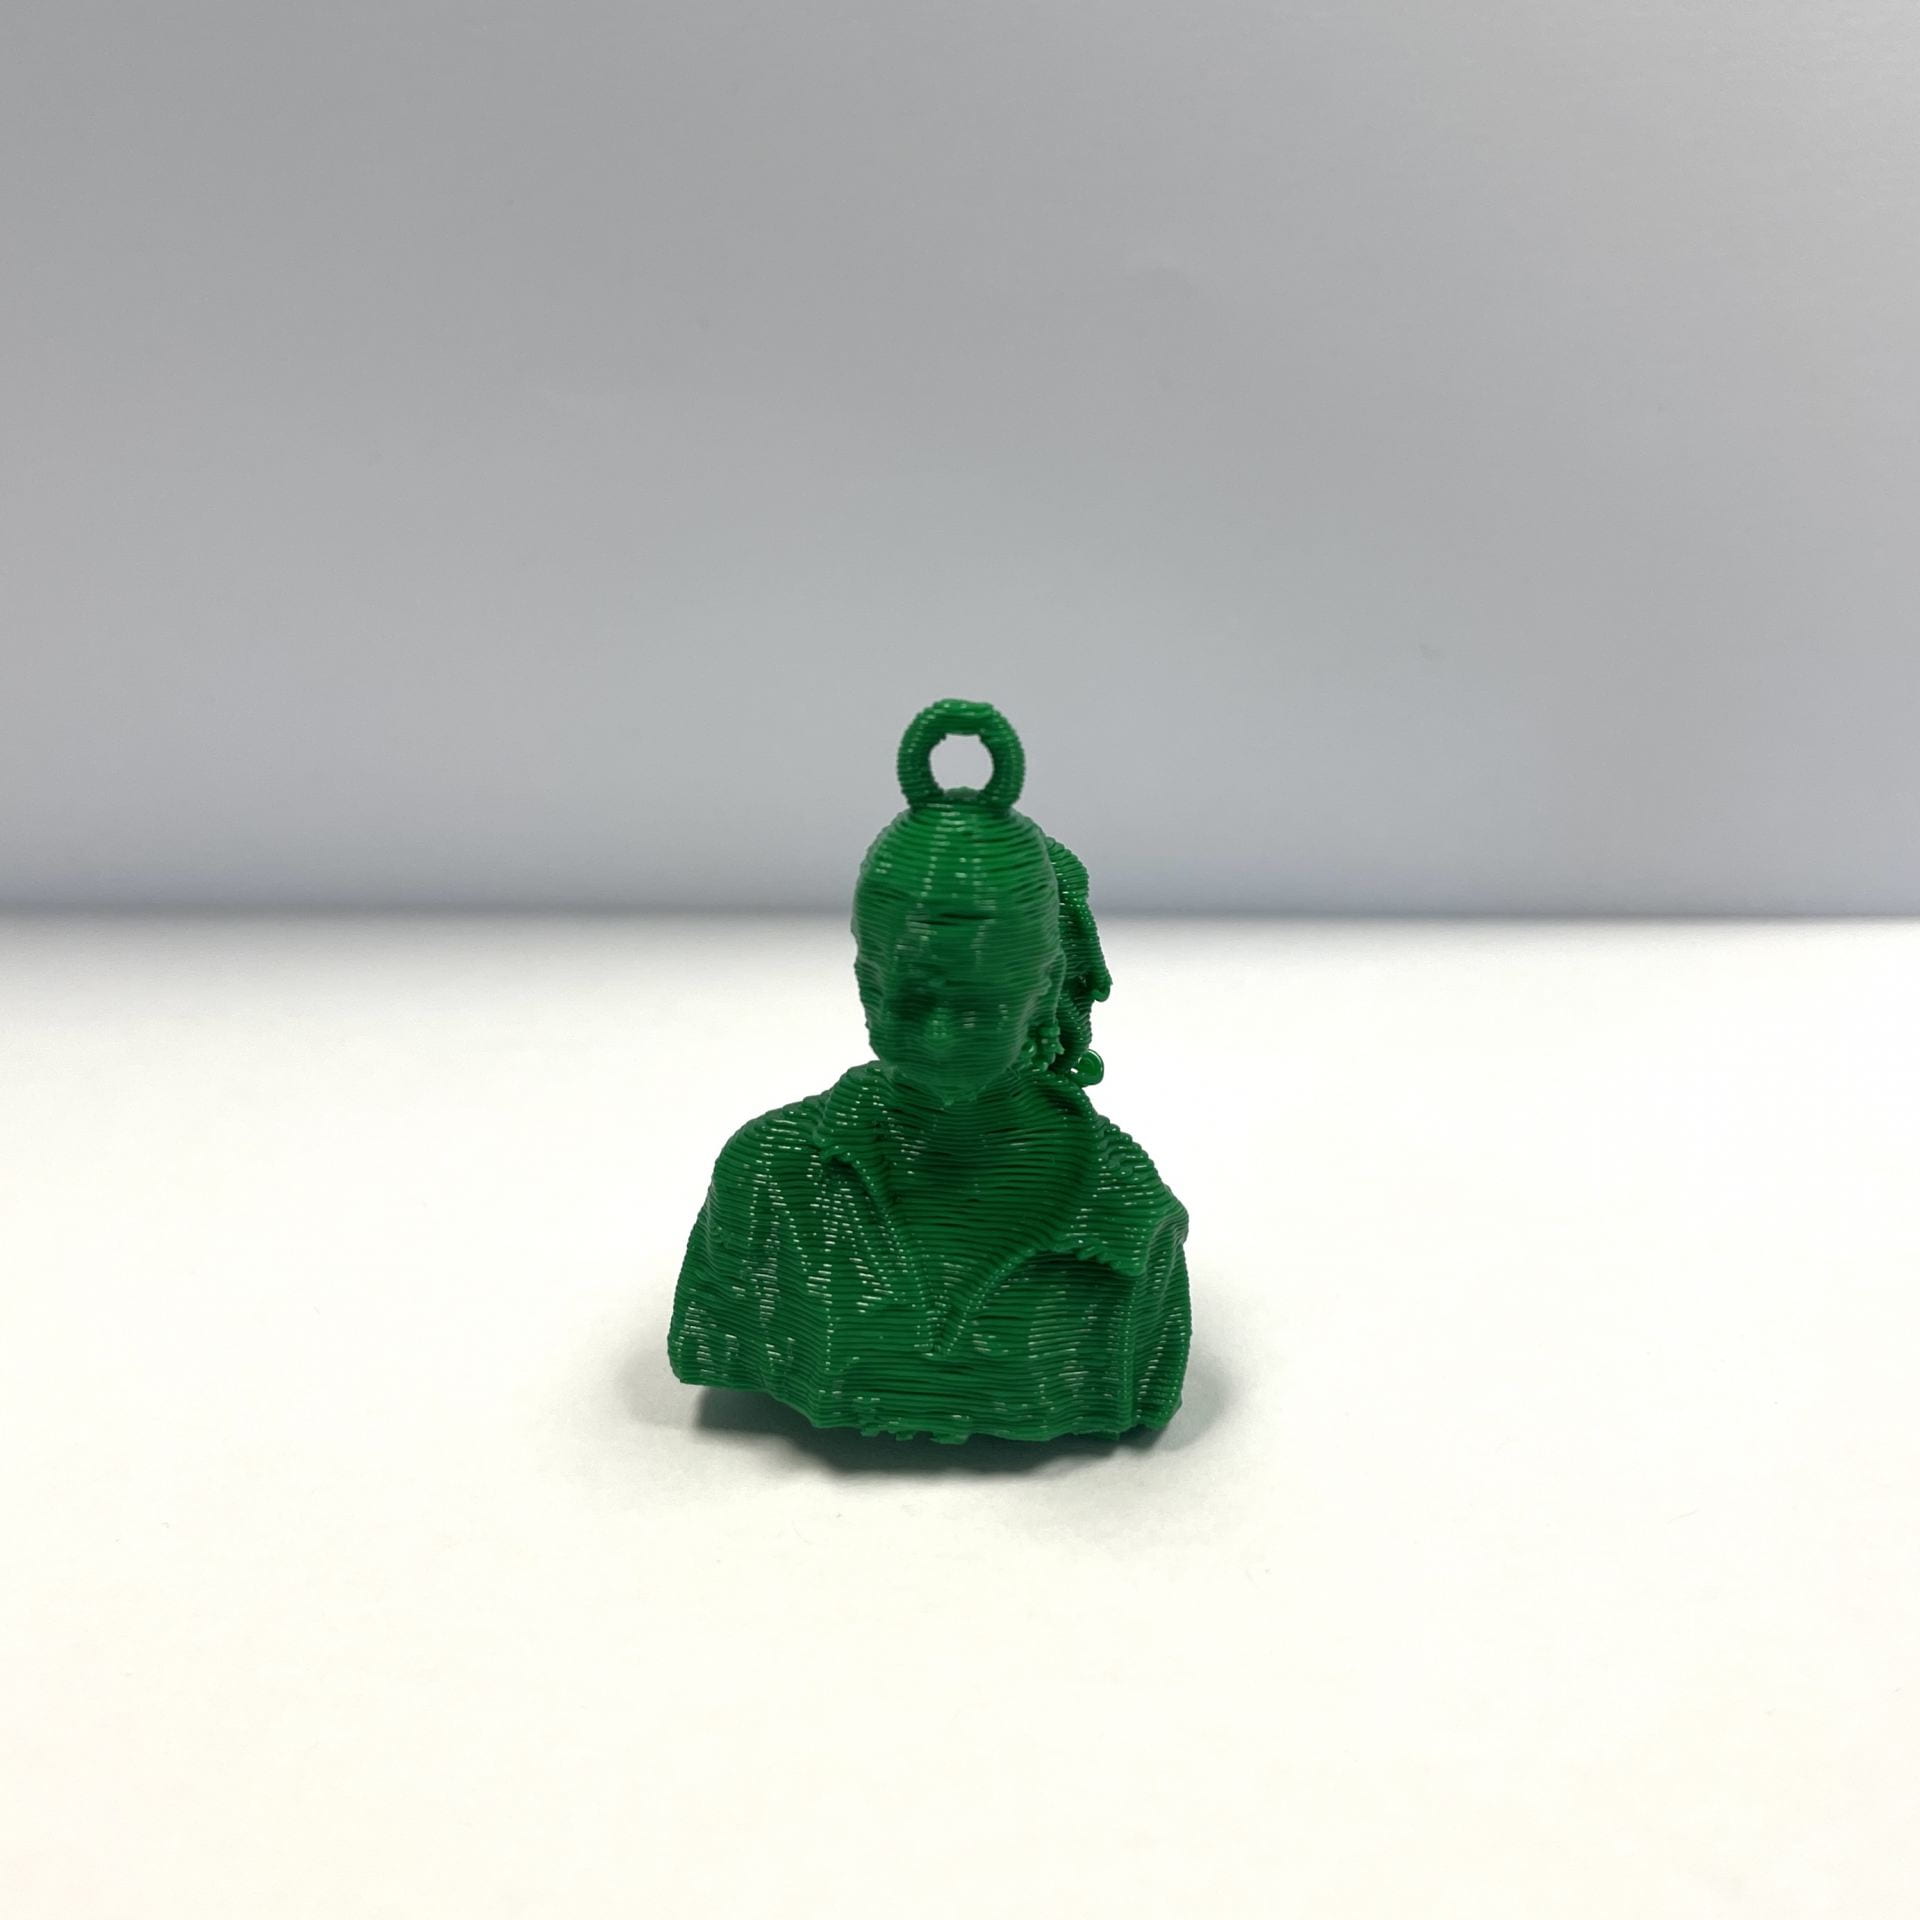
Once we got our final scan done, we exported it to our phones as a .obj file using Airdrop. I Airdropped the file to my iCloud drive so that I would have it right on my computer. Once I got home from class I imported the .obj file to Tinkercad to look at my scan. At first there was an extra piece that showed up next to my arm, but I used the “hole” tool to cover that up so that the print wouldn’t have a piece hanging off of it.

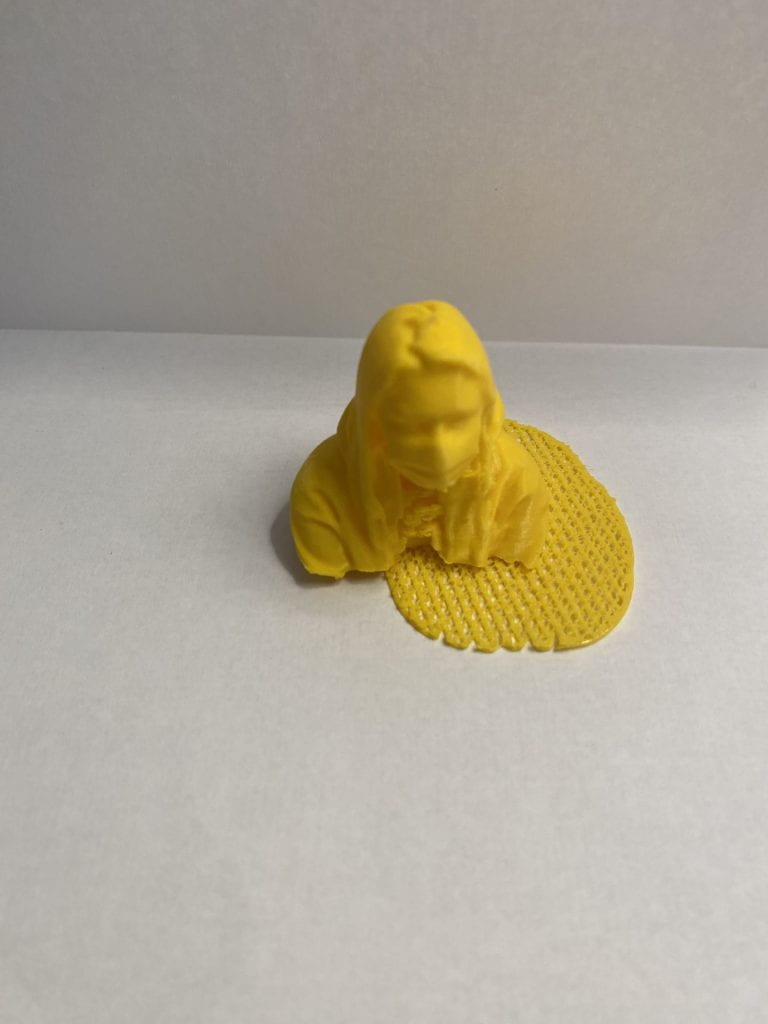
After fixing any issues in Tinkercad, I exported the file as a .stl and sent it to my Gmail. When I went into the lab I downloaded the file, put it in Cura and printed the file with a layer height of .05, an infill of 20%, and a plate adhesion as raft. I then downloaded it to the SD card from the Lulzbot, inserted that into the Lulzbot, and printed my final print. I was really happy with the way the print turned out, the only problem was the support plate. This didn’t show up in Tinkercad or Cura so I’m not really sure why it printed the way it did.

3D Scan

The first part of this project required me to have a classmate take a 360-degree scan of my bust. A LiDAR camera on an iPad paired with the Monocle Structure Scanner application was used to complete this step. Although the scanning process required a few trials runs, professor Hooker’s comprehensive explanation and demonstration on how to use the software allowed us to complete this step without any major problems.

The Monocle Structure Scanner was able to created a 3D model by compiling multiple photos, which it transformed into an .OBJ file. Below is a picture of what the scanning software’s interface looked like. In the upper left hand corner are the dimensions of the scan. I then proceeded to airdrop the file onto my laptop from the iPad and then transformed it to an .STL file in Tinkercad, in order to make any necessary edits. Thankfully I did not need to make any major transformations to the file. I merely scaled down the bust and used the hole shape to remove extraneous pieces.

All in all, it was not a very complicated process. I was able to gain a much better understanding of how 3D scanned objects can be translated into 3D printing software. After I finished making the necessary edits to my .STL file in Tinkercad, I printed my model with little to no problems!

3D Scan

I created my 3D scan while in class, and while it was challenging at first I think it turned out great. We worked in groups and use the iPad with an attached LiDAR camera to scan. At first, our app / camera wasn’t calibrated. This made our first few scans a little off center, but Professor Hooker stepped in and helped us fix the issue. Afterwards scanning was easy, and the only “hole” in my scan was on the back of my hoodie.

I don’t have any screenshots of the scan off of the app since I used someone else’s iPad and transferred my files immediately to my computer. I airdropped the .OBJ file form the iPad to my computer and then brought it into Tinkercad where I resized it, used the “hole” feature to eliminate random pieces, and then exported it as an .STL to print.

Karina’s 3D Scan

The process of getting this 3D scan took a lot of trial and error and it was actually quite challenging to get the hang of the 3D scanner. At first, I downloaded the Scandy app to my phone, but quickly realized it was not my best option present. As a class, we all decided that the iPad Monocle Structure Scanner was much more efficient in getting a good enough scan to print. While scanning, the object (my classmate or myself) had to stay still as we moved the scanner around it to get all our angles. I was able to get a lot of decent scans of my classmate, but thought the one done of me was best and should be the one to get printed. For some reason the scanner was having trouble fully scanning the back of my classmates head, so it would always leave a big opening. Even the scan of me had some openings on my head, but I was able to fill them in on Tinkercad.

After I got the scan of myself that I wanted, I saved it and sent the files to my Mac laptop via airdrop. The files were obj. so in order to convert to stl. and to fix the openings on my head, I had to import it into Tinkercad. I used my Tinkercad knowledge and skills to do such adjustments. I even added a little ring to the top of my head to make it into a fun keychain of myself. Once I made the adjustments to my 3D scan, I was finally able to print it!