Sharpr3D First Models

Bracket

Upon completing this tutorial, I felt as though my understanding of Shapr3D and how the software functions were greatly deepened. It was really interesting to see how creative one can be with this software, as it offers a much wider range of design opportunities as opposed to Tinkercad. The tutorial itself was fairly easy to follow along with and provided me with certain tips and shortcuts that added ease to the entirety of the process. Just like with any new concept, it took me a little while to actually get comfortable with the software’s mechanics. The entire process made me realize that I could use Shapr3D to complete certain aspects of my ‘Self-expression’ piece that are too difficult to configure in Tinkercad.

Stylus & Base on iPad

Designing the stylus and base was much more difficult than I imagined it would be. Although the tutorial did not spare any details, it was very fast-paced and I definitely had to pause it and rewind it too many times. Despite its simplistic appearance, this design really tested my abilities and pushed me out of my comfort zone. I really feel like I have a much deeper understanding of Shapr3D after completing this tutorial. It is quite amazing that simple geometric shapes can be transformed into practical 3D objects. This tutorial definitely pushed my capabilities, but it also opened up new creative avenues as well!

Shapr3D First Models

Bracket

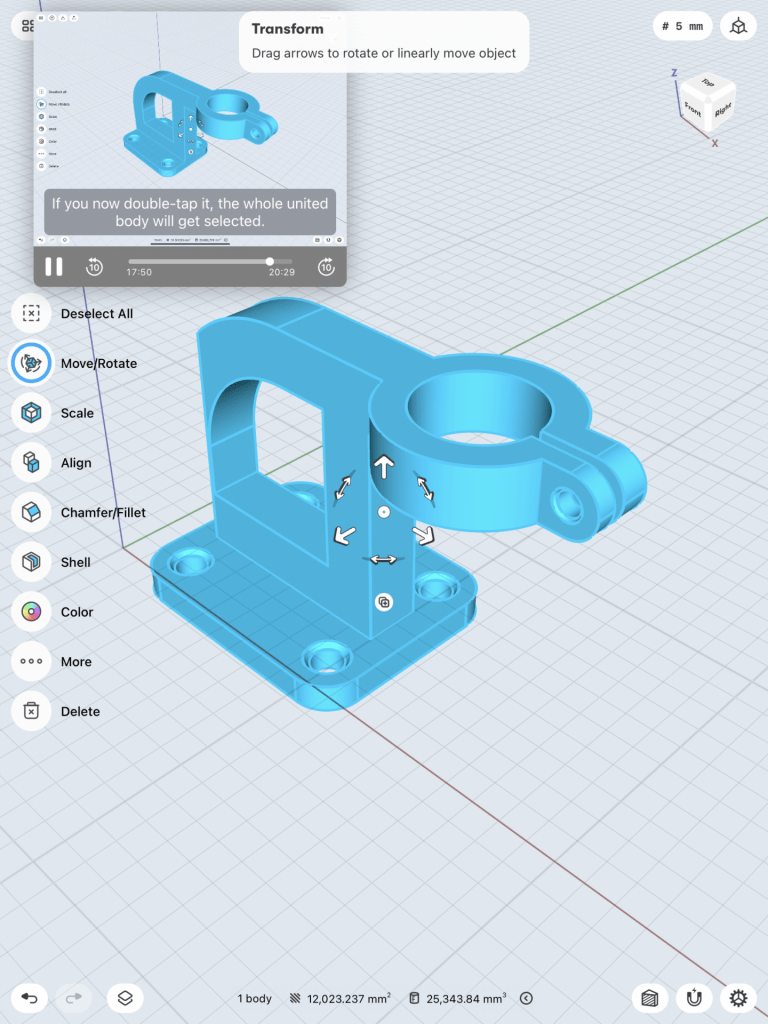
Making this bracket helped me learn a lot and was a good starting point for me while figuring out this new software. I got a feel for how to use the apple pencil and touch to effective manipulate the working planes and mess around with the various tools from sketching to chamfer and filleting as well as various planes. At one point I struggles with the chamfering towards the end of smoothing out the model. I have included screenshots of my process as well as my final model. To transfer from 2D sketches to 3D bodies, this application made it really easy. A simple tap brought the shapes into bodies.

3D Modeling a Stylus & Base on Ipad

This tutorial was a little more fast paced and not as easy to follow, but I enjoyed seeing how I turned simple triangular shapes into 3D bodies by using the revolve tool. The subtracting, locking, and chamfering tools were really helpful throughout this tutorial. Below are screenshots of my process as well as my final 3D Model.

Shapr3d First Models

Bracket

When starting the bracket mount model, the tools took some getting used to. After turning multiple 2D shapes into 3D the interface began to feel comfortable. Using the pen to create the shapes felt very comfortable compared to using a mouse on Tinkercad. I started off my creating the original 2D shape and pulling it out into a 3D form. After, began to carve out the form of the 3D model.

Bench

When beginning my the bench model sketch I was a bit nervous due to the guide seeming a bit complicated but it didn’t take long for me to get comfortable. Making the actual shapes for the model was very easy but the constraints is what caused me a bit of stress. I finished the first model pretty easily but the second bench with the newspaper holder took me a few tries. When duplicating the bench and creating the side holder I had multiple issues with fixing the constrains but after 2 attempts it came out great.

Tutorial video: https://www.youtube.com/watch?v=qiIV9sE1J9w&list=PLi4l3wxwkqyxRgcNzwMmH14JSRs6_-sMa&index=17

Shapr3D First Models

Bracket

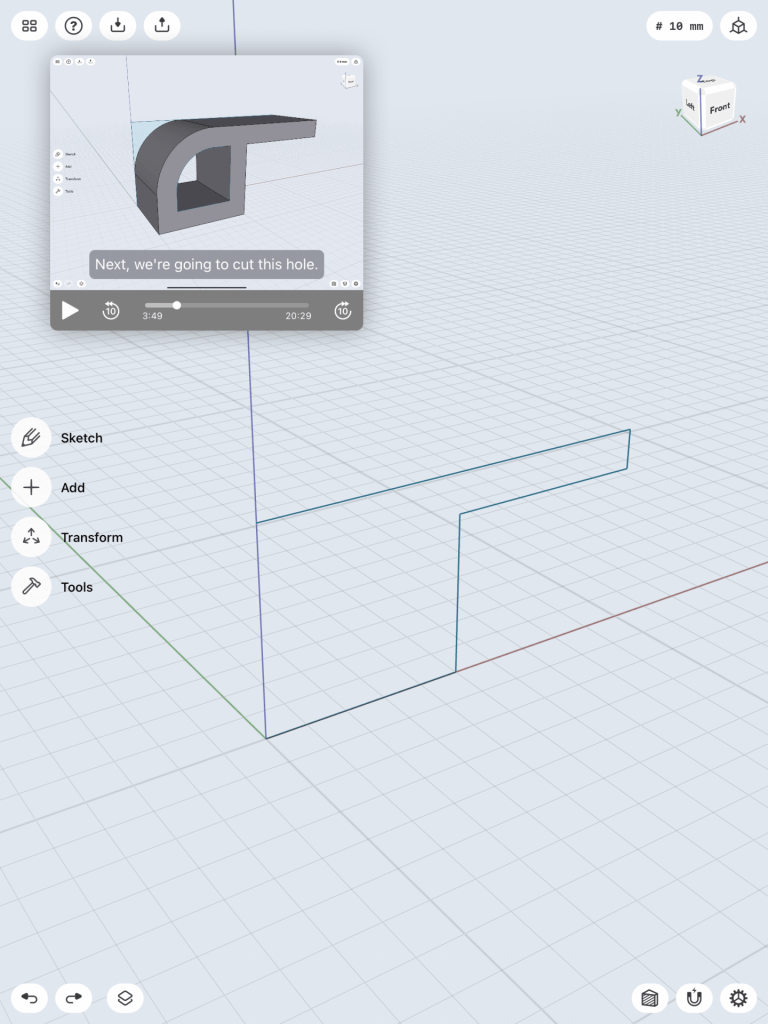
To make this bracket I first started by sketching the outline.

I then pulled the face of the object to make it 3D.

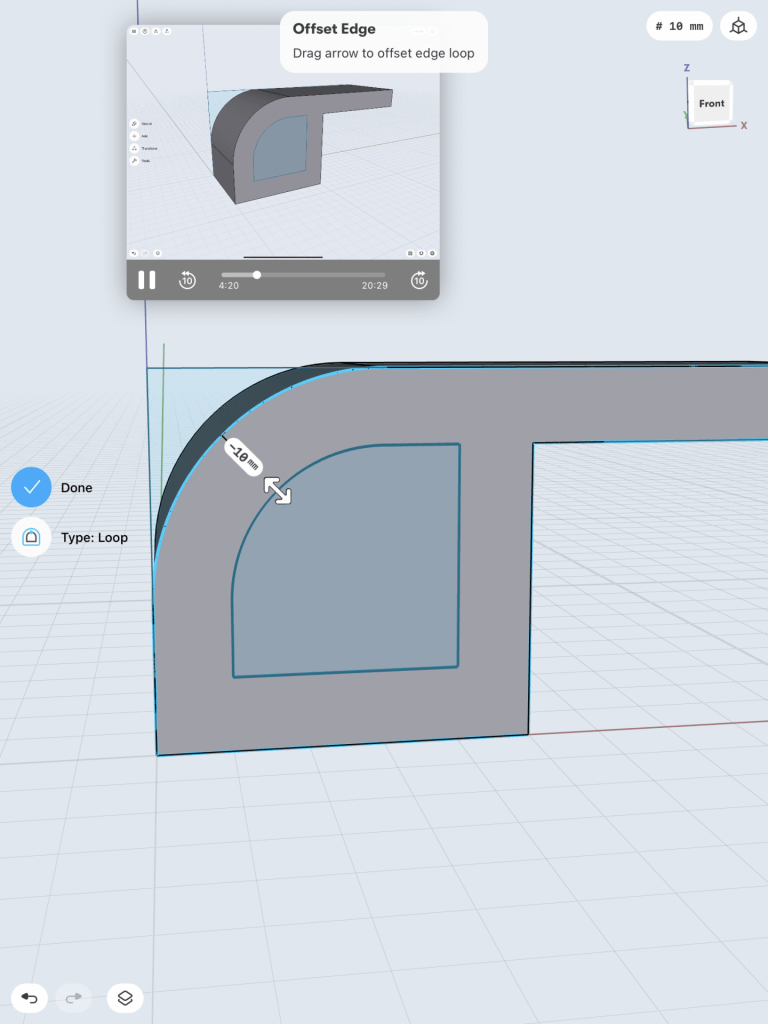
Next I needed to sketch the shape I wanted to cut out on the face of the object and then pull it through to cut it out.

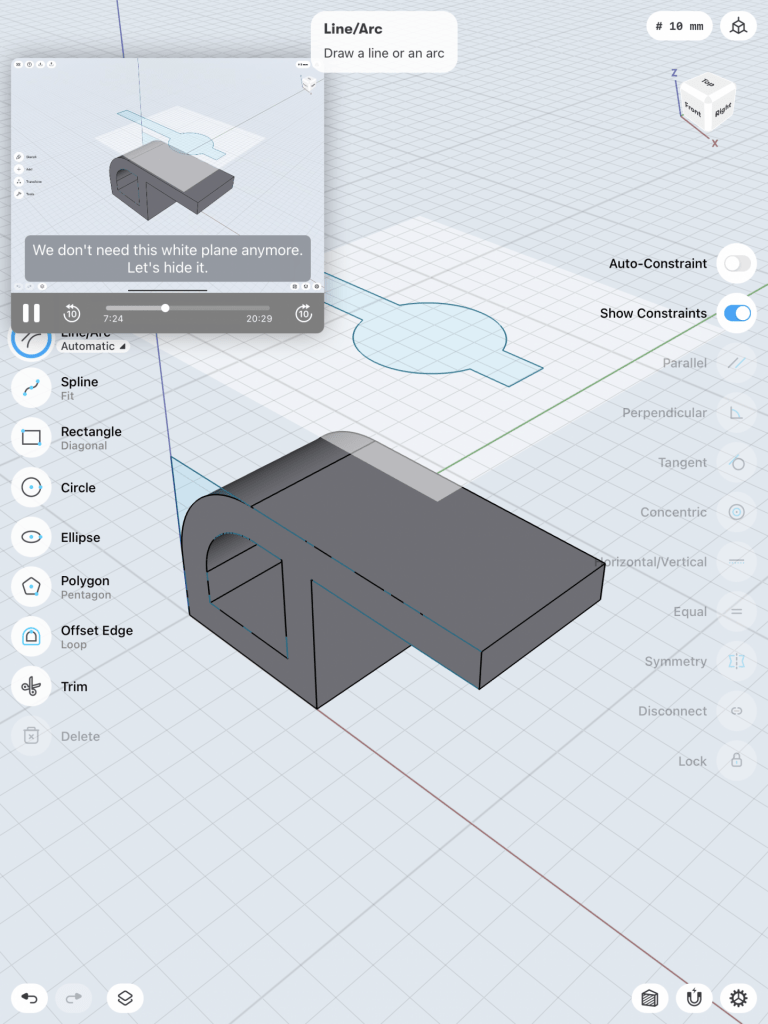
I then added a plane on top of the object so that I could sketch another shape that I needed to cut out and I used the trim tool to remove lines that I did not need.

After this I pulled that sketch through to cut the shape the way I wanted and then on the layers menu I hid all of the sketches which left me with this.

Then I sketched a circle and a rectangle and I used the co-centric tool to make the circle even in comparison to the object. I again used the trim tool to get rid of the lines within the circle. The all I did was pull the sketch through to cut it out.

I then need to fillet the edges on this to smooth them.

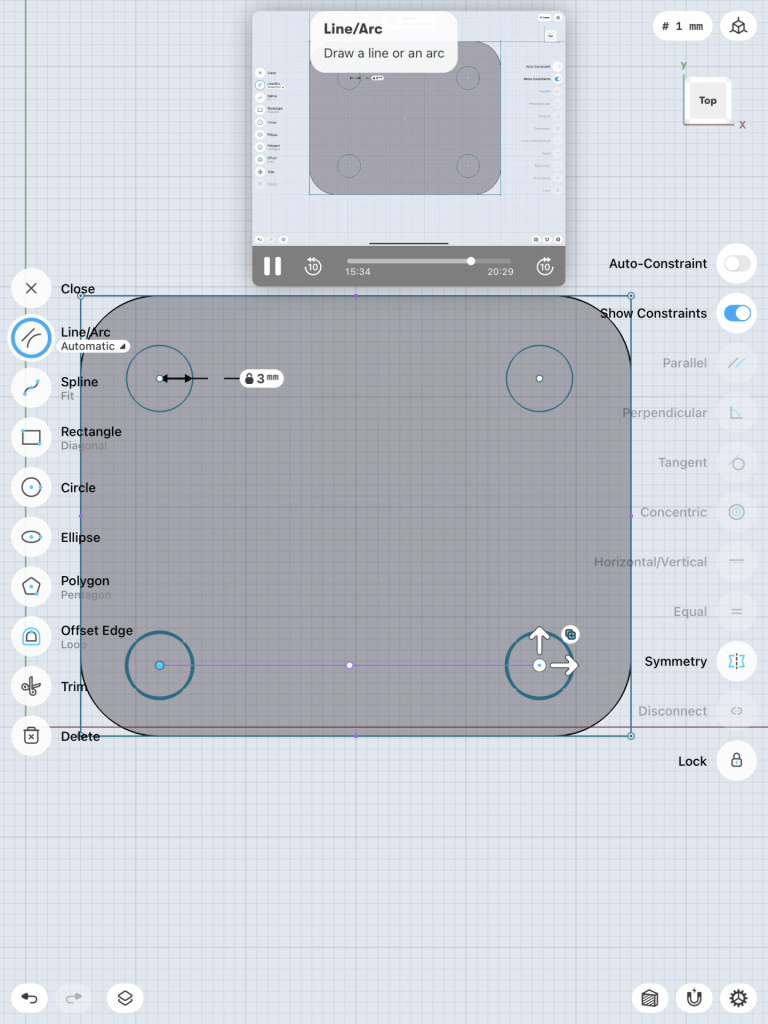
Next, I hid the body I made so I could just work on the base by making a rectangle then rounding the edges and adding 4 circles. I used the co-centric took to make sure they were aligned with each corner. Then I pulled through the faces to cut out the circles.

I unhid the body and had my final product but needed to select both body and unify them.

This was my final product! It was a lot harder than I expected and I did mess up somewhere along the way and got a flat edge along the back but it turned out okay!

Stylus

For my second model I chose the stylus tutorial and I really struggled. I actually went back and forth between a few of the tutorials and ended up on this one because I was able to get the furthest into it.

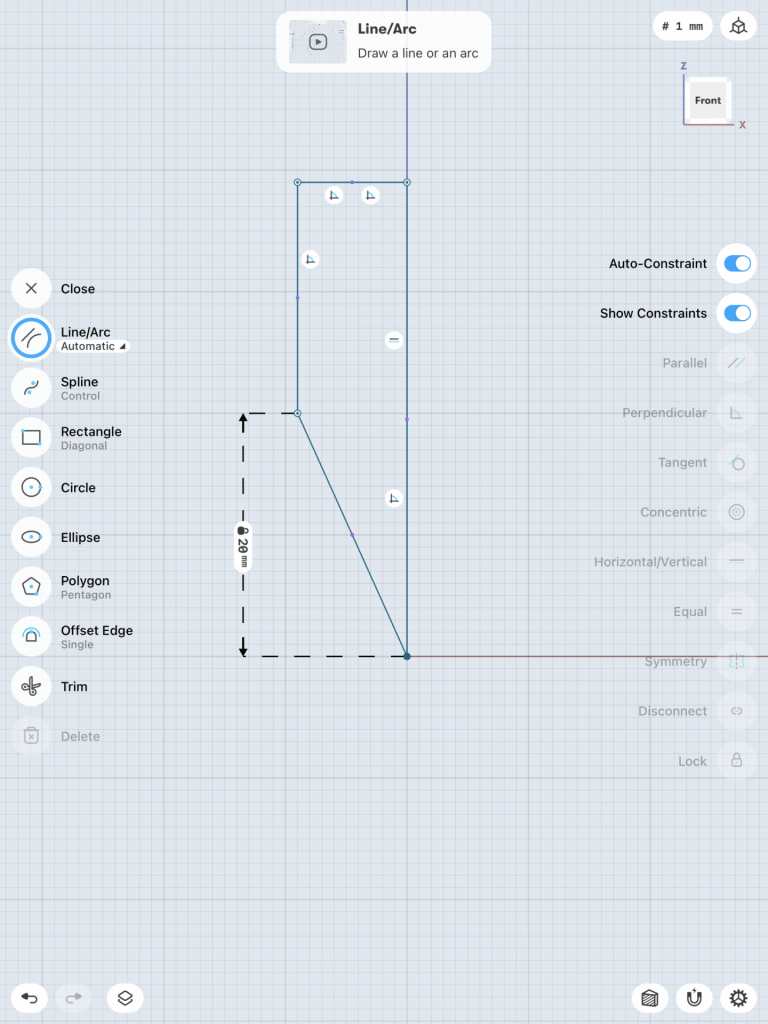
This was the initial sketch I started out with that I was then able to revolve into the stylus shape. It was so surprising to me that such a simple sketch would turn in to almost exactly what I wanted.

I was able to round the bottom but then the tutorial moved into a lot of other things and I was unable to figure out what he was doing. For some reason this tutorial was a lot harder for me to follow than the bracket tutorial.

Then I made the stand for the stylus by just sketching a shape almost like a parallelogram and then revolving it. I believe I revolved it on the wrong axis but of all the ways I tried this was the best I could get it.

Although this did not turn out the way it should I still learned a lot more than I knew even from the bracket tutorial. I am going to keep working at this in the hopes that I figure out what I did wrong.