Bracket

To make this bracket I first started by sketching the outline.

I then pulled the face of the object to make it 3D.
Next I needed to sketch the shape I wanted to cut out on the face of the object and then pull it through to cut it out.
I then added a plane on top of the object so that I could sketch another shape that I needed to cut out and I used the trim tool to remove lines that I did not need.
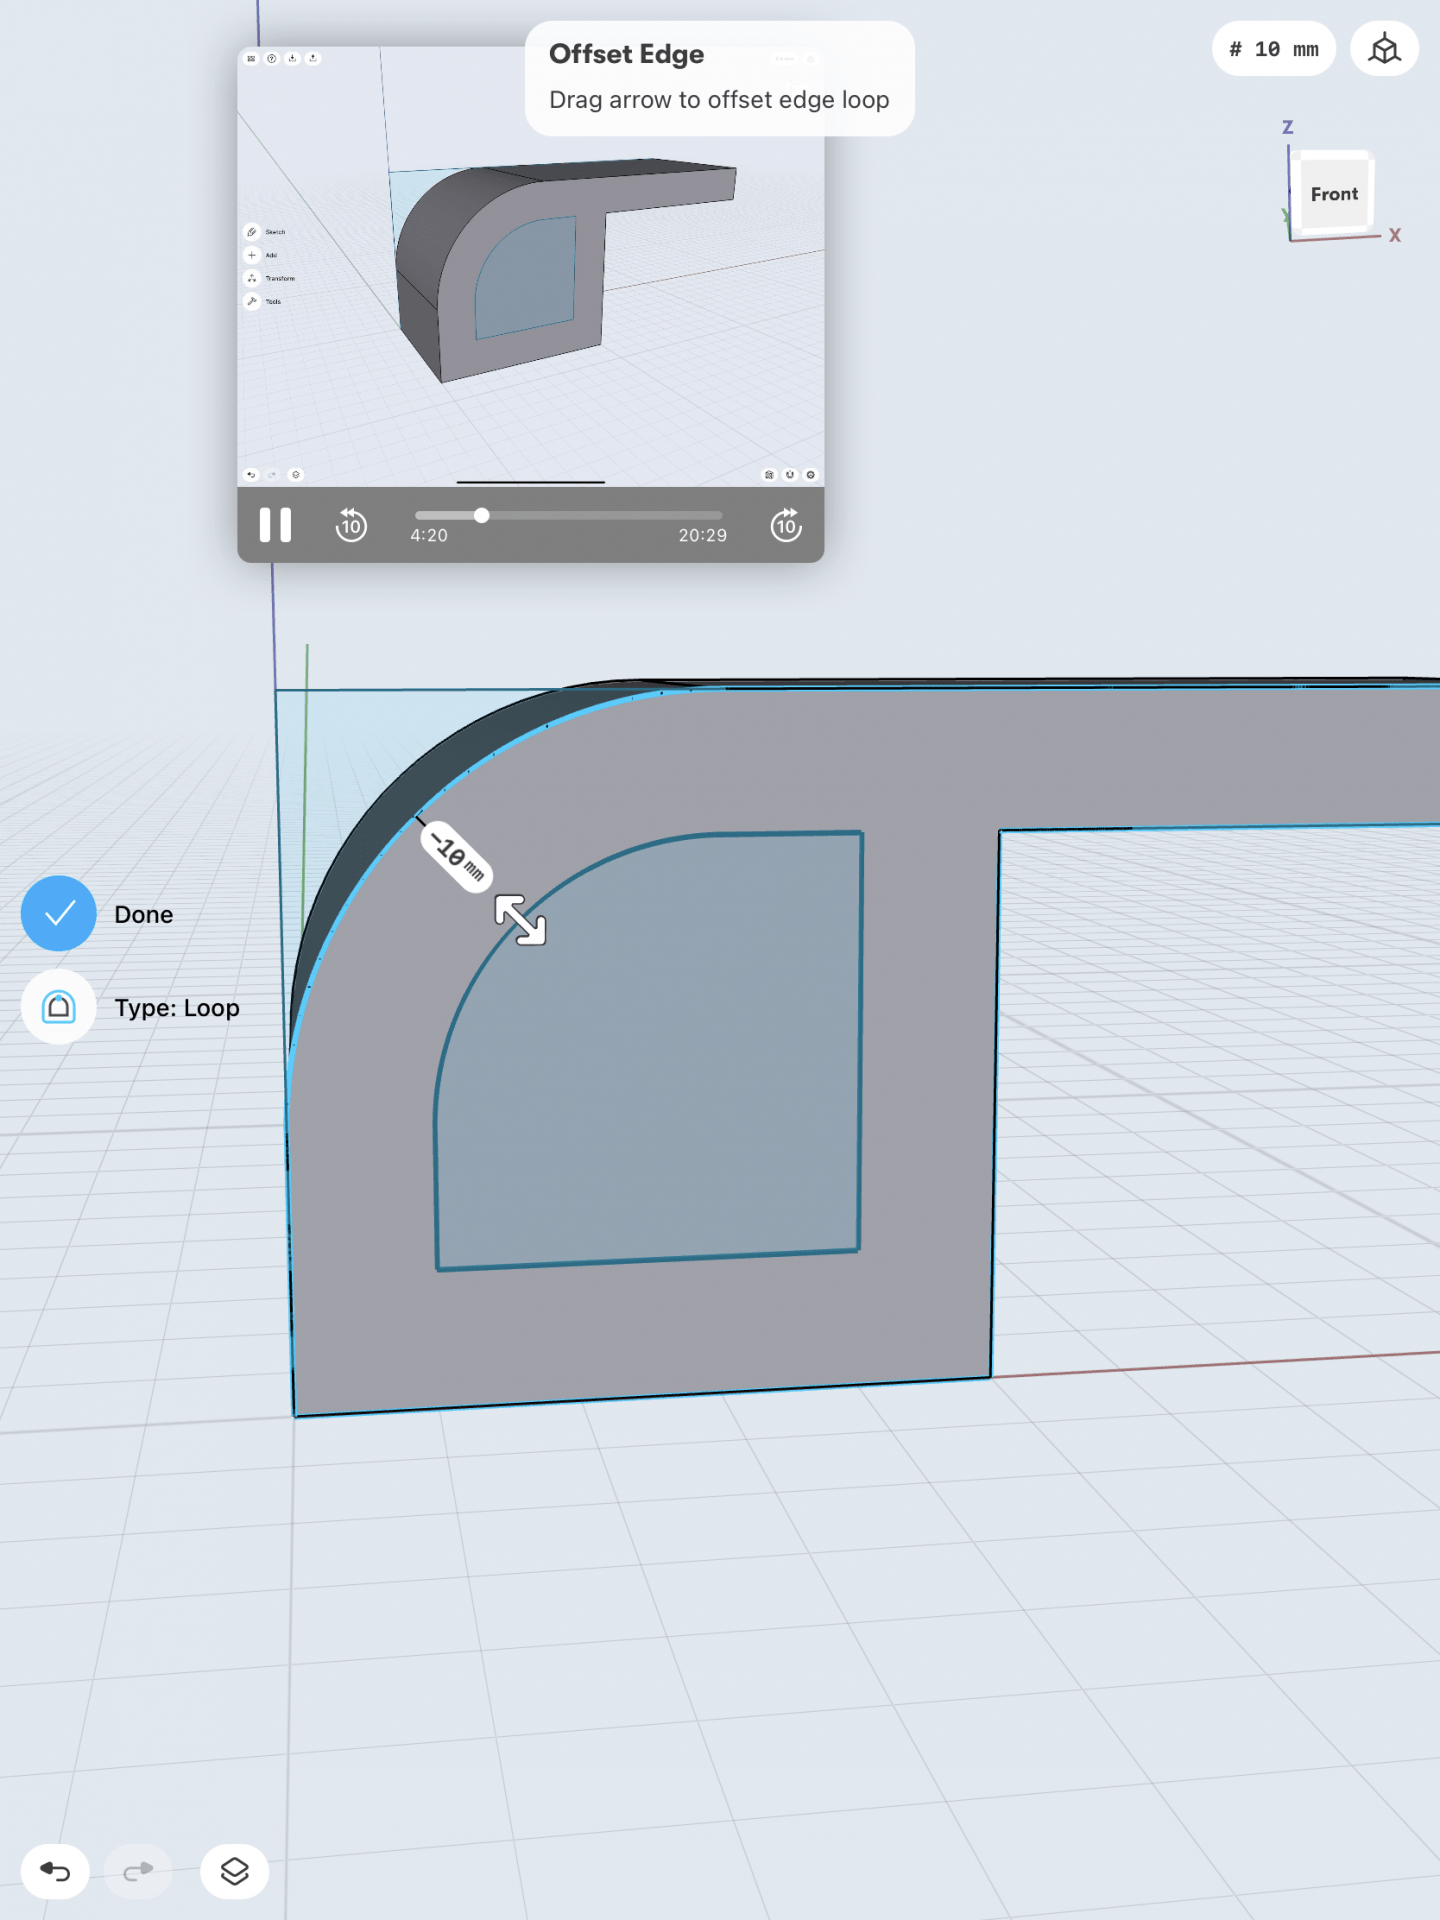
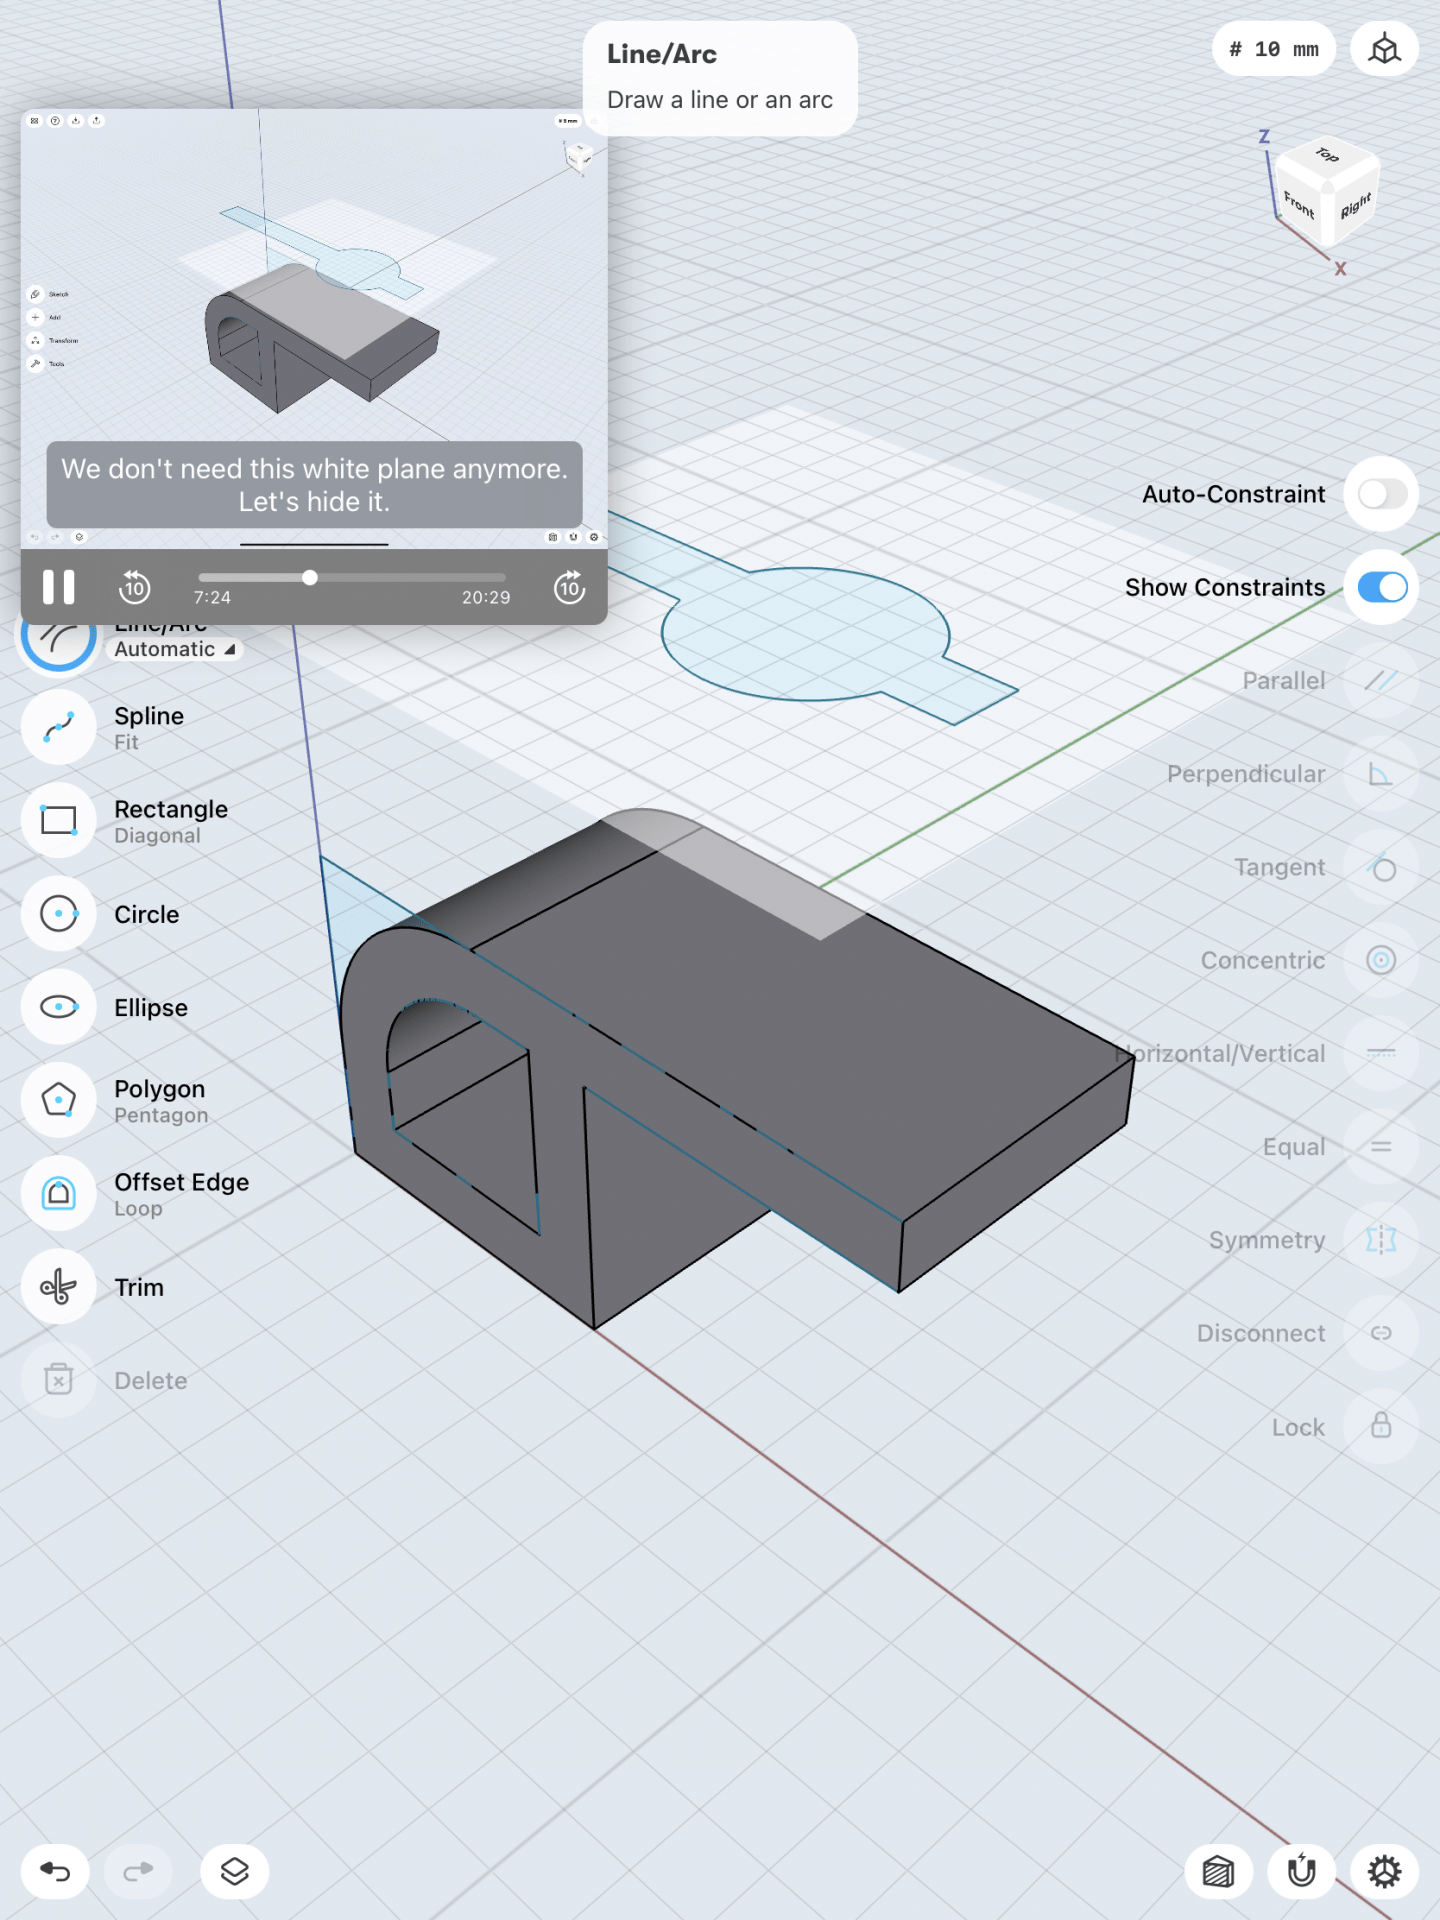
After this I pulled that sketch through to cut the shape the way I wanted and then on the layers menu I hid all of the sketches which left me with this.

Then I sketched a circle and a rectangle and I used the co-centric tool to make the circle even in comparison to the object. I again used the trim tool to get rid of the lines within the circle. The all I did was pull the sketch through to cut it out.

I then need to fillet the edges on this to smooth them.

Next, I hid the body I made so I could just work on the base by making a rectangle then rounding the edges and adding 4 circles. I used the co-centric took to make sure they were aligned with each corner. Then I pulled through the faces to cut out the circles.

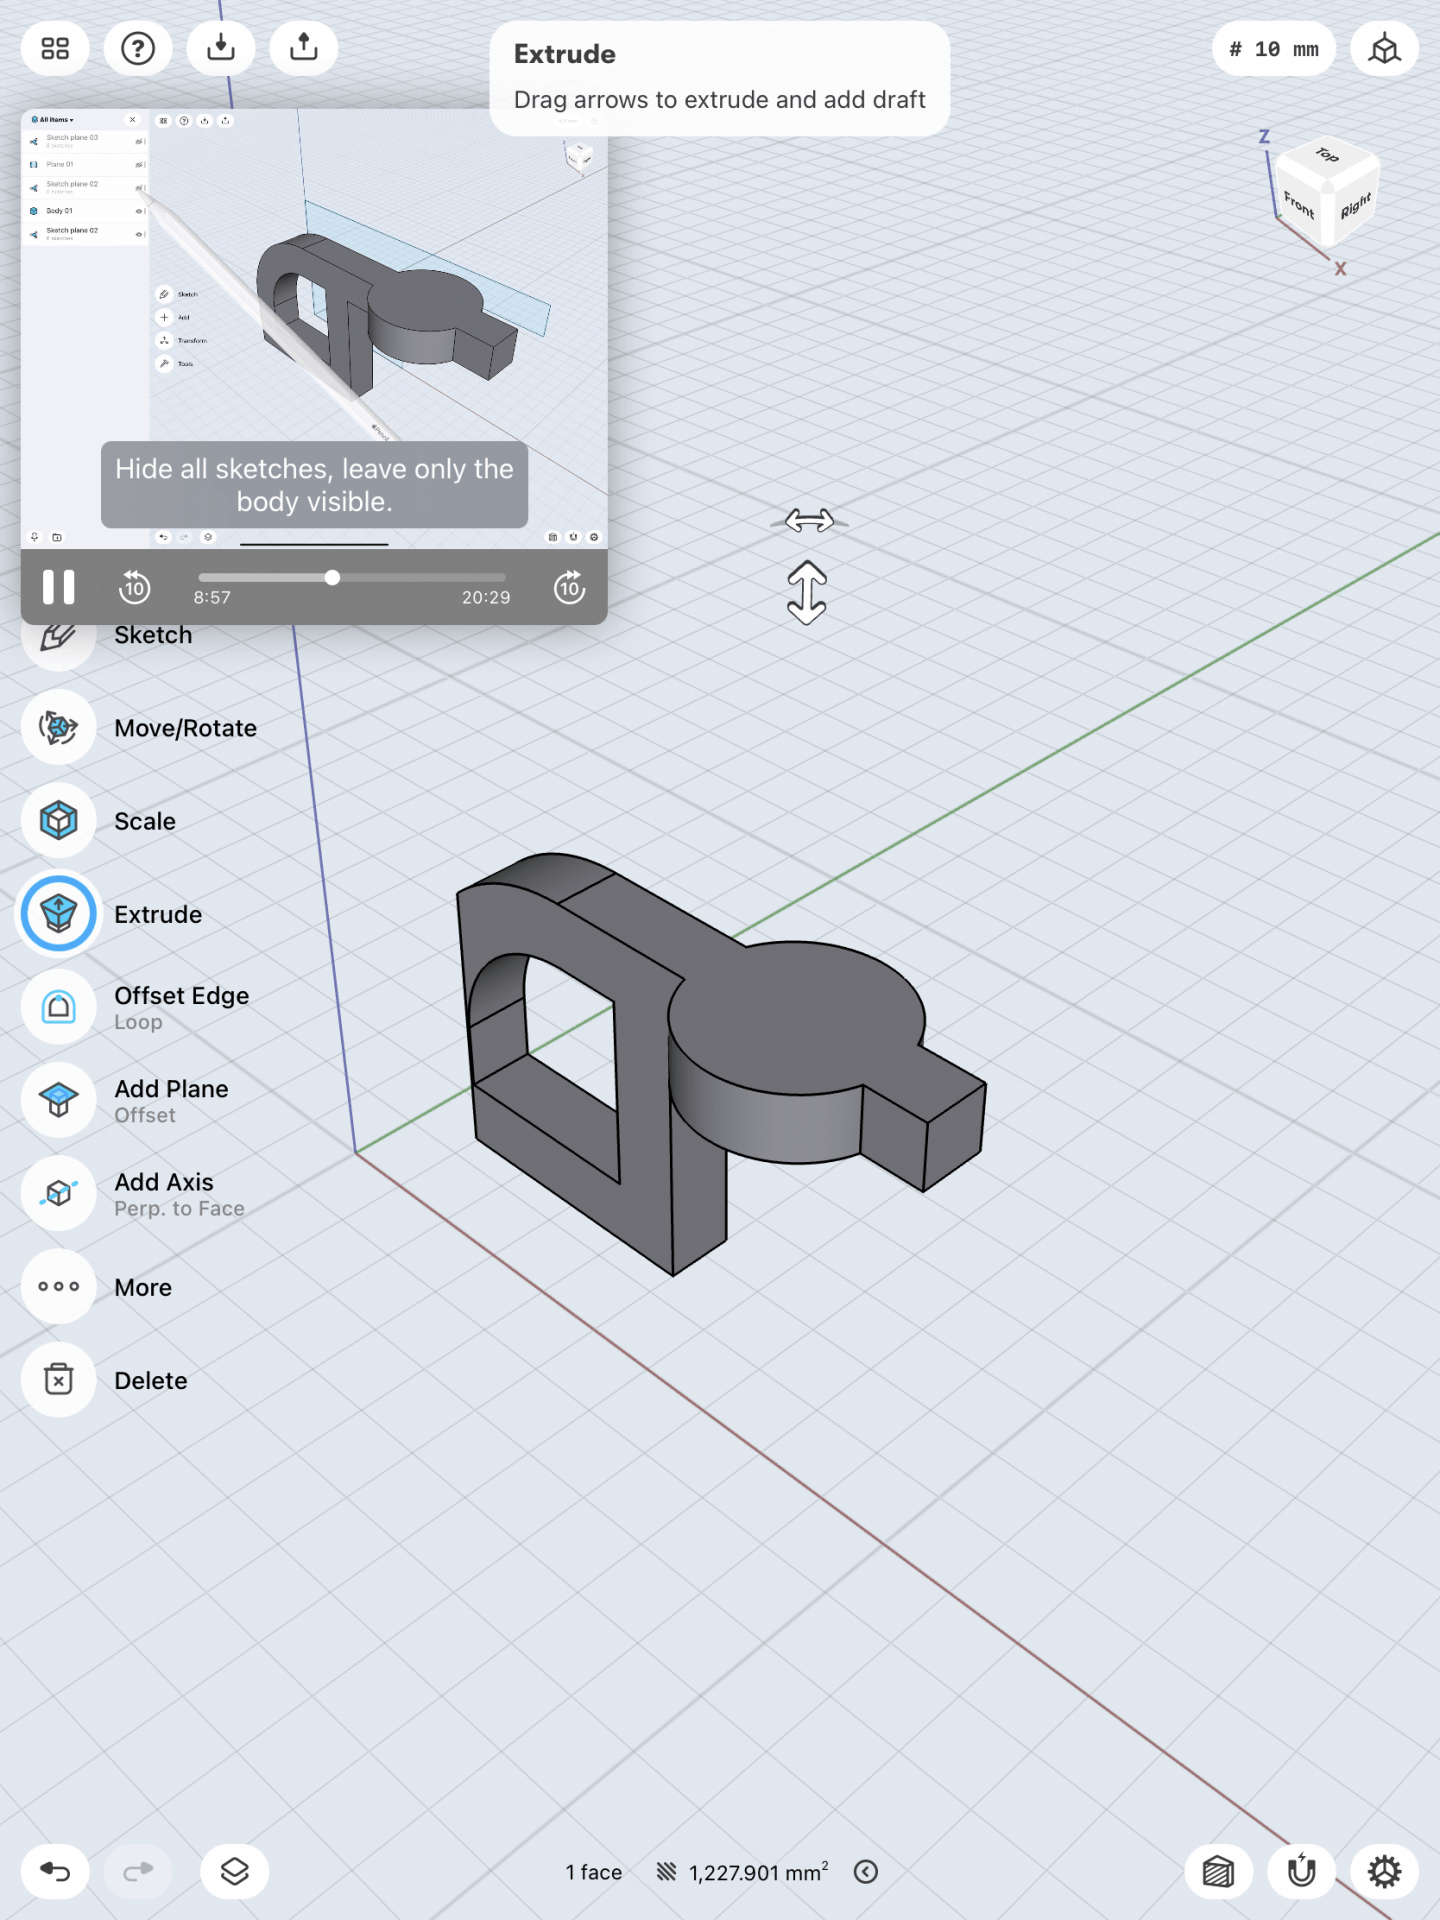
I unhid the body and had my final product but needed to select both body and unify them.

This was my final product! It was a lot harder than I expected and I did mess up somewhere along the way and got a flat edge along the back but it turned out okay!
Stylus
For my second model I chose the stylus tutorial and I really struggled. I actually went back and forth between a few of the tutorials and ended up on this one because I was able to get the furthest into it.
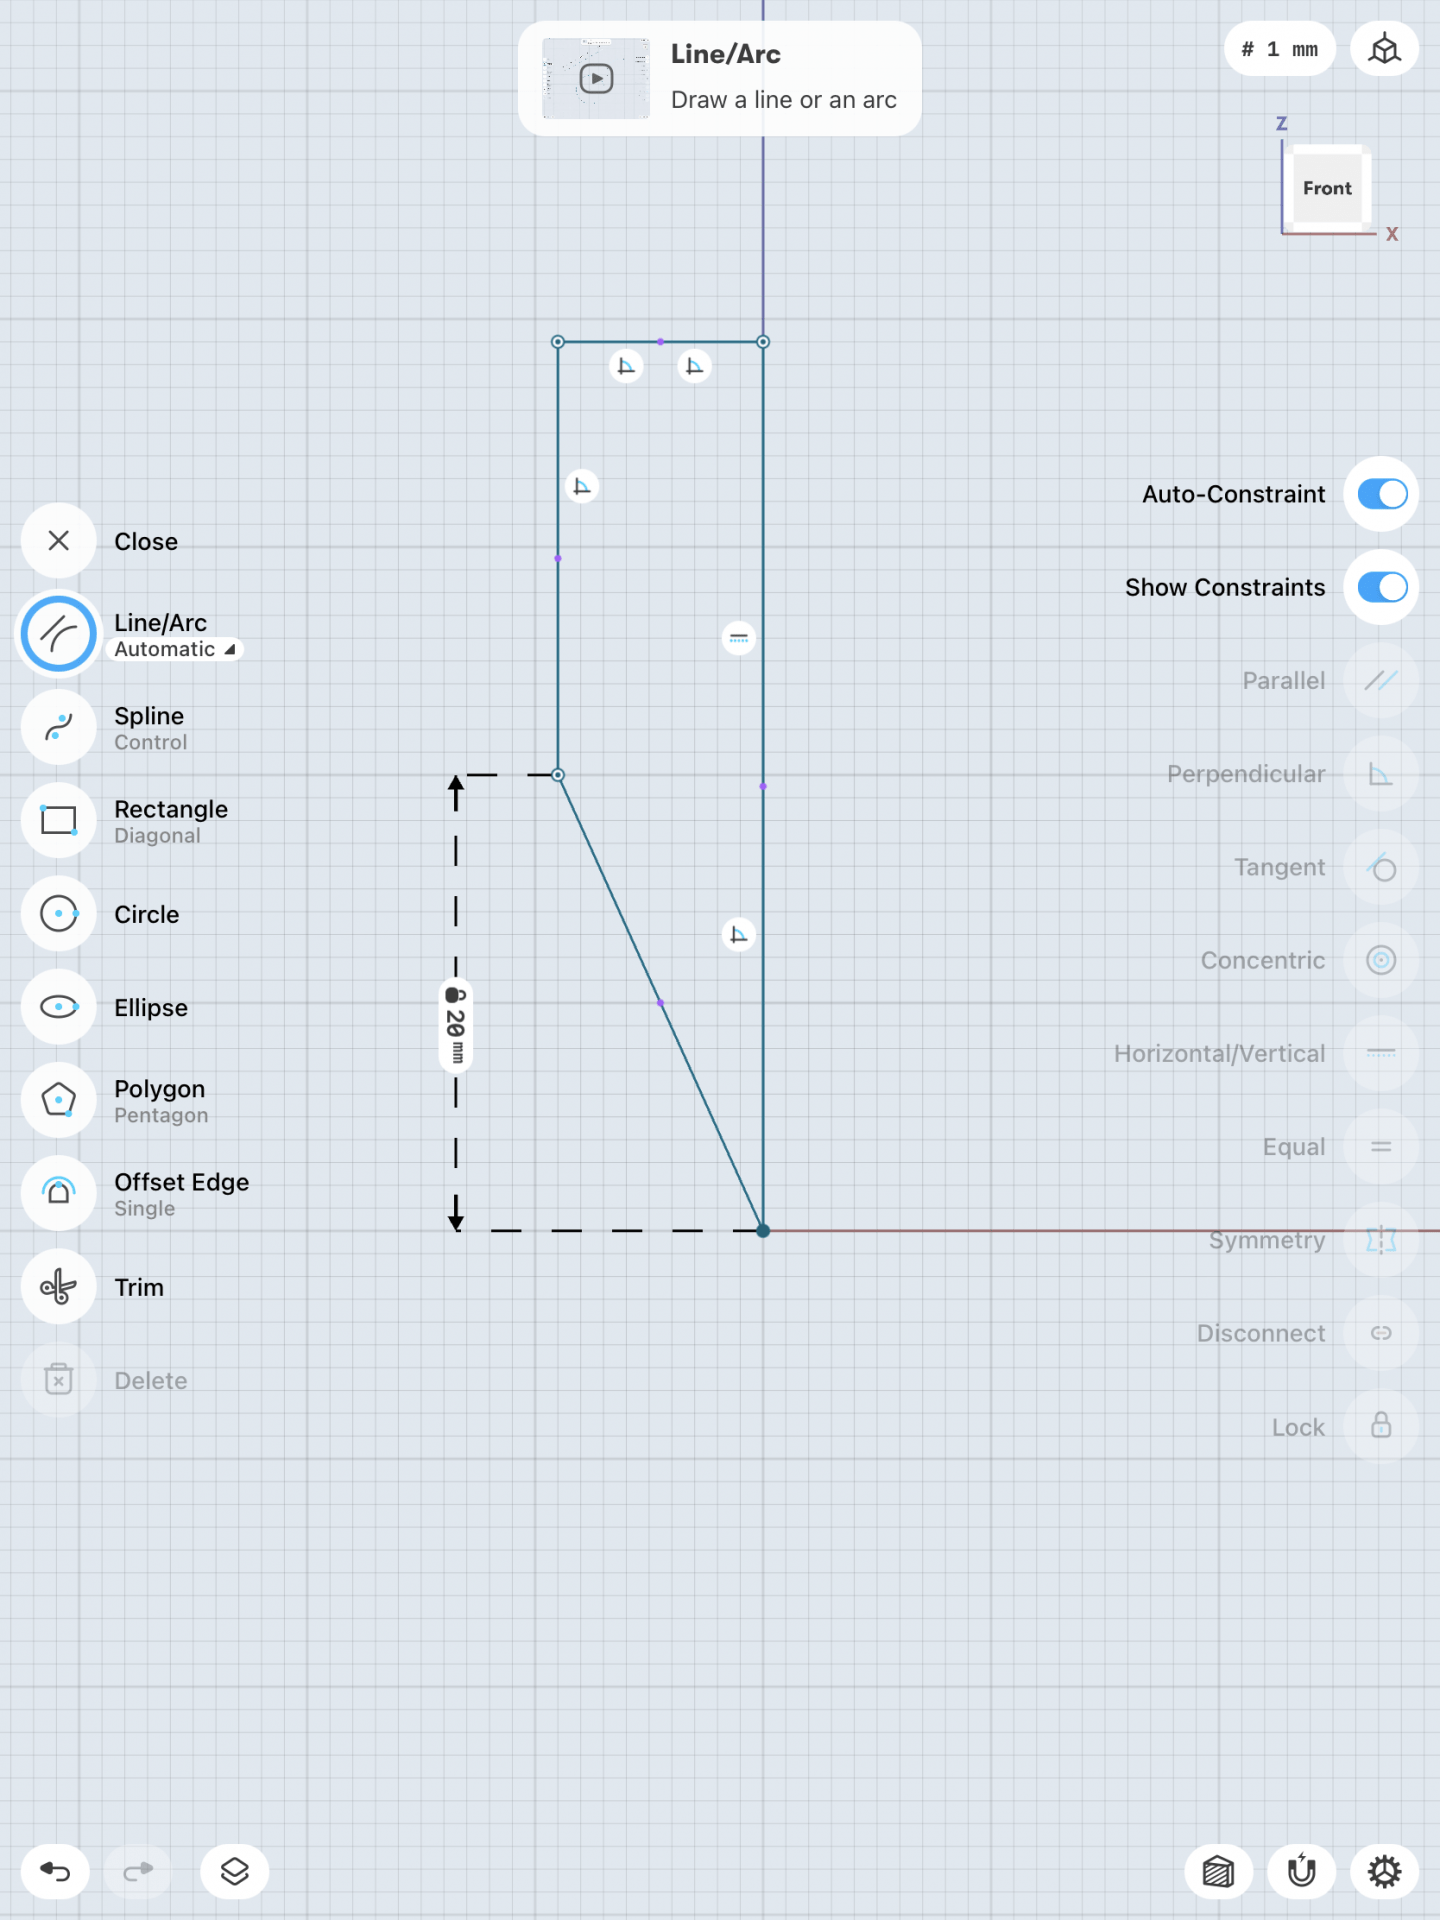
This was the initial sketch I started out with that I was then able to revolve into the stylus shape. It was so surprising to me that such a simple sketch would turn in to almost exactly what I wanted.

I was able to round the bottom but then the tutorial moved into a lot of other things and I was unable to figure out what he was doing. For some reason this tutorial was a lot harder for me to follow than the bracket tutorial.
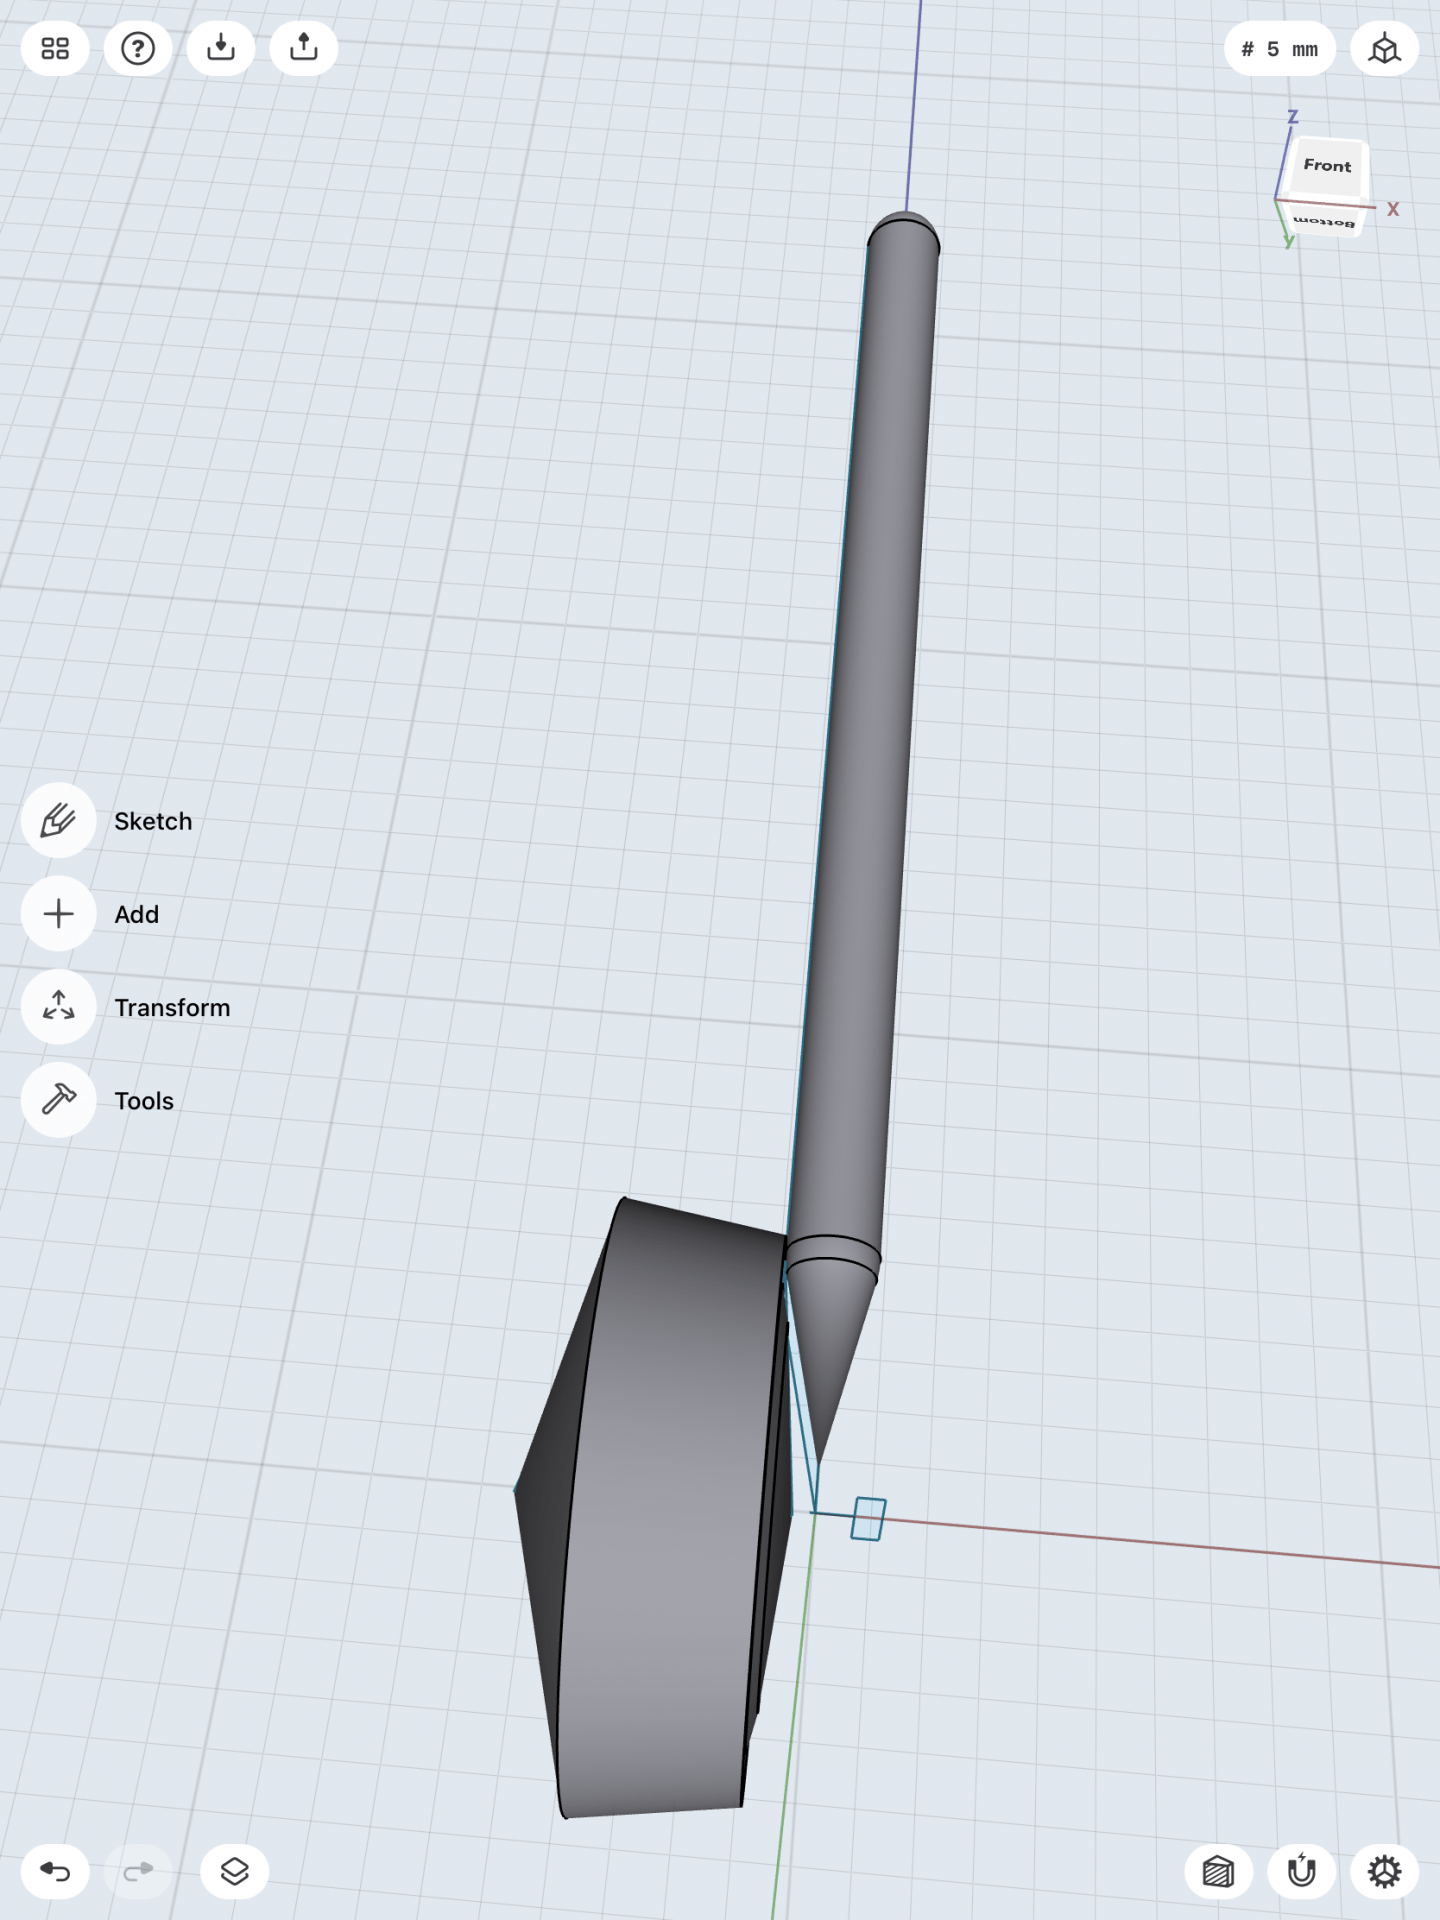
Then I made the stand for the stylus by just sketching a shape almost like a parallelogram and then revolving it. I believe I revolved it on the wrong axis but of all the ways I tried this was the best I could get it.
Although this did not turn out the way it should I still learned a lot more than I knew even from the bracket tutorial. I am going to keep working at this in the hopes that I figure out what I did wrong.