Tutorial Bracket Mount
The first model below was process of creating the bracket mount from the learning section in the Shapr3D app. It was fun learning from the tutorial of how the process of making a certain 3D model was made.
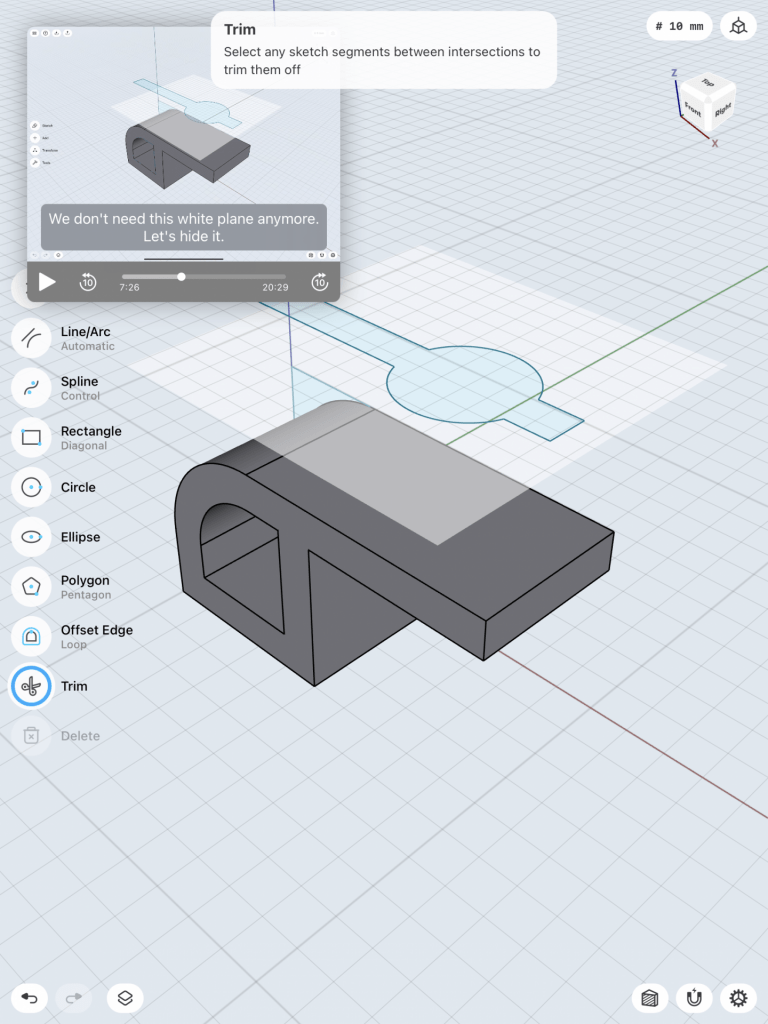
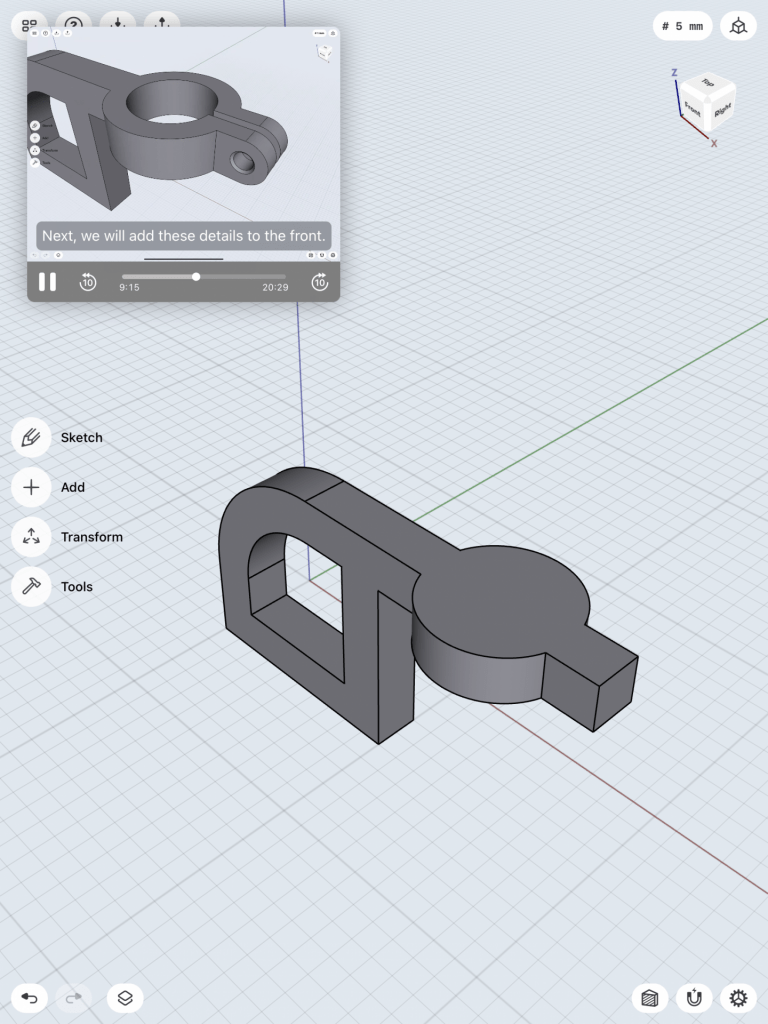
The first step was to make a sketch of the main component of the bracket mount. I first sketched of the dimensions of the sizing of the model, then on the next step, I stretched out the body by 30mm and made it into a 3D figure. I then used the offset tool to measure the inside of the model and incorporated a hole inside of the model. The next step was to add the hook and the rest of the top components. I added a work plane, hovering the model to begin the next step. The images below were the next steps I have approached.
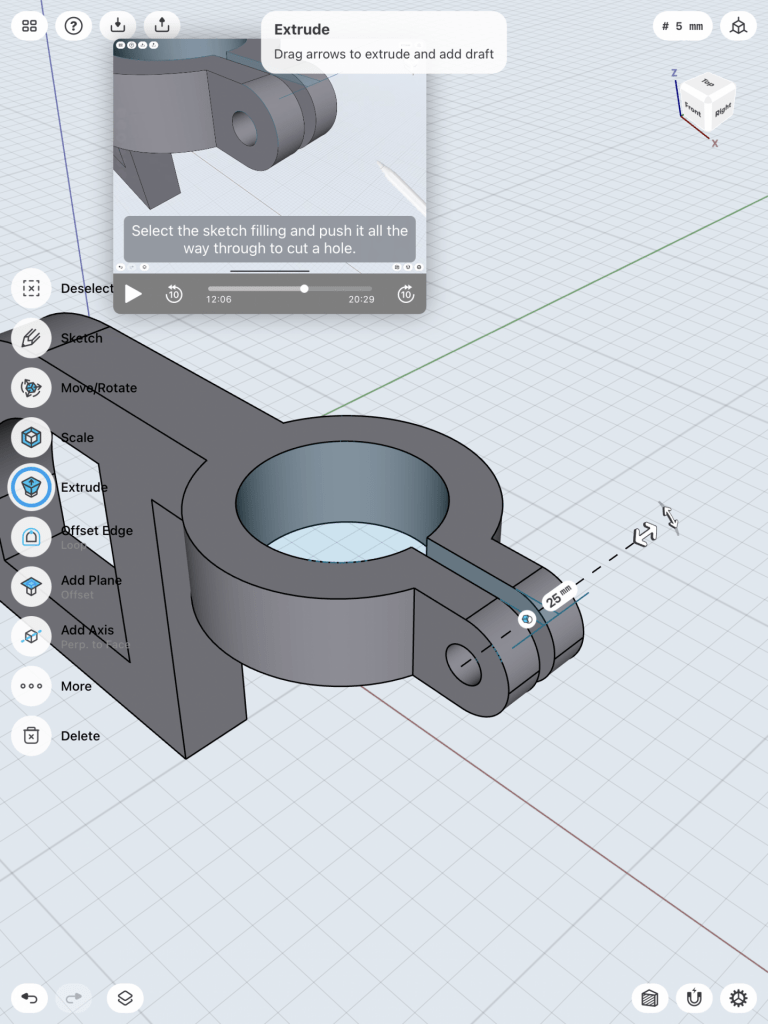
The next step was working with the work plane. I combined a circle and a long rectangle into one figure and then lowered that work plane figure onto the model, so it would cut through the model, making its shape. I then intersected the two separated models together into the image shown on step 5. I then used the concentric tool to group a circle within the model as well as two more circles at the lip of the model to make its opening. The final step was to make the base of the model.
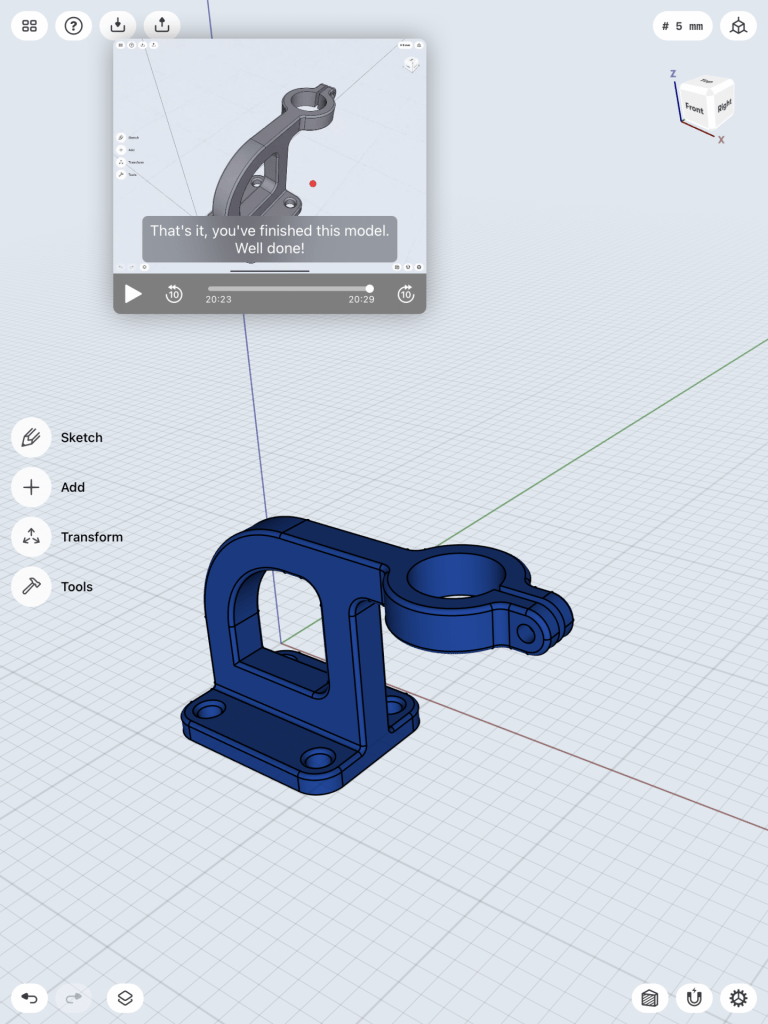
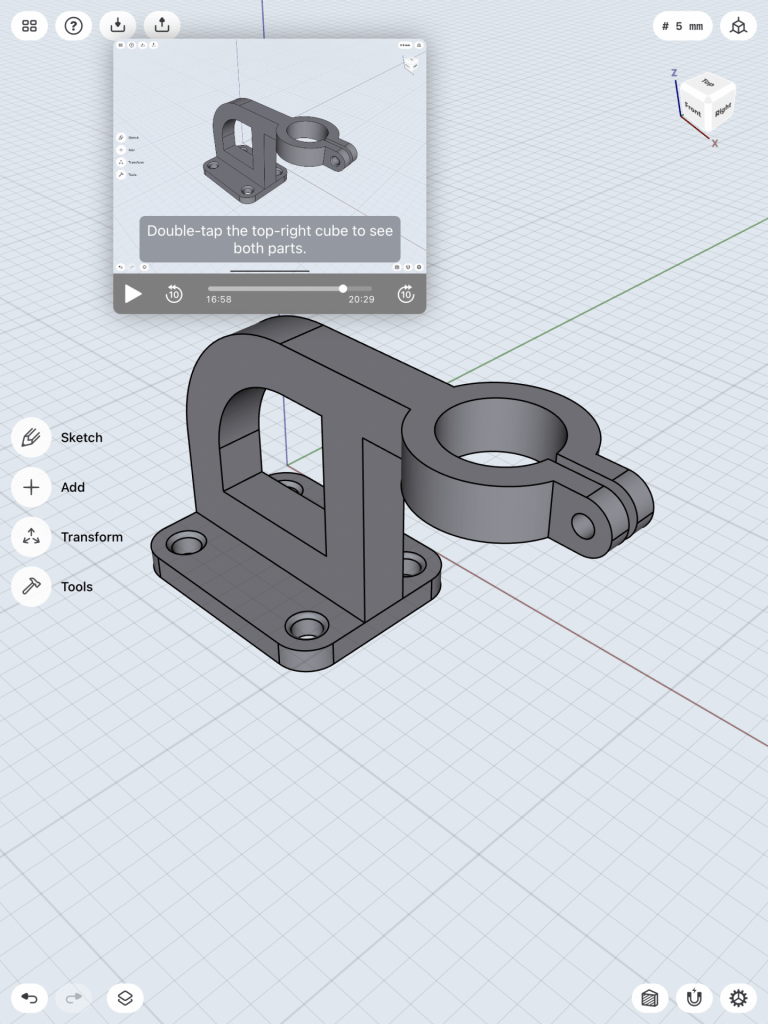
I sketched out the base of the model then made it into a 3D item by making its base 50mm by 40mm in size. I then made 4 holes on the base plane and used the concentric trait to align them to each corner. I then smoothed out the edges around the 4 holes to make the function of the base more better. Now it was time to connect the two models together. I attached both of the models together and then smoothed out the edges around the model to give it a authentic look as well as changing the models color to give it a better look. In the end it turned out great, and looked exactly as the tutorial model.
3D Modeling an iPad Stylus & Mount
This model was a big challenge for me. The process of creating this model was a lot more difficult than the bracket mount. It required more steps and details to achieve its dimensions as well as the whole model itself. The process took a lot longer than I thought it would be, but all in all I was able to achieve to create an iPad stylus with a mount in it. Below are the steps that I have taken to achieve the end product.

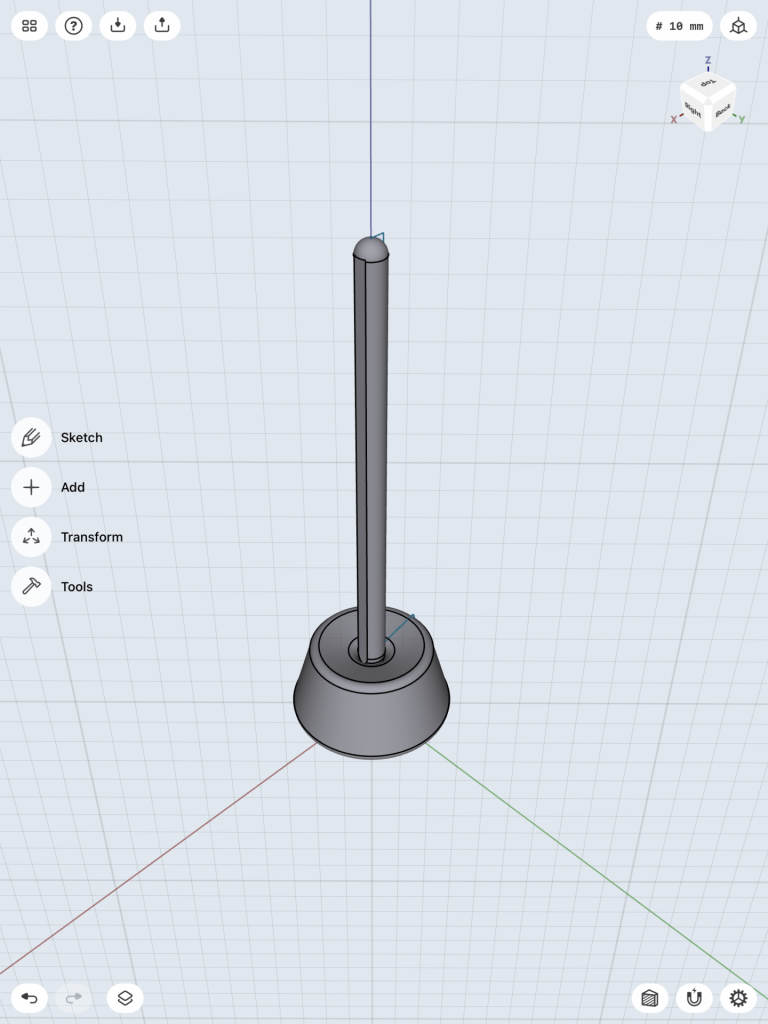
I first sketched out the overall sizing of the iPad stylus. The height was 166mm and I sharpened the arc at the tip of the pencil to give it a better look. I then highlighted the sketch, used the extrude tool, then selected the long side of the stylus, used the rotate around axis tool, then finally used the revolve tool to make it into a stylus shape. In step 3, I added some details by combining a skinny rectangle at the side of the stylus to give it more of an iPad stylus look. The next step was to make the stylus mount.


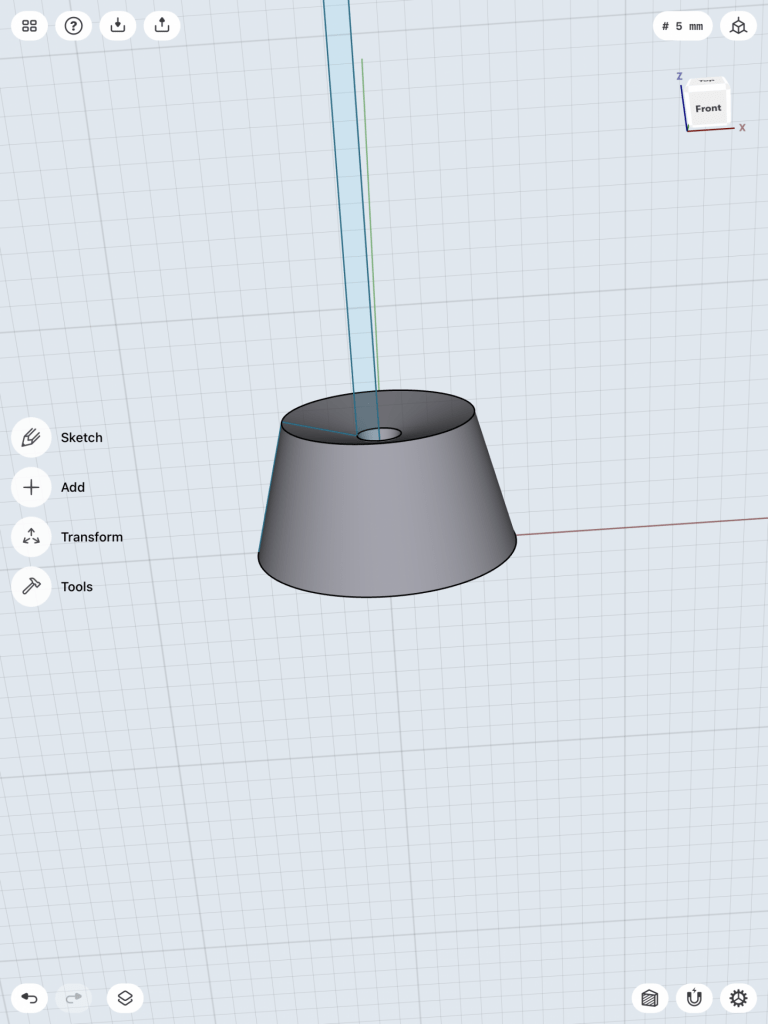
I went back to the 2D view of the model to create the mount for the stylus. I created the dimensions from the mount as seen above, and I then highlighted that shape, as well as highlighting the side of the long side of the pencil, and used the revolve tool to make the shape of the sketch go around the stylus. I had to make some adjustments since the pencil wasn’t completely inside of the mount, so I had to move the stylus around to fit into the mount. It fit perfectly and at the end, I curved the edges around the mount to give it a cleaner look, as well as changing the color of the stylus and the mount. This process was very challenging for me, I had to learn new types of tools that I haven’t learned before to create this model. However, I have learned a lot from these videos, and I look forward to what I will make with these skills that I have learned in Shapr3D.


