Adrienne’s Story

Dimensional Letterforms

Jump to: Research | Concepts | Iterations | Final Reflection

My final dimensional letterforms

Twenty-six forms that represent sounds combined can create words with meaning that develop story. The visual depiction of these iconic symbols can be as simple as the scribbles of a preschooler to structural objects as seen in Lo Siento’s 4D alphabet.

Lo Siento 4D alphabet

Research

OOOOOooooooo

Both capital and lowercase letter “O”s are the same form and structure. When thinking in three dimensions, I immediately think of spheres, donuts, and targets. Taking this glyph further than extruding the surface to make a three-dimensional form is a goal.

  1. Vectorstock-circle-spherical-design-element-vector
  2. laundry-amazon
  3. www.notimeforflashcards.com
  4. Isamu Noguchi’s Skyviewing Sculpture in Red Square at Western Washington University
  5. Torus-istockphoto

Lowercase h

Or is it a chair? The stem and leg of this glyph brings ideas of architecture and furniture design. But when looking into the visual vocabulary of the lowercase “h”, I discovered how to draw a bird or to craft a house. I do love a good Old English form too.

  1. Chair + h SandroJalabadze-Dribble
  2. www.drawinghowtodraw.com
  3. www.notimeforflashcards.com
  4. logodix.com/chair
  5. Old English printableletters.org

Lowercase g

The lowercase “g” is the glyph to understand what a typeface can do for you. It’s form is versatile and unique with an ear, bowl, sometimes loop, other variants are tails. It is an obsession, just as the ampersand, to most type geeks. So much character can be derived from one character.

  1. https://qz.com “Can you recognize the letter “G”?” by Thu-Huong Ha & David Yanofsky
  2. free-printable-gothic-calligraphy-lowercase-letters-gothic-calligraphy-lowercase-G
  3. G. Ogaki Poster display typeface by Aron Jancso
  4. commons.wikimedia.org/wiki/File:G-samples
  5. The italic ampersand from Baskerville and the g from Newzald.

Back to Top

Concepts

The beginning of letterform exploration in two dimension…

Sketches by Adrienne Hooker
Sketches by Rowan Wang

Back to Top

Iterations

I wanted to tackle the patterned torus for the letter “O” but unfortunately time ran short so I had to settle for my oldest child, Oscar, being encased in multiple O’s. It was my first attempt at bringing in a 3D scanned model into Shapr3D and the program handled it well.

My next letterform is the lowercase “h”, fashioned after a modernist chair. It was fairly quick although a couple of the edges could be rounded better.

The letterform that took the most trial and error was the lowercase “g”. This glyph has so much character, I wanted to try and sculpture a two-story version in the round.

Test Prints

After modeling each letterform in Shapr3D, I test printed each on my Jellybox printer to get a sense of form but also how the models worked together. Each model took approximately 1 1/2 hours to print.

The C‘h’air felt more like a loveseat rather than a chair with the 65mm 50mm dimensions. So I’ll reduce the width to 35mm for the final print (as seen in the 3D view below).

First test print, 100% scale, coarse preset, no raft/supports, printed on side
Predetermined dimensions of 65mm x 50mm are more of a sofa than a chair.

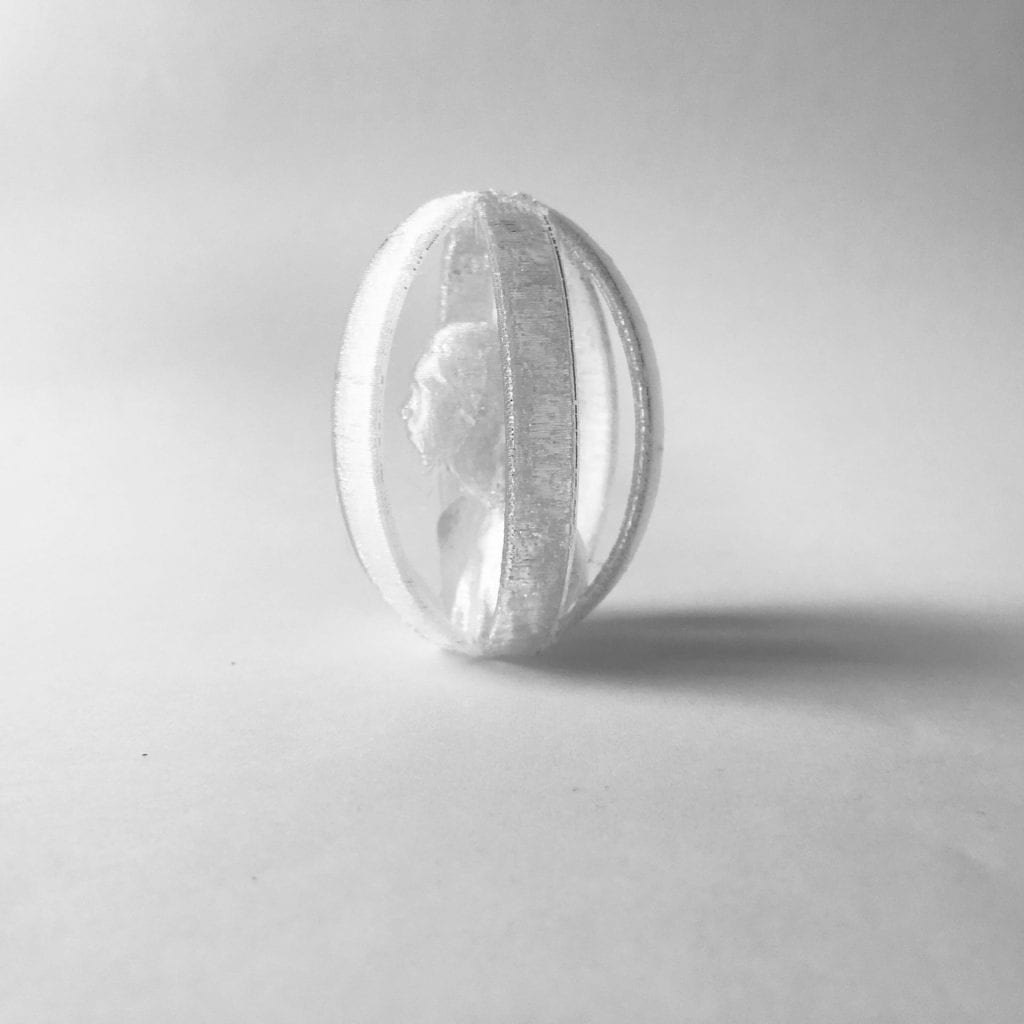
The caged Oscar test print results were better than expected. The top connections of the multiple O’s need to thicken, but overall the bust and curves held up well.

The sculptural lowercase ‘g’ is still a work in progress, but I was successful in creating the top sphere with ear and the bottom tail. I’d like to refine the connection between the two stories. The 3D view is at low resolution since Tinkercad couldn’t handle a model with more than 300,000 triangles in the mesh. Initial print 100%, coarse preset with raft and supports. The ball of the ear snapped off when removing supports and still need to remove more support material underneath the top story and in between the tail.

Timelapse of 360° view of test print. Need to flatten bottom a bit to stand upright.

Back to Top

Final Prints & Reflection

Deadlines always push the limits to what we can achieve. I attempted to print my final letterforms at home so the class could use the 3SPACE lab, but unfortunately, my Jellybox said no. With a thermal runaway error midway through the prints, I had to go into the lab.

Jellybox final prints never made it past 50% due to temperature errors.

But I would say my printing issues at home were kismet. For the first time all term, being in the lab provided that in-between time with students. It felt good to have those teachable moments again (just as much for me as them). I thoroughly enjoyed this special topics class, and I hope I can dive into the 3D relm with students another time.

Below are the final prints of my three letters: lowercase h, O/o, and lowercase g. Not sure why it took me this long to realize I chose the letterforms for “hog”. As for printing, I would like to try my c‘h’air standing upright since the side on the plate didn’t keep it’s soft edge, and my lowercase ‘g’ has been printed on its side and upright with neither keeping it’s ear. The flattening of the bottom does help it stand better, but I’m not quite satisfied with how to finish it since the supports are difficult to reach or roughs up a beautifully pristine sphere. The caged O needed a little egg top and flattening of the bottom. Overall the 360° view of the letters are where I want them to be.

Back to Top

Introductions

Create your first post on our SMAD 305 class blog and title it “Hi, I’m [insert name]”. Be sure to include:

  • an image of yourself (remember this is public facing)
  • with a short introduction of who you are,
  • an image of an object that represents you or relates to why you are taking the course with an explanation,
  • and links to your profile on Thingiverse, Tinkercad, and any social you want to share with the class (remember, public facing for academic/professional settings).

Make sure to set the “feature image” with your photo and use the following categories: “300-level, SMAD 305 Spring 2021 Student” and tags: “Hooker, introductions”.

To submit your assignment, make sure your post is Published/Updated and then go to the live version of the post on the class website to review how it looks. Then follow these steps to post it to the Canvas discussion forum:

  1. Before you leave your published post, copy the full url. It can be found under the “Permalink” on the right column when editing a post. Copy the full url link listed under “View Post”.
  2. Go to the “Introductions” discussion forum in our Canvas course and click “reply”.
  3. Switch to HTML editor by clicking on the “</>” button on the bottom right corner of the reply window.
  4. Paste the full url permalink that you copied previously.
  5. Then copy and paste the iframe code given below and insert your introduction blog post URL (use the permalink in the right column of the WordPress Post edit window) within the quotation marks. 

<iframe src=”INSERT BLOG POST URL HERE” width=”100%” height=”600″></iframe>

Once your introduction blog post is embedded into the Canvas discussion, you need to reply in Canvas to a minimum of 3 introductions with a question. If a classmate has 2-3 replies, move onto another post. Also you need to respond to each question to your original Canvas discussion post. 

Initial posts need to be submitted no later than the discussion due date with questions and responses continuing throughout the remainder of the week and weekend (before our next class).


Hello

My name is Adrienne Hooker, and I have an MFA so just call me Adrienne (not Dr. Hooker). I will be your guide into the world of 3D modeling and prototyping this semester. I’ve been at JMU since 2015 and only then did I begin my 3D prototyping / printing journey. This is how I looked pre-CoVID…

And now you won’t see my full mugshot unless it’s through Zoom. Below are some of the adventures I’ve had since I began exploring 3D prototyping. First it was through a bunch of faculty workshops through the JMU Libraries.

Then in Spring 2019, I was an Integrative Design Technology Fellow, participating in a semester-long professional development course to bring 3D printing and design into faculty curriculum and scholarship. That’s where this course was developed.

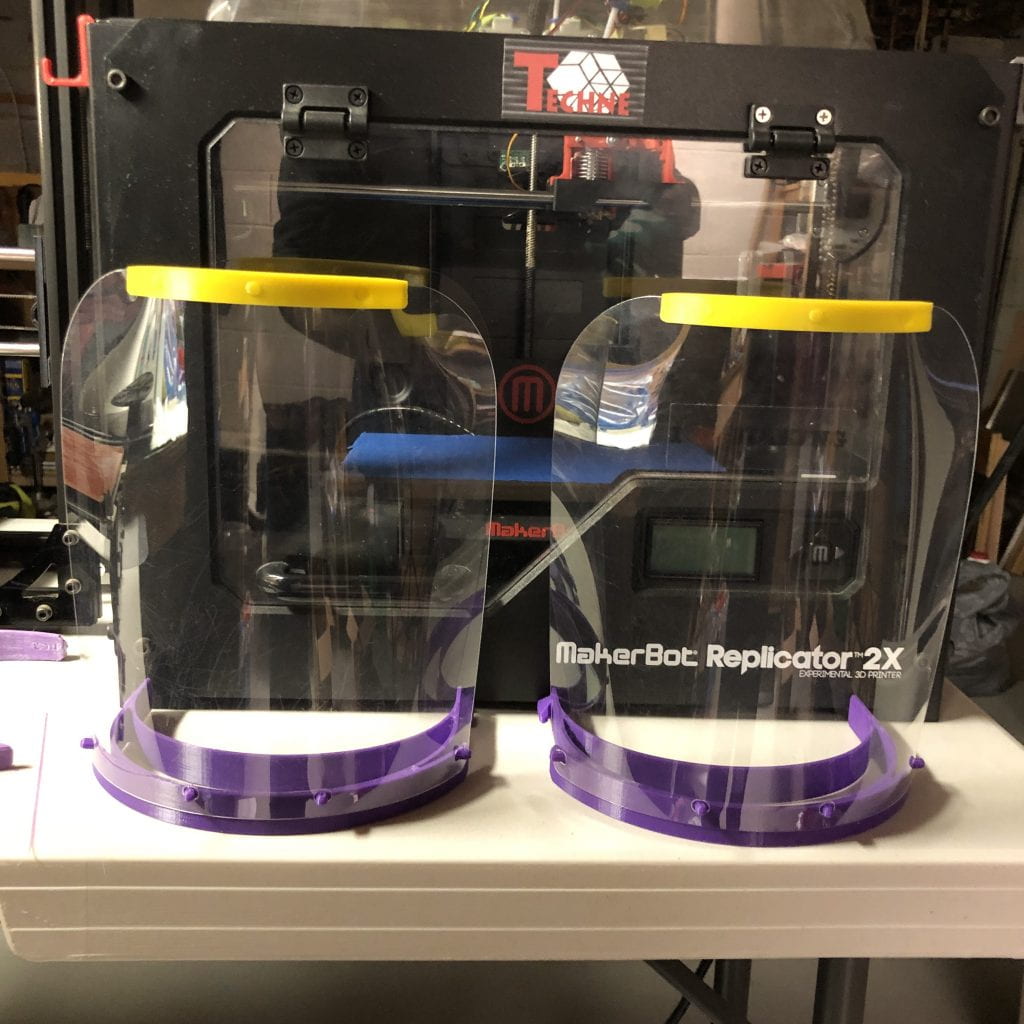
In March 2020 the world shut down as we faced a pandemic. I was part of Harrisonburg Makers Help, a grassroots initiative comprised of Harrisonburg small business owners, community members, and JMU faculty and staff. We answered the call for personal protective equipment (PPE) when a national shortage left healthcare workers, eldercare centers, and first responders ill-prepared to fight the COVID-19. It was a monumental effort and the proudest moment in my 3D journey.

Harrisonburg Makers Help. 2020. photo credit: Dave Wang

I’m an Innovator.

Go to mycreativetype.com to find out who you are.

You can find me online at the following links:

My civic engagement on Twitter…

Posting to WordPress

Content

  • Be engaging: Use short paragraphs and lots of pictures and links.
  • Take care in your writing: Don’t forget to proofread and spellcheck!
  • Remember, this blog is outward facing so make sure you are posting ideas and work you would want the outside (of the classroom) world to see. Nothing should be the “best” but each post should be thoughtful.


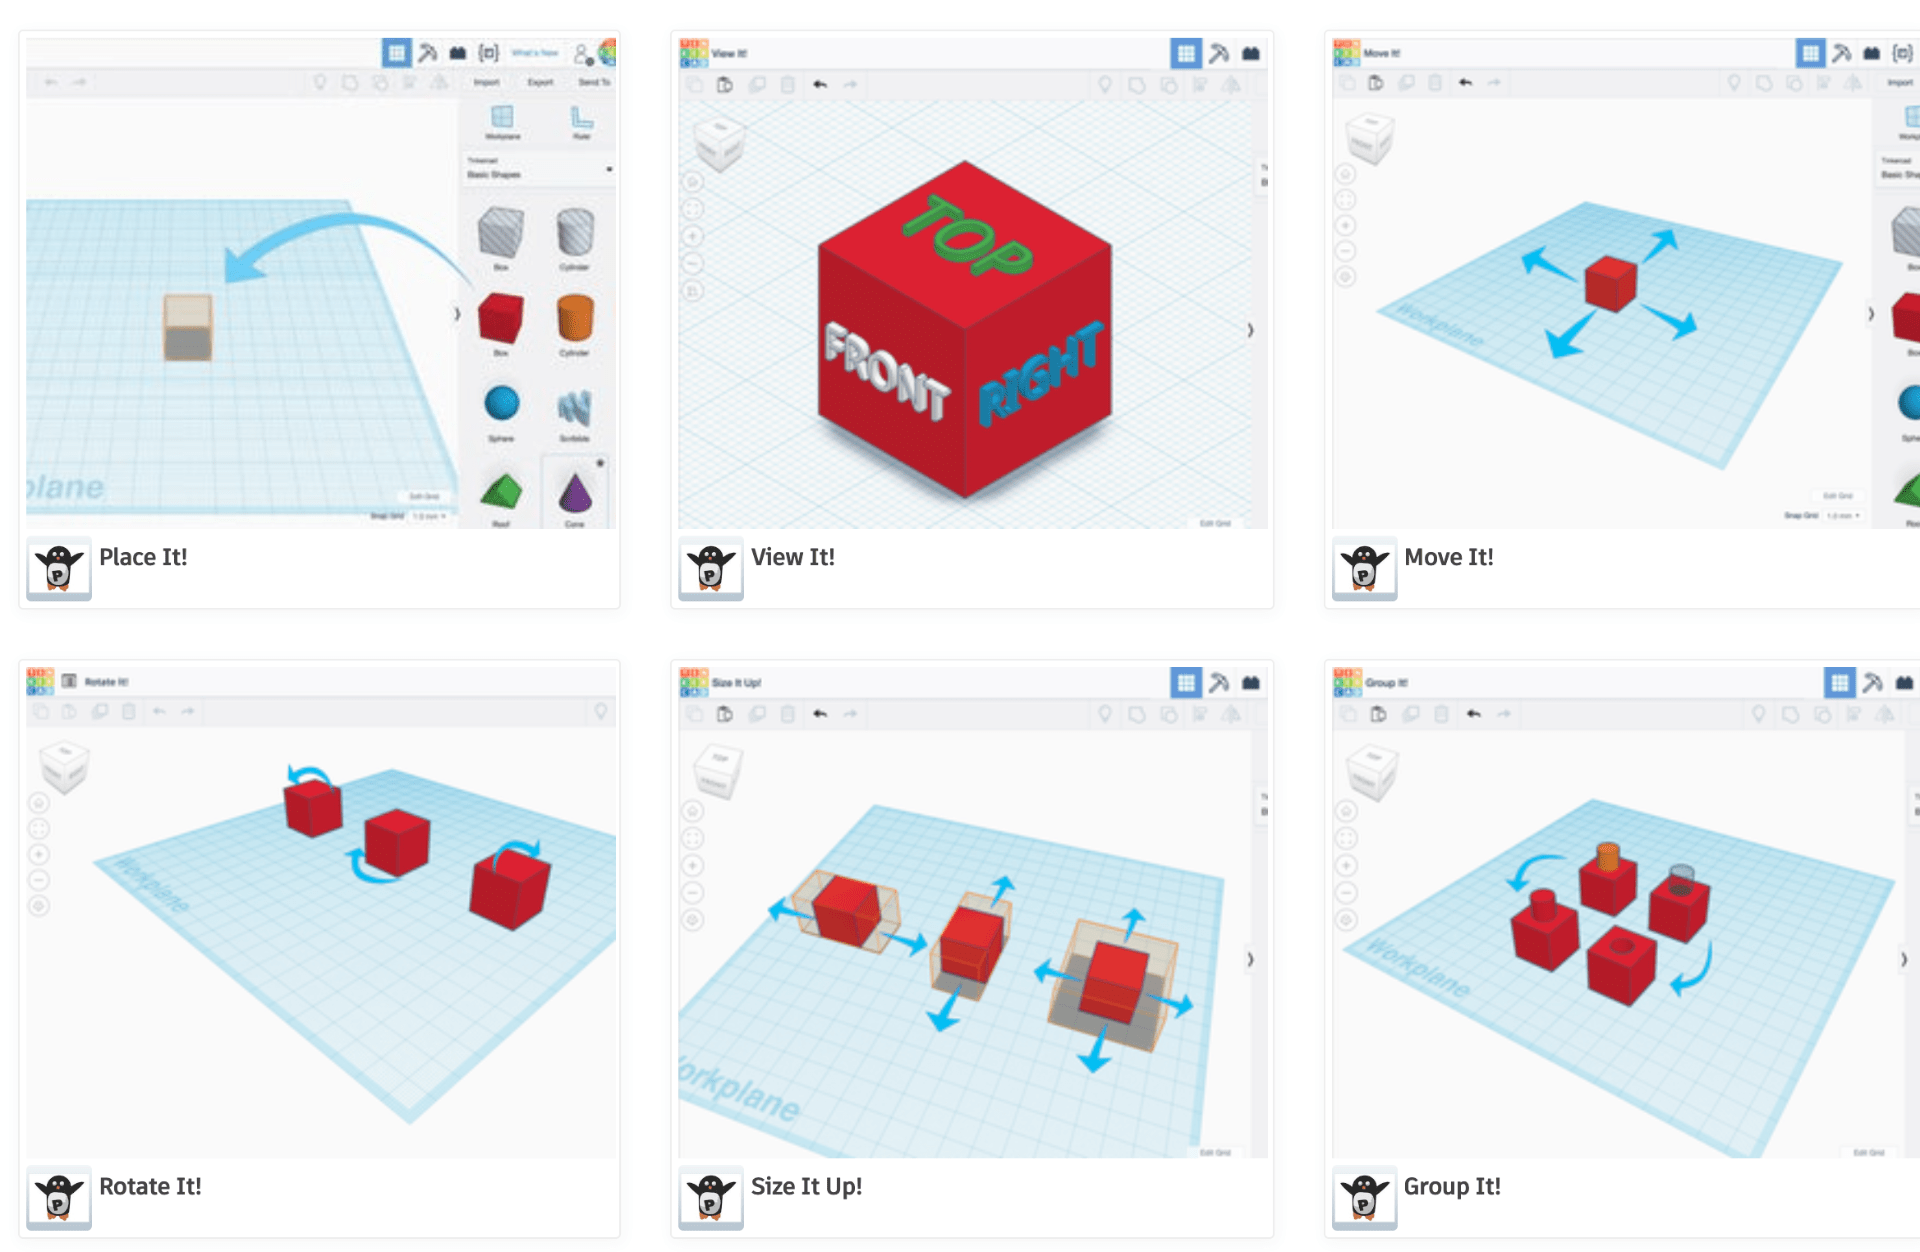
photo credit: Tinkercad Direct Starters

Images

Embed images: Make sure to include images to illustrate your post. Place the cursor where you want to put the image in the edit window of your post and click the “Inline image” option within the “More Rich Text Controls” of the “Text Block Style Menu.” (see image below) Select the “Upload Files” tab and upload your image. Make sure to cite your sources.


photo credit: screenshot of WordPress interface

Full width: Images within your document should be at full size, that is, at the same size as the text width when you view/preview your post. You may to clear the “width” default. Note that you can also make your image have a link while you are in this edit window.

Screenshots:  To take a screenshot of part of your screen on a Mac, press Command-Shift-4 and then drag a window around what you want to capture. To take a partial screenshot on a Windows computer, use the Snipping tool (you can search for this tool in the Start menu).

Add a Featured Image: use the “Featured Image” widget in the right sidebar near the edit window, and upload a landscape-oriented image (wider than it is tall). The image won’t automatically appear in your post, but it will appear in the Excerpt for your post on the main category page. The featured image should also be embedded somewhere in your post, as per the next bullet point.

Formatting and Logistics

  • Create links: Select the text that you want to turn into a link and then click on the link/chain icon and paste in your desired link. Links that point to external websites should be set to open in a new tab.
  • Check your content: Remember to look at the formatting of your post on the Preview or live site, not just within the editing window. It can look different on the live site than it does in the edit environment.
  • SELECT CATEGORIES AND TAGS! Make sure you always select “300-level, SMAD 305, Spring 2021, and Student” under categories along with the other appropriate categories and tags on each of your posts. If you miss this step then I will not be able to see your post when I search by Category or Tags to assign grades, so make sure to do this step.

Attribution

  • Articles, images, videos, and software: If you use 3D software or tools, like Tinkercad or Fusion 360, be sure to mention it in your blog post and link to the site for that software. Obviously if you quote an article, embed a image or video, or use content from an article or blog post online, you should cite that source and include a link.
  • Thingiverse designers: If you use a 3D design from Thingiverse or some other source in your work, be sure to give credit in your blog post, including a link. Also, if you post your work to Thingiverse, make sure to mark your design as a “Remix” to the original(s).
  • Classmates and other people: If you get consultation from actual people, include their names and appropriate tagging to external sites or social somewhere in your blog post, if possible.

Sharing

  • Everything you make in this class should be shared with the outside world under public domain or a Creative Commons license. We use content that other people kindly provide online for free, so we have an obligation to give back to the community by sharing our own work freely with others.
  • If you use Tinkercad to create designs, please make them public. You’ll have to change each design to “Public” in the settings. Make sure you do that before copy-pasting any links to your objects, or else people won’t be able to access them.
  • If you want to post on social media, please tag @JMULibraries and @JMUsmad on Twitter and Instagram and tag me with #ProfHooker.