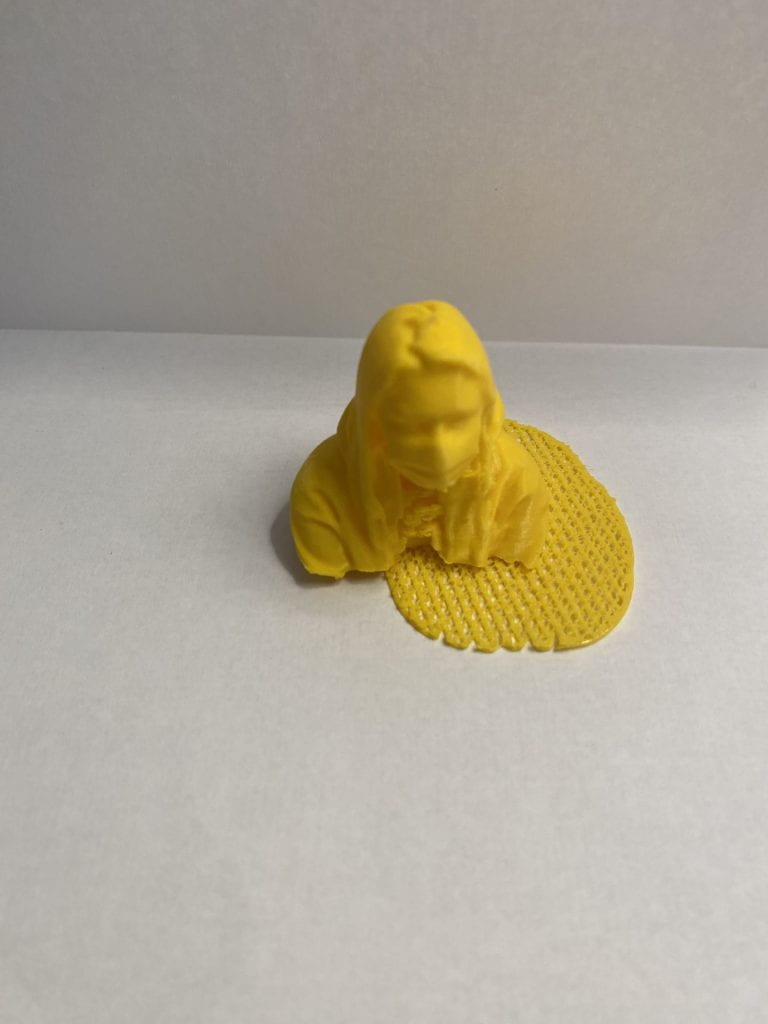
In order to create this final model we had to start with creating a 3D scan of ourselves in the classroom. We used the iPad that was provided and scanned each other one by one. It took a lot of trial and error to get a good scan because the subject had to stay completely still the entire time. The person creating the scan had to make sure that they were scanning the person from all possible angles, which again added an element of difficulty to this project.

Once we got our final scan done, we exported it to our phones as a .obj file using Airdrop. I Airdropped the file to my iCloud drive so that I would have it right on my computer. Once I got home from class I imported the .obj file to Tinkercad to look at my scan. At first there was an extra piece that showed up next to my arm, but I used the “hole” tool to cover that up so that the print wouldn’t have a piece hanging off of it.
After fixing any issues in Tinkercad, I exported the file as a .stl and sent it to my Gmail. When I went into the lab I downloaded the file, put it in Cura and printed the file with a layer height of .05, an infill of 20%, and a plate adhesion as raft. I then downloaded it to the SD card from the Lulzbot, inserted that into the Lulzbot, and printed my final print. I was really happy with the way the print turned out, the only problem was the support plate. This didn’t show up in Tinkercad or Cura so I’m not really sure why it printed the way it did.


