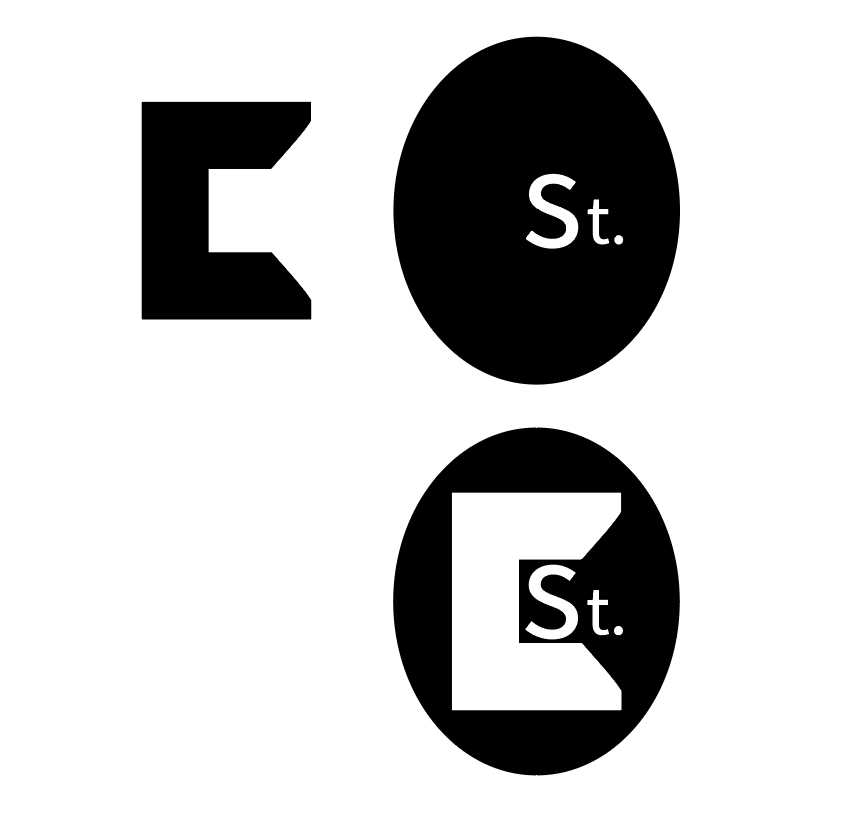
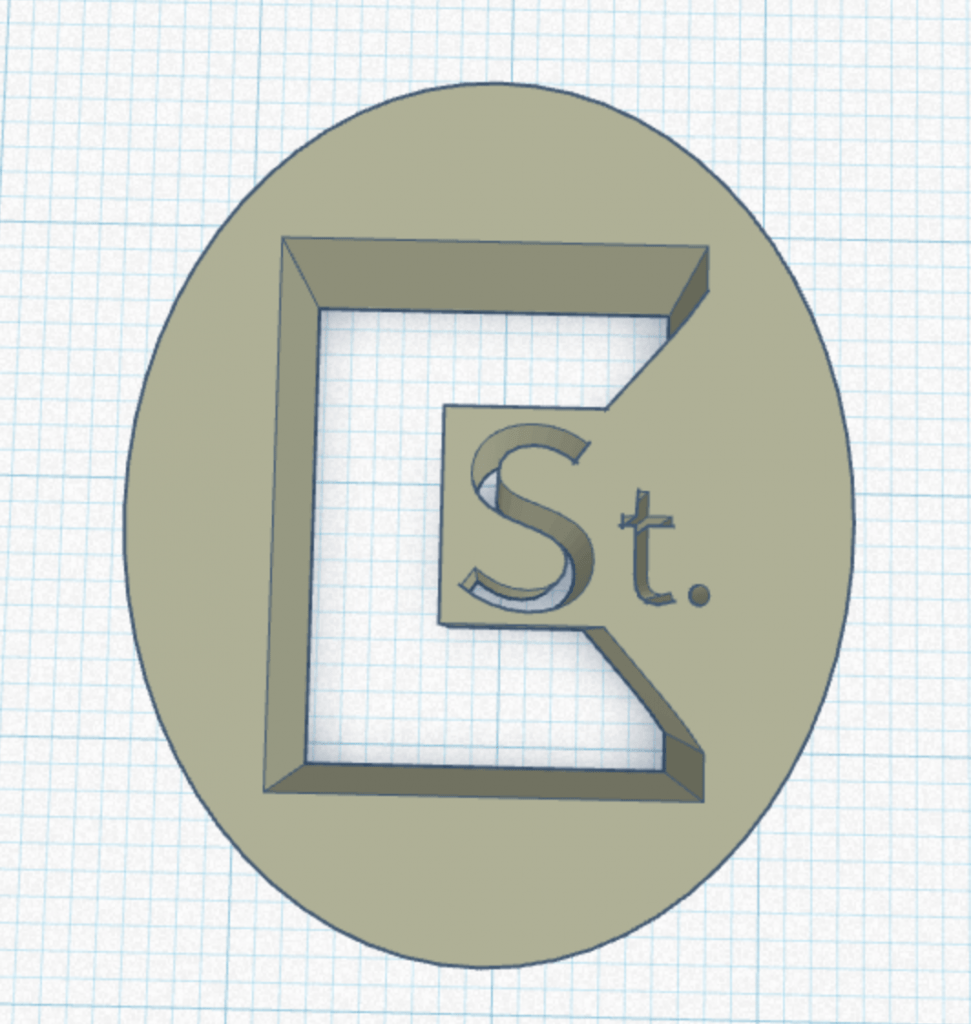
In creating my 3D SVG, I wanted to experiment as much as possible. After seeing the house example in the LinkedIn video, the task seemed pretty daunting. I actually spent longer than I expected playing around in Illustrator/Tinkercad figuring out what looked good and what didn’t. I already had a logo designed prior, but I wanted to start from scratch for this project to really get a feel for it. So for starters I drew a “C’ for the first letter of my name (Image 1, TOP). After that, I experimented with thickness of letters and background shapes. I then worked with figure/ground with the initial letter with the background shape. And from there, I created the rest: The background oval, added the large “C,” and also the first two of my last name (Image 1, BOTTOM). One thing to note, is after importing into Tinkercad initially, I noticed gaps and weird spaces just like the video. So I went back into illustrator, converting the “C” to a shape, make compound paths, and watching the fill component as well. After finishing all of that, I imported to Tinkercad and added to the initial concept (Image 2) to create something more usable than an oval logo. I added to the initial concept by creating a podium for the oval to rest on (Image 3), and I also added a background color oval to add contrast for the lettering (Image 4). Ideally, this was created in mind for something that sits on a desk that you could change the backing color. The largest factor that I got out of designing and re-designing is that I would design, upload to Tinkercad, and repeat. I fixed dimensions within Illustrator so that it would automatically fit in Tinkercad, and I experimented to get to my end result.
Overall, I enjoyed working with SVG’s a lot. I drafted multiple designs (I know It may not look like amazing, but I learned a lot by doing so. I think this is a very cool aspect with a lot of potential!


