Original Thingiverse object:

The image above is a model of an engineering stencil ruler designed by @JojodaHobo. It allows individuals to plot straight lines on paper and trace other precise geometric shapes. It is an essential tool for engineers, architects, and individuals who simply want to add precision to their sketches. There is a multitude of shapes cut out of the filament, allowing creators to make a perfect circle or right triangle, among other designs. It is a simple and common object that is extremely useful to designers of all different backgrounds.
Personalizations and Improvements:

The image above represents how I envision modifying the existing object. Although I want the height and the length to stay the same, I would like to increase the ruler’s width from 1mm to 2mm. This would make the object much more sturdy and durable. I also would like to remove some of the original geometric stencil shapes, and replace them with shapes that are more tailored to my design tendencies. Overall, I was pleased with the majority of the original design elements, but my desired modifications will make this an even more practical tool.
Form|Function Iterations
Original Thingiverse Object:
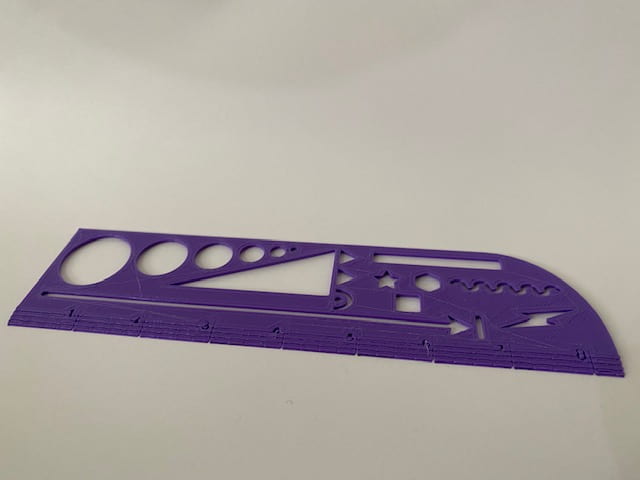
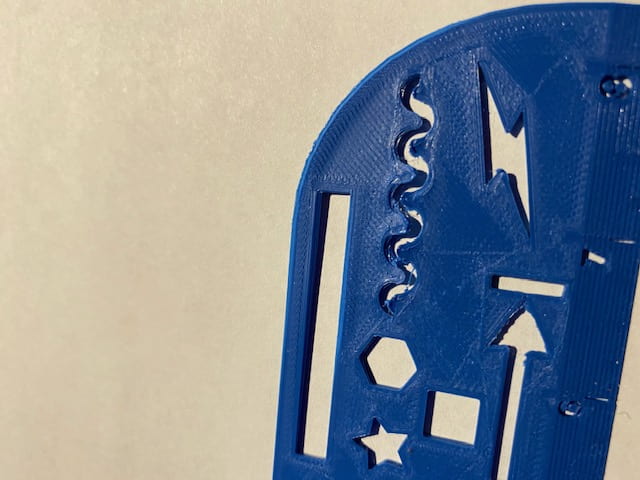
Pictured below is a 3D print of the original Thingiverse object, attributed to @JojodaHobo. This print contains no personal alterations or modifications. Because the ruler only has a thickness of 1mm, it is very flimsy.

Iteration Process:
At first, I was quite intimidated by the thought of adding my own modifications to this ruler. I was uncertain on how I would go about filling the stencil shapes that exist in the original design, in order to implement my personalized stencil shapes. Below is a time-lapse video that demonstrates how I designed my Tinkercad remix. The entirety of the process took roughly 45 minutes.
Posted below is a 3D view of my completed Tinkercad remix.
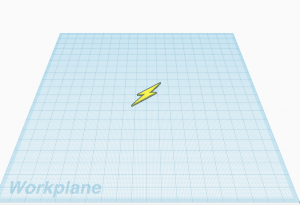
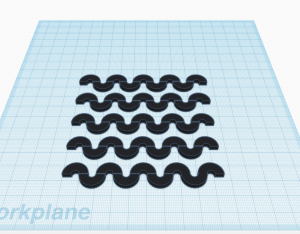
The pictures below are of Tinkercad designs that I incorporated into my iteration. The lightning bolt was designed by @blaise-miranda and the high contrast squiggles were designed by @Annie-Sullivan. I transferred both of the shapes into my workplace and then transformed them into holes, in order to create two separate stencils on the ruler.
Functionality:
In the video below, I demonstrate the functionality of the object that I remixed.
Overall I was very pleased with how my iteration turned out. By increasing the original ruler’s thickness from 1mm to 2mm, the durability was clearly improved. I also increased its personal functionality by adding personalized stencils that will provide me with greater design benefits.
I only ran into a few slight problems. When removing the base filament from the ruler, it made the primary straight edge a little jagged. Normally this would not be a problem, but because one of the sole benefits of using a ruler is having a smooth straight edge, it created a slight drawback. In order to overcome this inconvenience, I merely had to sand it down. The only other issue that I had was that the numbers and marks on the ruler showed up very faintly.
Iteration #2:
After spending a few days using the first iteration I created, I realized that the problems that I initially identified upon the completion of the print were going to require me to complete a second iteration. The two primary problems I had were these: it was a little too thick, which prevented me from using some of the stencils with a pen, and the straight edge was jagged because of the raft that was printed with it.
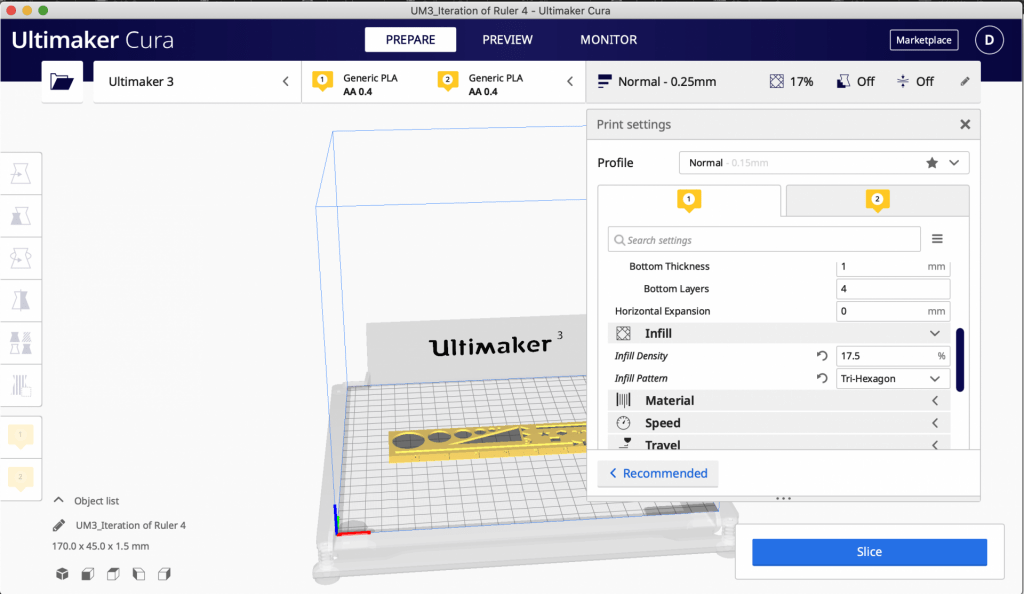
To solve these problems, I decided to decrease the height of the ruler from 2mm to 1.5mm and remove the raft from the print settings in Ultimaker Cura.
I also wanted to address the comments and critiques that I received from my classmates, which mainly emphasized the lack of numerical markers and measurement lines.
In the slideshow above, I demonstrate the modifications I made to my initial iteration. As stated above, the most significant changes I made include the addition of number shapes provided in Tinkercad, measurement lines made from rectangle blocks, and a decrease in height.
Although the height change made all of the stencils usable, while simultaneously maintaining its durability, I created a completely new problem in this iteration. Upon closer look, one can see that the rectangle boxes that I converted to holes, in order to create measurement lines, ended up creating divots in the ruler’s straight edge.
Final Iteration
These pictures are of my final ruler iteration. Although I was able to eliminate the divots that were previously present, I ran into a new problem. As pictured below, the squiggle stencil did not print properly due to a printer malfunction.
Conclusion
After completing 3 different iterations of the ruler, I was still not able to make the perfect print. This was in part due to time constraints out of my control and printer inadequacies.
Overall I am not disappointed, as I was able to sand down the rugged edges of the first ruler that I printed to optimize its functionality. Although I cannot easily use all of its stencils and it has very faint measurement markings, it serves its main goal perfectly–allowing me to draw a straight line!
If my final iteration had not been messed up by the printer malfunction, it definitely would have been the best of all three iterations. Not only was the straight edge smooth, but it also had clear numerical markings and measurement lines. Below is a picture of the printer settings I used to print the ruler. Hopefully I can find time to fully ‘straighten’ any remains problems out.
