F|F Research and Concept
The original Thingiverse object:

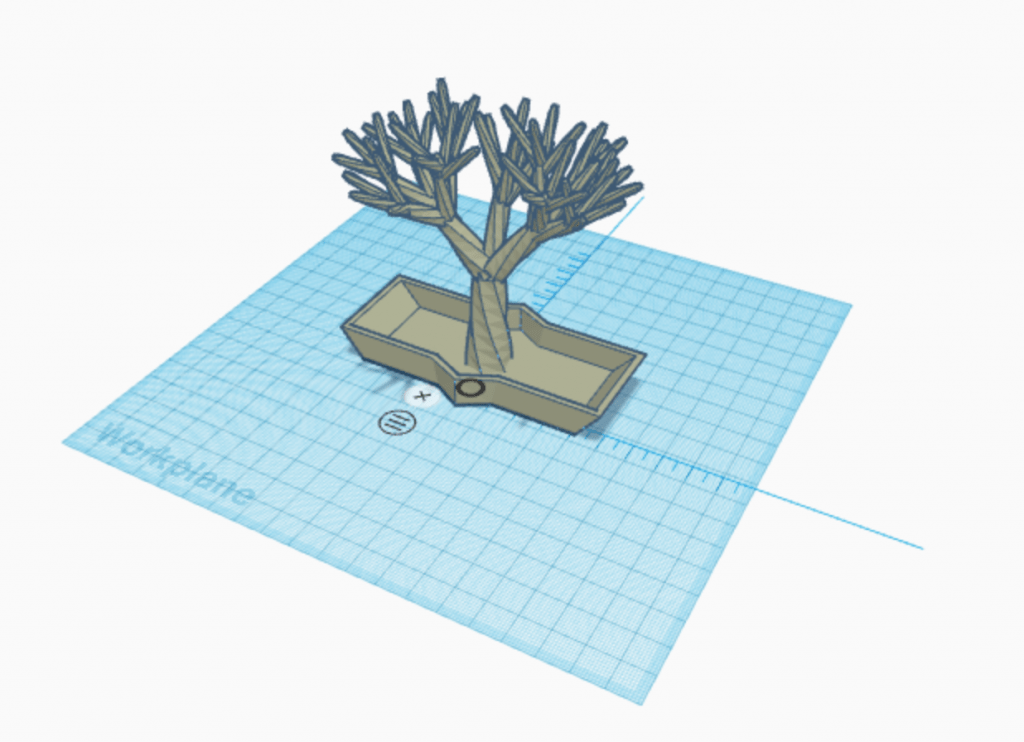
The image above is a model of a 3D printed jewelry holder. The purpose of this object is to hold large amounts of necklaces, bracelets, rings, and other kinds of jewelry with its copious amounts of tree branches and it’s bowl at the bottom. Many people keep their jewelry in an unruly fashion: in miscellaneous bowls and on hooks that get too clogged. This model is a solution for the issue of having a disorderly system of storing jewelry, because there are a large amount of tree branches and a bowl at the bottom that can hold all of those pieces. This design is great for almost all kinds of jewelry.
Potential Personalizations/ Improvements

One improvement I wish to make is elongating the trunk size; doing this would allow for longer jewelry, such as longer necklaces, to be hung without cluttering the bottom bowl. The original design has the trunks length at 41.87mm, so I would increase that size to be around 50mm. The other adjustment I would make would be to lengthen the branch sizes in order for them to be able to hold more pieces of jewelry per branch. Both of these adjustments would allow for more jewelry and more kinds of jewelry to be stored on it.
F|F Iterations
The Creator of the 3D Tree Jewelry Holder is Rui Costa e Silva.
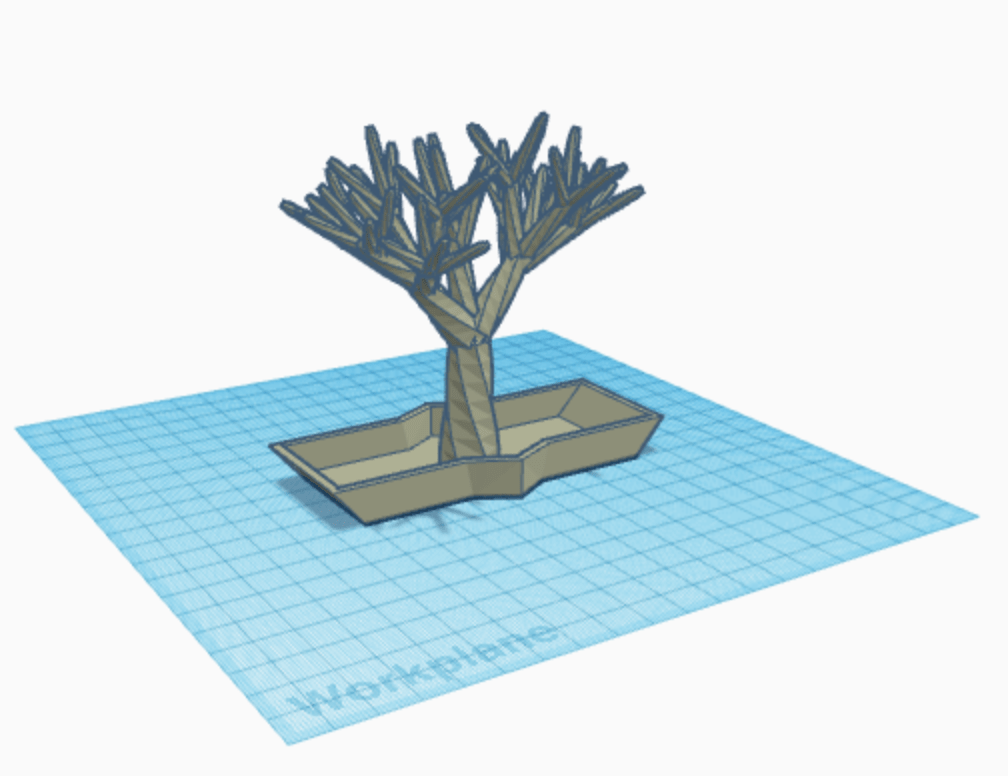
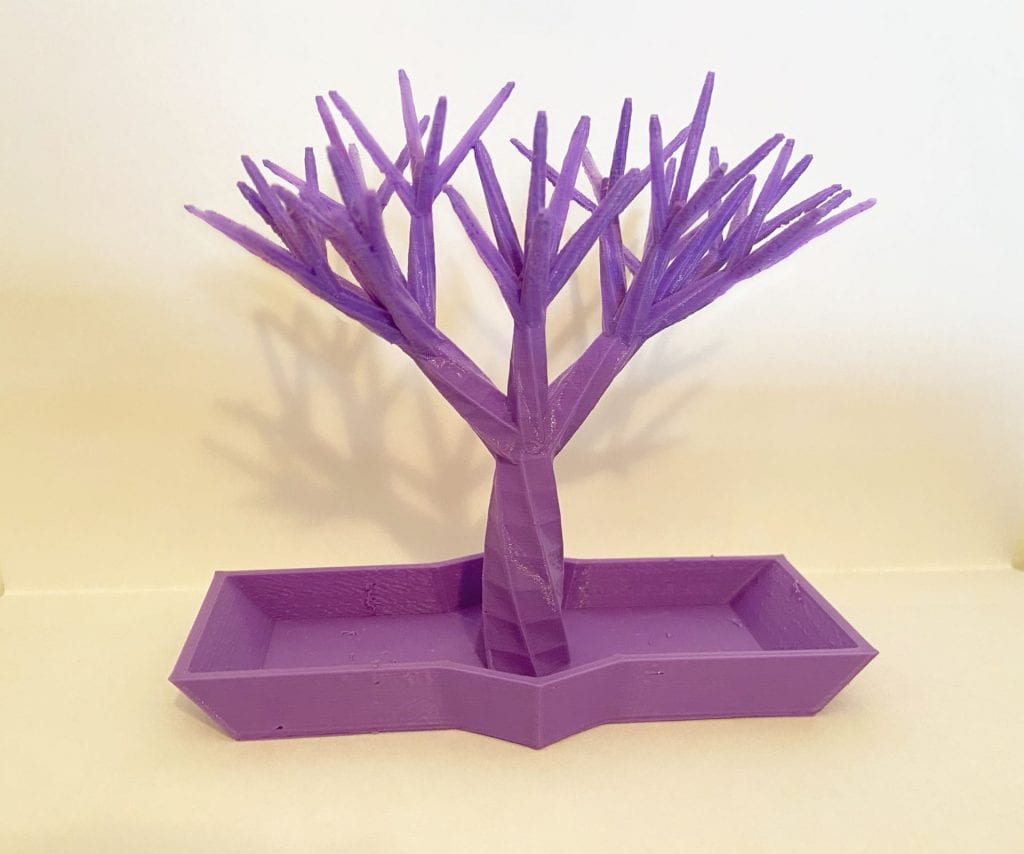
Below are my first iterations on Tinkercad and the print
When I printed the original design, I thought the quality of the design turned out great; the branches were not flimsy, the bowl at the bottom was sturdy, and it looked very nice. The only issue I had with the original design was that it was small and short, so I could not hang bracelets from the branches, only rings. In this first iteration, I wanted to try to solve this issue I was having with the original design. I extended the top of the tree from 83.75 mm to 98.00 mm in Tinkercad. When I did that, it made the printing process go from ~3 hours to ~13 hours, so I decided to change the layer height to .3 to bring down the time to 4 hours of printing time. What worked about my iteration was the height adjustment I made as it successfully held larger pieces of jewelry that the original print could not hold. What did not work and what I learned from printing this iteration was that with the taller branches needed to come a larger bowl, as the bowl is the base for the tree and it seemed off balance. In my next print I will handle this issue by increasing the length and width of the bowl. I also learned that changing the layer height to 0.3 took away from the integrity of the print, making it not as pleasing to the eye and also a bit more flimsy.In the future I would maintain that longer printing time in order to uphold the quality of the design. In the end, what is important is the quality of the design, and not as much the length of time it takes to print (so long as there is not a time constraint which there wasn’t in my case).
Below are my second iterations on Tinkercad and the print.
With my second iteration, I wanted to resolve the issue that my first iteration had where the base was not very sturdy so it was easily tipped over. In this iteration, i increased the length of the base bowl from 97.88mm to 106.94mm. In addition, I changed the width from 62.19mm to 68.19mm. I maintained the height that I had for my second iteration, so the new enlarged base effectively stabilizes the taller branches. With my first iteration, I tried to shorten the printing time as much as possible by using an infill density of 20% and a layer height of 0.3, and this led to the print coming out very flimsy. With this second iteration, I set the layer height to 0.2 and the infill density to 40%, and this effectively made the print much more hefty and dense, not easily knocked over. I am very pleased with the iterations I made and believe that it is now a design that works perfectly for the function I wanted to add of being able to hold larger pieces or jewelry. This iteration is the sturdiest of all of my prints (including the original design and my first iteration) and it is also the most pleasing to the eye because of sanding the branches down post-print. Other than sanding, there were no other post-print touch ups because I was satisfied with the beautiful purple color and feeling to the jewelry tree.
Reflection
Overall, my experience with printing this jewelry tree was very exhilarating and interesting. My experience with printing this object began with the first print, where I had taken a design I found on Thingiverse and printed that. It was very exciting getting to see an object on the internet, pressing a few buttons, and then have it appear before my eyes. After seeing and touching the original design with my own eyes and hands, I was then able to figure out what I could change to customize this design for my own functions, which for me included making it bigger in order to hold longer pieces of jewelry. After printing my first iteration, I got the hang of what the actual effects of infill density and layer height really meant, so I was able to adjust those in my second iteration to enhance my prints integrity. In addition, getting to see by holding and using the print itself showed me how the height in my first iteration affected the sturdiness of the jewelry tree, and so I was able to come to the conclusion of lengthening and widening the base bowl. Overall, this project made me feel more confident in my ability to use Tinkercad and understand the aspects of a 3D printed design that increase its integrity. I am excited to continue on my 3D printing journey and learn more and more about this incredible invention.
Below is a link to my Tree Jewelry Holder on Thingiverse:


