F|F Research & Concept
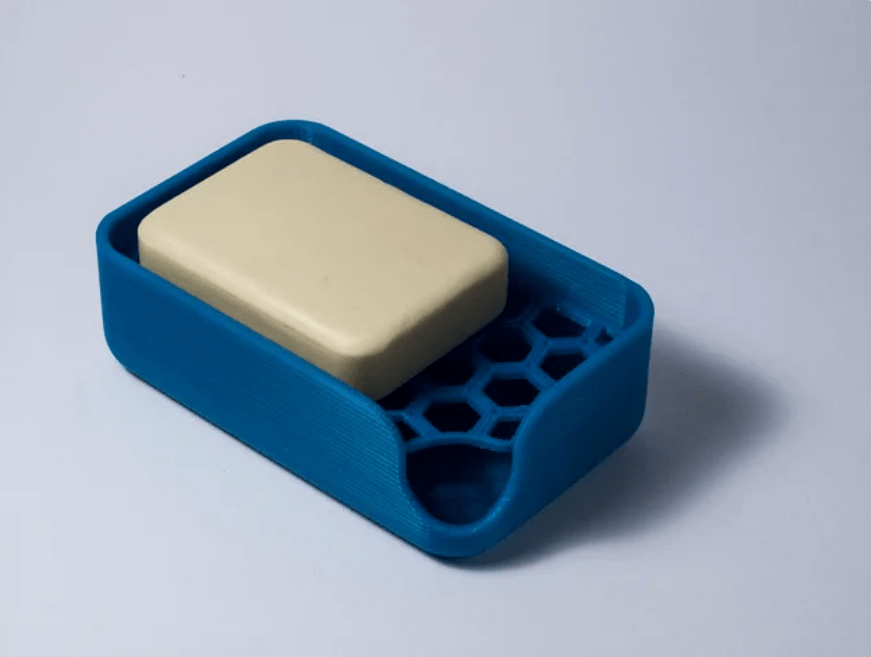
3D Soap Holder https://www.thingiverse.com/thing:404028
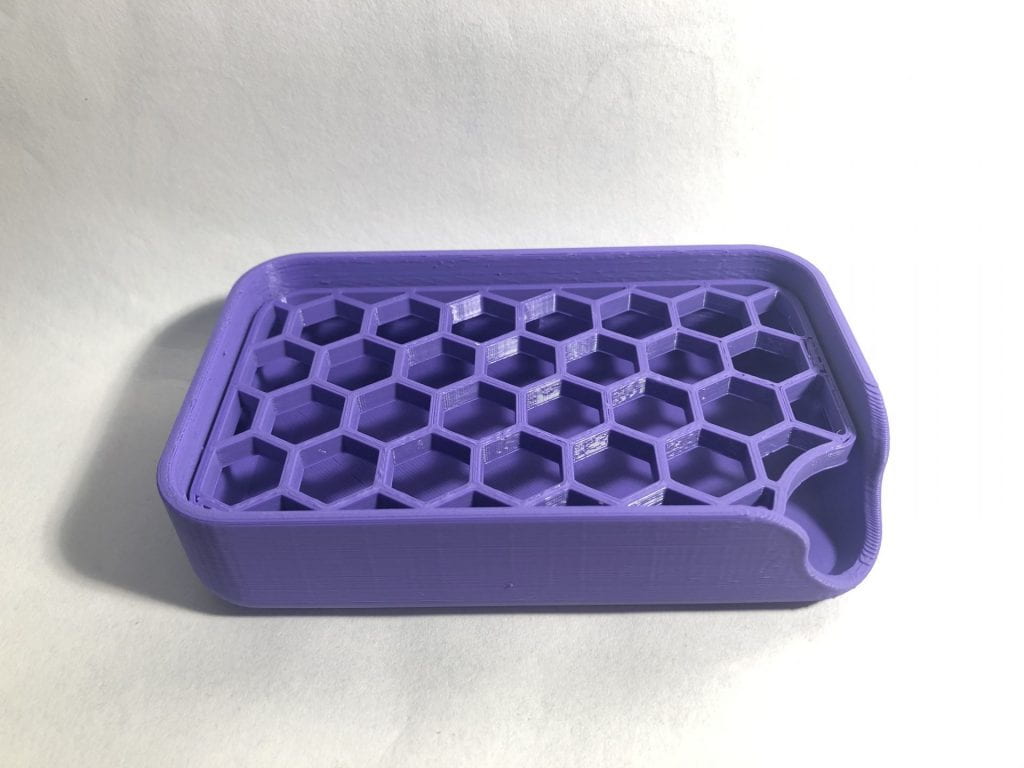
This is a model of a 3D soap holder. The main purpose of this model is to have a personalized box for a bar of soap to put in your bathroom. People usually have a bar of soap sitting on their sink counter or at the side of their bathtub. After using the bar of soap, when people set it down, it would typically start sliding off the surface and falling on the floor. This model is a solution for that issue. This model will hold your soap box and collect the excess water from the soap and let it filter to the bottom of the box. There is also a small crevice at the corner of the box to remove the honeycomb filter, making it easy to clean the box and putting it back together. This is great for all basic types of soap bars, but there are bars of soap that have different sizes and weight today that could have an issue when using this model, and I think the current model should be slightly modified for all types of bars of soap.
Personalizations/Improvements

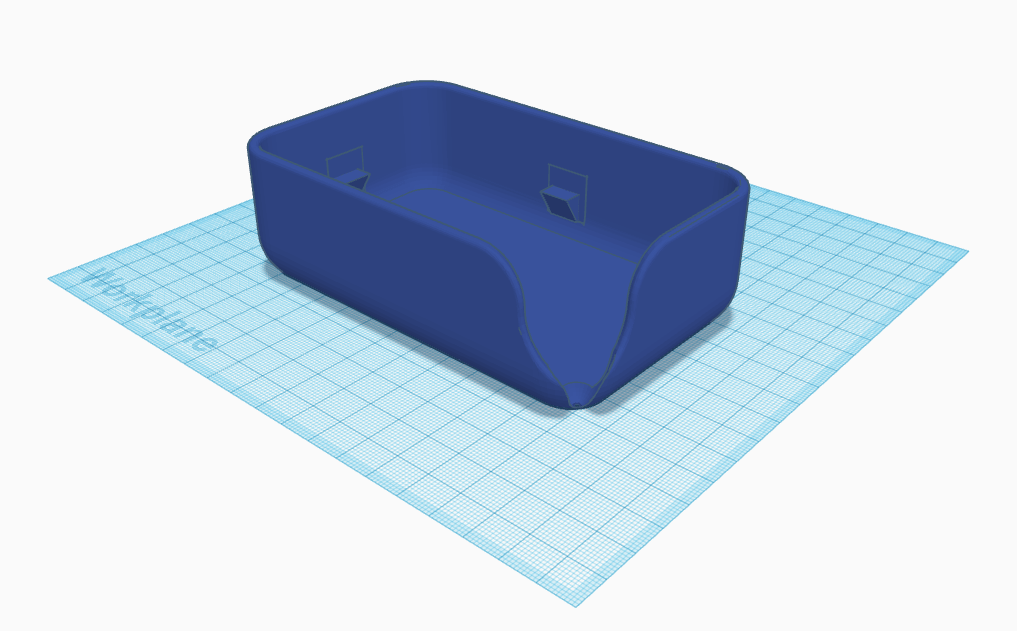
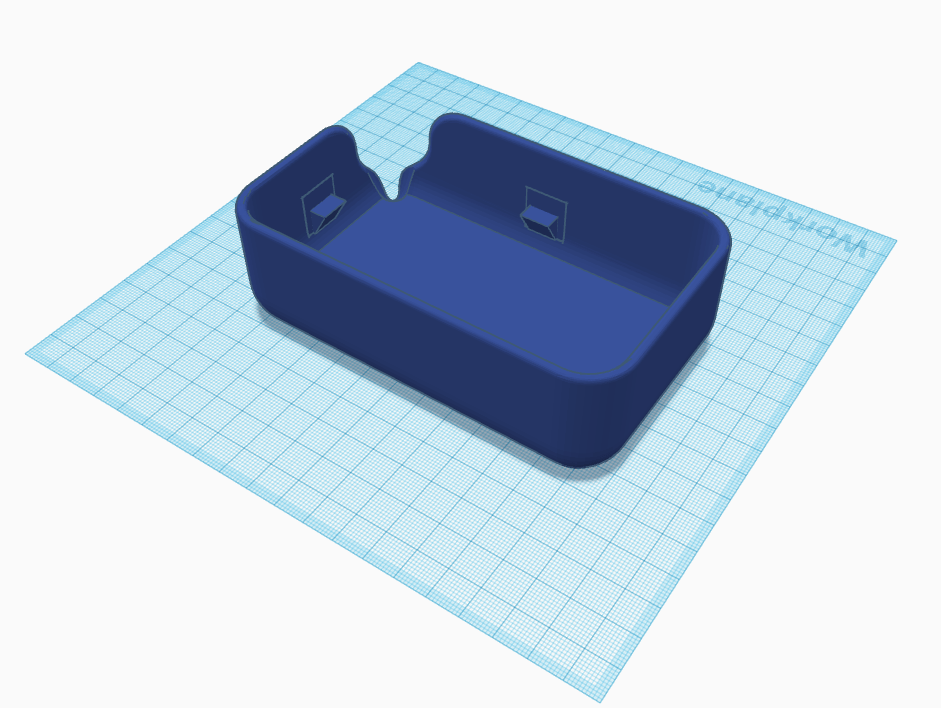
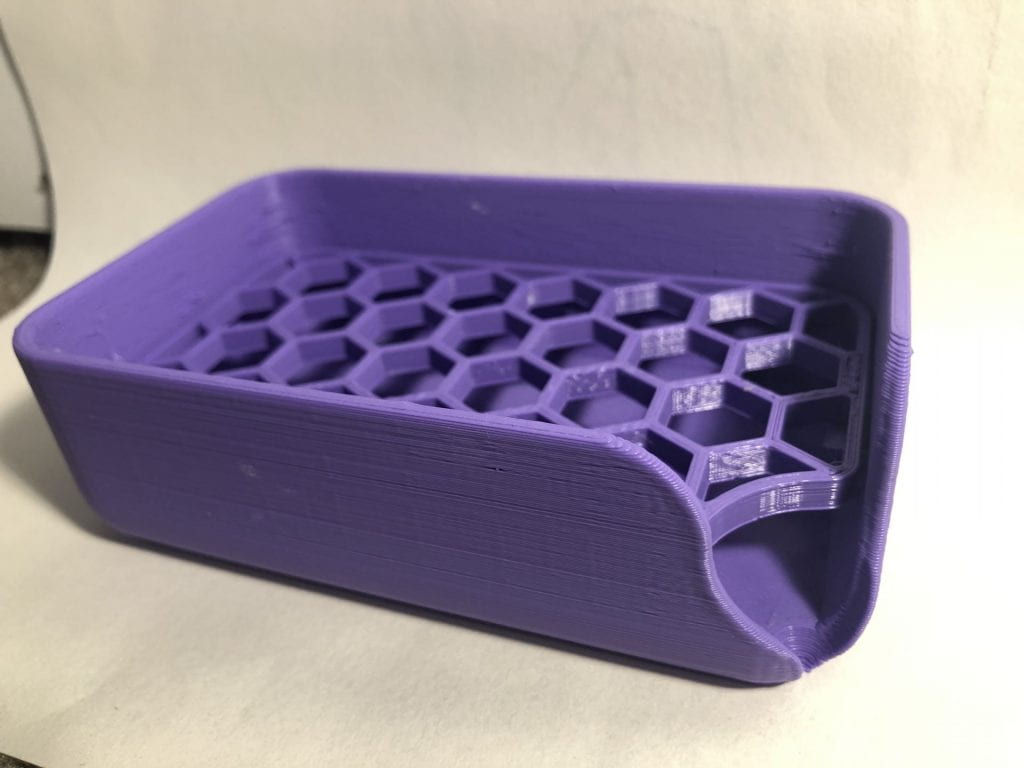
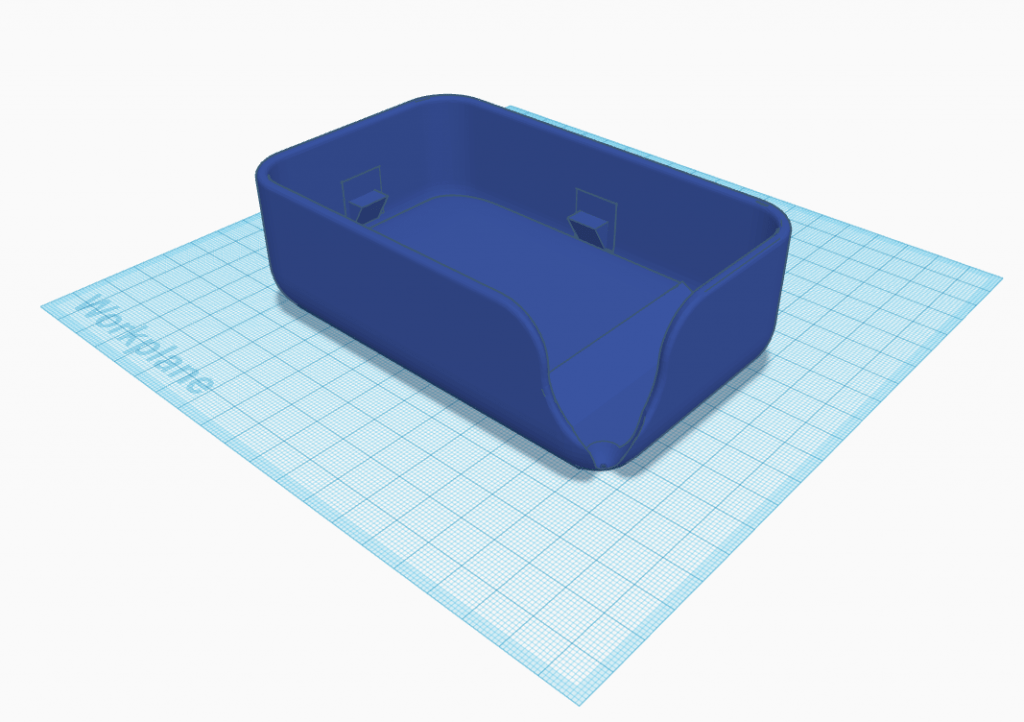
The image above shows some of my personal improvements for the soap holder model. The original height of the model is 30mm tall, but I feel like with the different sizes of bars of soap nowadays, it might not be tall enough to hold the bar of soap in place. That is why I wanted to make the height of the box taller to 35mm. Another improvement I would make is to close the corner of the box, but keep the shape of the honeycomb, with the corner bit off, so it would still filter the excess water from the soap. The reason why is because, with the original model, the corner seems a bit too open, and I feel like the excess water will leak out, and the water leaking out could end up under the box, making it become slippery, and thus, the box could slide around, or even fall off. As a result, my two main improvements would be to change the height of the soap holder, and the corner of the box.
Form | Function Iterations
Original Thingiverse Model:
The slideshow above is the original model created by, piuLAB. There has been no remixes done to this model.
The video above is a demonstration of how the original model works. It does its job of keeping the bar of soap in place, and filtering out the excess water from the soap after using it, however there is some issues that I see. Since this bar of soap has been used for a while, the size of the bar of soap has decreased. However, if I happen to use a new bar of soap, it might be able to keep it in place and stay inside of the box, but due to the density and the height of the new bar of soap, it could lead it to falling of the model due to its size and height. Also the lip on the corner of the model that filters out the excess water has some issues as well. I have used this model for a couple of days, and as you can see from the video, after using the bar of soap, there is still a large amount of water in the box that didn’t filter out. I had to manually pick up the box and pour out the excess water myself, when the model should be doing that itself. So I decided to change and make some iterations to the original model.
Iteration Process
First remix of Soap Holder:
The 2 slideshows above shows my first iteration of the soap holder and printing it out. The original soap holder had a height of 30mm, and I decided to raise it to 40mm to make sure any types of bars of soap can stay in place and prevent it from falling off the box itself. As you can see from slide 2-4 of the printed model images above, I had also made the lip of the corner of the box deeper with grouping a cone shape with the model, to make sure the excess water can filter out from the box. After using the remixed box a couples of times with a bar of soap, it did improve the functionality of the model. The bar of soap stayed in place, and the excess water was filtering much more than the original model. However there was still some errors with the box.
Second remix of Soap Holder:
The slideshow above are images of my second remix of the model. Due to the weather, I did not have the chance to print the model out. In this remix, I have kept the iterations from the second remix (keeping the height of 40mm and making the corner lip of the box deeper). The main change I have made in this remix is including an incline inside of the box. Since there is still excess water at the bottom of the box that won’t exit out of the corner, I decided it would be best to add an incline so the excess water can flow down the incline and exit out of the corner of the box.
F|F Final Print & Reflection
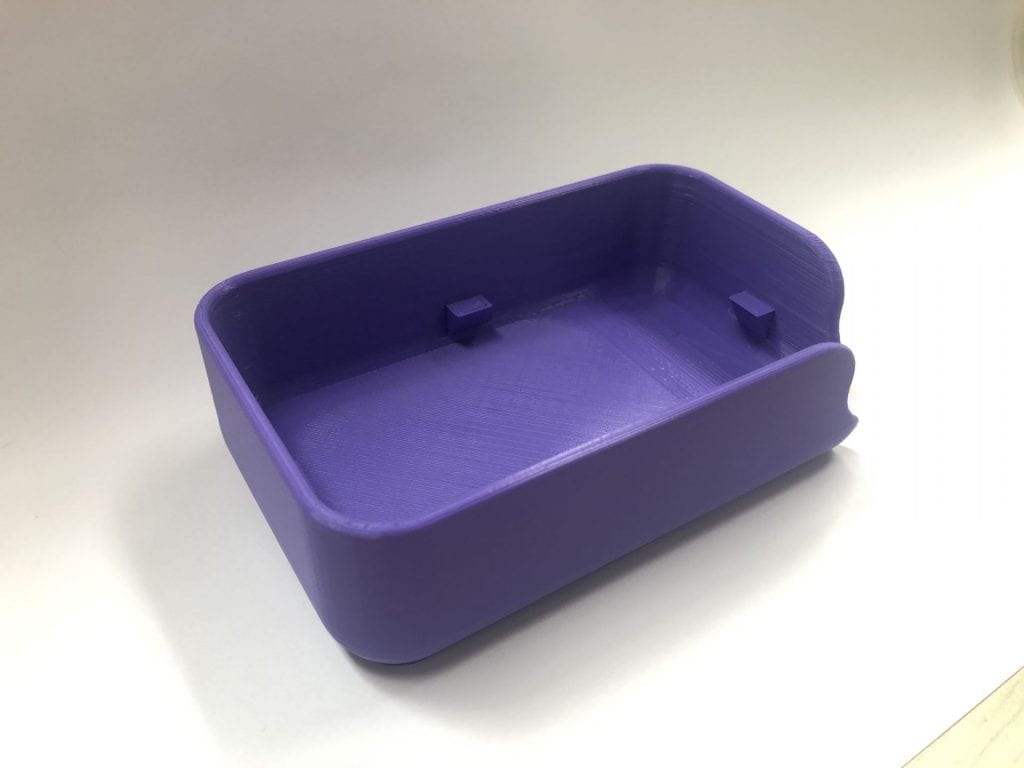
This is the final remix of my model without the filter.
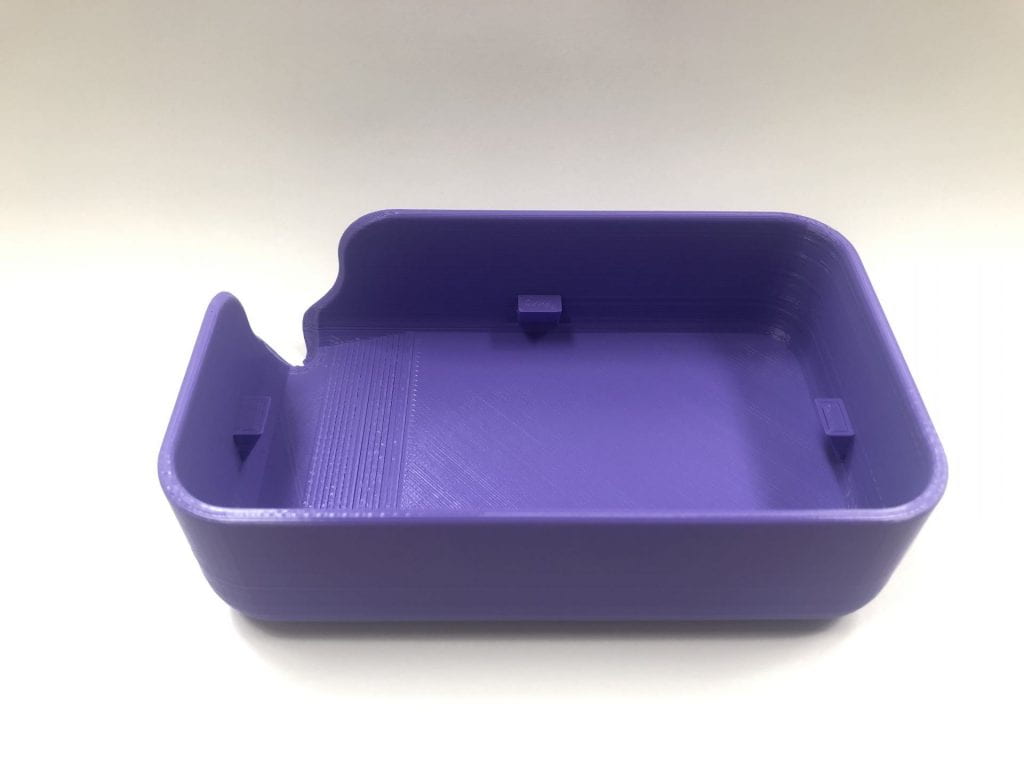
This is the final remix of my model with the filter.
Reflection:
This is my final remixed print of the original soap holder created by piuLAB. My main changes in my remix was increasing the height, making the corner lip deeper for the excess water, and adding an incline inside the box for the water to exit out of the corner. For more details, visit my remix at Thingiverse.
This project was very interesting and creatively challenging for me. When I first downloaded the original files, it was very confusing to me of how I can remix this original model. My first edit of this model was to raise the height of the box from 30mm to 40mm so any types of soap boxes can stay in place, and wouldn’t slip off the box after being used. After that, I wanted to make more edits. I then saw that the lip corner of the box, where the excess water exits out of the box, felt a bit too closed for the water to exit. I wanted to change that, so in Tinkercad I grouped a cylinder with the corner lip of the box, so the lip is much deeper than before, and the excess water can exit out much easier than before. After printing that remix, it worked exactly as I planned. However, I wanted to make another edit to the box. I decided to add an incline inside of the box so when the water drips from the soap to the bottom, the excess water can glide down the incline and exit out of the corner. That edit was very challenging, I had a hard time figuring out which shape could fit inside the box in the best way possible. I then ended up grouping a box and a wedge together and changed the radius, so the perimeter of the incline would be the same size as the box. In the end, the print went really well and I’m glad that it functioned the way I wanted it to function.
This process really made me be more creative than I usually am, and it felt very satisfying to make a print that would function the way I wanted it to do. Although there were many trial and errors when changing the shape of the original model and adding new parts to it, it was worth it. I can’t wait to use my remixed model at home. This was my very first finalized remix of an original model that I have done, and thanks to this experience, I am now looking forward to remixing other original models, and even creating my own original model that I can be proud of.
