F|F Research & Concept
Original Object:

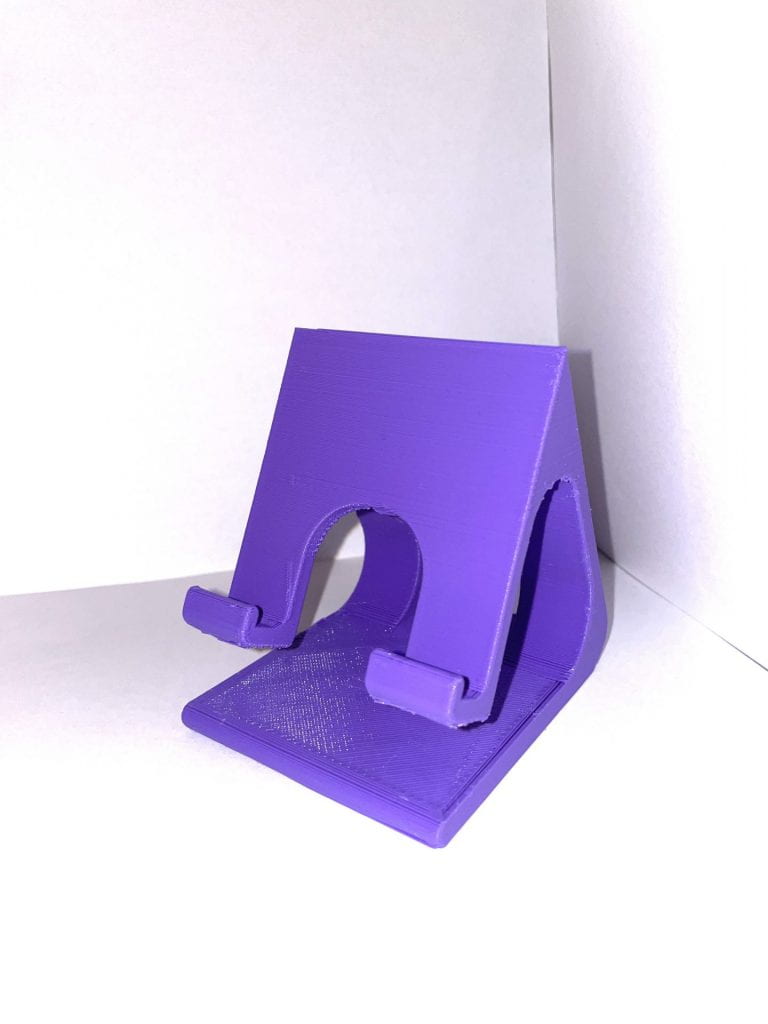
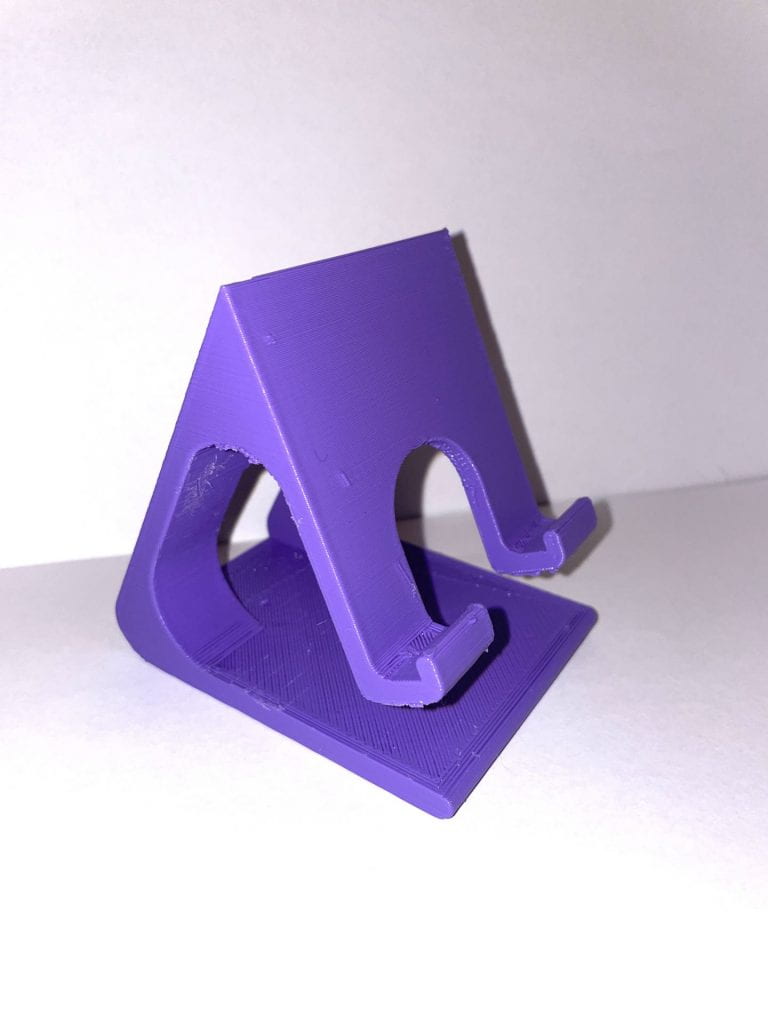
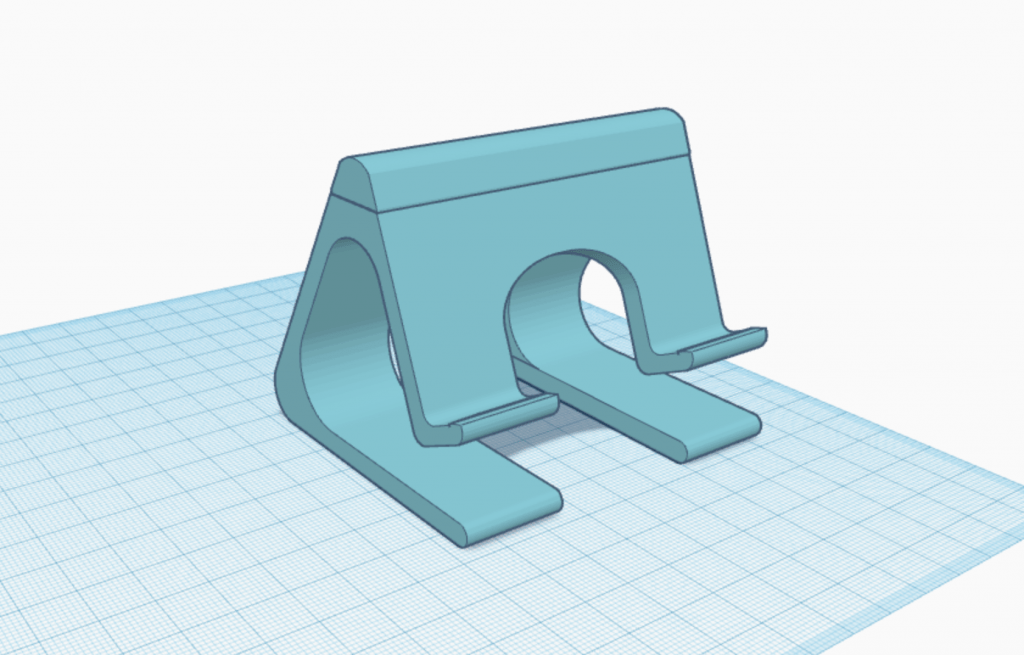
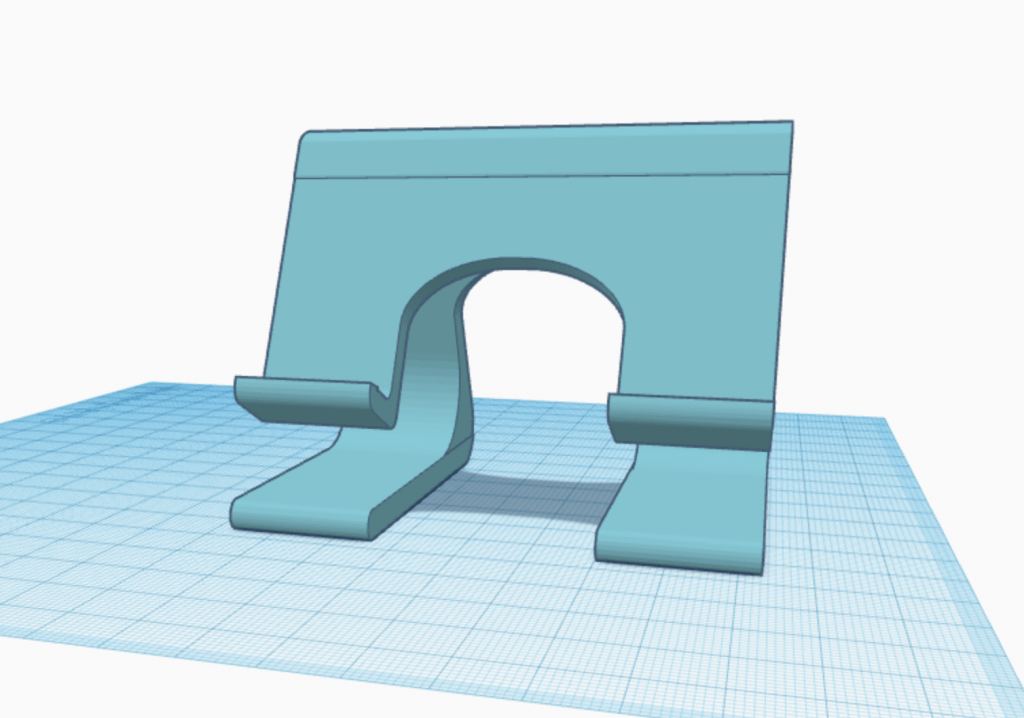
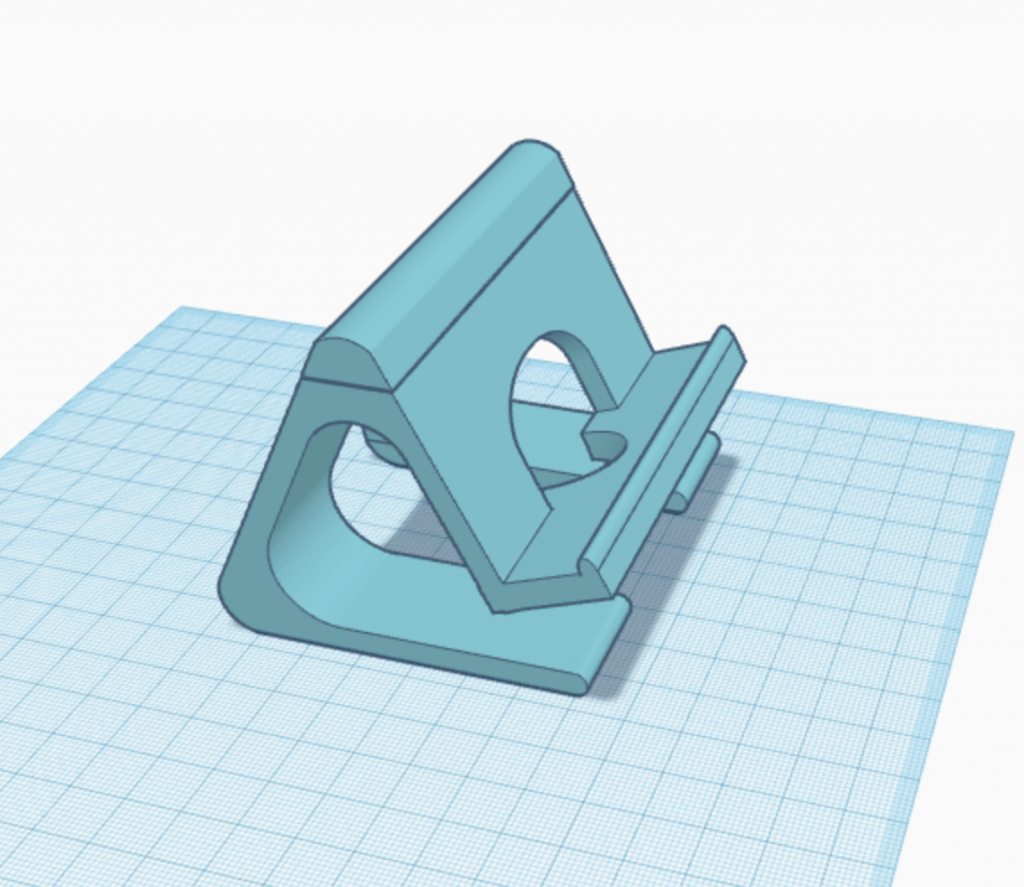
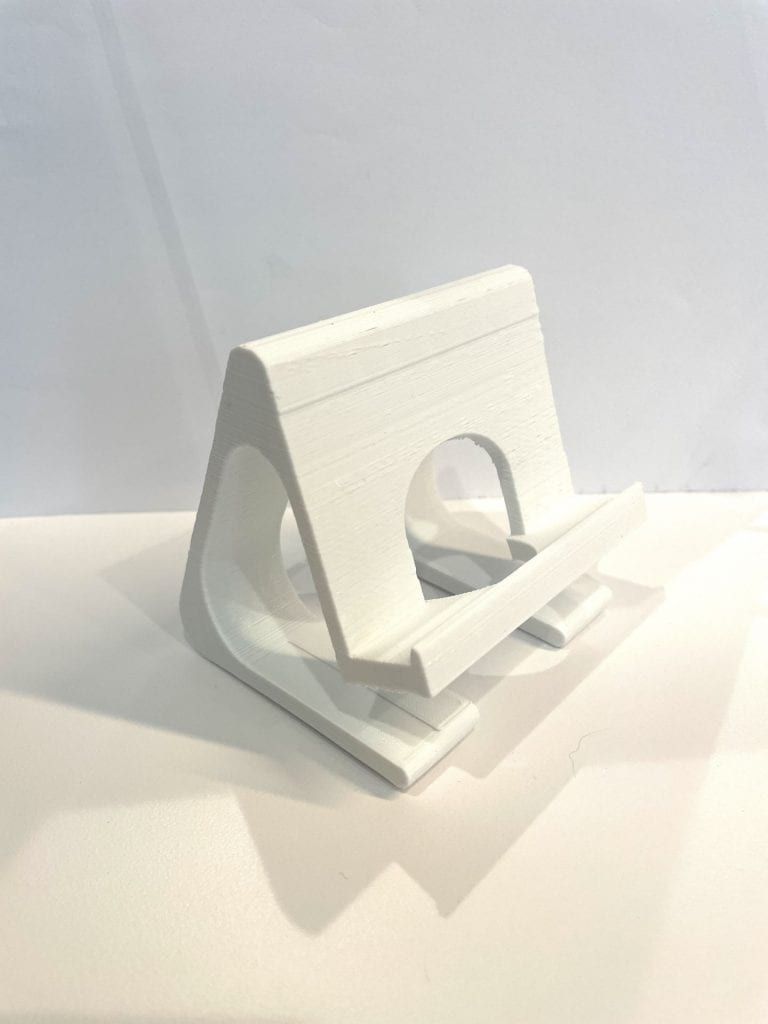
The image above is of an original and simple 3D printed cellphone stand found on Thingiverse. It is designed to be placed on a flat surface to hold up a cellphone in an angled manner. There is a hole in the back of the object and on the bottom of the actual phone holder section, so when the phone is held up vertically, a cable or charger may run through the object. The object also allows for a phone to be set up horizontally as well. This original object on Thingiverse, is designed to fit an iPhone 6; therefore, it must be adjusted to be suitable for other phones.
Potential Personalizations/Improvements:
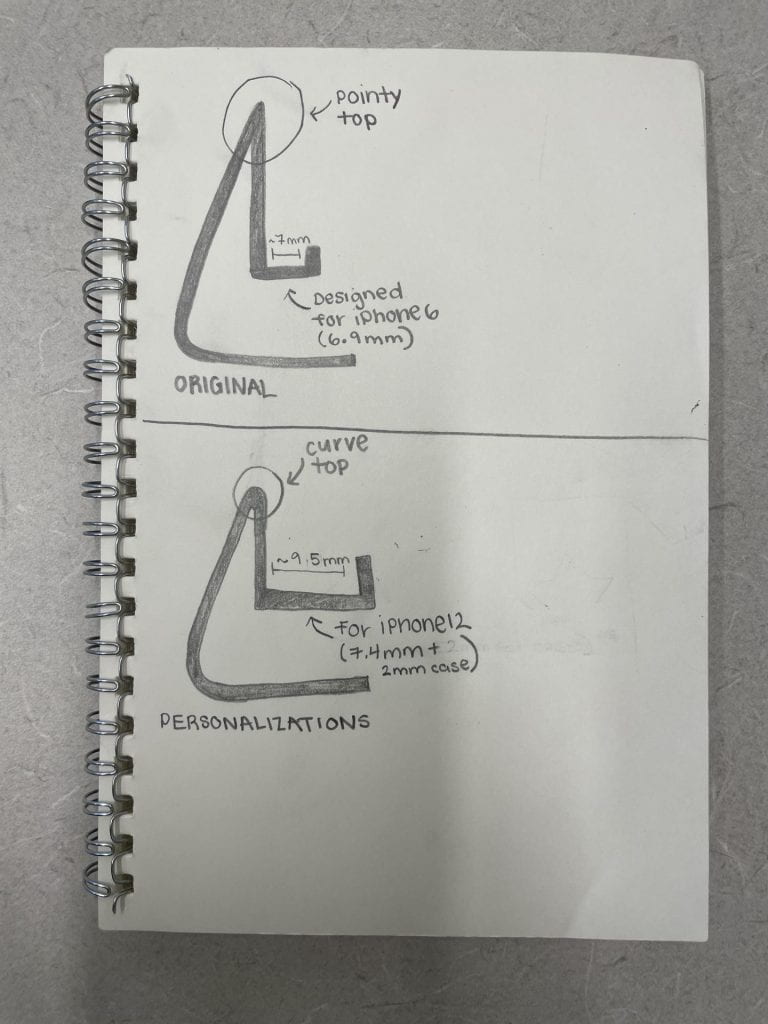
One personalization or improvement I wish to make is a thicker notch that can fit an iPhone 12 rather than just an iPhone 6. The original object contains a notch that is about 7mm, but the change I would make is a notch of about 9.5mm. This notch also is adjusted to fit my iPhone with its otter box case which is about 2mm. Another slight customization I plan to make is curving the point at the top a little. Rather than having a strong point, it would be curved. Overall, the two big improvements I’d make are change the notch size and round the edge of the top.
Another idea is widening the entire object so that it can have a better grip of my phone when it is placed horizontally. I also read some comments on the original Thingiverse object saying how it slips a lot and moves around easily. Therefore, maybe I can find a way to 3D print an anti-slip feature at the bottom of the phone stand. In addition to this, I read a lot of comments about the platform not being high enough, so I can make some altercations heightening it a bit.
F|F Iterations
Phone Stand designed by GoAftens
This is the print I made of the original phone stand designed by GoAftens. To print this object, I used an Ultimaker 2 Extended+ printer. To cut the printing time, I changed the layer height to 0.3 and changed the infill percentage to 10. I was able to cut the printing time from 7 hours to just 2 hours and 25 minutes.
I think the original object would be even better if I lifted the platform just a little more so that the charger does not hit the table. Therefore, I will be attempting this fix in my remixes.
First Remix
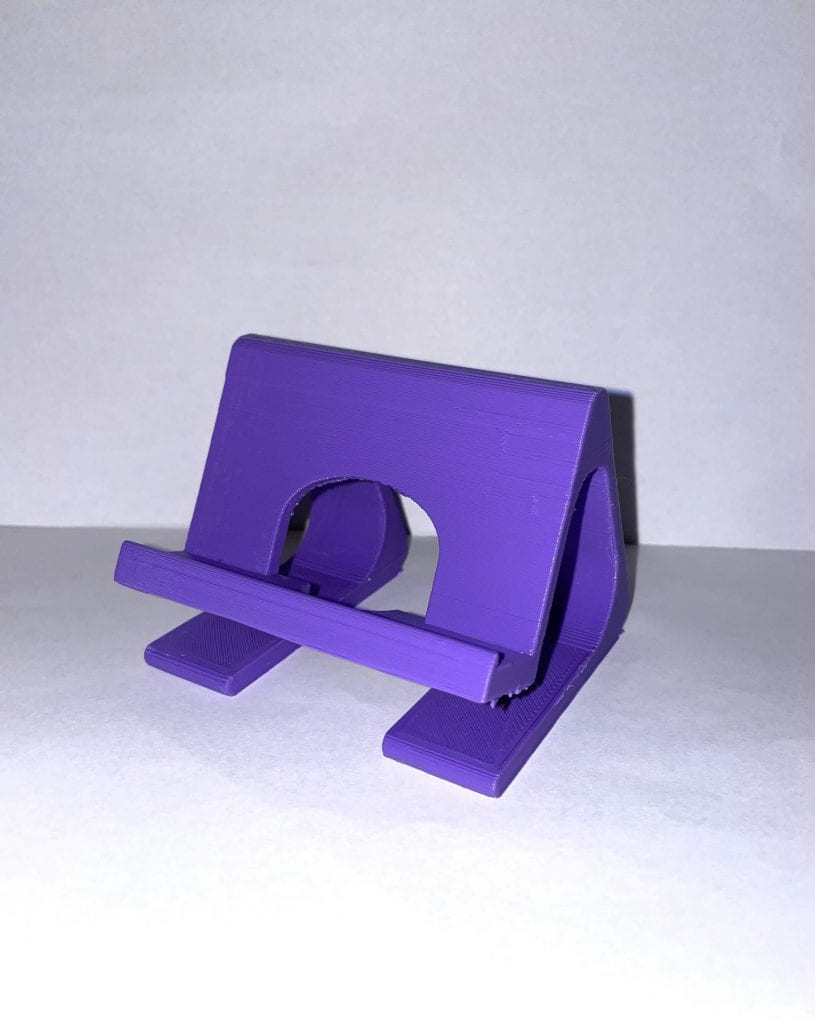
In attempt to make the notch size wider, I accidentally removed the notch all together and did not realize until after it was printed and tested. In this remix attempt, I made a hole at the bottom, widened the overall object, and curved the top.
Second Remix
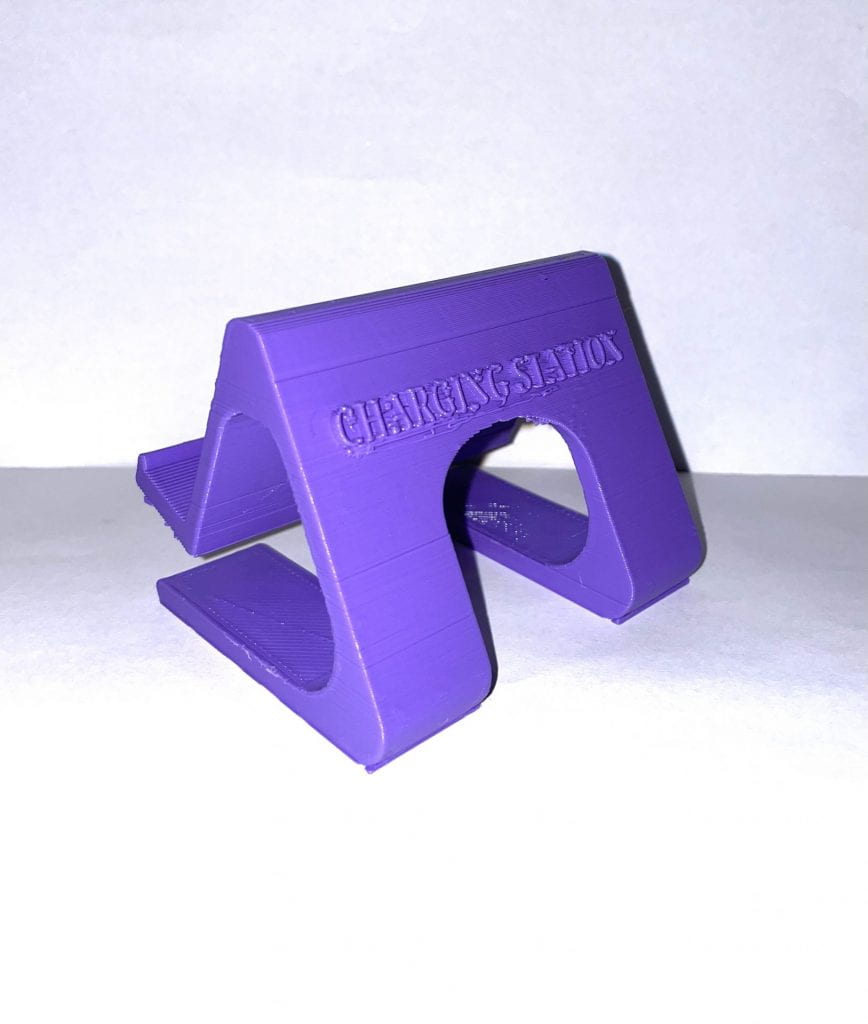
In this remix attempt, I created a different style for the platform, but realized I need to make the hole bigger to allow for the charger to go through. I also added a fun little 3D text on the back that states “CHARGING STATION”, which I like. I kept the wider look and the curved top from the past remix and fixed the notch on this one! I think overall this is my better print and that I simply need to add the bigger hole into the platform and raise the platform a little.
Third Remix
I have not been able to print this remix attempt quite yet (due to the snow and campus closings), but according to my calculations from my past remixes, I think this one will work out best. I fixed the hole on the platform and adjusted the height of the object.
F|F Final Print & Reflection
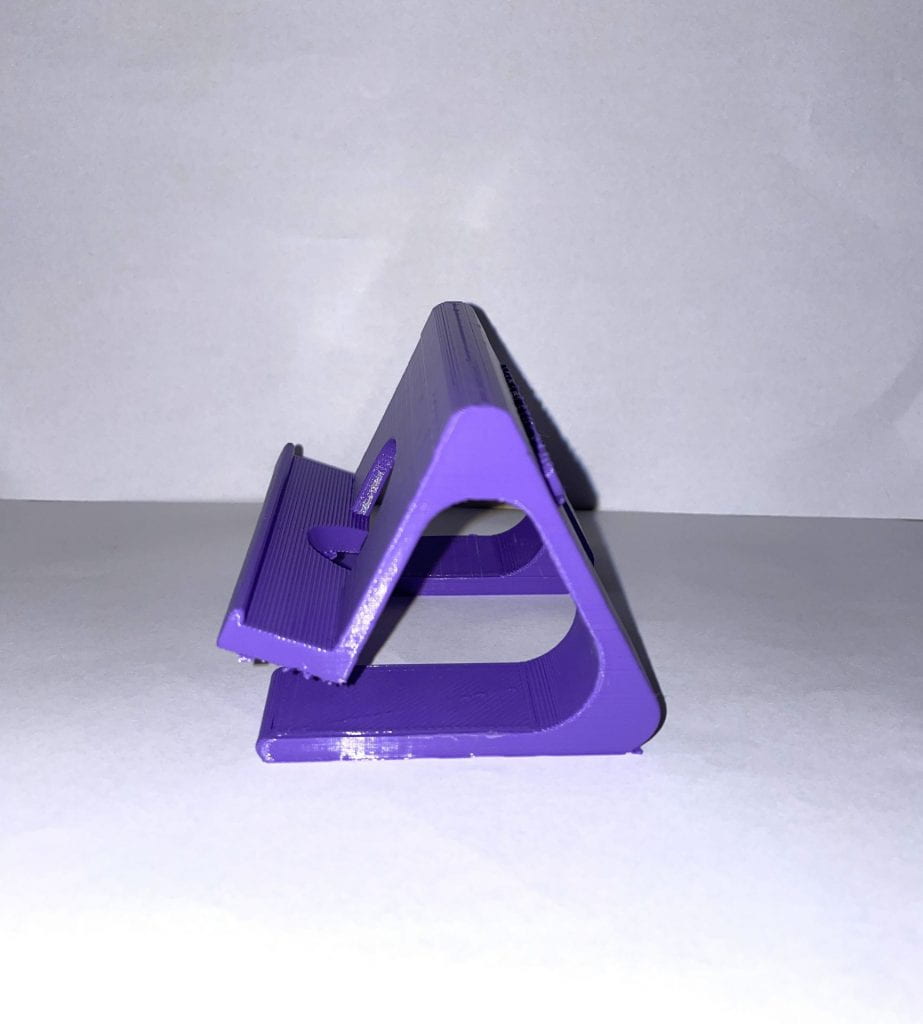
This is my F|F Final print of the remix of GoAftens original phone stand. My remix includes changes to the overall height and width, notch size, platform design, notch design, and back design. More details about my remix can be found on Thingiverse.


Reflection:
The overall process to obtain this final print was relatively easy, but very time consuming. I encountered very little errors, but was still able to find ways to improve the overall design of the object. Although the original object was really good and sturdy, I still found it important to create subtle changes to overall improve the function of the object.
I immediately knew I needed to adjust the notch size of the original object so that it could fit my iPhone 12 with its thick case on. After some more trial and error with this, I discovered I also needed to raise the height of the object because the original height was too low that a phone charger could not properly fit into the design. I also made a big hole in the notch for a phone charger to run through as well as one in the platform that helped with the issue of the charger. Originally, a phone charger would hit the bottom of the table or the platform and not properly work with the design. However, the changes I made allow for the charger to fit without an issue. This gave me the idea of naming the object the ‘Charging Station’, which I wrote on the back because it is, indeed, a charging station for my cellular device.
I really enjoyed printing this phone stand and creating personalizations and changes to the original object. It was very exciting to find an object that I could potentially use then adjusting it to my specific wants and desires. I was super proud of my final print and was really excited to show it to all my roommates. I learned a lot throughout this entire project process including how to use Tinkercad and how to 3D print. After a few trial and errors, I learned what the necessary printer settings needed to be in order to print a sturdy and more durable phone stand. This was a challenge because print time was an important aspect, but I was able to work around this issue. Overall, I cannot wait to use my new and improved Phone Stand- Charging Station that I 3D printed!

