Caroline’s Story

Research and Concepts

The Roman alphabet is such an intriguing thing. These little shapes or forms carry so much meaning when standing alone or combined with one another. Letters form words, and words hold power. Every letter in the Roman alphabet has been engrained in our brains since the earliest years of our life. They are unmistakeable in any form. 2D, 3D, Script fonts, sans serif, doesn’t matter.

Below are my ideas for my letter prints and some inspiration I drew from for them.

First Letter- N

The letter N contains two legs and one stroke line. I think there is a lot of potential to develop this letter in both a 3D and 4D Space. For all of my concepts I toyed with making the letter appear infinite in a sense. The fist wrapping around itself as though it were ribbon. The second taking a more abstract, sculptural shape where I connected the legs and stroke line with two more connectors, running back and forth between the connector line- somewhat taking inspiration from an infinity cube sculpture and the Nintendo design.

Second Letter- E

The letter E has one leg and three arms, one shorter than the rest. For my exploration with the letter E I toyed with negatives and removing part of the leg in the E while still maintaining its basic form. I also toyed with the idea of printing the arms and legs separately and placing them on top one another like building blocks, however balance may be an issue here.

Iterations

Here you can see both of my concepts for my prints in Shapr3D and Tinker Cad. I think both went relatively smooth, and I will try to print these first before making any changes. If anything I may try to smooth some edges on my “N”.

Final

When printing my final, I attempted to reprint both of my letters after refining some of their edges. I never ran into an issue with my “E”, however my “N” refused to print and would turn into spaghetti each time. I didn’t change any of my print settings from my first time printing, and after reaching out to my instructor for further help I was still unable to properly print. With that being said, my first prints became my finals as I ran out of time. I tried to re-print three times, each failing for a reason that is unknown to me. The final prints are good, but the edges aren’t as clean as I would have liked them to be.

Shapr3D First Models

Bracket

Making this bracket helped me learn a lot and was a good starting point for me while figuring out this new software. I got a feel for how to use the apple pencil and touch to effective manipulate the working planes and mess around with the various tools from sketching to chamfer and filleting as well as various planes. At one point I struggles with the chamfering towards the end of smoothing out the model. I have included screenshots of my process as well as my final model. To transfer from 2D sketches to 3D bodies, this application made it really easy. A simple tap brought the shapes into bodies.

3D Modeling a Stylus & Base on Ipad

This tutorial was a little more fast paced and not as easy to follow, but I enjoyed seeing how I turned simple triangular shapes into 3D bodies by using the revolve tool. The subtracting, locking, and chamfering tools were really helpful throughout this tutorial. Below are screenshots of my process as well as my final 3D Model.

3D Scan

I created my 3D scan while in class, and while it was challenging at first I think it turned out great. We worked in groups and use the iPad with an attached LiDAR camera to scan. At first, our app / camera wasn’t calibrated. This made our first few scans a little off center, but Professor Hooker stepped in and helped us fix the issue. Afterwards scanning was easy, and the only “hole” in my scan was on the back of my hoodie.

I don’t have any screenshots of the scan off of the app since I used someone else’s iPad and transferred my files immediately to my computer. I airdropped the .OBJ file form the iPad to my computer and then brought it into Tinkercad where I resized it, used the “hole” feature to eliminate random pieces, and then exported it as an .STL to print.

Caroline’s Self Expression

Research & Concept

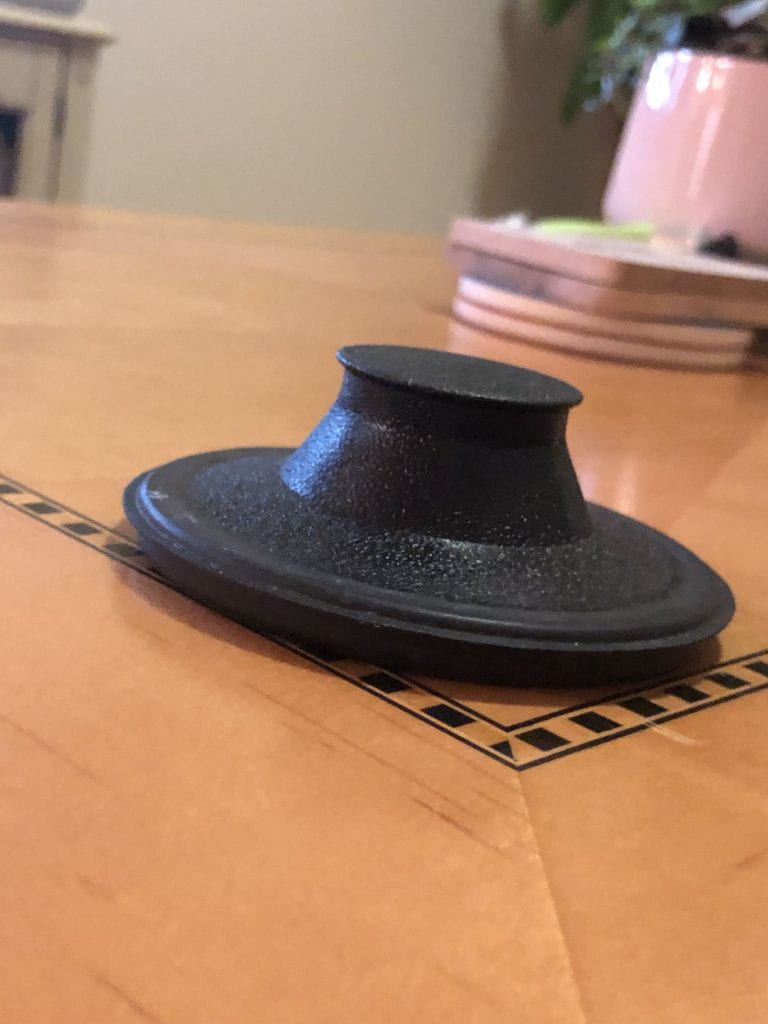
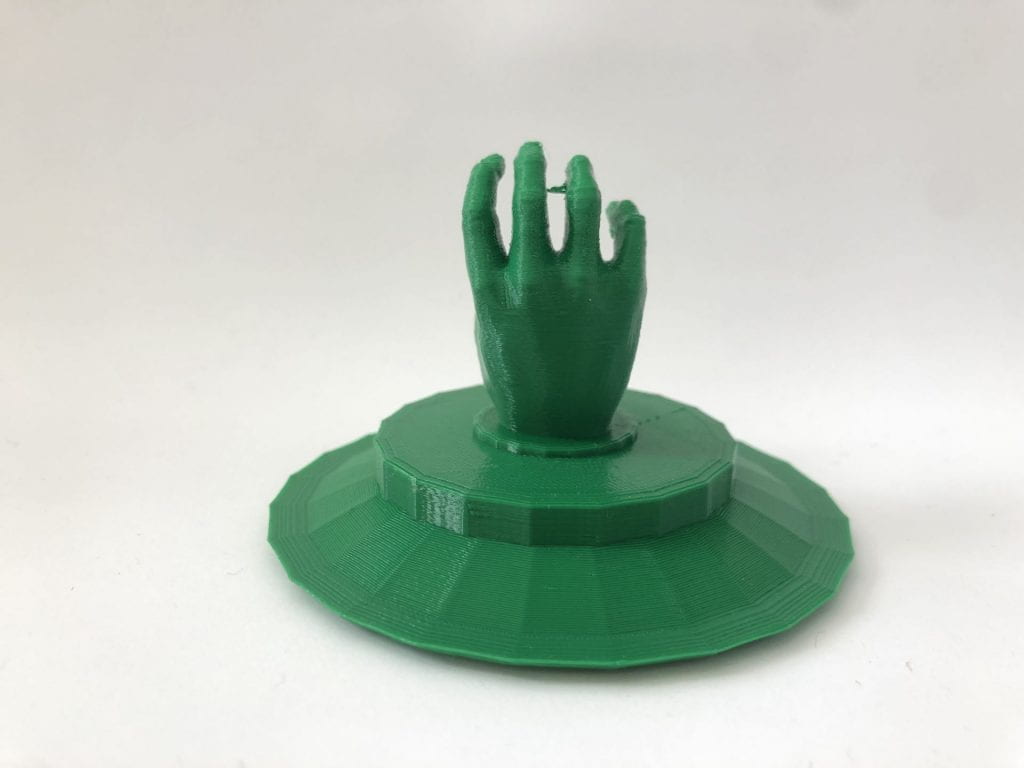
This is an everyday kitchen sink stopper or plug. It is inserted in the drain to prevent water from going down and to help fill the sink. It is an object that I interact with on a daily basis, and I think it could use a little pizzazz.

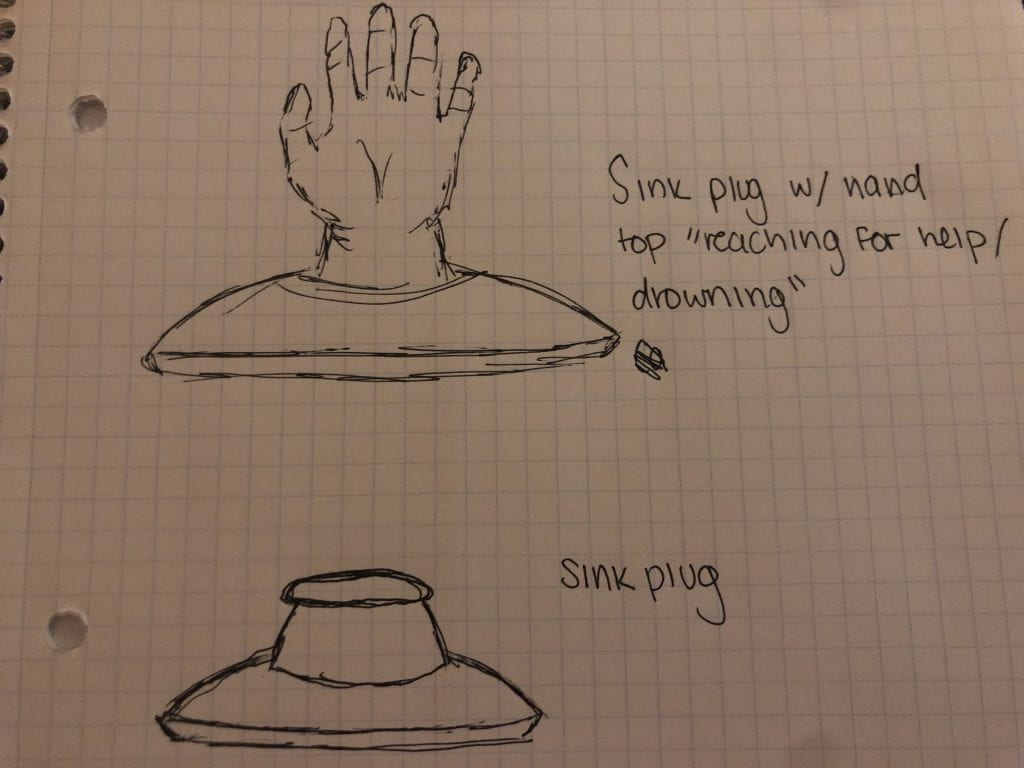
My design features a hand as the plug’s topper. Since the plug is used to stop up the drain and fill the sink with water, I thought it would be humorous to add a hand at the top that looks as though it is drowning and reaching for help above the water. The design functions similarly to the original, expect when pulling the plug, you are reaching for the “hand” to help pull it out.

Iterations

I used Scandy to take a 3D scan of my friend’s hand for this project. There were some difficulties getting a full scan, but after multiple attempts I got one that worked for me. I put the scan in Tinkercad and added a base to the “plug”. I made sure to take measurements of my current sink plug so that it would fit properly and still serve it’s function. I didn’t find many problems with this print other than the size. However, when I got my hands on this print, another idea came into mind:

A key chain holder.

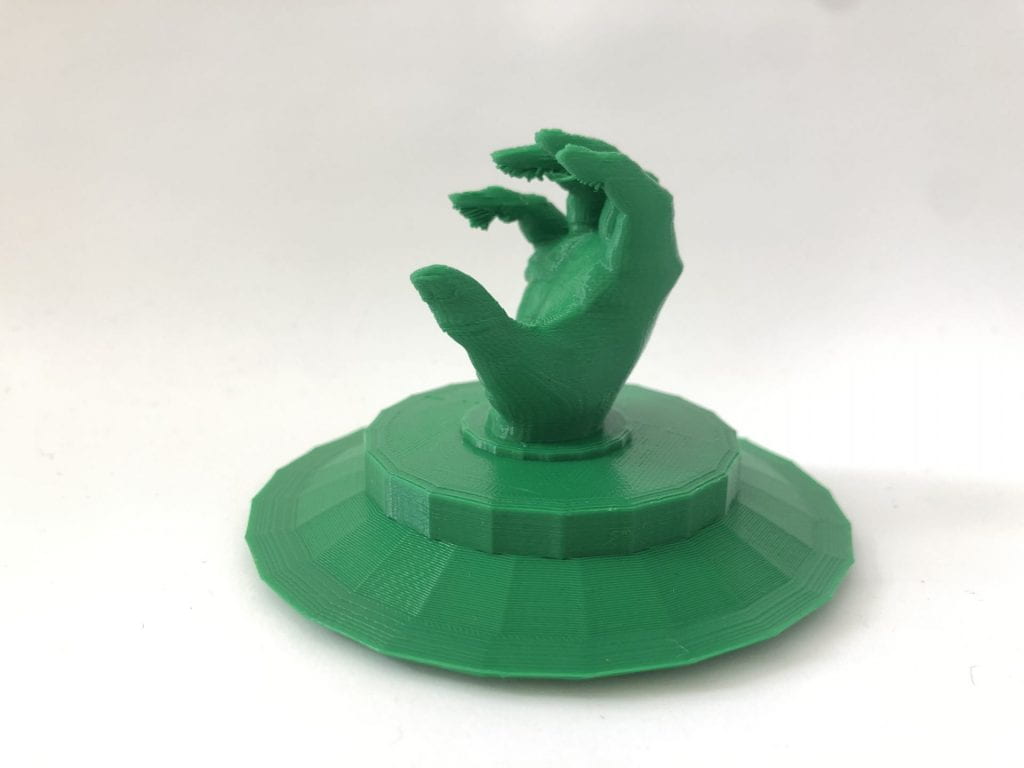
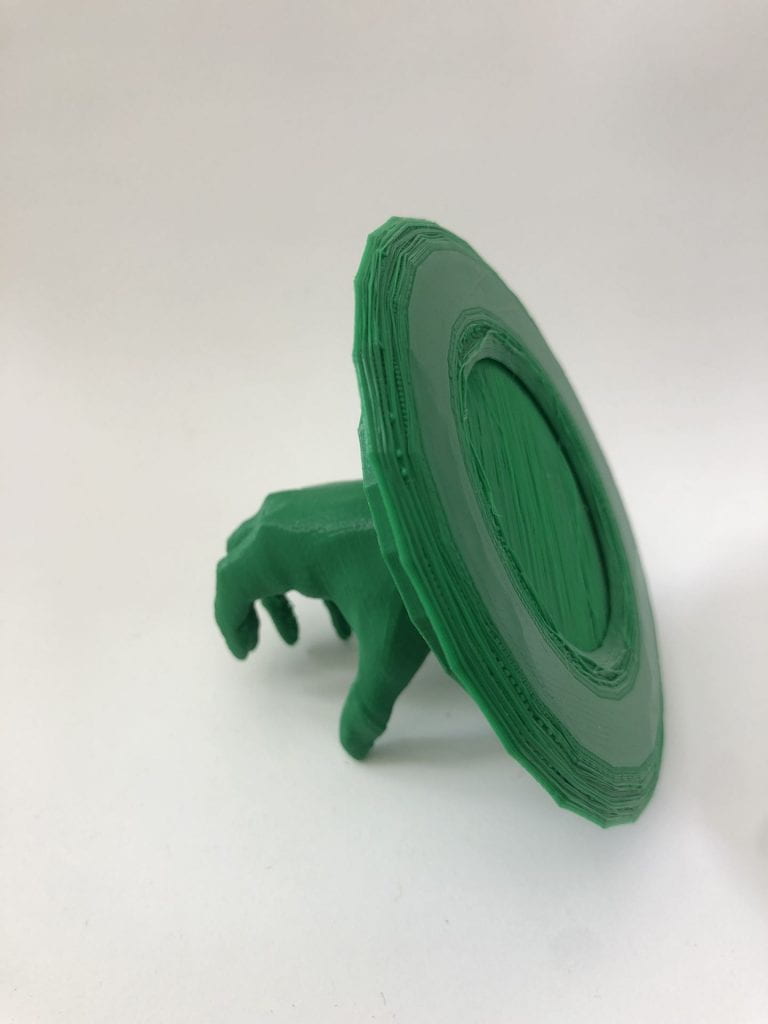
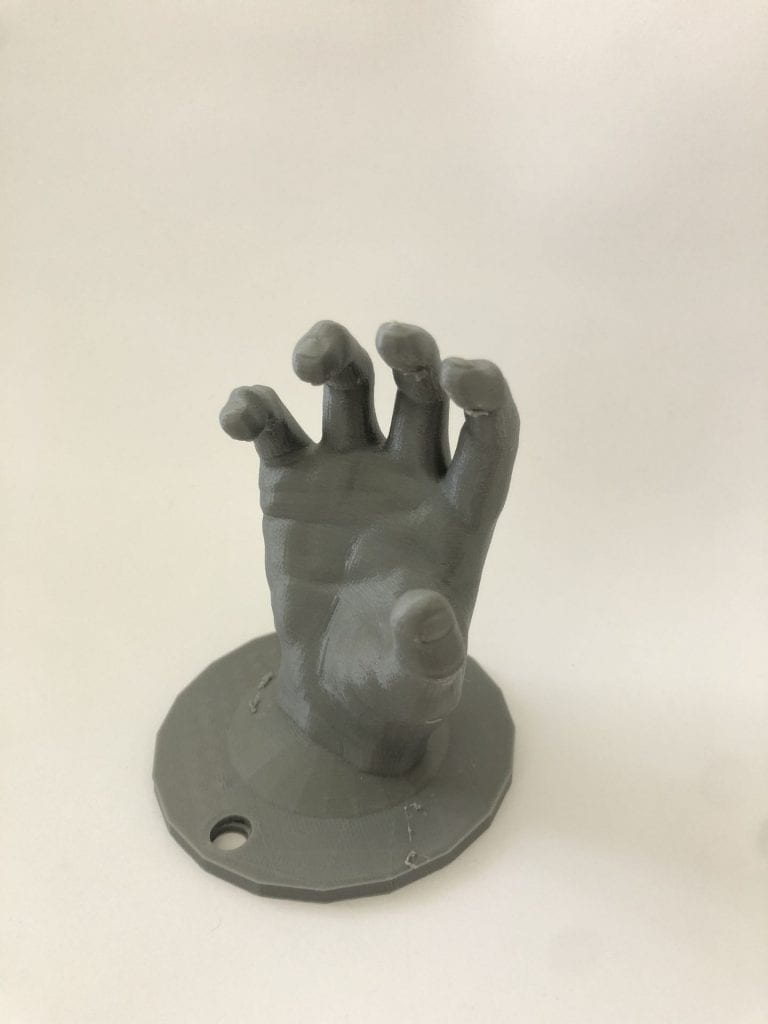
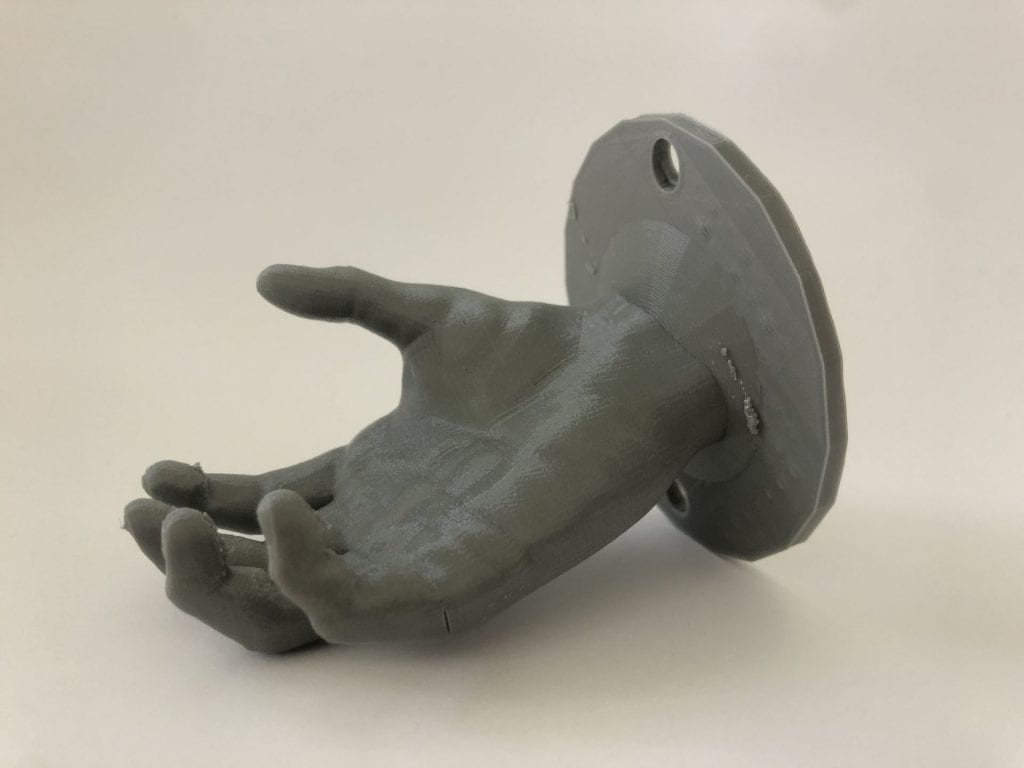
In my second iteration I flatted the base and added two hole at the top and bottom for screws. I also increased the size of the hand so that it could support the weight of a keychain. Below is my updated Tinkercad file and my final attempt at the print.

Increasing the size of the print (mainly the scan of the hand) allowed for better detail quality and overall finish. I liked the idea of the sink plug, but after hold it in my hands, this idea made more sense to me. The hand reaches out of the wall and acts as the hooks or bowl to support the keychains. Overall I’m very satisfied with my final project and am glad I took it in a different direction.

Conclusion

My second trial ended up being my final print. Considering the finish, I think I couldn’t have asked for a better turnout. There are some rough edges that can be filed down, and one slight crack in the hand. Above you can see what it would look like in use (I did not want to actually screw it into my wall because I live in an apartment complex). The only change I would make would be in the hand size, perhaps make it scale to a life-sized hand. However, I personally enjoy it more at it’s current size and shape.

McCracken 3D SVG

I wanted to make something that tied into the love of my sport, archery. I thought about making a simple arrow but instead chose to make and arrow piercing a heart in honor of Valentines day! I drew the original PNG on my iPad Pro in Adobe Draw and shared it to my Adobe Illustrator application on my computer. I then traced the image in Illustrator and removed unnecessary white spaces or pieces as instructed by the LinkedIn Learning course. I exported the file as an SVG and chose to create a new design in Tinkercad where I imported the same SVG file. At first it was way too big, so I scaled it down to fit the work plane and saved it!

Caroline McCracken’s Form|Function

Original design by colleeniebikini on Thingiverse.

This is the original model off of Thingiverse that I printed. Below, I will explain the flaws I found using this model.

https://www.youtube.com/watch?v=5cH_ipOZVkI
(the video file was too large to embed so I uploaded it to YouTube)

Below are my first iterations on Tinkercad & the print

In this first iteration, not only did I decide to make the model shorter and wider to open up the mouth, but I also printed it without a raft or a base of any kind which reduced my overall print time. I had no troubles with this since the object itself already has a relatively flat, stable base. However, I was still not pleased with the out come and found while my adjustments did not help with the issue of the narrow mouth- it did not totally solve the problem.

Second iteration on Tinkercad and prints:

After not being satisfied with my first iteration, I made another. I printed this one without any kind of base as well. This time around I kept the planter short and wide like my original idea, but just increased the overall size of the model. This seemed to be the sweet spot, and I finally printed a model that I was satisfied with. I am excited to use it soon!

This is my final addition to my print. I added a drainage tray to catch some of the water that comes out of the drainage hole in the planter after watering the plant. I didn’t print either of these with a base, and both turned out smooth with a nice finish thanks to their shape. Overall I didn’t run into many issues throughout the process, and achieved my goal of making the planter easier to use in the process of actually planting.

F|F Research and Concept

Above is the image of an original 3D print of a small hexagonal shaped planter. It is large enough to contain a singular small to medium sized plant and has a fun, geometric design. It has a drainage hole on the bottom to allow for proper watering of the plant. The original design narrows down at the opening of the planter, making potting a plant properly with the right amount of soil difficult.

Improvement Concepts

One improvement I wish to make upon the original planter design is to slightly shorten and widen the object. This will not only widen the base but the mouth as well, allowing for more ease when filling with soil and potting a plant.

Caroline’s First Print

Today I got to use the 3D printer for the first time. My first print went pretty seamlessly. I decided to print the JMU Cube, and the only issue I ran into was that the 308 print file was not on originally on the USB in my printer. It was really interesting to watch the printer run up close, I have never seen a 3D printer working in person before. Pictured below is my final project, I think it’s super cool and will be keeping it on my desk at home. I am excited to get on Thingiverse and search for other cool print designs for next time!

Hi, I’m Caroline McCracken

I am a Junior SMAD major with a concentration in Creative Advertising and a minor in Creative Writing. I am from Richmond, Virginia and am the youngest of four in my family. I used to shoot archery competitively for both Team USA and JMU but have tried to spend the last year focusing on my academics and career path. I love true crime and my roommate would probably tell you I have one too many plants.

I chose this image to represent why I am taking this class because I am trying to narrow down what I would like to do with my career. I feel like this class is a step out of my comfort zone but also believe trying new things is a great way to find where you want to be!

My creative type is the innovator!

The innovator “sees everything through the lens of possibilities and progress, problems and solutions. You feel the most yourself when you’re using your intellectual and creative powers to solve problems and dream up new and improved ways of doing things. Your attention is largely focused on the world around you, and you’re constantly probing its structures and systems to find ways to push things forward.”

Connect with me through the buttons below!