For my final project, I wanted to use aspects of all of my favorite projects. I really enjoy using Tinkercad and Fusion 360 and I also really enjoyed the “fix-it” challenge during the semester. Because of this, I chose to not make 1 final project but a few different things that “fixed” and made things better!

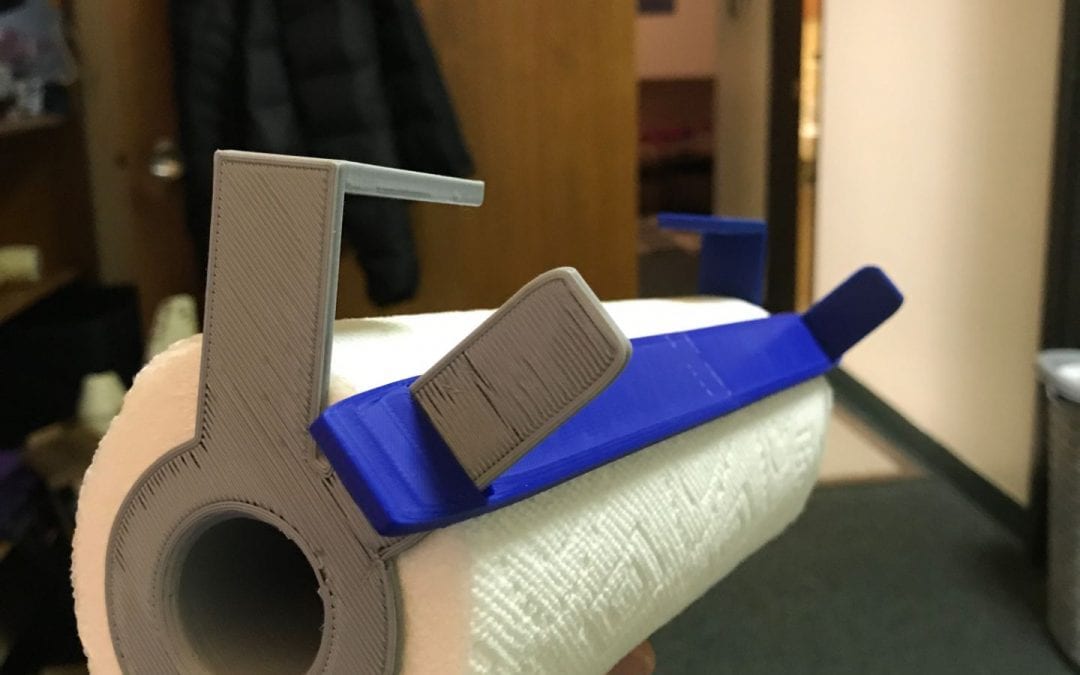
The first thing I decided to make was a better paper towel holder for my apartment. My original design was quite simple, and I test printed it just to see if it would come out well, and it did! Expanding off of the original design, I wanted to make ripping the paper towel off of the roll cleaner and easier, so I added an adjustable bar that helped to create a cleaner rip. I did not really run into any trouble during this, other than taking a lot of time to get sizing and measurements right in both Tinkercad and Fusion 360.


The second thing that I designed was an Expo marker holder. For the “fix-it” challenge in class, I originally brought in an older piece of packaging that I used to store my Expo markers and wanted to make it better. The person who chose to redesign that ended up not getting their design to be able to work so I wanted to spend some time to design a simplistic but efficient design for my use.

I used Fusion 360 to design plugs that acted similar to the shape of the cap of an expo marker and created a long strip of 8 of them to support all of my markers.


Additionally, I added screw holes so that this can be hung on my wall. The first print came out great and I’m really pleased with the design and how well the markers fit into it!
The last thing that I made was a wall mount for my computer charger. I hated picking it up off of the floor all the time and changing the charger attachment that can be switched out. So, I wanted to design a wall mount for the charging block that could also hold the end of one of the charging ports.


I had a little trouble figuring out the best way to position my design when printing. It took me 3 prints to adjust the design slightly and also get the position and rotation of the design right on the printer to get my completed mount. Below is a picture of one of my failed prints.

The design looks a little funny, but it serves all of the purposes that I planned for it to! I created a little prong in one corner to hold the attachment end, and also created some vent holes for when the charger gets a little hot. The screws fit perfectly, and the charger mount holds the block very snug!
Recent Comments