
Morgan Moritz
Carissa Showalter
We had the challenge to Fix the small ruler. The ruler had a slit that went right through it and the owner of the ruler didn’t like the size of the ruler. Thus, our challenge was to fix these aspects of the ruler.
We set out to make a new functional ruler. We wanted to make a ruler that could better function with the needs of the owner. Thus, we wanted to make a ruler that could be easily transported and can be easily used to measure items.
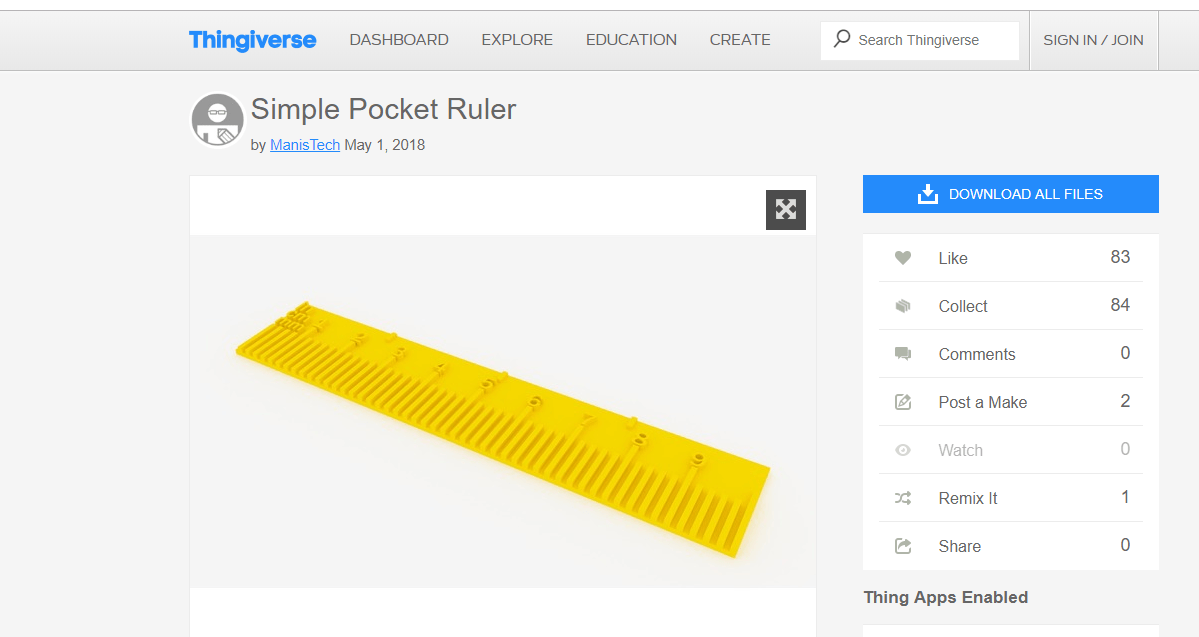
https://www.thingiverse.com/thing:2888636
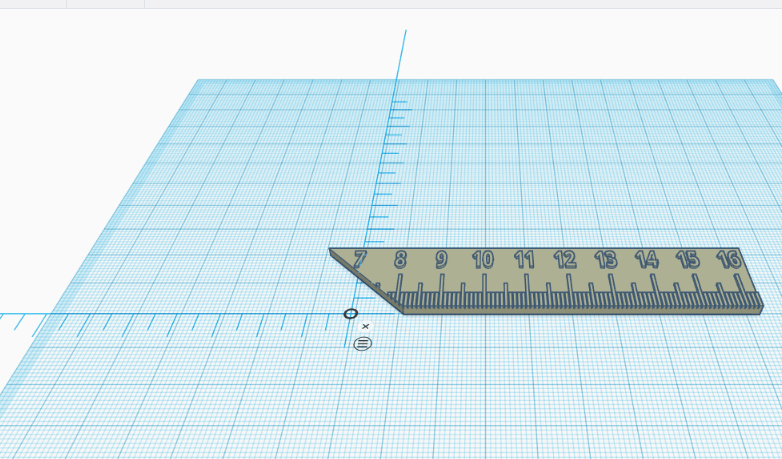
We used a Thingiverse to find a ruler. We then imported this ruler into Tinkercad. Depicted above is the ruler design that we took from Thingiverse. I also included the Link- so that you guys can check it out and upload the ruler to Tinkercad as well! However, we had to make several alterations to the ruler to suit our needs. We had to cut the ruler because it was too big to print it all together. Additionally, we cut it on a slant, so that when we glue the two parts together- there will be more surface and it will be easier to glue. Below you will find our designs in Tinkercad that we made.

From there we started our first print. We wanted to print half of the ruler on the Lulzbot mini and the other half on the Ultimaker. However, when we saw the final print; the Lulzbolt didn’t put the tick markers on the ruler that the ruler needed. The Ultimaker however did this. As this is the case, we ended up re-printing one side of the ruler on the Ultimaker to make sure the tick marks were there. Below you will find the finished 2 half’s of the ruler printed on the Ultimaker.
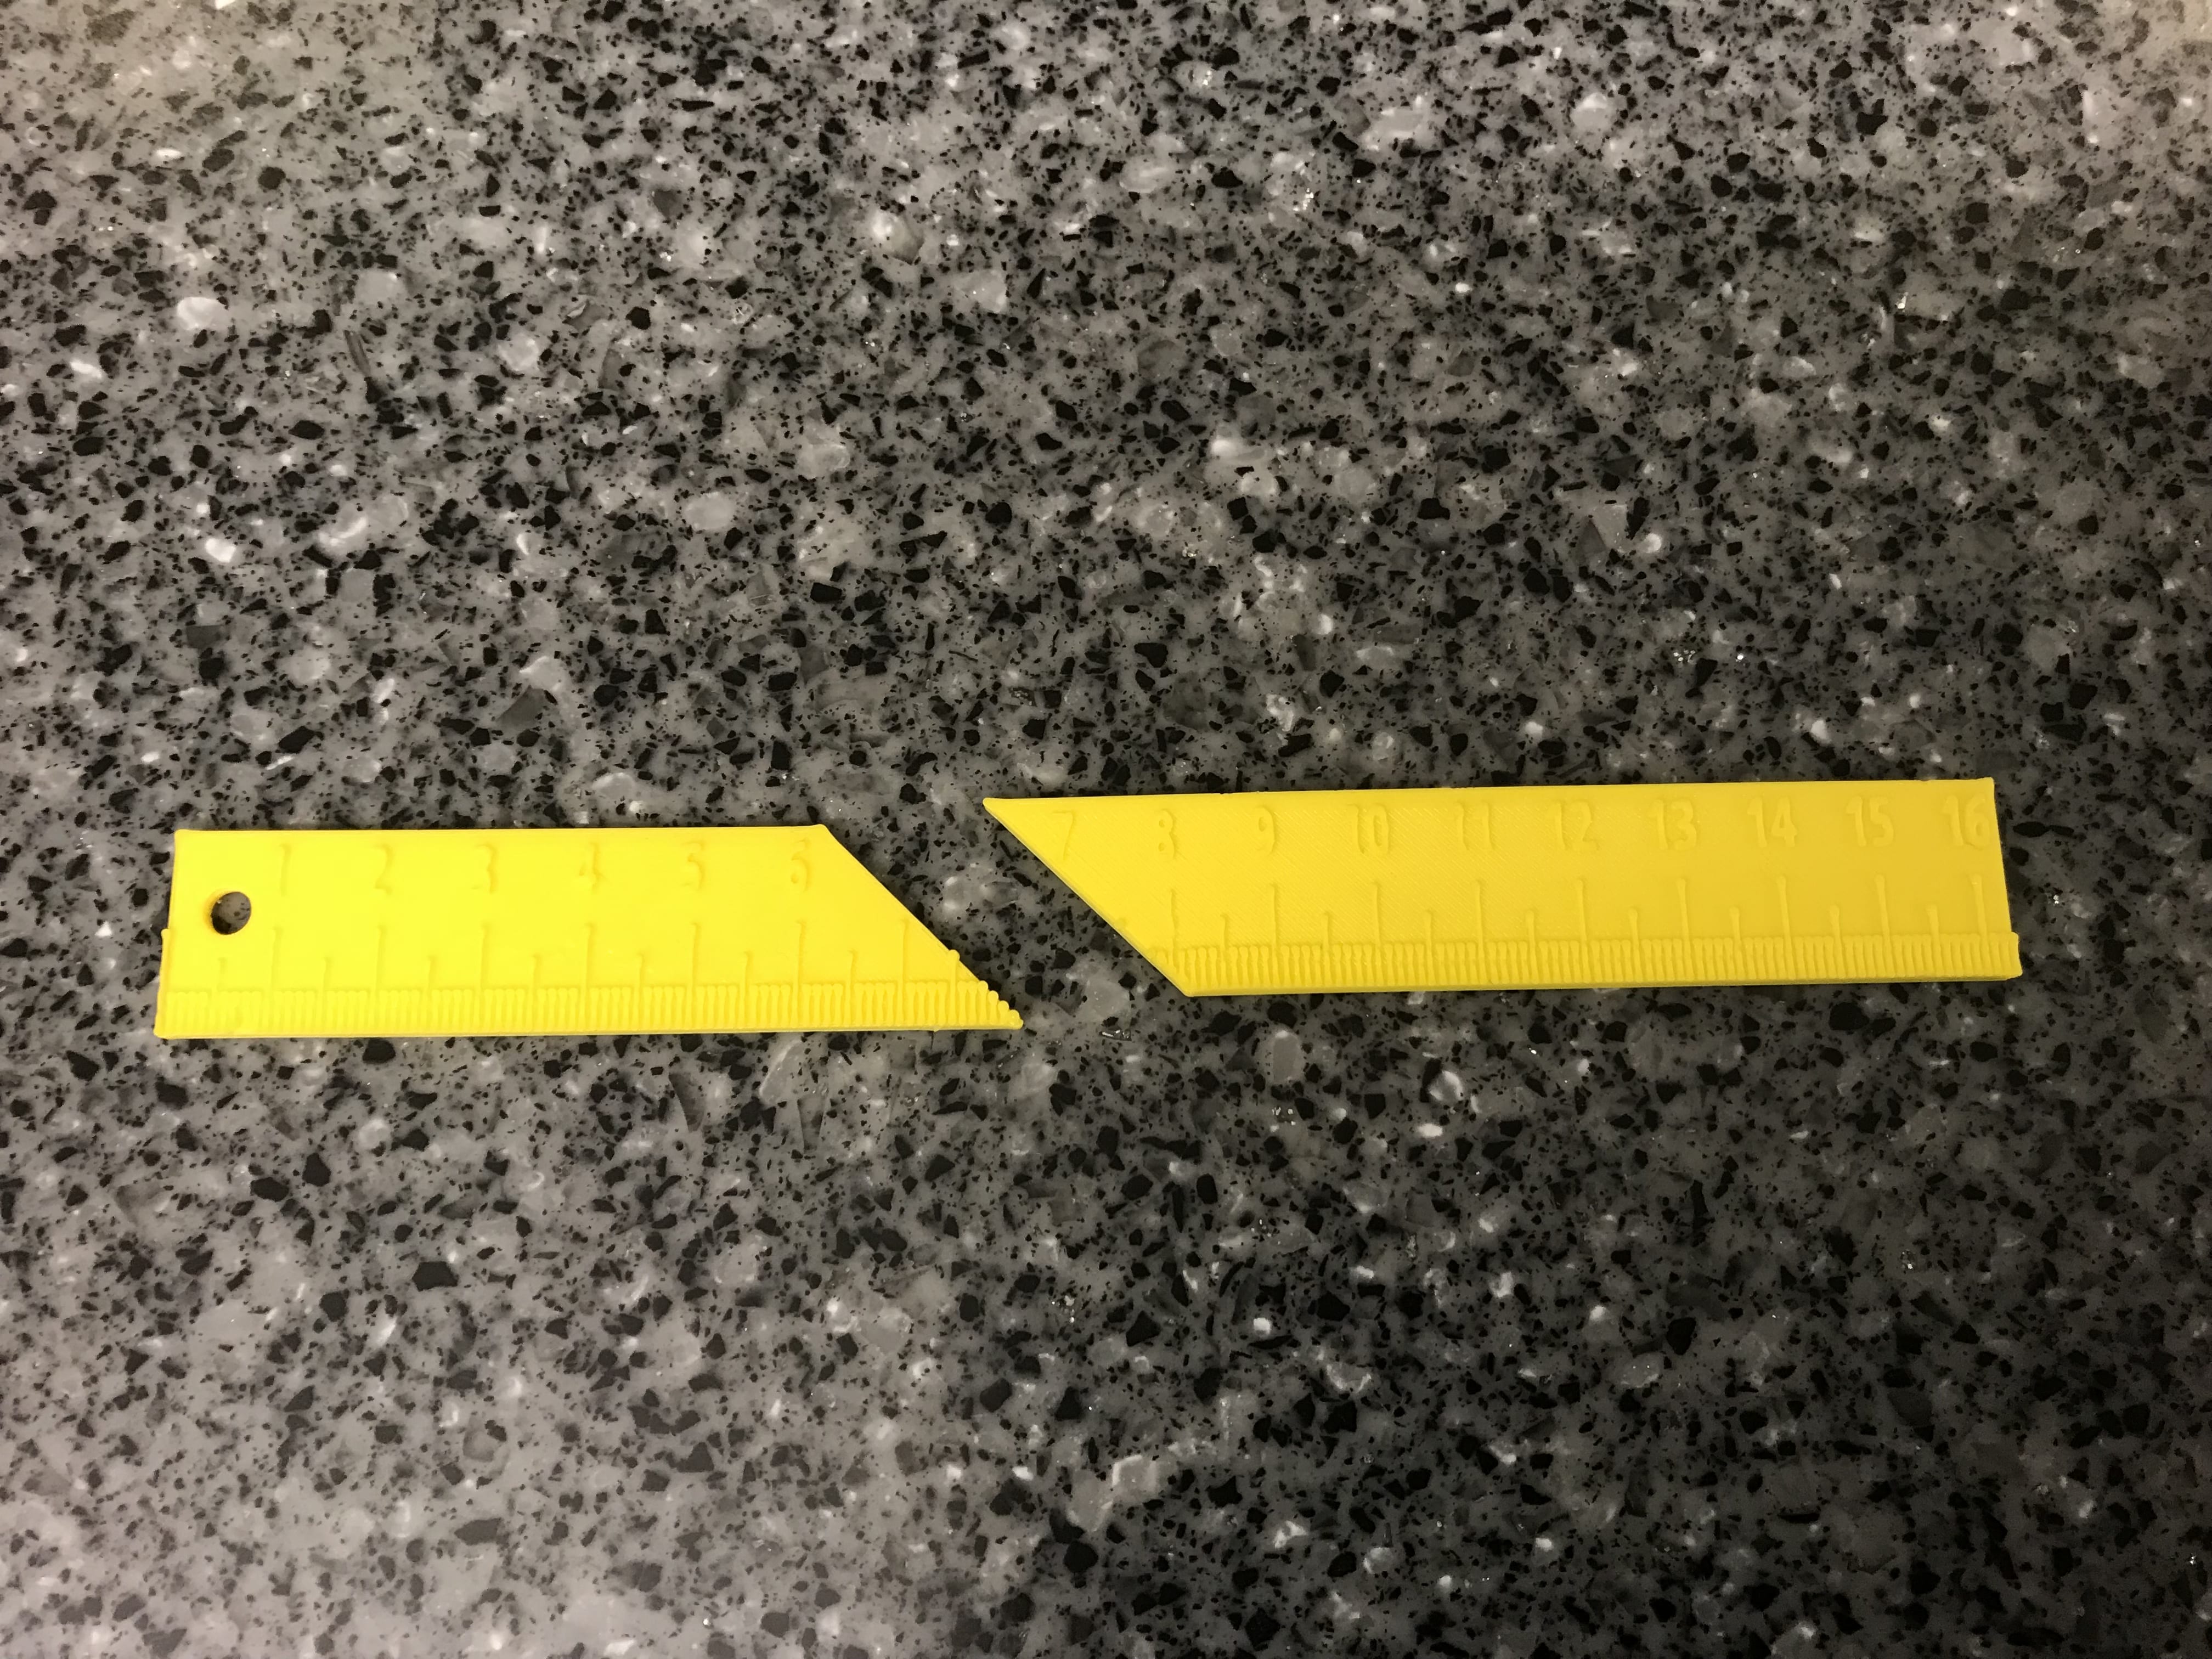
We were going to glue these two pieces together and make it one solid ruler. However, we thought it would be better if we just left it in two different pieces as it would be able to better transport this ruler and it would be more protected against possible damages that could occur. Additionally, by not having them connected, you can continue to measure things beyond the restricted amount on the ruler. You can keep taking the pieces of the ruler and keep expanding what you can measure. Overall, we thought this would better suit the needs of the owner than actually making a bigger ruler. We are happy with how this came out and feel that we have completed our challenge!
Tinkercad STL files of the ruler:
Recent Comments