Tinkercad Final Project
For my Tinkercad final, I created a case for my Nintendo Switch games. I think this project was a good way for me to become familiar with what works and doesn’t work with the printers. This was a lot of trial and error, and a lot of time spent in the printing lab.
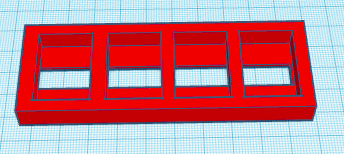
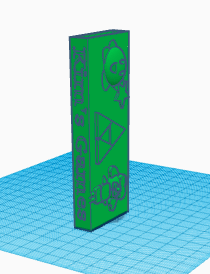
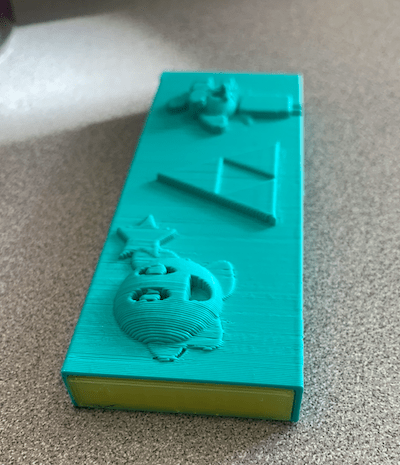
Here is the design that I began with. For the base of the game case, I made a hole in the bottom so that I could easily pop games out when I wanted to use them.
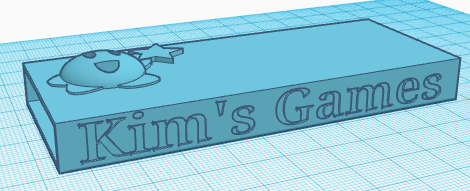
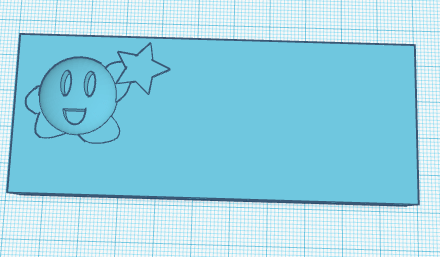
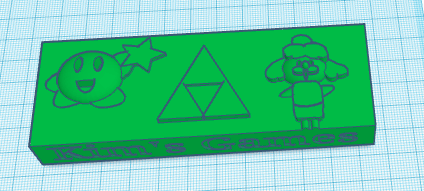
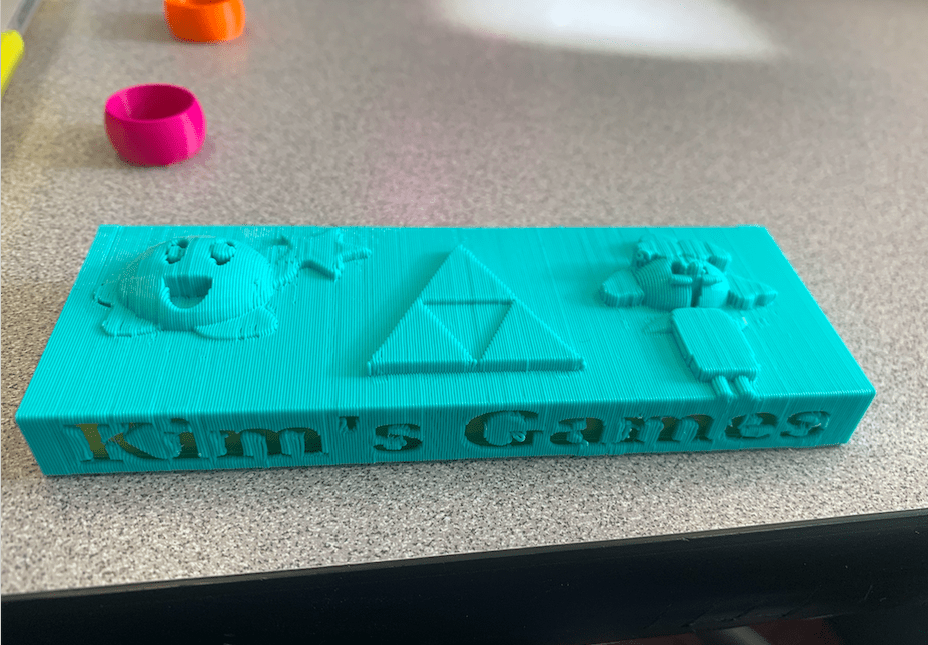
This is the finalized version of the case design. I added another character to the front as well as a Triforce from the Legend of Zelda games. The base remained pretty much the same as the beginning design, but the size had to change a lot throughout so that it would actually fit with the cover. The cover for the game case was fun, but a bit tricky to make. It was designed to slide over the base and serve as a protection for the games, but I had issues making it fit well enough to stay on, but not be too snug. I made a 3-dimensional design on the top of the case with characters that I like. I also engraved my name into the side so my sisters can’t steal it.
While I was printing, I had some issues with supports. To fix this, I ended up printing it vertically rather than horizontally.
This is the finished product of the case. It took several tries of printing to get the design to show up the way I wanted to, so this was my fifth attempt. The game holder printed well the first time, but I had to make it smaller so it would fit easily inside the of the cover.
Fusion 360 Final Project
This is probably the project that I was most excited for during the class. I designed this with the intention of it being a gift that I would give my sister for her birthday. I wasn’t able to print it out for her before we had to leave campus, but I’m still happy with how this turned out.
This is the finished base of the project. I ended up attaching the flat bottom piece to the Google Home holder so that this piece might print easier. I also added on a screw piece to the top so that the head of BB-8 could be added on. I had some difficulties figuring out how to make the screw work, but after looking at some tutorials and listening to how other students made their projects, it worked for me.

Below is the Finished version of the BB-8 head. I’m really happy with how the design for this part turned out. I think I was able to capture BB-8’s major characteristics even though this program was more difficult for me to use. I added a screw hole for the screw at the bottom of the head so that it could easily attach to the base.


OpenSCAD Final Project
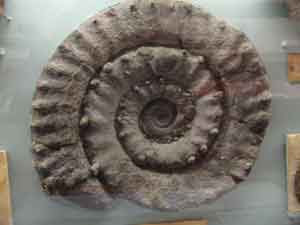
For my OpenSCAD final, I was thinking recreated a fossil. I’m not very familiar with coding, so I wanted to keep this project pretty simple. I decided to create an Ammonite. I wanted to do some additional fossils, but I had a hard time getting them to work.
Here’s the reference picture I used:

![]()
To make this, I found some online tutorials about how to make this shape and I played around with the code a bit until I was happy with it. I know this seems pretty simple, but it took me a while to make it work. This program was pretty difficult for me and I don’t think I’ll be using it again after this class.
Final Final Project
For this project, I wanted to return to the program that I enjoyed using the most: Tinkercad. Even though this program is a bit limited in what it’s able to produce, I think that’s part of the fun! I recreated the Museum from the new Animal Crossing game. This building has a lot of little details, so I knew it would be a good challenge to try and capture all of those. I had a lot of fun trying to recreate these elements and I think they turned out really well.
Here’s the reference photo:

And here’s the final product:

