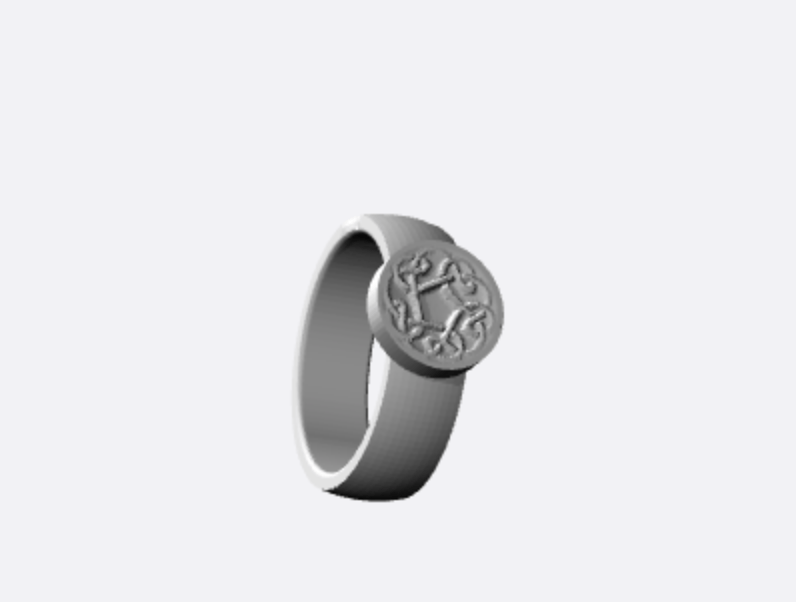
I did a size 8 ring for my original, basic, fusion 360- created ring. I printed it on the Ultimaker and it turned out as expected.
When I put it into Meshmixer, I created my own stencil of a celtic knot and it wouldn’t work when I tried to stamp it so I just decided to do something different than planned. I made a mock ring pop but to a size that I would actually wear. I did this by first inserting a cylinder that I made from fusion 360 and placing it onto the ring shape. Then using the stamp tool I inserted the geometric polygonal shape. I extruded it so it popped out and looked like a ring pop and refined it a little bit using the different brushes. I printed it on the Lulzbot and it came out nicely.
After presenting it in class I got help figuring out how to do what I originally wanted with the celtic knot – I had to play with the settings to get the stencil tool fixed. So I imported the ring with a cylindrical face and it still didn’t want to stamp onto the the part of the face I wanted so I then had to select it and set the density higher various times. Then the stencil of the design I wanted finally worked on the face of the ring. I printed it on the Lulzbot & Ultimaker in three different positions each time for a better result. First I printed it on the Ultimaker face-down (clear, first ring), thinking the design would come out better that way, I was wrong. It was really rough due to the support and you couldn’t see the design. Then I printed it on the Lulzbot face-forward (red ring) and it printed nicely but the design was slightly deformed. Finally I did the Lulzbot again face-up (white ring on the right) and the form of the ring was best and the design was better. However, I am still hoping the sandstone prints it in better detail.


 I sent it to Shapeways to be printed in sandstone and I’m hoping it turns out as expected!


Recent Comments